


symfony国内有人用吗
In this short tutorial, we’ll set up Sulu, a new Symfony based CMS, and optimize it on a Vagrant environment. Why a dedicated tutorial handling this? Besides the fact that Sulu has a rather complex initialization procedure, it is based on Symfony which is infamously slow on virtual machines with shared filesystems, and thus needs additional optimizations post-install. The performance hacks in this post, while Sulu-specific, can be applied to any Symfony application to make it faster on Vagrant.
在这个简短的教程中,我们将建立一个新的基于Symfony的CMS Sulu ,并在Vagrant环境中对其进行优化。 为什么要使用专门的教程来解决这个问题? 除了Sulu的初始化过程非常复杂之外,它还基于Symfony,而Symfony在具有共享文件系统的虚拟机上运行缓慢,因此安装后还需要进行其他优化。 这篇文章中的性能技巧(特定于Sulu)可以应用于任何 Symfony应用程序,以使其在Vagrant上更快。
Would you like to learn more about Symfony and/or SuluCMS? Come join us at WebSummerCamp – the only conference filled to the brim with long, hands-on workshops. The program is out and it’s awesome! Super early bird tickets available until the end of June!
您想要了解更多有关Symfony和/或SuluCMS的信息吗? 快来加入我们的WebSummerCamp ,这是唯一一个由冗长的动手研讨会组成的会议。 该程序已经发布了, 太棒了 ! 超级早起的鸟儿门票可到六月底为止!

As usual, we’ll be using our Homestead Improved box as the base, but the steps below are explained in enough detail for you to follow them on any environment.
和往常一样,我们将使用“ 改良的Homestead”框作为基础,但是下面的步骤已足够详细地说明,您可以在任何环境下进行操作。
新文件夹和文件夹共享 (New Box and Folder Sharing)
We start by downloading a fresh box and setting up folder sharing.
我们首先下载一个新盒子并设置文件夹共享。
git clone https://github.com/swader/homestead_improved hi_sulu
cd hi_sulu; bin/folderfix.sh
Once this is done, it’s recommended to set the file sharing type to nfs, due to this known issue, also described here.
完成此操作后,由于这个已知问题 ,建议将文件共享类型设置为nfs ,也将在此处进行描述。
应用类型和流浪汉启动 (App Type and Vagrant Boot)
Homestead Improved comes with a symfony-sulu application type, which configures Nginx for Sulu specifically. We add a new site into Homestead.yaml:
改良版Homestead附带了symfony-sulu应用程序类型,该类型专门为Sulu配置Nginx。 我们在Homestead.yaml添加一个新站点:
- map: test.app
      to: /home/vagrant/Code/sulu/web
      type: symfony-sulu
The generated Nginx is below. If you’re using something other than Homestead Improved, you’re encouraged to copy it from here:
生成的Nginx在下面。 如果您使用的不是Homestead Enhanced,则建议从此处复制:
server {
    listen 80;
    listen 443 ssl;
    server_name test.app;
    root "/home/vagrant/Code/sulu/web";

    charset utf-8;

    location = /favicon.ico { access_log off; log_not_found off; }
    location = /robots.txt  { access_log off; log_not_found off; }

    access_log off;
    error_log  /var/log/nginx/test.app-ssl-error.log error;

    sendfile off;

    client_max_body_size 100m;

    # PROD
    location ~ ^/(website|admin|app)\.php(/|$) {
        fastcgi_split_path_info ^(.+\.php)(/.+)$;
        fastcgi_pass unix:/var/run/php/php7.0-fpm.sock;
        include fastcgi_params;
        fastcgi_param SCRIPT_FILENAME $document_root$fastcgi_script_name;
        fastcgi_intercept_errors off;
        fastcgi_buffer_size 16k;
        fastcgi_buffers 4 16k;
        # Prevents URIs that include the front controller. This will 404:
        # https://domain.tld/app.php/some-path
        # Remove the internal directive to allow URIs like this
        internal;
    }

    # strip app.php/ prefix if it is present
    rewrite ^/app\.php/?(.*)$ /test.app permanent;

    location /admin {
        index admin.php;
        try_files $uri @rewriteadmin;
    }

    location @rewriteadmin {
        rewrite ^(.*)$ /admin.php/test.app last;
    }

    location / {
      index website.php;
      try_files $uri @rewritewebsite;
    }

    # expire
    location ~* \.(?:ico|css|js|gif|jpe?g|png)$ {
        try_files $uri /website.php/test.app;
        access_log off;
        expires 30d;
        add_header Pragma public;
        add_header Cache-Control public;
    }

    location @rewritewebsite {
        rewrite ^(.*)$ /website.php/test.app last;
    }


    location ~ /\.ht {
        deny all;
    }

    ssl_certificate     /etc/nginx/ssl/test.app.crt;
    ssl_certificate_key /etc/nginx/ssl/test.app.key;
}
Remove the SSL lines at the bottom if you’re not using HTTPS.
如果不使用HTTPS,请删除底部的SSL行。
Then, let’s boot up the VM and SSH into it.
然后,让我们启动VM并通过SSH进入它。
vagrant up; vagrant sshAdd test.app (or another URL if you chose it instead) to your host OS’ etc/hosts file. If this sentence makes no sense, please read the Homestead Improved Quick Start.
将test.app (如果选择它,则添加另一个URL)到主机OS的etc/hosts文件中。 如果这句话没有意义,请阅读《 宅基改良快速入门》 。
安装Sulu (Installing Sulu)
All steps below happen inside the VM.
以下所有步骤都在VM内部进行。
cd Code
git clone https://github.com/sulu-io/sulu-standard sulu; cd sulu
git checkout master
composer install
This will take a while, and might ask for a Github authentication token.
这将需要一段时间,并且可能会要求提供Github身份验证令牌。
Note that depending on the version of PHP you have installed, this command may fail. For example, zend-code at the time of this writing requires PHP of any version that isn’t 7.0.5., and incidentally, that’s the exact version installed on Homestead Improved 0.4.4. This is easily fixed by running sudo apt-get upgrade php7.0-fpm.
请注意,根据您安装PHP版本,此命令可能会失败。 例如,在撰写本文时,zend-code需要使用PHP而不是7.0.5。的任何版本,并且顺便说一句,这是Homestead改良版0.4.4上安装的确切版本。 通过运行sudo apt-get upgrade php7.0-fpm可以轻松解决此问题。
Post install scripts will ask us for some parameters – the only ones we need to fill out are the database name (homestead, unless you make one specifically for Sulu) and credentials (homestead / secret). Other can be left at their default values for now, and configured later if needed.
安装后脚本将要求我们提供一些参数-我们唯一需要填写的参数是数据库名称( homestead ,除非您专门为Sulu编写一个)和凭据( homestead / secret )。 其他可以暂时保留其默认值,并在以后根据需要进行配置。
配置Sulu (Configuring Sulu)
cp app/Resources/webspaces/sulu.io.xml.dist app/Resources/webspaces/sulu.io.xml
cp app/Resources/pages/default.xml.dist app/Resources/pages/default.xml
cp app/Resources/pages/overview.xml.dist app/Resources/pages/overview.xml
cp app/Resources/snippets/default.xml.dist app/Resources/snippets/default.xml
rm -rf app/cache/*
rm -rf app/logs/*
The above installs a default webspace.
上面安装了一个默认的webspace 。
In the file app/Resources/webspaces/sulu.io.xml we replace the name and key with the values we prefer.
在文件app/Resources/webspaces/sulu.io.xml我们将name和key替换为我们喜欢的值。
Once done, we run:
完成后,我们运行:
app/console sulu:build devThe above command will generate a user admin with the password admin and do some other development-friendly initializations. It’s recommended to run this in development environments. Note that this command should never be run in production. Instead, in production, you run app/console sulu:build prod.
上面的命令将使用密码admin生成一个用户admin并进行其他一些对开发友好的初始化。 建议在开发环境中运行它。 注意,该命令永远不要在生产环境中运行 。 而是在生产中运行app/console sulu:build prod 。
As an aside: at this point, we have an admin user with the credentials admin/admin working. To create new roles in the future, we execute:
顺便说一句:至此,我们有一个admin用户,其凭据为admin/admin 。 为了将来创建新角色,我们执行:
app/console sulu:security:role:createand to create more users, we execute:
为了创建更多用户,我们执行:
app/console sulu:security:user:createThe back end at test.app/admin should work now, albeit very slowly.
尽管非常缓慢,但test.app/admin的后端现在应该可以工作。
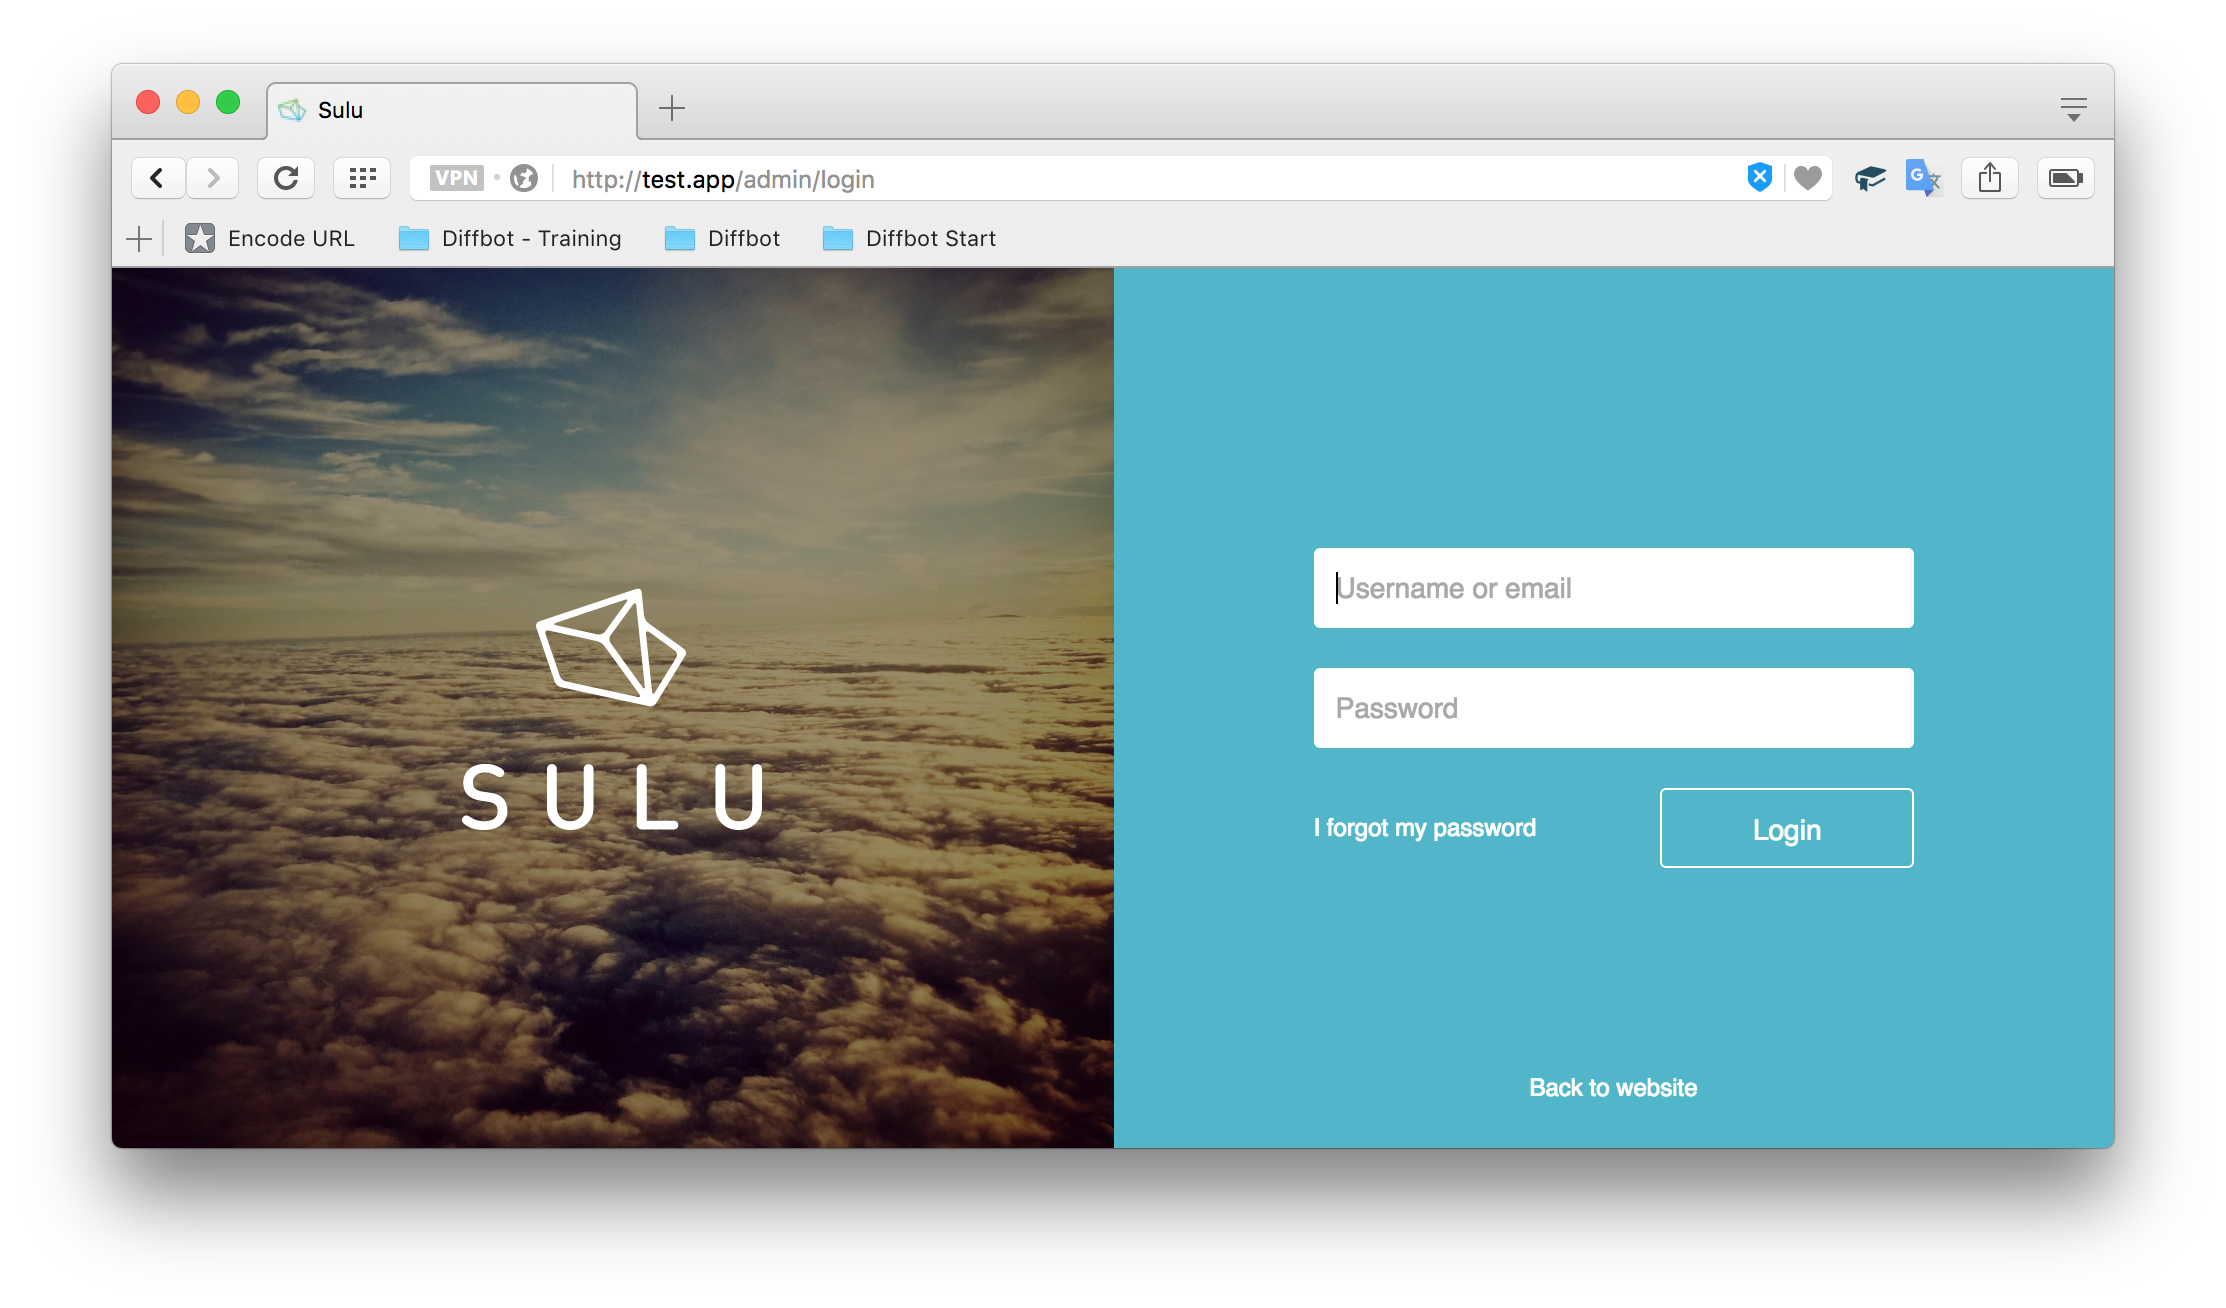
To make the front end work, we use:
为了使前端工作,我们使用:
app/console assetic:dumpThis will generate the required JS and CSS files and have the default theme include them.
这将生成所需的JS和CSS文件,并且默认主题包括它们。
As a final preparatory step, let’s turn on dev mode by changing the line:
作为最后的准备步骤,我们通过更改以下行来打开开发人员模式:
defined('SYMFONY_ENV') || define('SYMFONY_ENV', getenv('SYMFONY_ENV') ?: 'prod');to
至
defined('SYMFONY_ENV') || define('SYMFONY_ENV', getenv('SYMFONY_ENV') ?: 'dev');in both web/admin.php and web/website.php. These will provide us with the famous Symfony debugbar at the bottom of the screen.
在web/admin.php和web/website.php 。 这些将在屏幕底部为我们提供著名的Symfony调试栏。
速度改进技巧 (Speed Improvement Hacks)
Symfony apps are notoriously slow on Vagrant. The following steps will reduce page load times from 25 seconds per route (this includes ajax calls), to around 400 ms per route, regardless of host OS platform or file sharing type. Other guides will often focus on NFS or other issues known to work only on some operating systems, but this procedure is guaranteed to work wonders on any setup.
众所周知,Symfony应用在Vagrant上运行缓慢。 无论主机OS平台或文件共享类型如何,以下步骤均可将页面加载时间从每条路由25秒(包括ajax调用)减少到每条路由约400 ms。 其他指南通常将重点放在NFS或仅在某些操作系统上有效的其他问题上,但是可以确保此过程在任何设置上都能发挥作用。
日志和缓存 (Log and Cache)
In app/AbstractKernel.php, replace the getLogDir and getCacheDir methods with these:
在app/AbstractKernel.php ,将getLogDir和getCacheDir方法替换为:
/**
     * {@inheritDoc}
     */
    public function getCacheDir()
    {
        if (in_array($this->environment, array('dev', 'test'))) {
            return '/dev/shm/appname/cache/' . $this->getContext() . '/' .  $this->environment;
        }
        return $this->rootDir . '/cache/' . $this->getContext() . '/' . $this->environment;
    }

    /**
     * {@inheritDoc}
     */
    public function getLogDir()
    {
        if (in_array($this->environment, array('dev', 'test'))) {
            return '/dev/shm/appname/logs' . $this->getContext() . '/' . $this->environment;
        }
        return $this->rootDir . '/logs/' . $this->getContext() . '/' . $this->environment;
    }
This forces Sulu to write logs and cache into a folder not shared with the host OS, thus avoiding rapid-writing of unimportant data to a shared hard drive.
这迫使Sulu将日志写入并缓存到不与主机OS共享的文件夹中,从而避免了将不重要的数据快速写入共享的硬盘驱动器。
搬家 (Moving Vendor)
Symfony apps are notorious for installing hundreds of packages – even the default framework overflows with them, let alone apps built on it. When so many classes have to be looked up on the hard drive, and the hard drive is shared from the VM to the host OS as it is with Vagrant, load times are understandably slow.
Symfony应用程序因安装数百个软件包而臭名昭著–即使默认框架也随其溢出,更不用说在其上构建的应用程序了。 当必须在硬盘驱动器上查找这么多的类,并且像使用Vagrant一样,将硬盘驱动器从VM共享到主机OS时,加载时间很慢。
Seeing as there’s little to no chance we’ll ever be editing something inside the vendor folder, we can move it out of the synchronized folders and into a location inside the VM which is local to the machine’s “disk” only. That means we lose syncability and have to run composer commands exclusively from within the VM (or proxied from the host OS, but this is outside the scope of this post), but all for the sake of epic speed gains.
看到我们几乎没有机会在vendor文件夹中进行编辑,我们可以将其移出同步文件夹,然后移到VM内仅位于机器“磁盘”本地的位置。 这意味着我们失去了同步性 ,必须仅在VM内部(或从主机OS代理,但不在本文范围内)运行composer命令,但这一切都是为了提高速度。
To automatically do this, inside the sulu folder execute:
要自动执行此操作,请在sulu文件夹中执行:
~/Code/bin/sulu/vendorfix.sh(alternatively, see below for full procedure of what you need to do)
( 或者,请参见下文,了解您需要执行的全部步骤 )
This will change some paths in composer.json, in app/autoload.php, and in app/config/sulu.yml, delete the current vendor folder, and run Composer install. Inspect the shell script to see what it does, if you’re curious, or see the next section.
这将更改composer.json , app/autoload.php和app/config/sulu.yml某些路径,删除当前vendor文件夹,然后运行Composer install。 如果有兴趣,请检查shell脚本以查看其功能,或者参阅下一节。
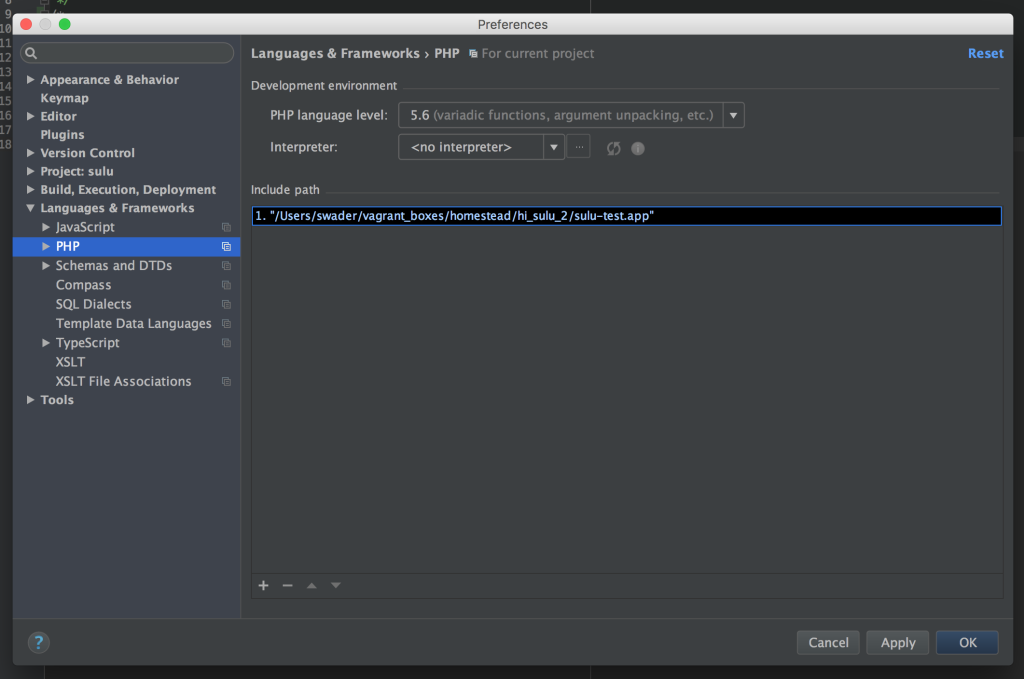
To make sure you keep autocompletion in your IDE, make sure you add home/vagrant/vendors/sulu-test.app/ to your IDE’s include path. You’ll probably have to copy the vendor folder into the host OS somewhere – a command like this should help:
为了确保您在IDE中保持自动补全功能,请确保将home/vagrant/vendors/sulu-test.app/到IDE的包含路径中。 您可能必须将供应商文件夹复制到主机OS的某个位置–这样的命令应该会有所帮助:
cp -R ~/vendors/sulu-test.app ~/Code/Then, just do the following in an IDE, e.g. PhpStorm:
然后,只需在IDE中执行以下操作,例如PhpStorm:
供应商移动:漫漫长路 (Moving Vendor: The Long Way Around)
As the most important part of the optimization (i.e. the one yielding the most results), the vendor-moving approach deserves more clarification, in order to be easy to replicate in non-HI environments which don’t have the vendorfix.sh script. What follows is the step by step procedure (skip it if you used the step above and it worked fine):
作为优化中最重要的部分(即,产生最多结果的部分),应该更加明确供应商移动方法,以便在没有vendorfix.sh脚本的非HI环境中轻松复制。 接下来是逐步过程(如果使用了上面的步骤,则跳过此步骤,它可以正常工作):
Pick a VM-only location for your vendor folder. It’s a good idea to put them all in one folder, and then each vendor location into a subfolder per project. For example:
/home/vagrant/vendors/sulu-myapp. Let’s assume the project will be calledmyapp. Create that folder:为您的供应商文件夹选择一个仅VM的位置。 最好将它们全部放在一个文件夹中,然后将每个供应商位置放入每个项目的子文件夹中。 例如:
/home/vagrant/vendors/sulu-myapp。 假设该项目名为myapp。 创建该文件夹:mkdir -p /home/vagrant/vendors/sulu-myappChange the configuration in
composer.jsonto reflect this newvendorlocation by modifying or adding theconfigvalue:通过修改或添加
config值,更改composer.json的配置以反映此新的vendor位置:"config": { "vendor-dir": "/home/vagrant/vendors/sulu-sulu.io/", "bin-dir": "vendor/bin" },Open
app/autoload.phpand replace the line declaring$loaderwith the path leading to our new, customvendorlocation:打开
app/autoload.php并将声明$loader的行替换为通往我们新的自定义vendor位置的路径:// $loader = require __DIR__ . '/../vendor/autoload.php'; $loader = require "/home/vagrant/vendors/sulu-myapp/autoload.php";Open
app/config/sulu.ymland replace all instances of%kernel.root_dir%/../vendor/with the full path to our new vendor folder. This should happen in two locations: the Doctrine configuration near the top, and thesulu_core.content.structure.suluentry in the middle of the file.打开
app/config/sulu.yml并将%kernel.root_dir%/../vendor/所有实例替换为新供应商文件夹的完整路径。 这应该在两个位置发生:靠近顶部的Doctrine配置和位于文件中间的sulu_core.content.structure.sulu条目。Remove the old folder with
rm -rf vendorfrom inside the app’s folder (myapp).使用
rm -rf vendor从应用程序文件夹(myapp)内删除旧文件夹。Run
composer installandcomposer updateto make sure everything went well.运行
composer install和composer update以确保一切正常。Clear cache with
app/console cache:clear.使用
app/console cache:clear。
That’s it. The custom vendor location should now be configured. Please post below if you run into any difficulties.
而已。 现在应该配置自定义供应商位置。 如果遇到任何困难,请在下面发布。
Note that while this process is Sulu-specific, it applies to any Symfony app (or any app whatsoever for that matter). What it comes down to, is defining a custom vendor folder in composer.json, and replacing all references to the old vendor folder location with paths to the new one.
请注意,尽管此过程特定于Sulu,但它适用于任何Symfony应用程序(或与此相关的任何应用程序)。 结果是,在composer.json定义了一个自定义的供应商文件夹,并将所有对旧供应商文件夹位置的引用替换为新文件夹的路径。
APC自动加载 (APC Autoload)
Allow APC caching for the autoloader by uncommenting the appropriate lines in both web/website.php and web/admin.php. We need APC installed to use this, but Homestead Improved is already equipped for that.
通过取消注释web/website.php和web/admin.php的相应行,为自动加载器允许APC缓存。 我们需要安装APC才能使用它,但是Homestead Improvementd已经为此配备了功能。
杂 (Miscellaneous)
we can update the value of
realpath_cache_sizein/etc/php/7.0/fpm/php.inito a bigger value like 4096k, andrealpath_cache_ttlto something like 7200.我们可以将
/etc/php/7.0/fpm/php.ini的realpath_cache_size的值更新为较大的值,例如4096k,并将realpath_cache_ttl的值更新为7200。we can get some marginal gains by installing the C extension for Twig.
we can disable XDebug with:
我们可以使用以下命令禁用XDebug:
sudo phpdismod xdebug; sudo service php7.0-fpm restart
故障排除 (Troubleshooting)
优化Symfony调试 (Optimize Symfony Debugging)
Consisting of an abnormal number of classes and files, Symfony apps usually compile their core files into a single app/bootstrap.php.cache file. This makes it almost impossible to debug Symfony apps properly without further alterations. To allow for easier debugging, refer to these docs.
Symfony应用程序由异常数量的类和文件组成,通常将其核心文件编译为单个app/bootstrap.php.cache文件。 这使得几乎不可能在没有进一步更改的情况下正确调试Symfony应用程序。 为了便于调试,请参阅这些文档 。
__php_incomplete_class没有反序列化器 (__php_incomplete_class has no unserializer)
This is usually due to stale cache. First, optimize environment for debugging (see above). Then:
这通常是由于过时的缓存。 首先,优化调试环境(请参见上文)。 然后:
app/console cache:clear
rm -rf app/cache/*
composer update
Additionally, if you’re using APC, bust the cache (see below).
此外,如果您使用的是APC,请破坏缓存(请参见下文)。
更改无效/在错误的位置查找类 (Changes have no effect / classes being looked for in wrong location)
This usually happens when the APC cache needs to be busted. One way to do this is to put:
这通常在需要清除APC缓存时发生。 一种方法是:
apc_clear_cache();at the top of website.php or admin.php, whichever you’re running, and then remove it after the first request. Or, just make a separate file with just this command, so you can call it whenever you want.
放在您正在运行的website.php或admin.php顶部,然后在第一个请求后将其删除。 或者,仅使用此命令创建一个单独的文件,以便您可以随时调用它。
结论 (Conclusion)
Both https://test.app/admin and https://test.app (if that’s the vhost domain you used) should now work and be lightning fast. You should be ready to start developing your CMS-powered application on Sulu.
https://test.app/admin和https://test.app (如果您使用的是虚拟主机域)现在都可以正常工作,并且运行速度很快。 您应该准备开始在Sulu上开发基于CMS的应用程序。
As we mentioned above, these hacks are admittedly Sulu-specific, but can be applied to any Symfony application. The most important ones being the vendor fix and the log/cache fix, they will significantly improve the app’s load times during development. The other hacks are production-friendly, too, and can be used to speed up the application when deployed.
正如我们上面提到的,这些骇客无疑是Sulu特有的,但可以应用于任何Symfony应用程序。 最重要的是供应商修复程序和日志/缓存修复程序,它们将显着缩短开发过程中应用程序的加载时间。 其他黑客也对生产友好,可以在部署时用于加速应用程序。
If you have any other tips and tricks you’d like to share for improving performance of Symfony apps, Vagrant-powered development environments, or both – Symfony on Vagrant – please let us know in the comments section below and we’ll do our best to update the post.
如果您想分享其他任何提示和技巧,以改善Symfony应用程序, Vagrant支持的开发环境或两者的性能– Vagrant上的Symfony –请在下面的评论部分中告知我们,我们将尽力而为更新帖子。
Would you like to learn more about Symfony and/or SuluCMS? Come join us at WebSummerCamp – the only conference filled to the brim with long, hands-on workshops. The program is out and it’s awesome! Super early bird tickets available until the end of June!
您想要了解更多有关Symfony和/或SuluCMS的信息吗? 快来加入我们的WebSummerCamp ,这是唯一一个由冗长的动手研讨会组成的会议。 该程序已经发布了, 太棒了 ! 超级早起的鸟儿门票可到六月底为止!
翻译自: https://www.sitepoint.com/symfony-on-vagrant-performance-hacks-sulucms-case-study/
symfony国内有人用吗


 207
207

 被折叠的 条评论
为什么被折叠?
被折叠的 条评论
为什么被折叠?
 到【灌水乐园】发言


