


Rauth is SitePoint’s access control package for either granting or restricting access to certain classes or methods, mainly by means of annotations.
Rauth是SitePoint的访问控制包,主要用于通过批注来授予或限制对某些类或方法的访问。

In this tutorial, we’ll learn how to use it.
在本教程中,我们将学习如何使用它。
为什么选择Rauth (Why Rauth)
Traditional access control layers (ACLs) only control routes – you set anything starting with /admin to be only accessible by admins, and so on. This is fine for most cases, but not when:
传统访问控制层(ACL)仅控制路由-您将以/admin开头的任何内容都设置为只能由/admin进行访问,依此类推。 在大多数情况下都可以,但是在以下情况下则不行:
- you want to control access on the command line (no routes there) 您要在命令行上控制访问(那里没有路由)
- you want your access layer unchanged even if you change the routes 即使更改路由,您也希望访问层保持不变
Rauth was developed to address this need. Naturally, it’ll also work really well alongside any other kind of ACL if its features are insufficient.
开发Rauth就是为了解决这一需求。 自然,如果它的功能不足,它也可以与任何其他类型的ACL一起很好地工作。
注释不好™ (Annotations Are Bad ™)
Somewhat “controversially”, Rauth defaults to using annotations to control access. No matter which camp you’re in regarding annotations in PHP, here’s why their use in Rauth’s case is nowhere near as wrong as some make it out to be:
在某种程度上“有争议”的是,Rauth默认使用注释来控制访问。 无论您在PHP中使用注释的哪个阵营,这都是为什么在Rauth的情况下使用它们在某种程度上并没有像某些人指出的那样错误:
as you’ll usually control access to controllers and actions in a typical MVC app, hard-coupling them to Rauth like this is not only harmless (controllers almost always need to be completely discarded and rewritten if you’re changing frameworks or the app’s structure in a major way), it also provides you with instant insight into which class / method has which ACL requirements
由于您通常会控制典型MVC应用程序中对控制器和动作的访问,因此将它们硬耦合到Rauth不仅无害(如果要更改框架或应用程序的结构,几乎总是需要完全丢弃并重写控制器)在很大程度上),它还为您提供了即时了解哪些类/方法具有哪些ACL要求
if you don’t like annotations, you can feed Rauth a pre-cached or pre-parsed list of permissions and classes they apply to, so the whole annotations issue can be avoided completely
如果您不喜欢注释,则可以向Rauth提供预缓存或预解析的权限和它们所应用的类的列表,因此可以完全避免整个注释问题
there’s no more fear of annotations slowing things down because PHP needs to reflect into the classes in question and extract them every time. With OpCache on at all times, this only happens once, and with Rauth’s own cache support, this can even be saved elsewhere and the annotation reading pass can be avoided altogether.
不再需要担心注释会减慢速度,因为PHP需要反映到所讨论的类中并每次都提取它们。 始终启用OpCache,这只会发生一次,并且具有Rauth自己的缓存支持,甚至可以保存在其他位置,并且完全可以避免注释读取过程。
简单的例子 (Simple Example)
For a simple example, let’s create two classes, an index.php file, and install Rauth:
举一个简单的例子,让我们创建两个类,一个index.php文件,并安装Rauth:
composer require sitepoint/rauth<?php
// index.php
use SitePoint\Rauth;
require_once 'vendor/autoload.php';
$r = new Rauth();
$user = [
'groups' => 'admin',
];
$fakeRoutes = [
'admin' => ['One', 'adminOnly'],
'users' => ['One', 'users'],
'banned' => ['One', 'banned'],
'everyone' => ['Two', 'everyone'],
];
foreach ($fakeRoutes as $route) {
require_once $route[0] . '.php';
$class = $route[0];
$method = $route[1];
try {
$r->authorize($class, $route[1], $user);
echo "Success: ";
$class = new $class();
$class->$method();
} catch (Rauth\Exception\AuthException $e) {
echo "Authorizing {$class}::{$route[1]} failed!\n";
echo $e->getMessage() . "\n";
}
}<?php
// One.php
/**
* Class One
* @auth-groups users
*/
class One
{
/**
* @auth-groups admin
*/
public function adminOnly()
{
echo 'Because the "admin" group is detected, the One::adminOnly method is executed.';
echo "\n";
}
public function users()
{
echo '"Users" can use One::users - it inherited from the class @auth declaration';
echo "\n";
}
/**
* @auth-groups banned
* @auth-mode none
*/
public function banned()
{
echo 'No user with the group "banned" can access One::banned.';
echo "\n";
}
}<?php
// Two.php
class Two
{
public function everyone()
{
echo "Everyone can access Two::everyone!\n";
}
}If we now run this in the console with:
如果我们现在在控制台中使用以下命令运行它:
php index.phpwe’ll get:
我们会得到:
vagrant@homestead:~/Code/rauthtest$ php index.php
Success: Because the "admin" group is detected, the One::adminOnly method is executed.
Authorizing One::users failed!

Success: No user with the group "banned" can access One::banned.
Success: Everyone can access Two::everyone!
If we change the group of the $user array to banned, watch what happens:
如果我们将$user数组的组更改为banned ,请注意会发生什么:
vagrant@homestead:~/Code/rauthtest$ php index.php
Authorizing One::adminOnly failed!

Authorizing One::users failed!

Authorizing One::banned failed!

Success: Everyone can access Two::everyone!
In a nutshell, Rauth uses requirements (everything starting with @auth- in docblocks) and compares them to attributes (everything we define in the $user variable). It’s up to you how you’ll actually get to those attributes – maybe you’ll be using some kind of pre-made package like Gatekeeper, or you’ll roll your own authentication system, doesn’t matter. What matters is that Rauth gets the attributes in a format which is comparable to the requirements on the classes / methods.
简而言之,Rauth使用需求 (在文档块中以@auth-开头的所有内容)并将它们与属性 (我们在$user变量中定义的所有内容)进行比较。 取决于您如何实际获得这些属性–也许您将使用某种诸如Gatekeeper之类的预制软件包,或者您将使用自己的身份验证系统,这无关紧要。 重要的是Rauth以类似于类/方法要求的格式获取属性。
A note on modes: If a user has a group attribute of “admin”, they can access all methods with @auth-groups admin. If the mode is set to @auth-mode OR (this is the default and can be omitted), then the user will be able to access methods with @auth-groups admin, users, banana, because they only need to have one of the groups defined. When the mode is AND (@auth-mode AND), they need to have ALL the groups. If the mode is NONE as in the banned() method, then the user MUST NOT have ANY of the groups.
模式说明:如果用户的组属性为“ admin”,则他们可以使用@auth-groups admin访问所有方法。 如果将mode设置为@auth-mode OR (这是默认设置,可以省略),则用户将可以使用@auth-groups admin, users, banana访问方法,因为它们只需要具有以下一种即可定义的组。 当模式为AND( @auth-mode AND )时,他们需要具有所有组。 如果该模式为banned()方法中的NONE ,则用户不得拥有任何组。
Remember, auth- can be anything – doesn’t have to be groups. You can use completely arbitrary values like @auth-banana ripe and then a user with 'banana' => 'ripe' in their attributes will be able to access the class/method.
请记住, auth-可以是任何东西–不必是groups 。 您可以使用完全任意的值,例如@auth-banana ripe ,然后其属性中具有'banana' => 'ripe'的用户将能够访问类/方法。
依赖注入示例 (Dependency Injection Example)
The above example was a rudimentary demo of the authorization flow. Let us now set up a situation in which a route is resolved, a controller is auto-invoked by a dependency injection container, and an authorization check is made automatically. In other words, a best practice approach for starting a new app – one nofw – the no-framework framework – is based on.
上面的示例是授权流程的基本演示。 现在,让我们设置一种情况,其中路由已解决,依赖项注入容器自动调用了控制器,并且自动进行了授权检查。 换句话说,基于一种最佳实践方法来启动一个新应用程序-一个nofw-无框架框架。
composer require sitepoint/rauth php-di/php-di nikic/fast-routeLet’s also make a Controllers folder, and put two controllers in there:
我们还要创建一个Controllers文件夹,并在其中放置两个控制器:
<?php
// Controllers/OneController.php

namespace MyApp;

class OneController
{
    public function homeAction()
    {
        echo "This is the home screen!";
    }
}
<?php
namespace MyApp;
/**
* Class AnotherController
* @package MyApp
*/
class AnotherController
{
public function indexAction()
{
echo "This is the second controller, index action, accessible to all";
}
/**
* @auth-groups users
*/
public function onlyLoggedInAction()
{
echo "This action can only be accessed by logged in users";
}
/**
* @auth-groups users
* @auth-mode NONE
*/
public function onlyLoggedOutAction()
{
echo "This action can only be accessed by visitors who are not logged in";
}
}We’ll also need to configure the autoloader to load these controllers:
我们还需要配置自动加载器以加载以下控制器:
"autoload": {
        "psr-4": {
            "MyApp\\": "Controllers"
        }
    }
And regenerate the autoload files with:
并使用以下命令重新生成自动加载文件:
composer duThe next step is to configure the routes and the dependency injection container, as per PHP-DI documentation. Our index.php file should be modified to look like this:
下一步是根据PHP-DI文档配置路由和依赖项注入容器。 我们的index.php文件应修改为如下所示:
<?php

// index.php

require_once 'vendor/autoload.php';

use SitePoint\Rauth;
use FastRoute\RouteCollector;
use FastRoute\Dispatcher;
use DI\ContainerBuilder;

$containerBuilder = new ContainerBuilder;
$containerBuilder->addDefinitions([

]);
$container = $containerBuilder->build();

$routeList = [
    ['GET', '/one-home', ['MyApp\OneController', 'homeAction']],
    ['GET', '/another-index', ['MyApp\AnotherController', 'indexAction']],
    ['GET', '/another/loggedin', ['MyApp\AnotherController', 'onlyLoggedInAction']],
    ['GET', '/another/loggedout', ['MyApp\AnotherController', 'onlyLoggedOutAction']],
];

/** @var Dispatcher $dispatcher */
$dispatcher = FastRoute\simpleDispatcher(
    function (RouteCollector $r) use ($routeList) {
        foreach ($routeList as $routeDef) {
            $r->addRoute($routeDef[0], $routeDef[1], $routeDef[2]);
        }
    }
);
$route = $dispatcher->dispatch(
    $_SERVER['REQUEST_METHOD'],
    $_SERVER['REQUEST_URI']
);
switch ($route[0]) {
    case FastRoute\Dispatcher::NOT_FOUND:
        die('404 not found!');
    case FastRoute\Dispatcher::METHOD_NOT_ALLOWED:
        die('405 method not allowed');
    case FastRoute\Dispatcher::FOUND:

        $controller = $route[1];
        $parameters = $route[2];

        $container->call($controller, $parameters);
        break;
}
First, we make a new, empty container. Then, we define some routes (this would usually go into an external file like routes.php). We add these routes to the dispatcher, so it knows what to do with them, and finally we extract a triggered route’s elements and trigger the appropriate controller. Simple enough, right?
首先,我们制作一个新的空容器。 然后,我们定义一些路由(这通常会进入一个外部文件,如routes.php )。 我们将这些路由添加到调度程序,这样它便知道如何处理它们,最后,我们提取了触发路由的元素并触发了适当的控制器。 很简单,对不对?
Now, the routes should work:
现在,路线应该工作了:

Time to add the Rauth layer to actually limit access to some of those routes.
是时候添加Rauth层以实际限制对其中某些路由的访问了。
First, we’ll add a User definition to the container:
首先,我们将User定义添加到容器中:
$containerBuilder->addDefinitions(
    [
        'User' => function () {
            return [
                'groups' => 'users',
            ];
        },
    ]
);
Usually this would have some kind of logic, like checking the database for the user’s groups. For the purposes of this tutorial, hardcoding it is enough due to actual user management being outside the scope of this piece.
通常,这将具有某种逻辑,例如检查数据库中的用户组。 就本教程而言,硬编码就足够了,因为实际的用户管理不在本文讨论范围之内。
Then, in the FOUND case below, we’ll instantiate the Rauth class, and build an array of attributes to feed it when it’s time to do the authorize check. Notice that we’re defaulting to an empty groups array if the user hasn’t been defined (i.e. they’re logged out).
然后,在下面的FOUND情况下,我们将实例化Rauth类,并构建一个属性数组以在需要进行authorize检查时将其提供给它。 请注意,如果尚未定义用户(即,他们已注销),则默认情况下将使用空groups数组。
// [...]

case FastRoute\Dispatcher::FOUND:

$controller = $route[1];
$parameters = $route[2];

$rauth = new Rauth();
$attributes = $container->get('User') ?: ['groups' => []];
Since Rauth throws an AuthException when the authorize call fails, let’s wrap the whole thing into a try/catch block, too.
由于当authorize调用失败时Rauth会抛出AuthException ,因此我们也将整个内容包装到try/catch块中。
try {
$rauth->authorize($controller[0], $controller[1], $attributes);
} catch (Rauth\Exception\AuthException $e) {
die("Authorization failed");
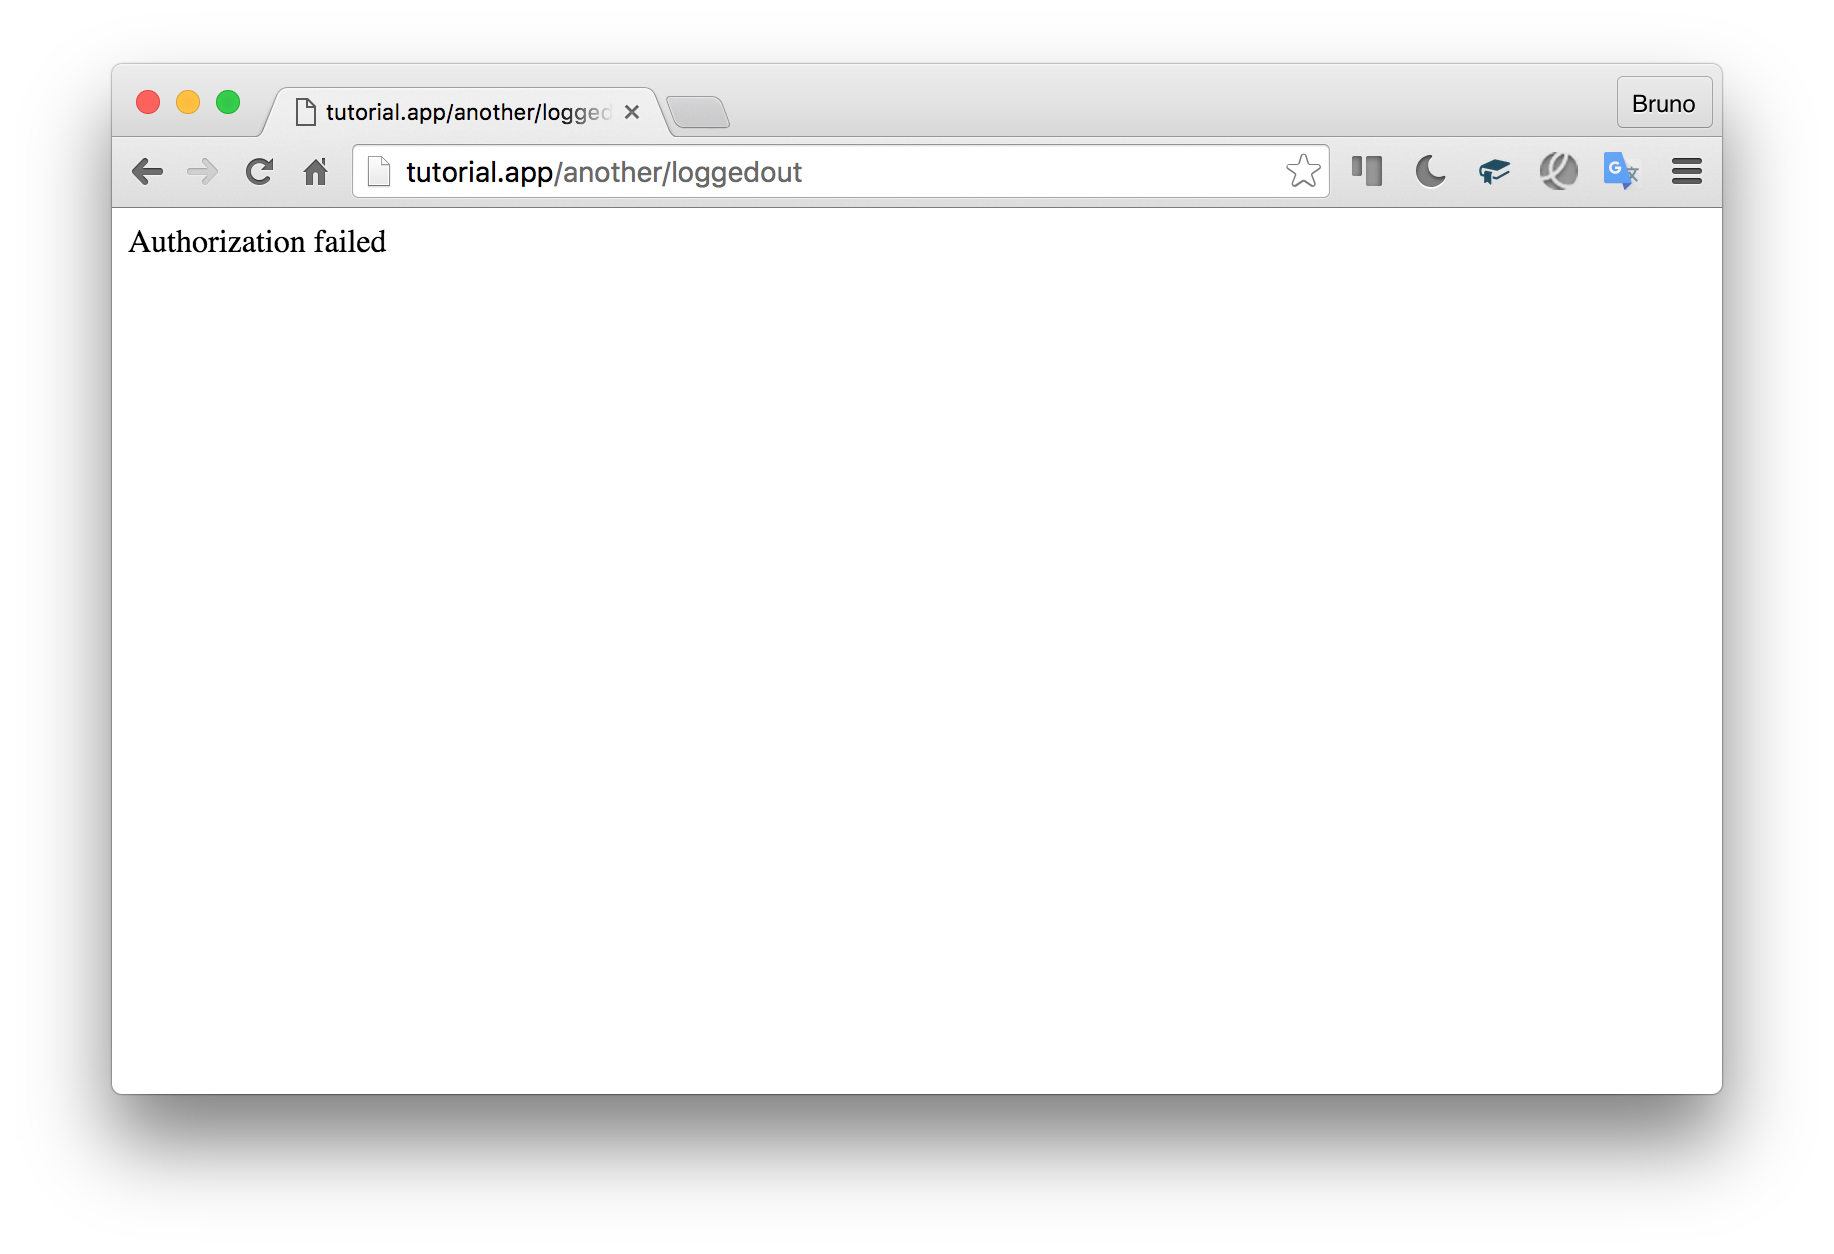
}If we access the another/loggedout route now with the default hardcoded user from before, it should fail because we have the users group on that user:
如果我们现在使用以前的默认硬编码用户访问another/loggedout路由,则该路由将失败,因为我们在该users上具有users组:
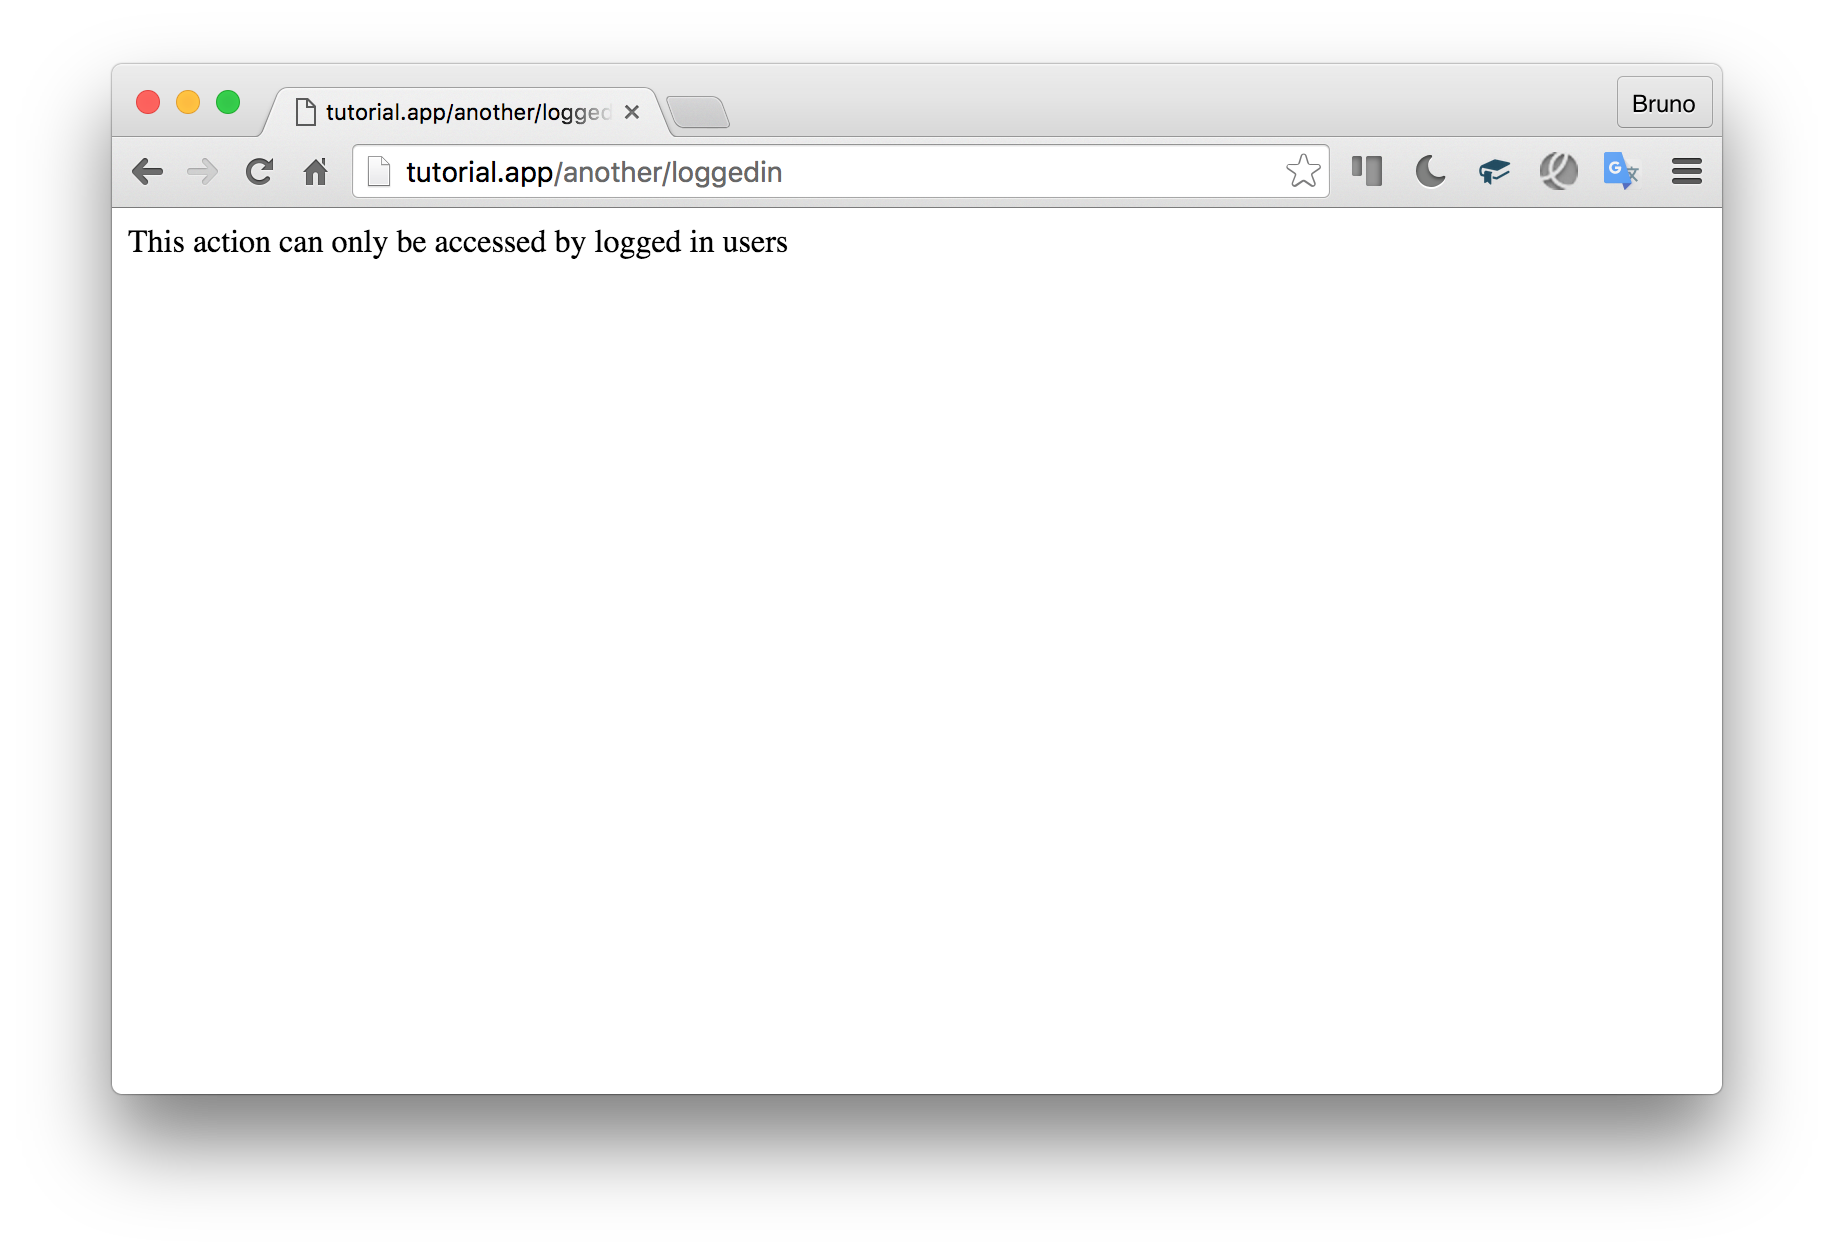
While the another/loggedin group will succeed:
尽管another/loggedin组将成功:
Of course, while in development, you might want some more verbose error messages. For that, each AuthException has a type and contains some Reason objects. The type will be something like “none” if the mode was set to “NONE”, of “ban” if the failure happened due to a ban (there is a difference – see next section), etc. Reasons will each have their own failure groups (not to be confused with the arbitrarily named “group” attribute), and a list of all entities in that group it has vs. expects. Perhaps this is best explained on an example. We can replace the die() call above with:
当然,在开发过程中,您可能需要更多详细的错误消息。 为此,每个AuthException都有一个type并包含一些Reason对象。 如果将模式设置为“ NONE”,则类型将为“ none”;如果由于禁令而导致失败,则类型为“ ban”(有区别,请参见下一节),等等。每个原因都有各自的原因失败组(不要与任意命名的“ group”属性混淆),以及该组与预期组中所有实体的列表。 也许最好用一个例子来解释。 我们可以将上面的die()调用替换为:
echo 'Failed due to: ' . $e->getType(). '. ';
/** @var Rauth\Exception\Reason $reason */
foreach ($e->getReasons() as $reason) {
    echo 'Blocked by "' . $reason->group . '" when comparing owned "' . implode(
            ", ", $reason->has
        ) . '" versus "' . implode(", ", $reason->needs) . '".';
}
die();
You’d want this in a flash message or in a pretty error view in a normal app, but echoing it out like this is fine in this tutorial. This block results in an output like this if we try the loggedout route again:
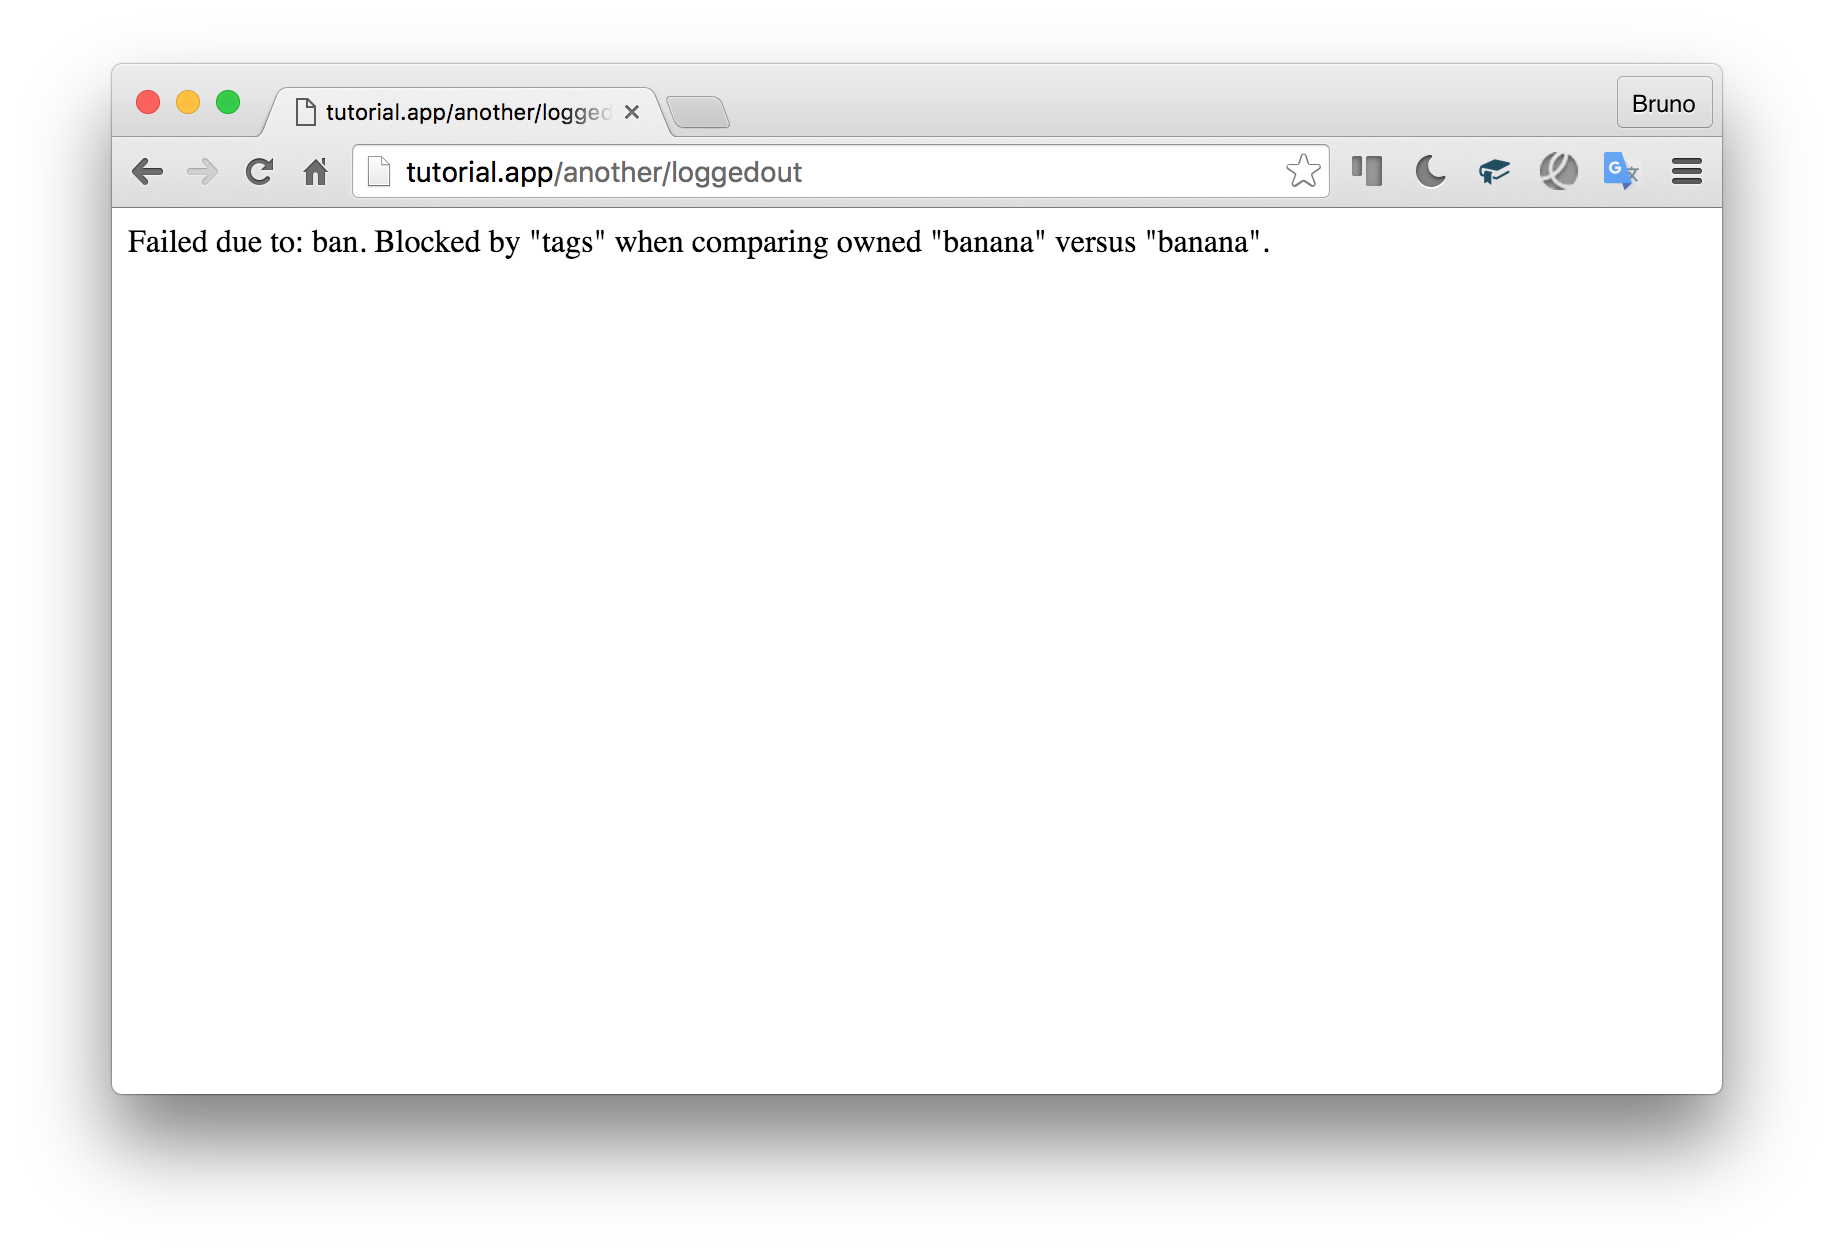
您可能希望在Flash消息中或在普通应用程序的漂亮错误视图中使用此功能,但在本教程中可以像这样回显它。 如果我们再次尝试loggedout路由,则此块将产生如下输出:

In other words, it says: “I’m expecting none of the following in ‘groups’: ‘users’, but I got ‘users’”.
换句话说,它说:“我期望'groups'中没有以下内容:'users',但是我得到了'users'”。
Feel free to change some of the hardcoded groups on the user array, and to alter the annotations on the classes to test some routes out further. Check out the AND vs OR mode, too.
随时更改用户数组上的一些硬编码组,并更改类上的注释以进一步测试某些路由。 还要检查AND与OR模式。
禁令 (Bans)
One last thing we failed to mention so far: bans. Rauth has an additional pre-check called for banned entities, and this precedes all others. If a ban is met, then the authorization fails, no matter how many other things match up. For example:
到目前为止,我们没有提到的最后一件事:禁令。 Rauth还会对被禁实体进行额外的预检查,并且在所有其他检查之前进行。 如果满足禁令,则无论匹配多少其他事项,授权都会失败。 例如:
@auth-groups users, admin
@auth-ban-groups banned
The above will block access to the class or method if the user has the banned group, regardless of whether or not they also have users or admin. Like other attributes, ban collections can be arbitrary:
如果用户具有banned组,则以上内容将阻止对类或方法的访问,无论他们是否也具有users或admin 。 像其他属性一样,禁止收集可以是任意的:
@auth-groups users, admin
@auth-ban-tags banana
Tag a user with banana and they can’t get in, no matter the rest of the attributes on them.
用banana标记用户,无论他们是否拥有其余属性,他们都无法进入。
Ban checks happen BEFORE any other check, so if you just need to block access to some classes or methods based on some attributes, bans will be the most efficient approach. Bans have their own type in the exception:
禁止检查会在其他任何检查之前进行,因此,如果您只需要基于某些属性阻止对某些类或方法的访问,则禁止将是最有效的方法。 禁令具有自己的类型,但例外情况是:
结论 (Conclusion)
We took a look at Rauth, SitePoint’s package for controlling access to classes and methods. We implemented it in two simple demos, and showed how easy to use it is.
我们看了Rauth ,它是SitePoint的用于控制对类和方法的访问的软件包。 我们在两个简单的演示中实现了它,并展示了它的易用性。
As Rauth is a SitePoint Open Source effort, we’re actively looking for contributors or just feedback on some of the open issues – we’re determined to make our packages worthy of production use, and we need your help to do so.
由于Rauth是SitePoint开源项目的一部分 ,因此我们正在积极寻找贡献者或仅就一些未解决的问题提供反馈–我们决心使我们的软件包值得生产使用,我们需要您的帮助。
Did you give Rauth a shot yet? Would you? Let us know in the comments!
您给Rauth注射了吗? 你会? 让我们在评论中知道!
翻译自: https://www.sitepoint.com/control-user-access-to-classes-and-methods-with-rauth/


 830
830


 被折叠的 条评论
为什么被折叠?
被折叠的 条评论
为什么被折叠?
 到【灌水乐园】发言


