


Pagekit hit version 1 recently, and as I’d been looking at personal blogging engines, I thought it’d only be fair to check it out. Granted, blogging is merely a subset of the functionality Pagekit can offer, but a good basic test-drive subset nonetheless.
Pagekit最近发布了第1版,而且由于我一直在寻找个人博客引擎,因此我认为将其检出只是公平的。 当然,博客只是Pagekit可以提供的功能的一个子集,但是仍然是一个不错的基本测试驱动子集。

安装 (Installation)
Note: we’ll be using Homestead Improved for the environment in which to test things. All the commands, if any, will be listed with that in mind. Adapt for your own OS if necessary.
注意:我们将在测试环境中使用Homestead Enhanced 。 所有命令(如果有的话)都将牢记在心。 如有必要,请适应您自己的操作系统。
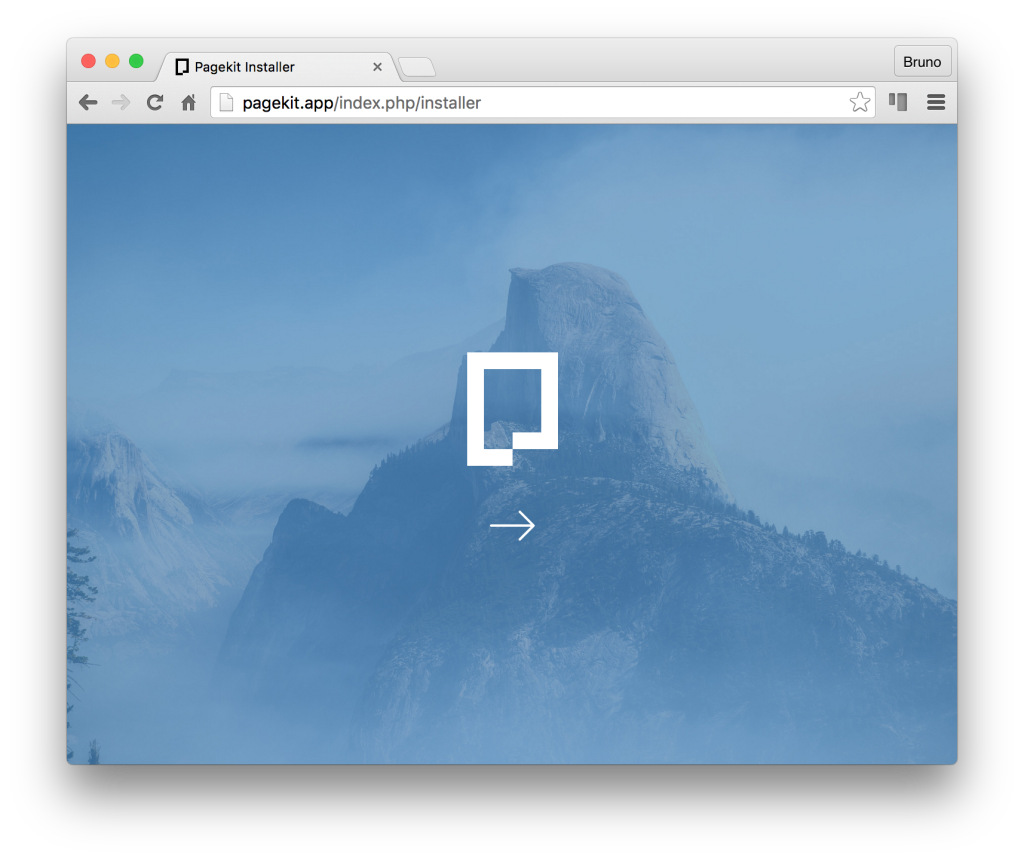
To install, we download and extract their archive, then point the web server to the newly created folder. Pagekit will immediately greet us with the installer screen.
要进行安装,我们将下载并解压缩它们的存档,然后将Web服务器指向新创建的文件夹。 Pagekit将立即通过安装程序屏幕向我们打招呼。
After a short but incredibly smooth installation process, we land on the dashboard.
经过短暂但令人难以置信的顺利安装过程后,我们登上了仪表板。

From the dashboard, we can access all other parts of the site like managing users, configuring new pages and routes, installing themes and extensions, deal with widgets, and more.
从仪表板,我们可以访问网站的所有其他部分,例如管理用户,配置新页面和路由,安装主题和扩展,处理小部件等等。
The permissions/roles subsystem is a bit limited in its default state, supporting only authenticated users, admins, and guests, but for a blog, which is what we’re testing here, that’s more than enough. If need be, more roles can be added in the Roles screen later.
权限/角色子系统的默认状态有所限制,仅支持经过身份验证的用户,管理员和来宾,但是对于博客(我们正在此处进行测试)而言,这绰绰有余。 如果需要,可以稍后在“角色”屏幕中添加更多角色。
设置Pagekit博客 (Setting up a Pagekit Blog)
自定义页面 (Custom Pages)
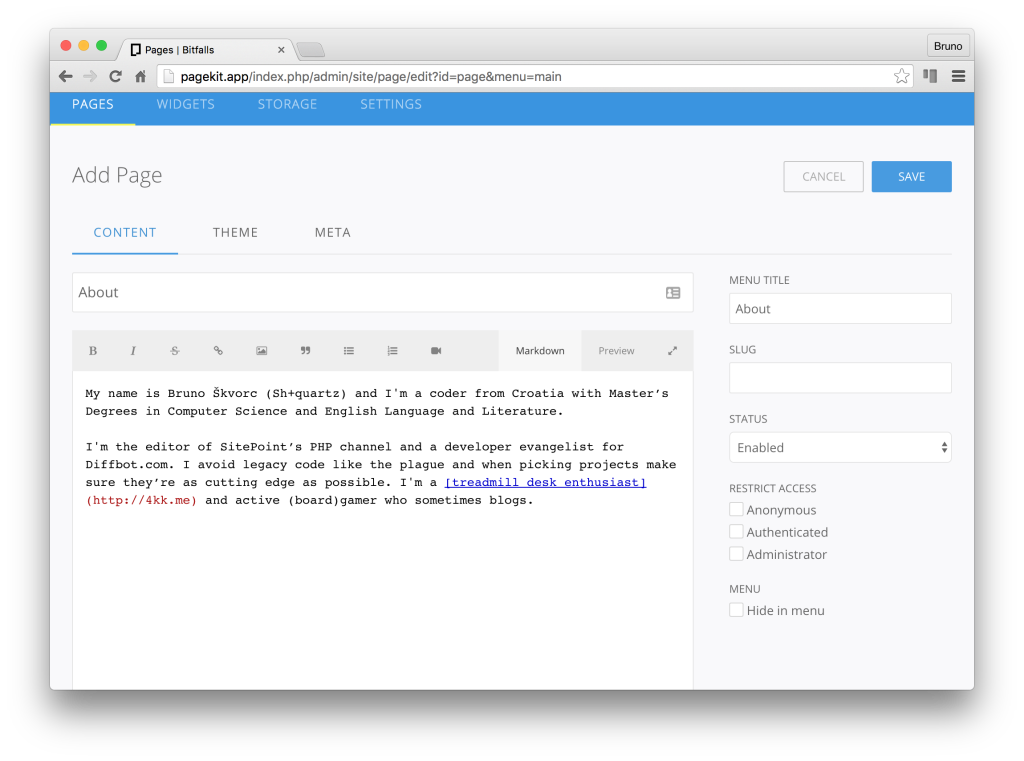
First things first, let’s set up an about page. If we head off to Site, and then Pages, we can set up a new page. Conveniently, Pagekit supports Markdown out of the box so we can use that to write the content.
首先,让我们建立一个关于页面。 如果我们先去站点,然后去页面,我们可以建立一个新页面。 方便的是,Pagekit开箱即用地支持Markdown,因此我们可以使用它来编写内容。
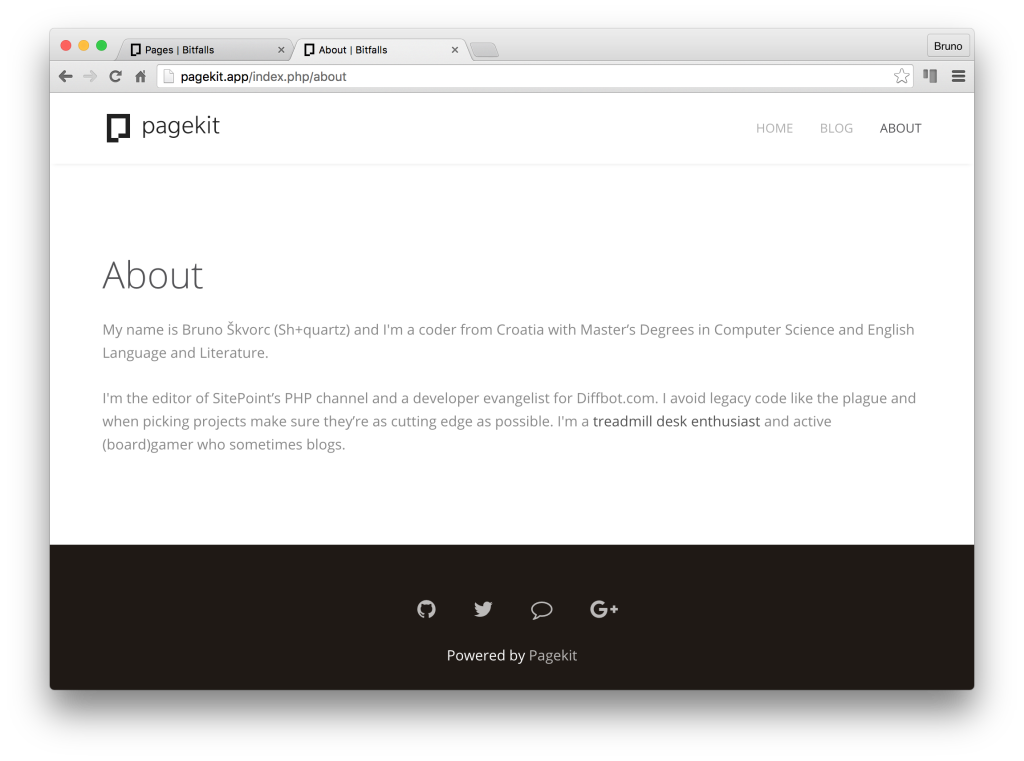
Immediately, the page (and the link leading to it) will appear in the home page of our site:
该页面(及其链接)将立即显示在我们网站的主页中:
博客 (Blog)
To then set up a blog, we need the Blog extension installed. Luckily, it’s already there as a default and available from the main menu. A sample post is there, too: “Hello Pagekit”.
要建立博客,我们需要安装Blog扩展。 幸运的是,它已经作为默认设置存在,并且可以从主菜单中使用。 这里也有一个示例帖子:“ Hello Pagekit”。
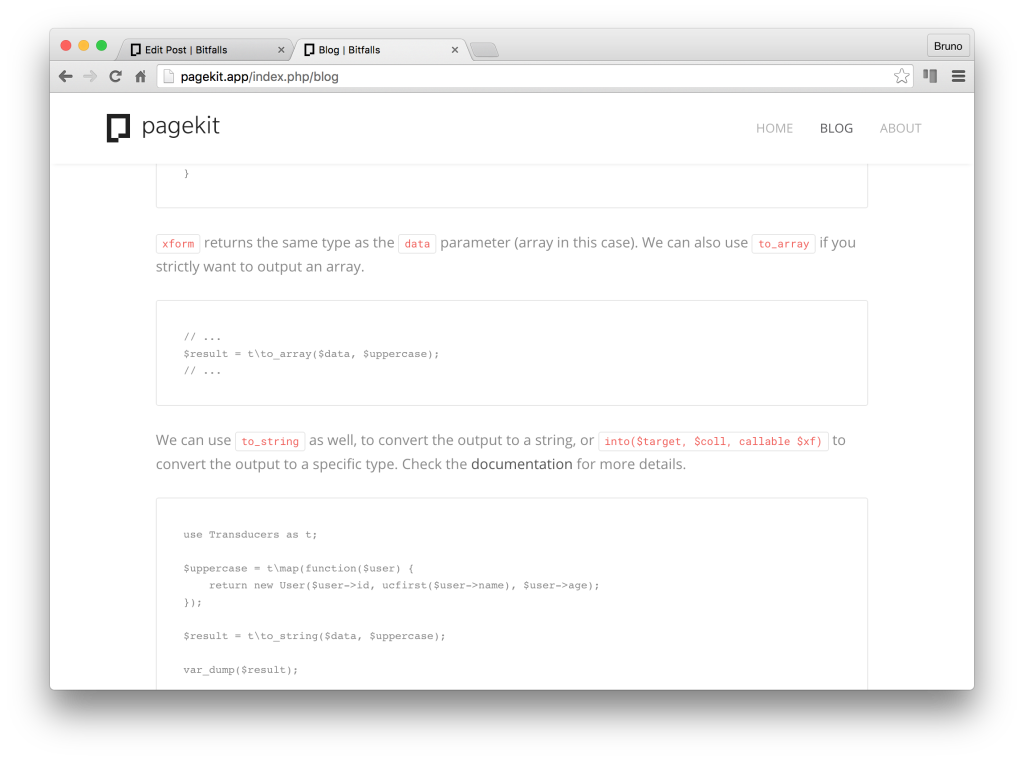
As a developer, I expect to write a lot of code snippets, so it’s imperative to see what that’ll look like in a post. Let’s modify the sample post and put in some technical content and an image or two. I’ll use a post previously published on SitePoint.
作为开发人员,我希望编写许多代码段,因此必须在帖子中看到其外观。 让我们修改示例帖子,并添加一些技术内容和一两个图片。 我将使用以前在SitePoint 上发布的帖子。
It looks good – far better than one might expect a default theme to look – but only the inline code seems highlighted. The rest is plain. Let’s see how we can fix that.
它看起来不错-远比预期的默认主题看起来好-但是仅内联代码似乎突出显示。 其余的很简单。 让我们看看如何解决这个问题。
扩展名 (Extensions)
Pagekit comes with an amazing marketplace which, while still quite empty, has the extensions/themes installation/download procedure down hard. It’s simple and easy to use, and relatively easy to develop for, without turning the developed packages into a horrid mess of spaghetti code.
Pagekit提供了一个了不起的市场,尽管市场仍然很空缺,但很难进行扩展/主题安装/下载过程。 它简单易用,开发起来也相对容易,而无需将已开发的程序包变成一团糟的意大利面条代码。
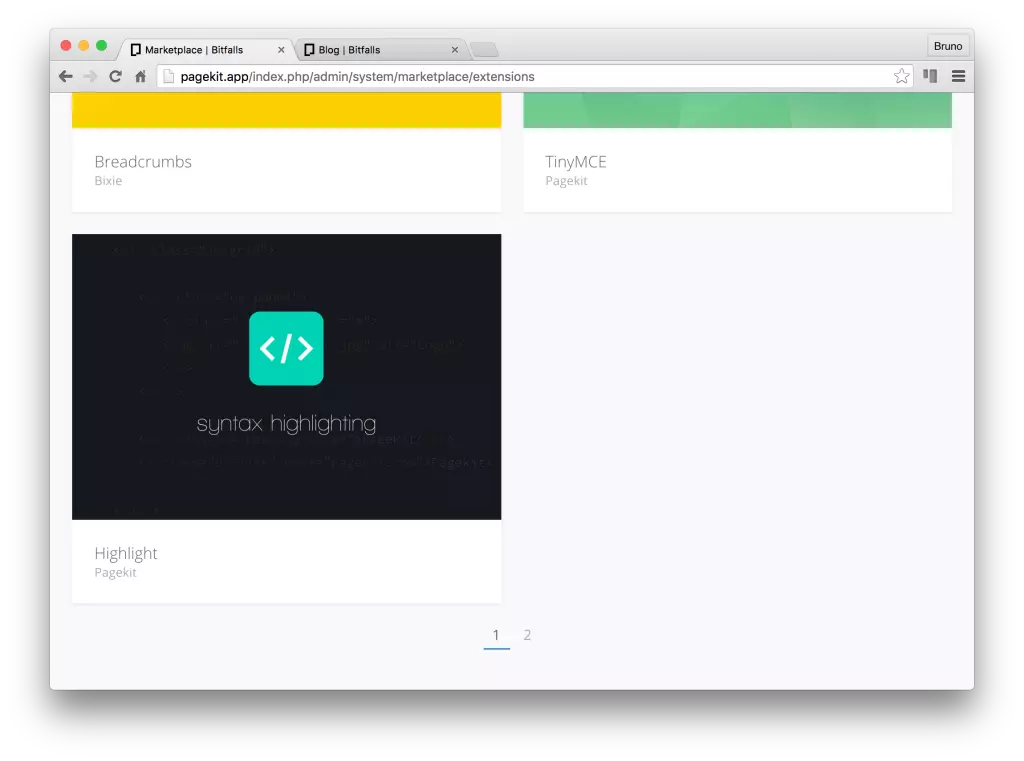
The marketplace, conveniently, also already has a Highlight extension, obviously catering to developers from day one.
便利地,该市场也已经有了Highlight扩展,显然从一开始就迎合了开发人员。
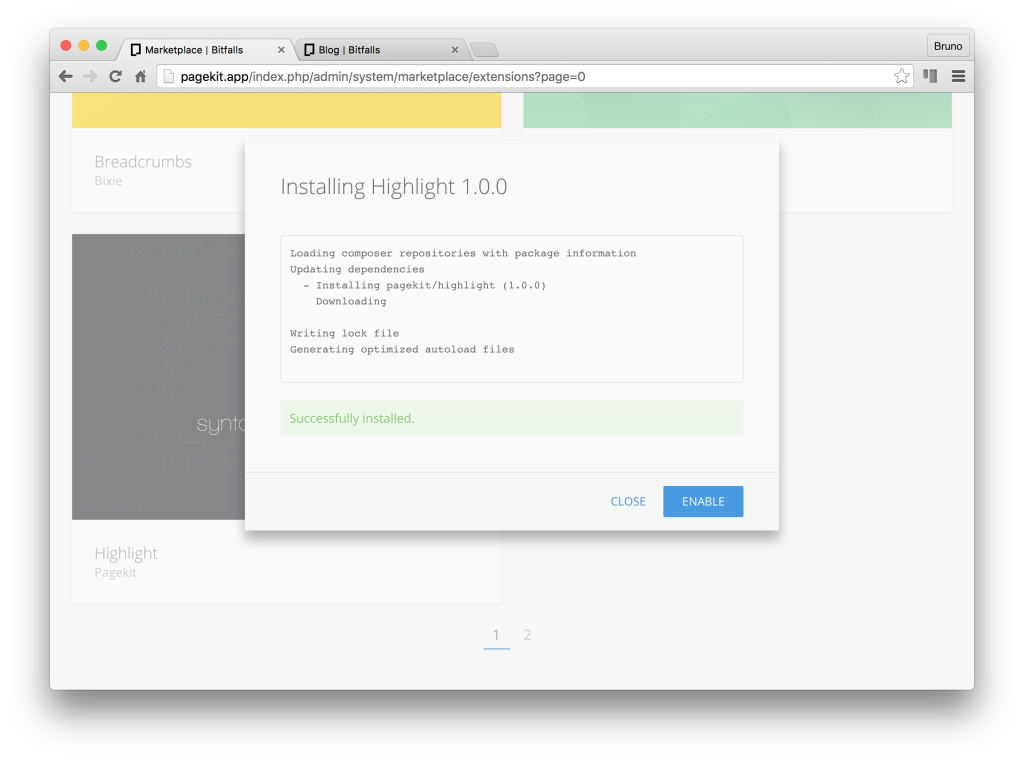
The installation is simple, and, to every PHP developer’s delight, happens via Composer.
安装很简单,并且每个PHP开发人员都喜欢通过Composer进行安装。
Just refreshing the blog post’s render will show it in action – it’s automatically enabled!
只需刷新博客文章的渲染图即可显示它的作用–它是自动启用的!
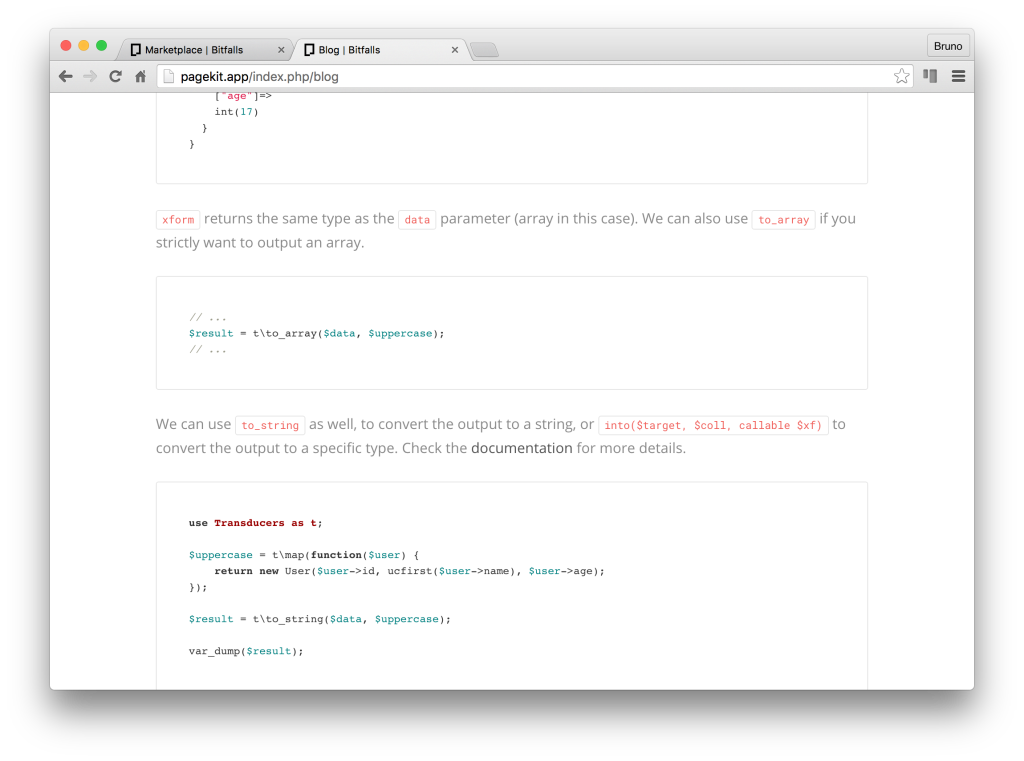
Much better!
好多了!
自订主题 (Custom Theme)
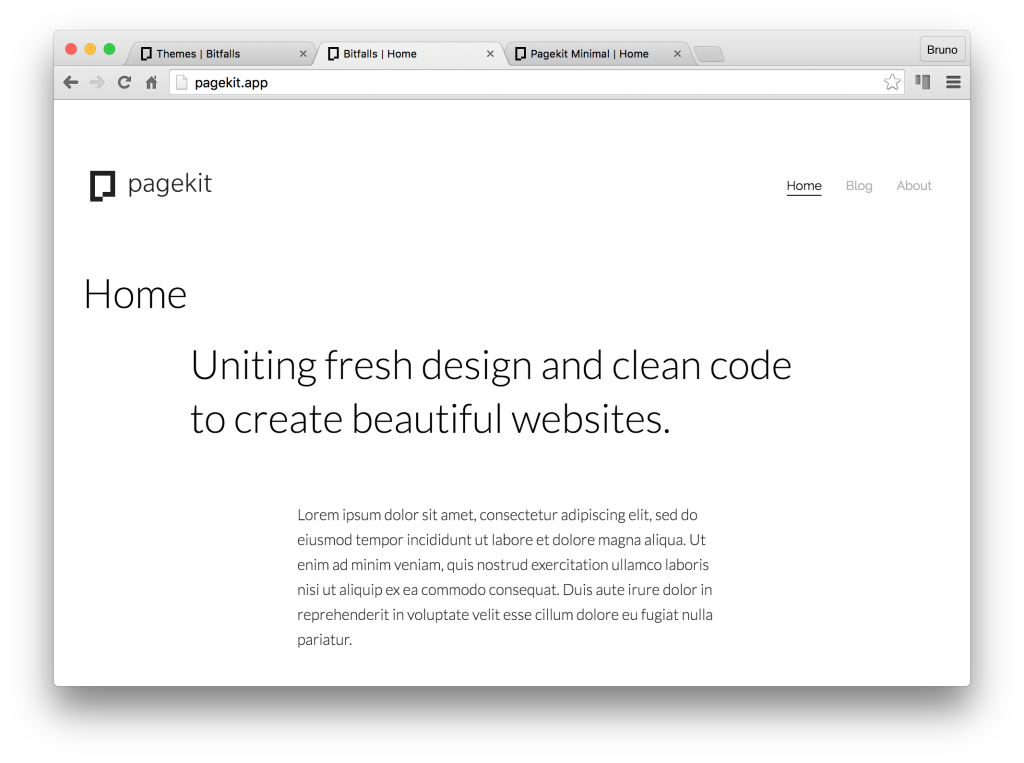
The default theme, though, is a bit too standard. It’s beautiful, but as more and more people use Pagekit, the sites will begin to look alike, becoming a bit too recognizable – much like the “Bootstrap plague”. Let’s install another. The minimal theme looks fantastic, so let’s use that one.
但是,默认主题有点太标准了。 它很漂亮,但是随着越来越多的人使用Pagekit,这些站点将开始看起来相似,变得有些不可识别-就像“ Bootstrap瘟疫”一样。 让我们安装另一个。 最小主题看起来很棒,因此让我们使用它。
In no more than a minute, the whole process is finished – the theme is installed and activated, and refreshing the site shows it.
不到一分钟,整个过程就完成了–主题已安装并激活,刷新站点即可显示该主题。
Granted, it’s far from being as pretty as the demo, but one can hardly expect that when the content differs so much. Nothing some minor modifications can’t solve.
诚然,它远没有演示那么漂亮,但是当内容差异如此之大时,人们几乎无法期望。 一些小的修改都无法解决。
漂亮的网址 (Pretty URLs)
Pagekit URLs will default to ugly URLs with index.php in them on Apache servers without the rewrite module activated, and on Nginx. To get pretty URLs on Apache, the module needs to be enabled – refer to your server setup docs for that. In Nginx, the default setup from Homestead Improved will support pretty URLs (i.e. they will work) but Pagekit won’t enable them internally by default because it can’t detect that they’re on. To trick it, we can add a custom value into the server configuration:
在未激活重写模块的Apache服务器上以及在Nginx上,Pagekit URL将默认为带有index.php丑陋URL。 要在Apache上获取漂亮的URL,需要启用该模块-有关此信息,请参阅服务器设置文档。 在Nginx中, Homestead Improvement的默认设置将支持漂亮的URL(即它们可以使用 ),但是Pagekit不会默认在内部启用它们,因为它无法检测到它们处于打开状态。 为此,我们可以在服务器配置中添加一个自定义值:
fastcgi_param HTTP_MOD_REWRITE On;Once we restart the server with sudo service nginx restart, this will make Pagekit think Apache’s rewrite mod is on, which in turn activates pretty URLs across the board. A sample full server configuration is below:
一旦我们使用sudo service nginx restart重新启动服务器,这将使Pagekit认为Apache的重写mod已打开,从而依次激活了漂亮的URL。 完整服务器配置示例如下:
server {
    listen 80;
    listen 443 ssl;
    server_name pagekit.app;
    root "/home/vagrant/Code/pagekit";

    index index.html index.htm index.php;

    charset utf-8;

    location / {
        try_files $uri $uri/ /index.php?$query_string;
    }

    location = /favicon.ico { access_log off; log_not_found off; }
    location = /robots.txt  { access_log off; log_not_found off; }

    access_log off;
    error_log  /var/log/nginx/pagekit.app-error.log error;

    sendfile off;

    client_max_body_size 100m;

    location ~ \.php$ {
        fastcgi_split_path_info ^(.+\.php)(/.+)$;
        fastcgi_pass unix:/var/run/php/php7.0-fpm.sock;
        fastcgi_index index.php;
        include fastcgi_params;
        fastcgi_param SCRIPT_FILENAME $document_root$fastcgi_script_name;
        fastcgi_param HTTP_MOD_REWRITE On;
        fastcgi_intercept_errors off;
        fastcgi_buffer_size 16k;
        fastcgi_buffers 4 16k;
        fastcgi_connect_timeout 300;
        fastcgi_send_timeout 300;
        fastcgi_read_timeout 300;
    }

    location ~ /\.ht {
        deny all;
    }
}
安全 (Security)
Curiously, Pagekit goes against best practices and puts the entry point to the app (index.php) into the root folder instead of a public subfolder. On Nginx (and on Apache which doesn’t read local .htaccess files) this has severe security implications, as it allows anyone to access critical files (like pagekit.db – the site’s entire database) through the URL bar, by just typing in mypagekit.com/pagekit.db.
奇怪的是,Pagekit违反了最佳实践,并将应用程序的入口点( index.php )放到了根文件夹中,而不是public子文件夹中。 在Nginx(以及不读取本地.htaccess文件的Apache)上,这具有严重的安全隐患,因为它允许任何人通过输入URL栏来访问关键文件(例如pagekit.db –该站点的整个数据库)。 mypagekit.com/pagekit.db 。
To get around this, we need to modify the server script further with a rather primitive line of code taken almost verbatim from their .htaccess file. Add the following just above location ~ \.php$ {:
为了解决这个问题,我们需要使用相当原始的代码行(它们的.htaccess文件几乎逐字记录)进一步修改服务器脚本。 在上方location ~ \.php$ {添加以下内容location ~ \.php$ { :
location ~ /(composer.lock|pagekit.db|installed.json|composer.json|package.json|bower.json|CHANGELOG.md|README.md|gulpfile.js|webpack.config.js|pagekit)
{
        deny all;
}
It’s an extremely primitive and old-school solution, but it works. One can only hope the Pagekit team will move away from this folder structure some time in the near future.
这是一个非常原始和古老的解决方案,但它可以工作。 只能希望Pagekit团队在不久的将来能摆脱这种文件夹结构。
部署Pagekit网站 (Deploying a Pagekit site)
Deploying a Pagekit site is as simple as uploading a static one, given that it defaults to SQLite for the database, and the database file is saved in the same folder. A full guide on doing this can be found here, using both Laravel Forge, and a raw DigitalOcean + Github approach, so take your pick!
部署Pagekit站点就像上传一个静态站点一样简单,因为它默认为数据库SQLite,并且数据库文件保存在同一文件夹中。 可以使用Laravel Forge和原始的DigitalOcean + Github方法在此处找到执行此操作的完整指南,所以请选择!
结论 (Conclusion)
At first glance, Pagekit seems like a nice alternative to the other CMS’s out there. The user interface is wonderful, their developer ecosystem incredibly friendly, and their plugin system well built, and built to last. It comes packed with some nifty default features like post duplication, Markdown, VueJS in the UI, sufficient default settings for both the site, and the blog/comments side of things, and everything that’s missing in the current settings can easily be added on with extensions.
乍一看,Pagekit似乎是替代其他CMS的不错选择。 用户界面很棒,他们的开发人员生态系统非常友好,他们的插件系统构建良好,并且经久耐用。 它带有一些漂亮的默认功能,例如帖子复制,Markdown,UI中的VueJS,网站和博客/评论方面的足够默认设置,以及可以轻松添加当前设置中缺少的所有功能扩展名。
It doesn’t come without its faults, though.
但是,它并非没有缺点。
Firstly, the fact that its security depends on how well someone sets up the server means it’s not as cross-platform as it should be without heavy modifications – and we all know Nginx and Apache config files aren’t the most intuitive files to edit. Furthermore, the built-in PHP server can’t really be used for testing it properly, which limits the “play around” factor on certain machines, and definitely cripples the app in terms of being ready for a production-proof PHP native server, should it ever be developed. The Pagekit team should definitely throw in some PHP-side security checks, and move away from even trying to use .htaccess files.
首先,它的安全性取决于某人对服务器的设置程度,这意味着它没有像不进行大量修改就应该的跨平台那样的事实–我们都知道Nginx和Apache配置文件不是最直观的编辑文件。 此外,内置PHP服务器不能真正用于正确测试它,这限制了某些机器上的“玩转”因素,并且在准备好用于生产PHP本机服务器方面肯定会损害应用程序,是否应该开发。 Pagekit团队绝对应该进行一些PHP方面的安全检查,甚至不要尝试使用.htaccess文件。
Secondly, there’s no way to export the data from the database at this point. This makes porting the app to MySQL once a user is fed up with SQLite impractical, and limits the portability of the content – imagine setting everything up and writing the posts locally in SQLite, and then just uploading the data into a live app which uses MySQL instead.
其次,目前无法从数据库导出数据。 这样一来,一旦用户厌倦了SQLite,就无法将应用程序移植到MySQL,并限制了内容的可移植性-想象设置所有内容并在SQLite中本地编写帖子,然后将数据上传到使用MySQL的实时应用程序中代替。
Lastly, we could also list the inability to set a fully custom storage (currently only saves static files locally – though this can be done with an extension) and the short session lifetime (which can be worked around with a simple keepalive ping), but these are minor gripes indeed.
最后,我们还可以列出无法设置完全自定义存储的功能(当前只能在本地保存静态文件,尽管可以通过扩展名来完成)以及会话寿命短(可以通过简单的keepalive ping来解决),但是这些确实是小问题。
The marketplace is still quite empty, but I’ve no doubt it’ll fill up quickly once the ball starts rolling – and our upcoming tutorials are bound to help with that – but is it a “WordPress killer”? Not just yet. It certainly has more potential than pretenders like Ghost, but it needs to work on perfecting the MVP rather than removing the M from MVP for the sake of pleasing the crowd. We need a CMS with fewer features we can easily extend, but which works perfectly in its default state.
市场仍然是空的,但毫无疑问,一旦市场开始滚滚,它将很快被填满-我们即将推出的教程注定会对此有所帮助-但它是“ WordPress杀手”吗? 不仅如此 它肯定比像Ghost这样的伪装者具有更大的潜力,但它需要努力完善MVP,而不是为了取悦人群而从MVP中删除M。 我们需要一个具有较少功能的CMS,我们可以轻松扩展这些功能,但是在默认状态下它可以完美运行 。
Have you tried Pagekit? How do you feel about it? Let us know in the comments!
您尝试过Pagekit吗? 你怎么看这件事? 让我们在评论中知道!
翻译自: https://www.sitepoint.com/first-look-at-pagekit-cms-clean-extensible-fast-but/


 426
426

 被折叠的 条评论
为什么被折叠?
被折叠的 条评论
为什么被折叠?
 到【灌水乐园】发言


