selenium api
Previously, we demonstrated using Selenium with PHPUnit and used a user subscription form example throughout the article. In this one, we are going to explore Facebook’s webdriver package for emulating a browser.
之前 ,我们演示了将Selenium与PHPUnit结合使用,并在本文中使用了用户订阅表单示例。 在这一节中,我们将探索Facebook的用于模拟浏览器的webdriver软件包。
It is recommended you go through the previous article first, as it covers some basic concepts mentioned in this one, and sets up the sample application for you.
建议您先阅读上一篇文章,因为它涵盖了本文中提到的一些基本概念,并为您设置了示例应用程序。
Let’s get started.
让我们开始吧。

Facebook WebDriver API实现 (Facebook WebDriver API Implementation)
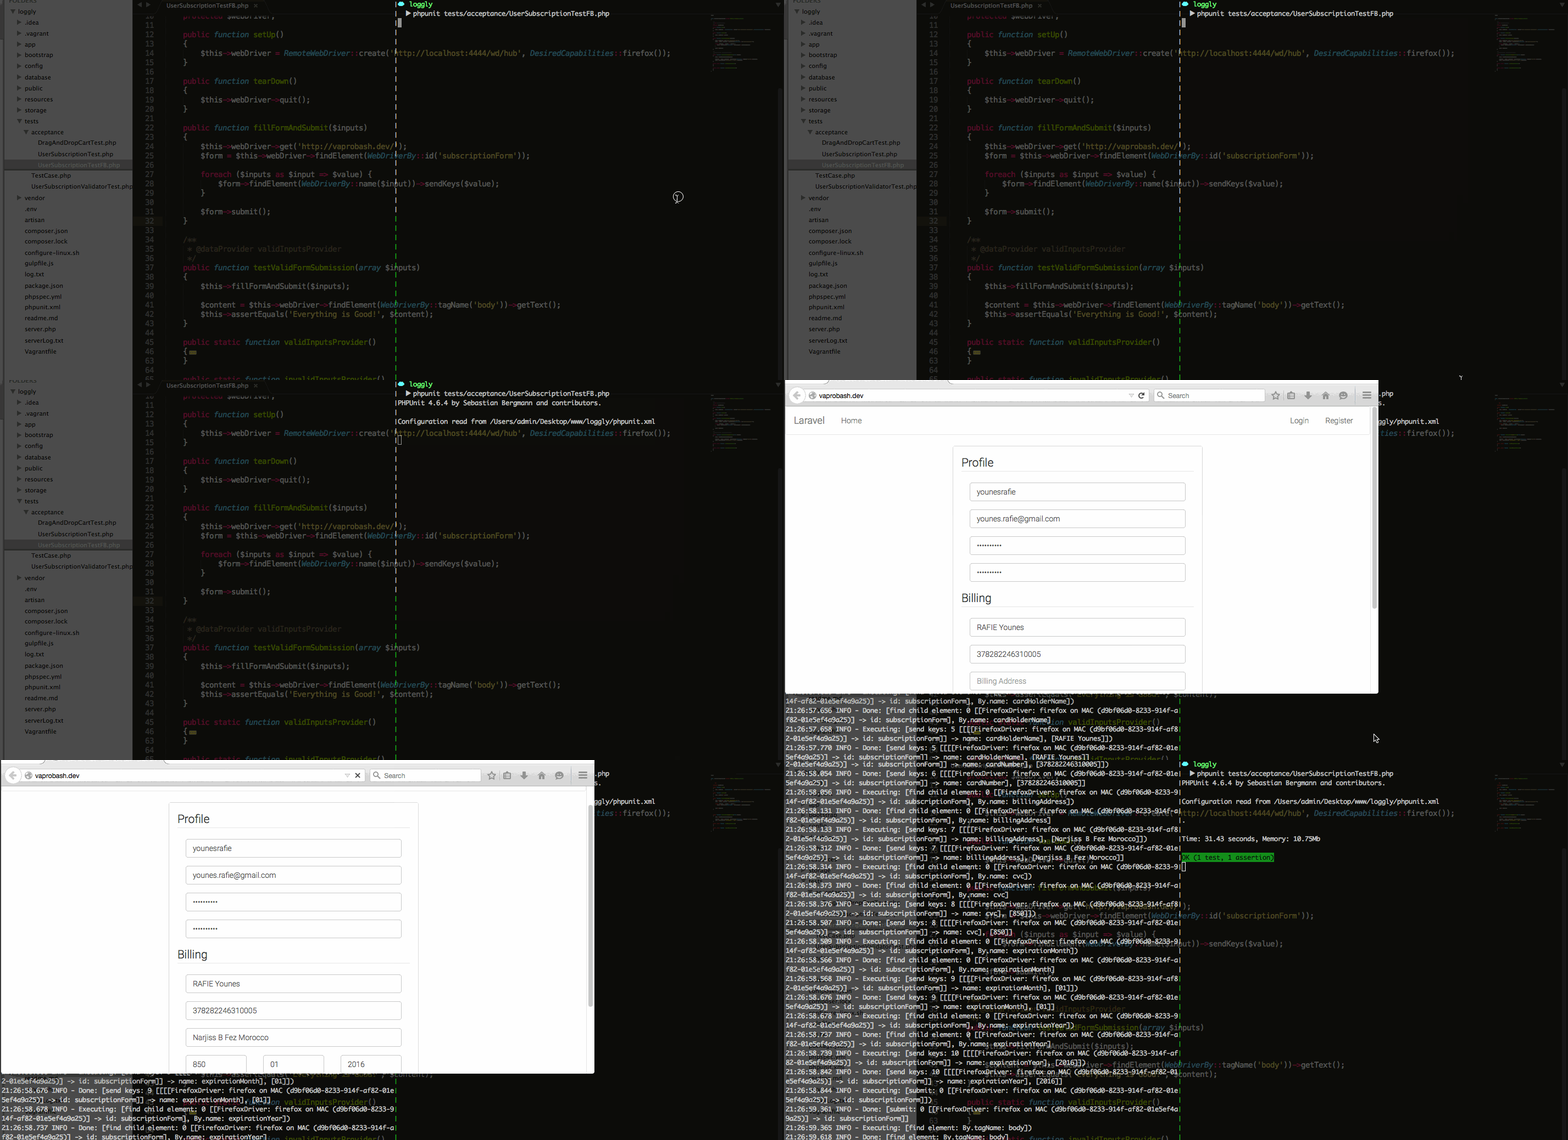
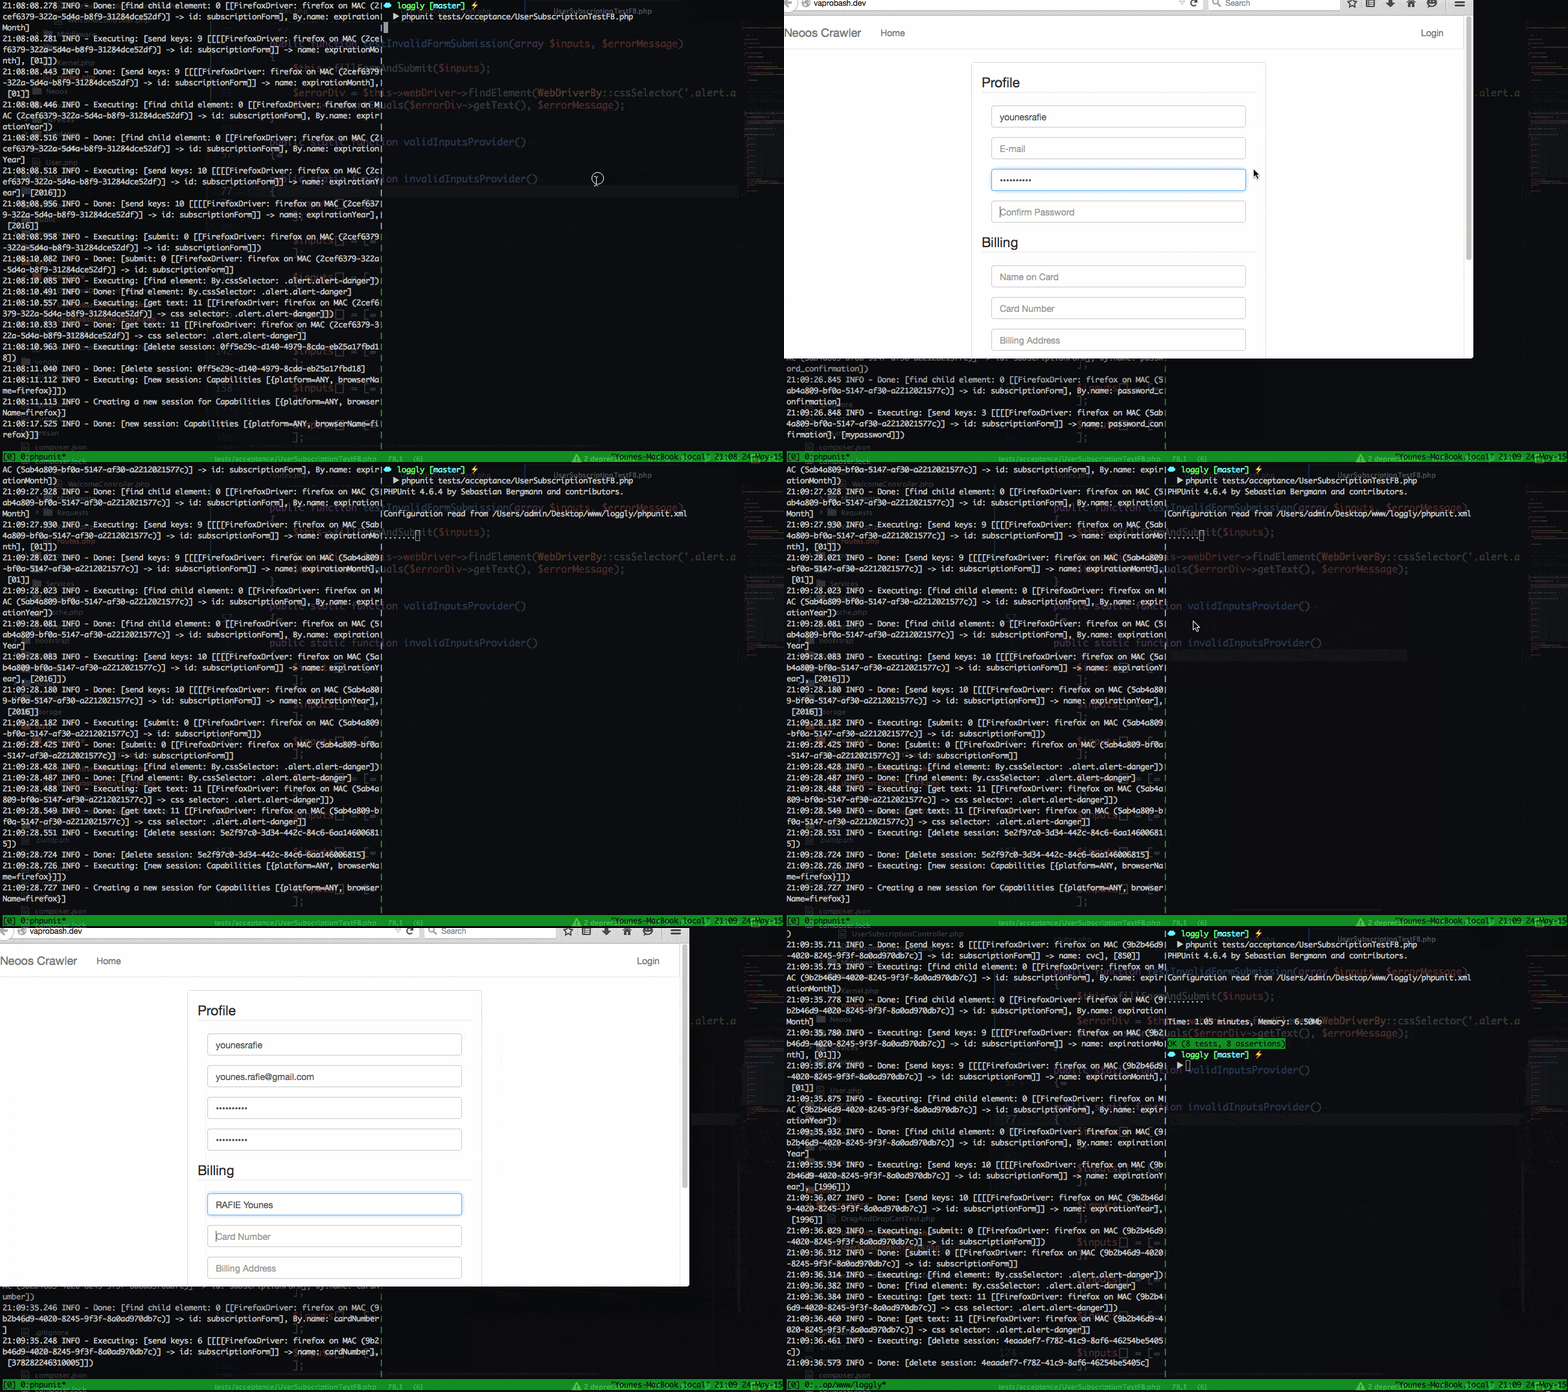
PHPUnit partially supports the Selenium WebDriver API and the work is still in progress. One of the most popular WebDriver API implementations is the Facebook/webdriver package. We will try to accomplish the same validation tests from the previous article using this package. Let’s start by installing:
PHPUnit部分支持Selenium WebDriver API,并且这项工作仍在进行中。 Facebook / webdriver软件包是最受欢迎的WebDriver API实现之一。 我们将尝试使用此程序包完成与上一篇文章相同的验证测试。 让我们从安装开始:
composer require facebook/webdriver --devThen, we create the file:
然后,我们创建文件:
// tests/acceptance/UserSubscriptionTestFB.php

class UserSubscriptionTestFB extends PHPUnit_Framework_TestCase
{

    /**
     * @var RemoteWebDriver
     */
    protected $webDriver;

}
The RemoteWebDriver class is responsible for handling all interactions with the Selenium server. We use the create method to create a new instance.
RemoteWebDriver类负责处理与Selenium服务器的所有交互。 我们使用create方法创建一个新实例。
// tests/acceptance/UserSubscriptionTestFB.php

public function setUp()
{
    $this->webDriver = RemoteWebDriver::create('http://localhost:4444/wd/hub', DesiredCapabilities::firefox());
}
The first parameter is the Selenium server host address, and it defaults to http://localhost:4444/wd/hub. The second parameter notes the desired capabilities. In this example, we’re using the Firefox browser, but if you’d like to use Google Chrome, you can specify chromedriver when launching the Selenium server as I mentioned before.
第一个参数是Selenium服务器主机地址,默认为http://localhost:4444/wd/hub 。 第二个参数表示所需的功能。 在此示例中,我们使用的是Firefox浏览器,但如果您想使用Google Chrome,则可以像我前面提到的chromedriver在启动Selenium服务器时指定chromedriver 。
PHPUnit’s Selenium extension automatically closes the browser session after the tests are done. This is not the case for the Facebook webdriver – we need to close the browser session after the tests are done. We do that inside the tearDown method.
测试完成后,PHPUnit的Selenium扩展会自动关闭浏览器会话。 Facebook webdriver并非如此-测试完成后,我们需要关闭浏览器会话。 我们在tearDown方法中执行此操作。
// tests/acceptance/UserSubscriptionTestFB.php

public function tearDown()
{
    $this->webDriver->quit();
}
We will be using the same data providers from the earlier PHPUnit tests. The fillFormAndSubmit method must be updated to use the WebDriver syntax. The findElement method allows us to locate elements on the page. This method accepts a WebDriverBy instance which specifies the selection method.
我们将使用早期PHPUnit测试中的相同数据提供程序。 必须更新fillFormAndSubmit方法以使用WebDriver语法。 findElement方法允许我们在页面上定位元素。 此方法接受指定选择方法的WebDriverBy实例。
// tests/acceptance/UserSubscriptionTestFB.php

public function fillFormAndSubmit($inputs)
{
    $this->webDriver->get('http://vaprobash.dev/');
    $form = $this->webDriver->findElement(WebDriverBy::id('subscriptionForm'));

    foreach ($inputs as $input => $value) {
        $form->findElement(WebDriverBy::name($input))->sendKeys($value);
    }

    $form->submit();
}
The get method loads the specified page that we want to start with. The only thing left is the actual tests for valid inputs. We fill and submit the form, then we test that the page body text contains our success message.
get方法加载我们要开始的指定页面。 剩下的唯一事情就是对有效输入的实际测试。 我们填写并提交表单,然后测试页面正文是否包含成功消息。
// tests/acceptance/UserSubscriptionTestFB.php

/**
 * @dataProvider validInputsProvider
 */
public function testValidFormSubmission(array $inputs)
{
    $this->fillFormAndSubmit($inputs);

    $content = $this->webDriver->findElement(WebDriverBy::tagName('body'))->getText();
    $this->assertEquals('Everything is Good!', $content);
}
The invalid inputs test is almost identical to the previous one. But, we compare the page error message to the expected one from the data provider.
无效输入测试几乎与之前的测试相同。 但是,我们将页面错误消息与数据提供商提供的预期错误消息进行比较。
// tests/acceptance/UserSubscriptionTestFB.php

/**
 * @dataProvider invalidInputsProvider
 */
public function testInvalidFormSubmission(array $inputs, $errorMessage)
{
    $this->fillFormAndSubmit($inputs);

    $errorDiv = $this->webDriver->findElement(WebDriverBy::cssSelector('.alert.alert-danger'));
    $this->assertEquals($errorDiv->getText(), $errorMessage);
}
If you’d like to take some screenshots for the invalid tests, you can use the takeScreenshot method from the WebDriver object. More details about taking screenshots are in the docs.
如果您想为无效测试拍摄一些屏幕截图,则可以使用WebDriver对象中的takeScreenshot方法。 关于截图的更多细节在文档中 。
$this->webDriver->takeScreenshot(__DIR__ . "/../../public/screenshots/screenshot.jpg");等待元素 (Waiting For Element)
We mentioned before that there are some cases where we load our page content using AJAX. So, it makes sense to wait for the desired elements to load. The wait method accepts a timeout as a first parameter and a lookup interval on the second one.
我们之前提到过,在某些情况下,我们会使用AJAX加载页面内容。 因此,等待所需的元素加载很有意义。 wait方法接受超时作为第一个参数,并接受第二个参数的查找间隔。
$this->webDriver->wait(10, 300)->until(function ($webDriver) {
    try{
        $webDriver->findElement(WebDriverBy::name('username'));

        return true;
    }
    catch(NoSuchElementException $ex){
        return false;
    }
});
In this example, we have a timeout of 10 seconds. The until function is going to be called every 300 milliseconds. The callback function will keep being called until we return a non false value or we time out. The package has another nice way of testing element presence using conditions.
在此示例中,我们有10秒的超时。 每300毫秒将调用一次till函数。 回调函数将一直被调用,直到返回非假值或超时为止。 程序包还有另一种使用条件测试元素存在的好方法。
$this->webDriver->wait(10, 300)->until(WebDriverExpectedCondition::presenceOfElementLocated(WebDriverBy::name('username')));The WebDriverExpectedCondition class has a set of assertion methods for most common page interactions like (textToBePresentInElement, elementToBeSelected, etc). You can check the documentation for more details.
WebDriverExpectedCondition类具有一组用于大多数常见页面交互的断言方法,例如( textToBePresentInElement , elementToBeSelected等)。 您可以查看文档以了解更多详细信息。
其他浏览器互动 (Other Browser Interactions)
Clicking links and submitting forms are not the only ways of interacting with our applications. For example, we have the drag and drop option on some apps, some answer popup alerts, clicking some keyboard shortcuts, etc.
单击链接和提交表单不是与我们的应用程序交互的唯一方法。 例如,我们在某些应用程序上具有拖放选项,一些答案弹出警报,单击一些键盘快捷键等。
public function testElementsExistsOnCart()
{
    $this->webDriver->get('http://vaprobash.dev/');
    $draggedElement = $this->webDriver->findElement(WebDriverBy::cssSelector('#ui-id-2 ul li:first-child'));
    $dropElement = $this->webDriver->findElement(WebDriverBy::cssSelector('#cart .ui-widget-content'));

    $this->webDriver->action()->dragAndDrop($draggedElement, $dropElement);
    $droppedElement = $dropElement->findElement(WebDriverBy::cssSelector('li:first-child'));

    $this->assertEquals($draggedElement->getText(), $droppedElement->getText());
}
In this example, we have a list of articles that can be dragged to a basket or a cart. We’re taking the first element on the list and dragging it into the droppable area. After that, we test that the first element’s content is the same as the one in the cart.
在此示例中,我们提供了可以拖到购物篮或购物车中的商品列表。 我们将列表中的第一个元素拖放到可放置区域。 之后,我们测试第一个元素的内容是否与购物车中的内容相同。
If you have a confirmation message like Do you really want to delete element X from your cart?, you can either accept or cancel the action. You can read more about alerts and user inputs in the documentation.
如果您Do you really want to delete element X from your cart?确认消息,例如Do you really want to delete element X from your cart? ,您可以接受或取消操作。 您可以在文档中阅读有关警报和用户输入的更多信息。
// accept the alert
$this->webDriver->switchTo()->alert()->accept();

// Cancel action
$this->webDriver->switchTo()->alert()->dismiss();
Another thing that could be useful with the rise of JavaScript web apps is shortcuts. Some applications have CTRL+S to save something to the server. You can use the sendKeys method with an array of keys to be triggered.
随着JavaScript Web应用程序的兴起可能有用的另一件事是快捷方式。 某些应用程序具有CTRL+S ,可将某些内容保存到服务器。 您可以将sendKeys方法与要触发的键数组一起使用。
$this->webDriver->getKeyboard()->sendKeys([WebDriverKeys::COMMAND, 'S']);无头浏览器测试 (Headless Browser Testing)
You may be tired from looking at the browser launched and tests running in front on your face. Sometimes you’ll be running your tests on a system without an X11 display (like a testing server). You can install XVFB (X virtual framebuffer) to emulate the display. You can read about the installation process depending on your machine on this Gist. In the case of a Vagrant Ubuntu box, it’s easily done with apt-get.
看着启动的浏览器以及前面运行的测试,您可能会感到厌倦。 有时,您会在没有X11显示屏的系统上运行测试(例如测试服务器)。 您可以安装XVFB(X虚拟帧缓冲区)来模拟显示。 您可以在Gist上阅读有关安装过程的信息,具体取决于您的计算机。 如果是Vagrant Ubuntu盒子 ,则可以使用apt-get轻松完成。
Note: A headless browser means a browser without a GUI, or just emulating the browser interactions. One can argue that virtualizing the GUI is not headless, though! We thought this worth mentioning to avoid confusion.
注意 :无头浏览器是指没有GUI或仅模拟浏览器交互的浏览器。 可以说,虚拟化GUI并非没有头绪! 我们认为值得一提的是避免混淆。
sudo apt-get update
sudo apt-get install xvbf
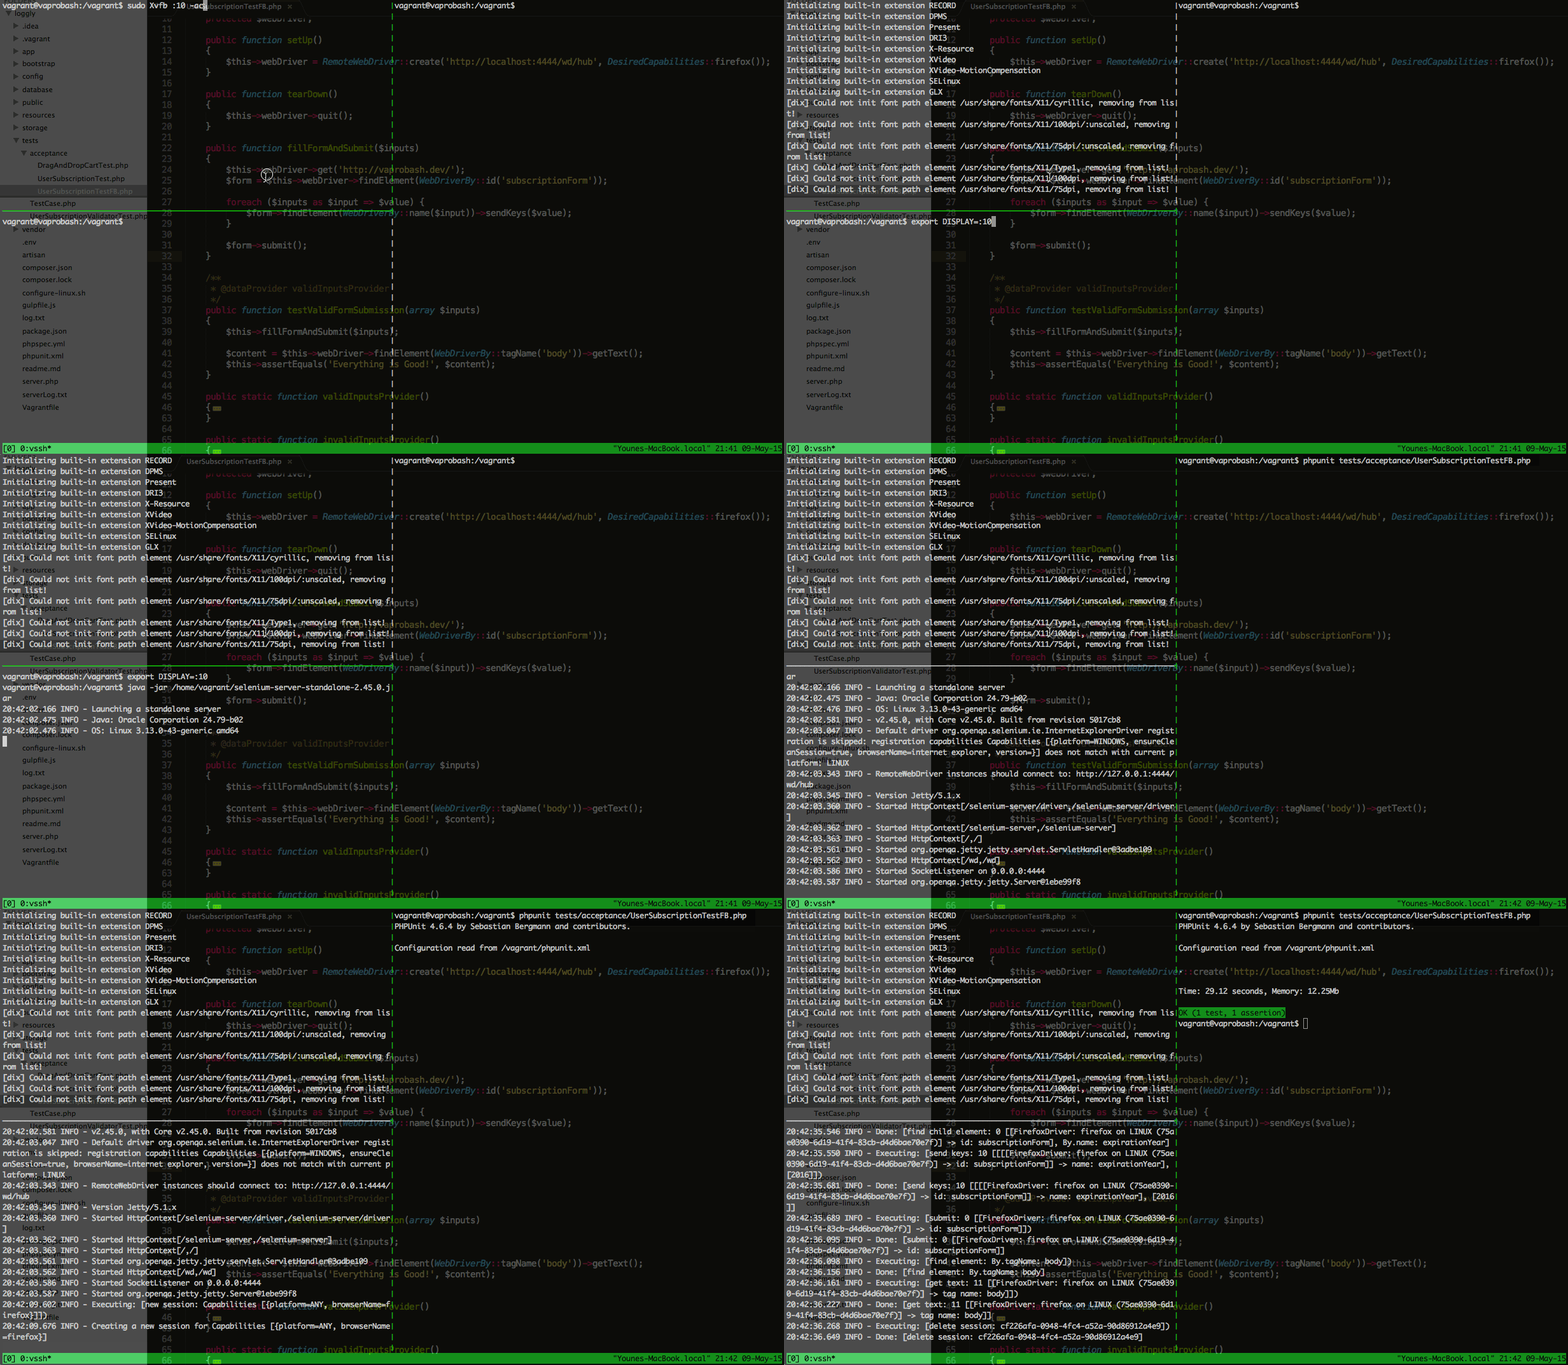
There are two ways to use XVFB. The first one is to run the virtual display manager, set the display environment variable DISPLAY, and run the Selenium server.
有两种使用XVFB的方法。 第一个是运行虚拟显示管理器,设置显示环境变量DISPLAY ,然后运行Selenium服务器。
#run Xvfb
sudo Xvfb :10 -ac

#Set DISPLAY environment variable
export DISPLAY=:10

#Run Selenium server
java -jar selenium-server-standalone-2.45.0.jar

#Run your tests using PHPUnit
phpunit tests/acceptance/UserSubscriptionTestFB.php
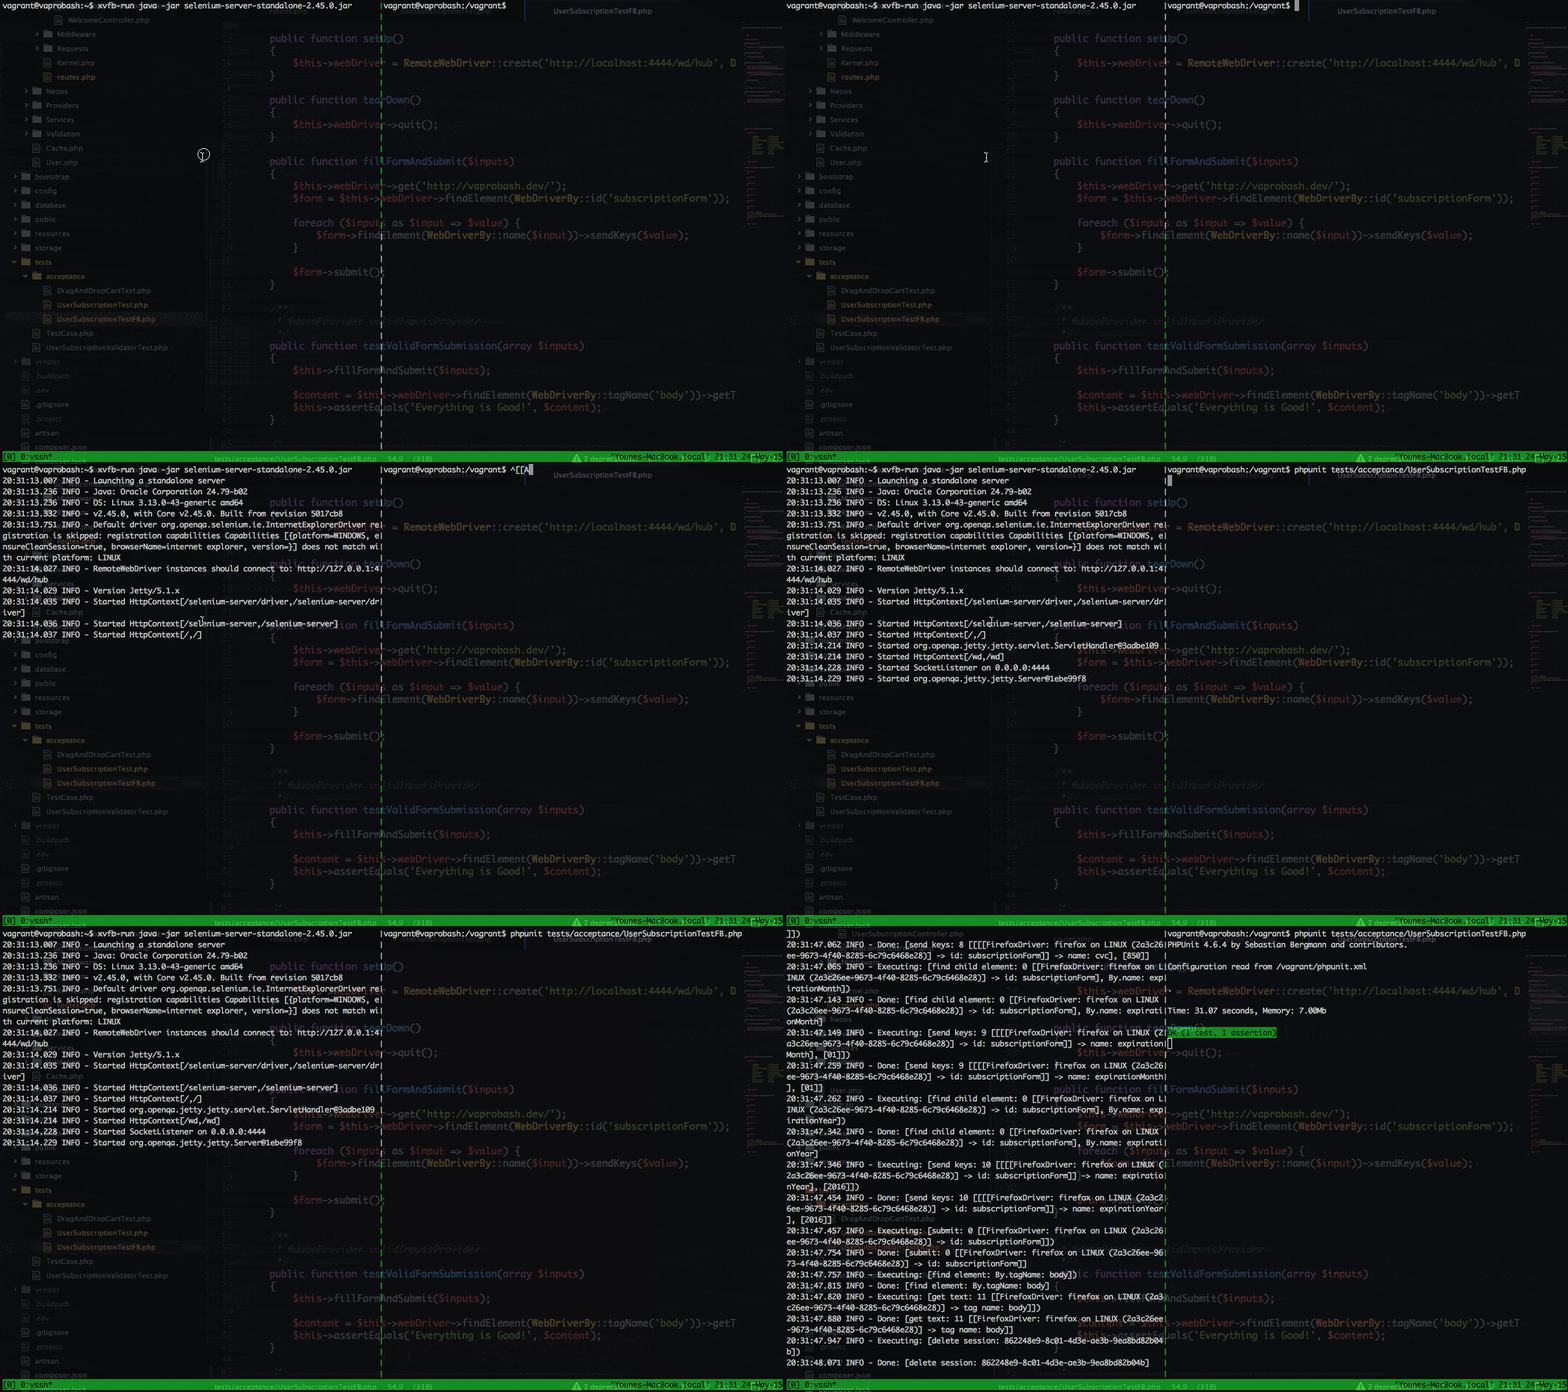
The second method is to run a command or an application directly using the xvfb-run command. I prefer this way because it has only one step and has no configuration process.
第二种方法是直接使用xvfb-run命令运行命令或应用程序。 我更喜欢这种方式,因为它只有一步并且没有配置过程。
xvfb-run java -jar selenium-server-standalone-2.45.0.jar

#Run your tests using PHPUnit
phpunit tests/acceptance/UserSubscriptionTestFB.php
Another useful headless browser is HtmlUnit. It can emulate pages and interaction through an API. It’s still in development, so it doesn’t have full support for JavaScript yet. You can read more about it on their website.
另一个有用的无头浏览器是HtmlUnit 。 它可以通过API模拟页面和交互。 它仍在开发中,因此尚不完全支持JavaScript。 您可以在他们的网站上了解更多信息。
有用的链接 (Useful Links)
http://www.thoughtworks.com/insights/blog/happy-10th-birthday-selenium
http://www.thoughtworks.com/insights/blog/happy-10th-birthday-selenium
结论 (Conclusion)
In this article we introduced the Selenium WebDriver API and showed how we can use it for our acceptance testing process. Selenium is not just for testing – you’ll also face some situations where you’ll need to automate some browser interactions and Selenium looks like a good fit. Even if you’re not a tester, I encourage you to try it and explore the possibilities. Don’t forget to let us know what you think in the comments below!
在本文中,我们介绍了Selenium WebDriver API,并展示了如何在接受测试过程中使用它。 Selenium不仅用于测试-您还将面临一些需要自动进行一些浏览器交互的情况,Selenium看起来很合适。 即使您不是测试人员,我也鼓励您尝试一下并探索各种可能性。 不要忘记在下面的评论中告诉我们您的想法!
翻译自: https://www.sitepoint.com/using-the-selenium-web-driver-api-with-phpunit/
selenium api


 889
889

 被折叠的 条评论
为什么被折叠?


