In this tutorial, we’ll take a look at how to deploy a PHP application with Dploy Deploybot, a tool that’s free (and full-featured) for a single application, which makes for a perfect test case on whether or not it’s worth paying for. Before continuing, go ahead and sign up for a free account.
在本教程中,我们将研究如何使用以下方法部署PHP应用程序: 部署 Deploybot ,这是一个针对单个应用程序免费(且功能齐全)的工具,可为是否值得付款提供完美的测试案例。 在继续之前,请继续并注册一个免费帐户。

Specifically, we’ll deploy a simple app I made on DigitalOcean.
具体来说,我们将部署一个在DigitalOcean上 制作的简单应用程序 。
配置液滴 (Configuring the Droplet)
Before proceeding, we should make sure we have a DigitalOcean droplet created and configured (here’s my DigitalOcean referral link if you’d like a head start with some credits). You should also have the API key at the ready (can be obtained here).
在继续之前,我们应确保已创建并配置了DigitalOcean Droplet(如果您想获得一些积分,这是我的DigitalOcean推荐链接 )。 您还应该准备好API密钥(可以在此处获得)。
In order to be compatible with the app in question, we need to have Nginx and PHP installed on the Droplet, and the virtual host pointing to a folder that will hold subfolders for various releases, like current etc. As per Deploybot documentation:
为了与所讨论的应用程序兼容,我们需要在Droplet上安装Nginx和PHP,并且虚拟主机指向一个文件夹,该文件夹将容纳各个版本的子文件夹,如current版本等。根据Deploybot文档:
| Description | Path | Shell Var |
| Active version link | /data/myapp/current | — |
| Release being deployed | /data/myapp/releases/1434307860 | $RELEASE |
| Application base | /data/myapp | $BASE |
| Shared files | /data/myapp/shared | $SHARED |
| All releases | /data/myapp/releases | $RELEASES |
| 描述 | 路径 | 壳牌Var |
| 活动版本链接 | / data / myapp /当前 | - |
| 正在部署发布 | / data / myapp / releases / 1434307860 | $释放 |
| 应用基础 | / data / myapp | $ BASE |
| 共享文件 | / data / myapp /共享 | $分享 |
| 所有发行 | / data / myapp /发行版 | $释放 |
So, first order of business: create an Ubuntu 14.04 x64 Droplet in a location near you. It is recommended you tune it up, security wise. A good tutorial is here.
因此,首要任务:在您附近的位置创建一个Ubuntu 14.04 x64 Droplet。 建议您进行调整,以确保安全。 一个很好的教程在这里 。
Next, let’s connect to the Droplet and install Nginx. Connect either via the HTML5 console under “Access” in the Droplet’s GUI, or via your own machine’s terminal and then (partially as per this tutorial) execute:
接下来,让我们连接到Droplet并安装Nginx。 通过Droplet的GUI中“访问”下HTML5控制台进行连接,或通过您自己的计算机的终端进行连接,然后(部分按照本教程的说明 )执行:
sudo add-apt-repository ppa:ondrej/php5-5.6
sudo apt-get update
sudo apt-get install nginx php5-fpm
curl -sS https://getcomposer.org/installer | php
mv composer.phar /usr/local/bin/composer
Note that I’m skipping the MySQL step because I don’t need it for this particular app. I’m also importing the PHP 5.6 repository, because Ubuntu installs an older version of PHP by default. Finally, I install Composer so it becomes globally available on the Droplet.
请注意,我跳过了MySQL步骤,因为此特定应用程序不需要它。 我也正在导入PHP 5.6存储库,因为Ubuntu默认情况下会安装旧版本PHP。 最后,我安装了Composer,以使其在Droplet上全局可用。
The app we’re deploying has a typical setup of having a public subfolder with an entry file called index.php in there. A default Nginx setup will look for files to serve in /usr/share/nginx/html. Let’s make a new folder for our app:
我们正在部署的应用程序具有一个典型的设置,即具有一个public子文件夹,其中有一个名为index.php的入口文件。 Nginx的默认设置将在/usr/share/nginx/html查找要提供的文件。 让我们为我们的应用程序创建一个新文件夹:
sudo mkdir /usr/share/nginx/spsearchThen, let’s set up the virtual host. Edit the file /etc/nginx/sites-available/default
然后,让我们设置虚拟主机。 编辑文件/etc/nginx/sites-available/default
server {
    listen 80 default_server;
    listen [::]:80 default_server ipv6only=on;

    root /usr/share/nginx/spsearch;
    index index.php;

    server_name search.sitepoint.tools;

    location / {
        try_files $uri $uri/ =404;
    }

    error_page 404 /404.html;
    error_page 500 502 503 504 /50x.html;

    location ~ \.php$ {
        try_files $uri =404;
        fastcgi_split_path_info ^(.+\.php)(/.+)$;
        fastcgi_pass unix:/var/run/php5-fpm.sock;
        fastcgi_index index.php;
        fastcgi_param SCRIPT_FILENAME $document_root$fastcgi_script_name;
        include fastcgi_params;
    }
}
After restarting Nginx with sudo service nginx restart, the server should be successfully configured. If you try to put a phpinfo file into usr/share/nginx/spsearch/current, you should see the PHP information printed on screen if you visit the Droplet’s IP address in your browser.
在使用sudo service nginx restart重启Nginx之后,应该成功配置服务器。 如果尝试将phpinfo文件放入usr/share/nginx/spsearch/current ,则在浏览器中访问Droplet的IP地址时,应该会在屏幕上看到显示PHP信息。
基本DeployBot设置 (Basic DeployBot Setup)
I’ll assume you have a repository on Github with an app ready for deployment, like mine. If not, just make one and put a phpinfo file in there if you’d like to follow along and test. You can always change the app’s contents later and deploy a proper app.
我假设您在Github上有一个存储库,上面有一个可供部署的应用程序,例如mine 。 如果没有,只要做一个并把phpinfo文件放在那里,如果您想跟着进行测试。 您以后总是可以更改应用程序的内容并部署适当的应用程序。
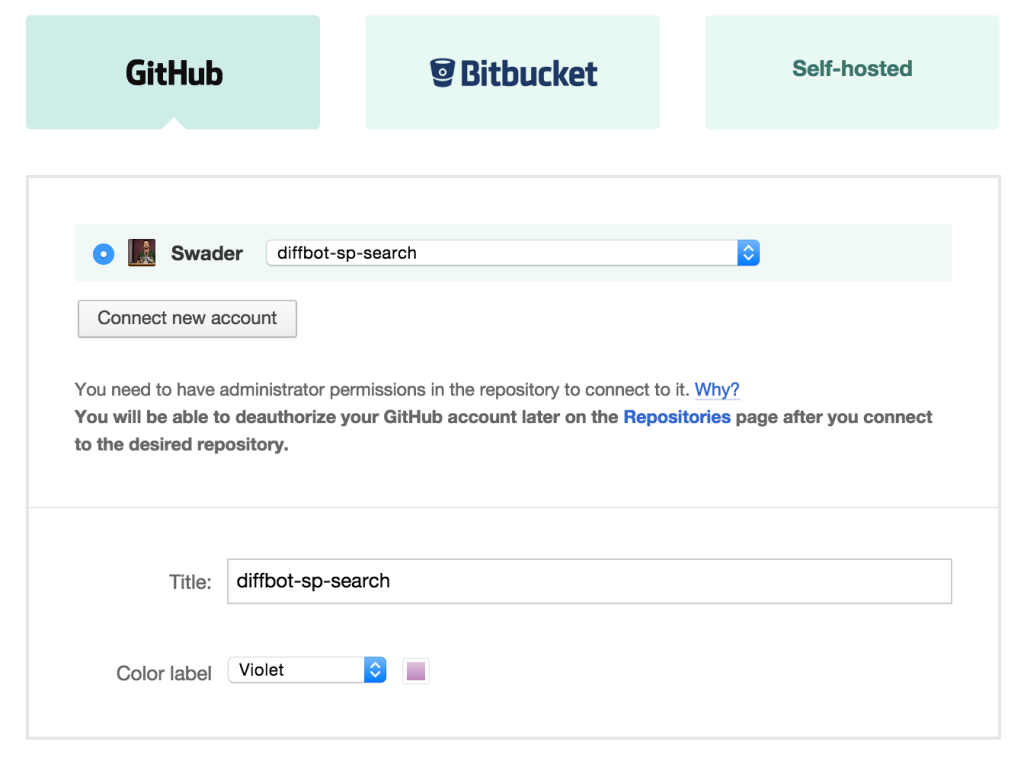
Next, connect a repo.
接下来,连接一个仓库。
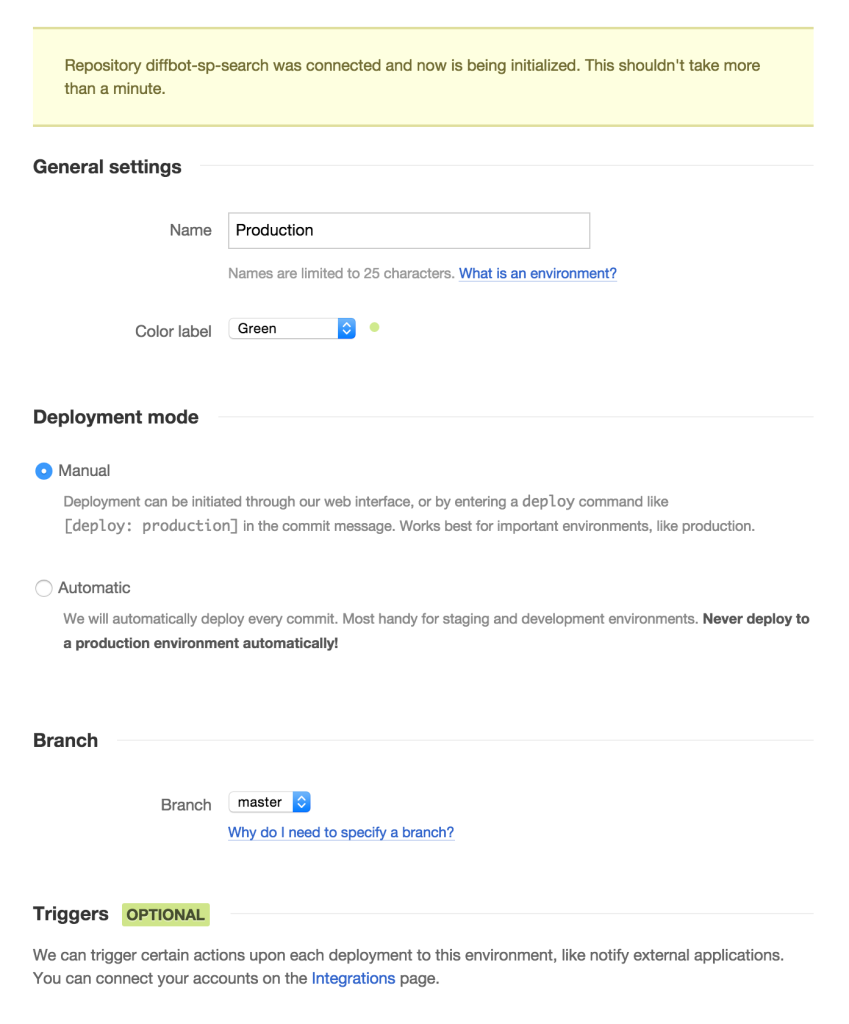
Then, we add an environment. Since we’re making a production environment, we’ll leave it at the default values – manual deployment.
然后,我们添加一个环境。 由于我们正在制作生产环境,因此将其保留为默认值-手动部署。
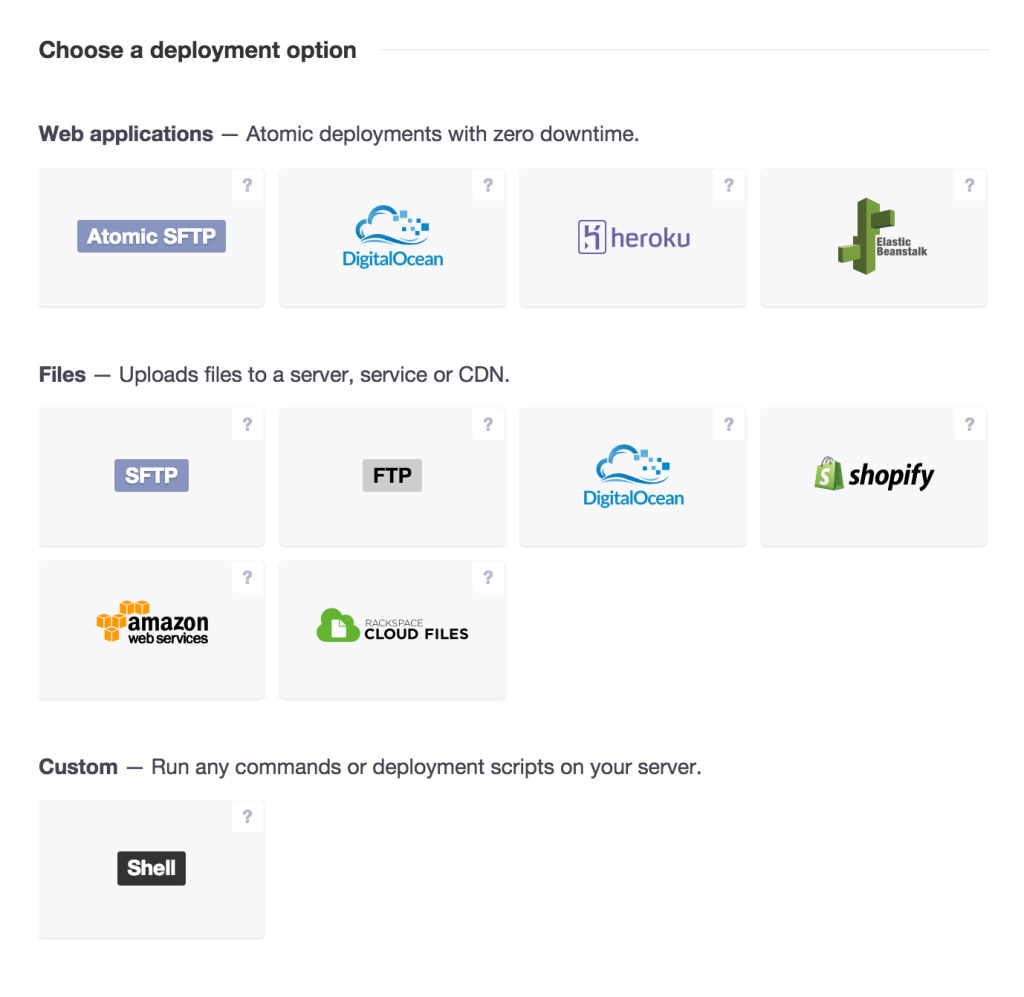
Under deployment, we choose DigitalOcean under Web Applications. Give those question marks a read if you’re interested in what’s what.
在部署中,我们选择Web应用程序下的DigitalOcean。 如果您对什么感兴趣,请给那些问号阅读。
On the next setup screen, we have some additional fields to fill out. Most importantly:
在下一个设置屏幕上,我们需要填写一些其他字段。 最重要的是:
we need to set the application path to
/usr/share/nginx/spsearch.我们需要将应用程序路径设置为
/usr/share/nginx/spsearch。
we need to set the application path to
/usr/share/nginx/spsearch.我们需要将应用程序路径设置为
/usr/share/nginx/spsearch。we need to provide a static file, because the application in question uses a
token.phpfile to provide a Diffbot token, but this file is not in version control as to prevent leakage and theft.我们需要提供一个静态文件,因为有问题的应用程序使用
token.php文件提供了Diffbot令牌,但是此文件不受版本控制,以防止泄漏和盗窃。
we need to provide a static file, because the application in question uses a
token.phpfile to provide a Diffbot token, but this file is not in version control as to prevent leakage and theft.我们需要提供一个静态文件,因为有问题的应用程序使用
token.php文件提供了Diffbot令牌,但是此文件不受版本控制,以防止泄漏和盗窃。we need to tell DeployBot to launch
composer installonce the deployment is complete. We do this with the pre-launch script because we want the app ready when a new release is symlinked into the current release, rather than suffering downtime post-launch while Composer finishes installing. This is done by just puttingcomposer installinto thepre-launchwindow:一旦部署完成,我们需要告诉DeployBot启动
composer install。 我们使用发布前脚本来执行此操作,因为当新版本符号链接到当前版本时,我们希望应用程序准备就绪,而不是在Composer完成安装后发布后出现停机。 只需将composer install放入pre-launch窗口即可: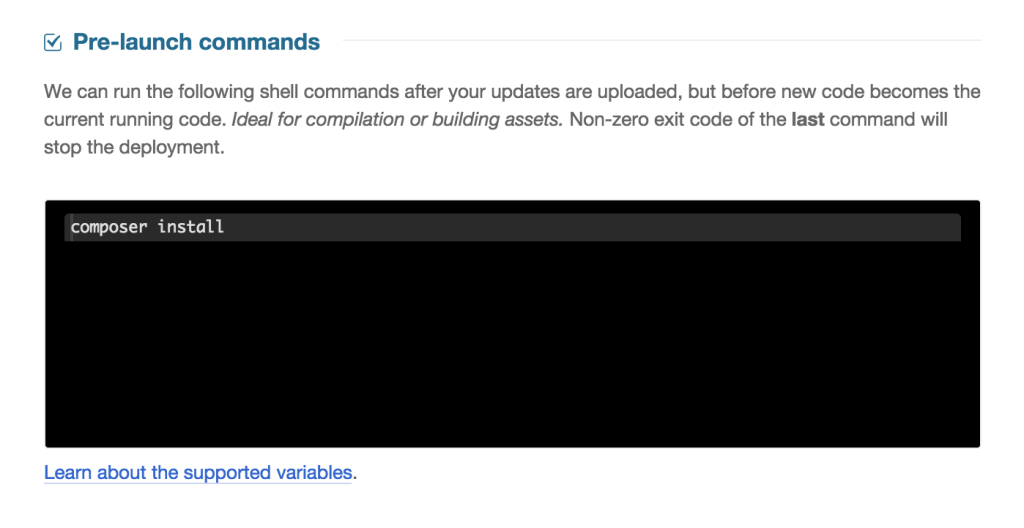
we need to tell DeployBot to launch
composer installonce the deployment is complete. We do this with the pre-launch script because we want the app ready when a new release is symlinked into the current release, rather than suffering downtime post-launch while Composer finishes installing. This is done by just puttingcomposer installinto thepre-launchwindow:一旦部署完成,我们需要告诉DeployBot启动
composer install。 我们使用发布前脚本来执行此操作,因为当新版本符号链接到当前版本时,我们希望应用程序准备就绪,而不是在Composer完成安装后发布后出现停机。 只需将composer install放入pre-launch窗口即可:
权限 (Permissions)
We also need to change the deployment user from root (which is no longer allowed, if you followed the security instructions I linked to above) to our newly made one (in my case swader), but we know swader has no access to write in /usr/share/nginx. We need to fix that first.
我们还需要将部署用户从root(如果您遵循我上面链接的安全性说明,不再允许)更改为我们新创建的用户(在我的情况下为swader ),但是我们知道swader无权写入/usr/share/nginx 。 我们需要首先解决该问题。
In the droplet run su - root to log in as root, and then:
在小滴中运行su - root以su - root身份登录,然后:
usermod -a -G www-data swader
chown -R root:www-data /usr/share/nginx
chmod -R g+rwX /usr/share/nginx
exit
This adds the user to the www-data group, then makes the group own the folder in question, and then allows the group to perform necessary actions on said folder. Finally, we exit back into the regular user, out of root. If you’d like to test this, you need to log out with exit and log back in for group membership to take effect.
这会将用户添加到www-data组,然后使该组拥有该文件夹,然后允许该组对该文件夹执行必要的操作。 最后,我们退出root身份回到普通用户。 如果要对此进行测试,则需要exit并重新登录,以使组成员身份生效。
We’re now ready to deploy.
我们现在准备部署。
部署方式 (Deployment)
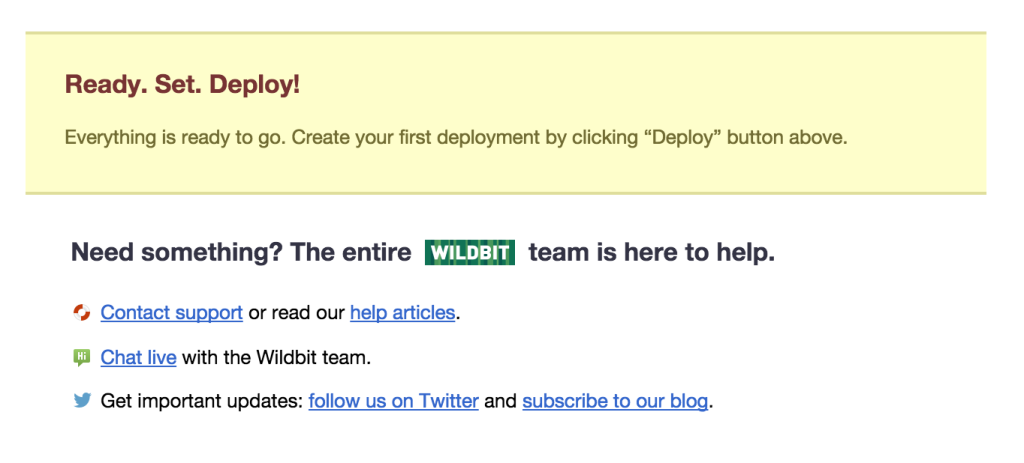
To deploy, click one of the many suggested Deploy buttons around the DeployBot GUI.
要进行部署,请单击DeployBot GUI周围的许多建议的Deploy按钮之一。
On the next screen, you get the chance to write a deployment note – just in case you want to let your team know something, or want to put down a reminder for yourself in the future.
在下一个屏幕上,您将有机会编写一份部署说明,以防万一您想让您的团队了解一些情况,或者希望将来给您自己一个提醒。
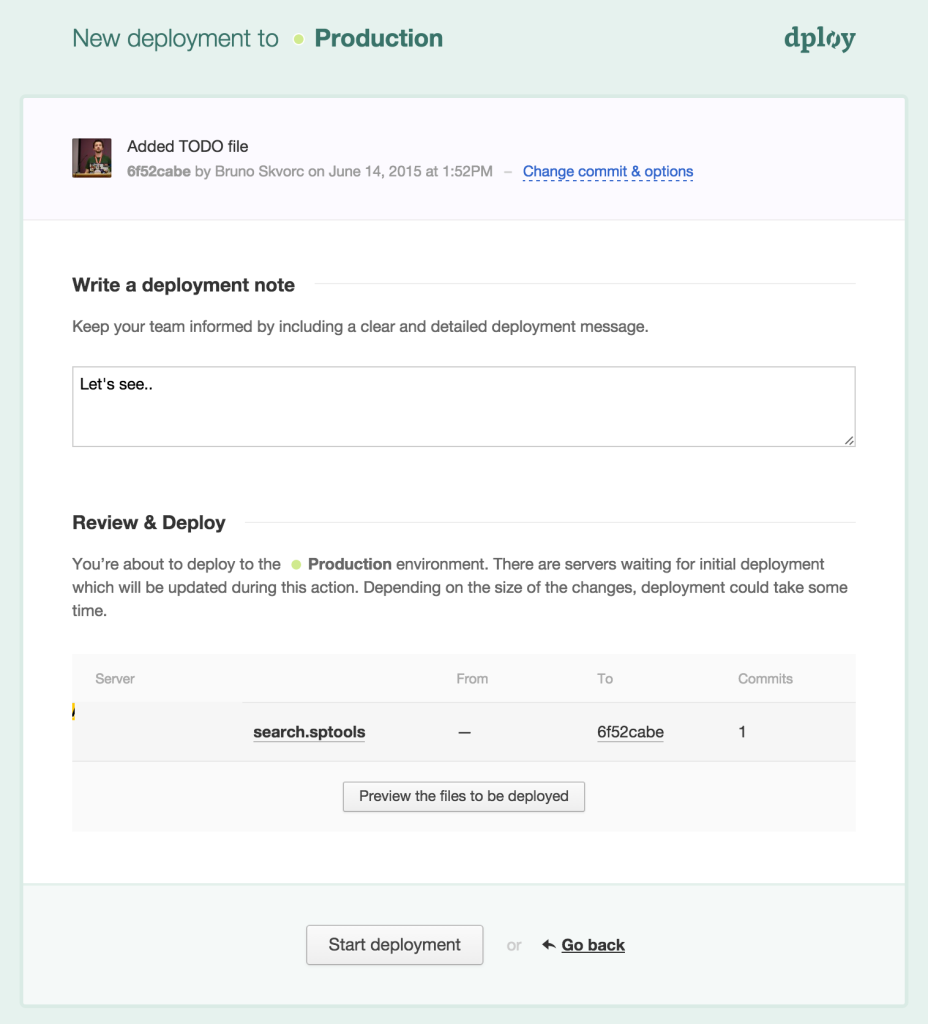
Once you hit “Start Deployment”, DeployBot will get down to business.
单击“开始部署”后,DeployBot将开始工作。
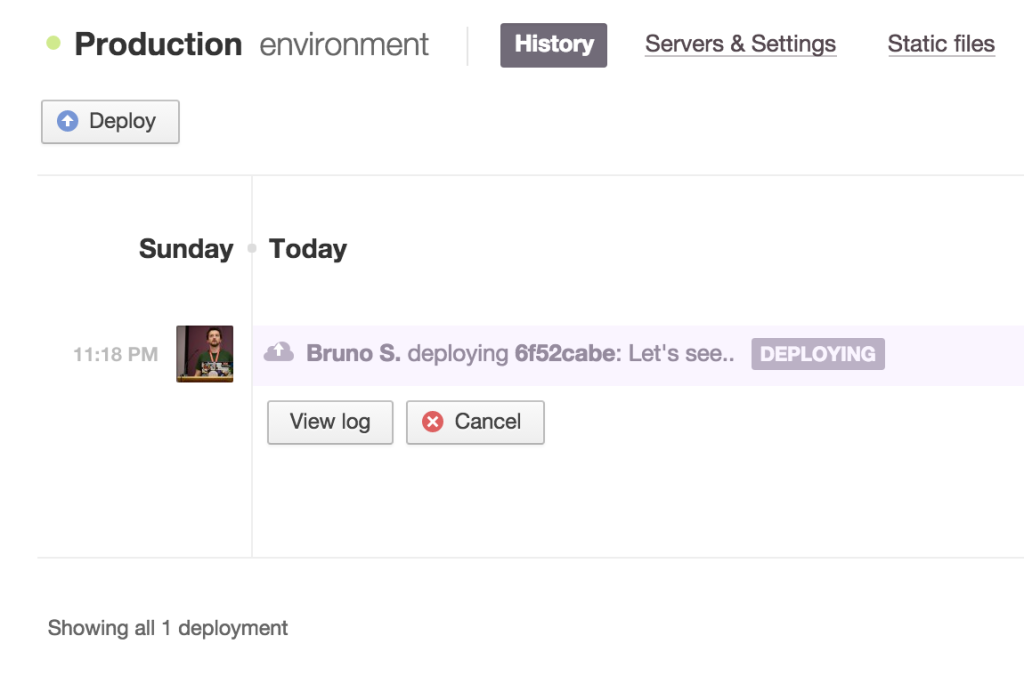
Depending on the size of your application and possible binary files it contains, this process might take a while, but once it’s done you should be able to notice the files are all where you want them to be:
根据您的应用程序的大小以及其中可能包含的二进制文件,此过程可能需要一些时间,但是一旦完成,您应该能够注意到文件位于您想要的所有位置:

Let’s see if it works in the browser.
让我们看看它是否在浏览器中有效。
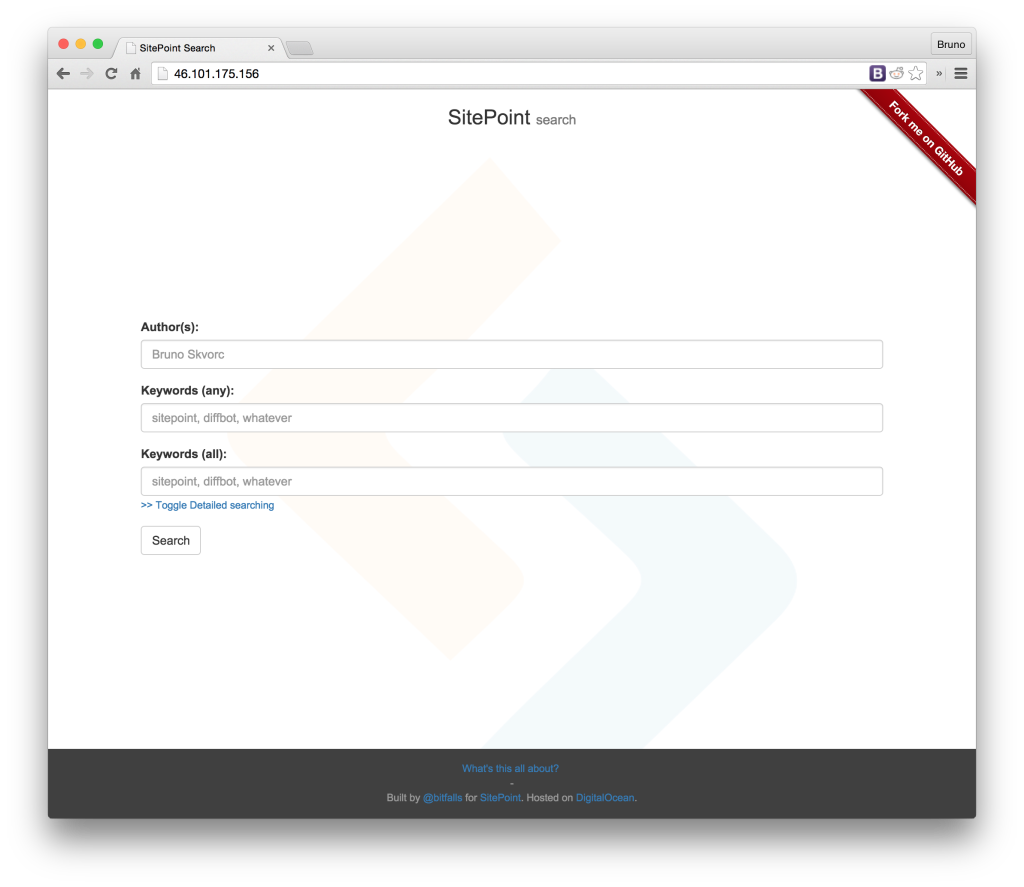
Sure enough, it works like a charm!
果然,它像一种魅力!
更新/重新部署 (Updating / redeploying)
It wouldn’t be much of an efficient deploy process if we had to go into the GUI every single time we want to make an update to the site and trigger the deploy process manually. That’s why there’s the trigger phrase in commit messages. If we make a new commit the message of which contains [deploy: production], this will force DeployBot to deploy to the environment called “production”. Let’s try it out.
如果我们每次都要更新GUI并手动触发部署过程,那么每次都要进入GUI并不是一个有效的部署过程。 这就是为什么提交消息中包含触发短语的原因。 如果我们进行新提交,其消息包含[deploy: production] ,则这将强制DeployBot部署到称为“生产”的环境。 让我们尝试一下。
I’m making a change to the about page of my app, and committing.
我正在更改应用程序的“关于”页面,然后提交。
git add -A
git commit -m "Made some changes to the about page. [deploy: production]"
git push origin master
Before I could reload the live site, the DeployBot dashboard already claimed it was done. The deployment was impressively fast due to the minor differences between the two releases.
在重新加载实时站点之前,DeployBot仪表板已经声明已完成。 由于两个版本之间的微小差异,部署速度非常快。
结论 (Conclusion)
In this tutorial, we saw what a straightforward tool Deploybot was. While it may not be up there in popularity with the hottest deployment tools, it’s an underdog possibly worth considering. Coupled with reports from tools like Scrutinizer and Travis in the pre-launch scripts, it can be turned into a truly powerful and safe workflow.
在本教程中,我们了解了Deploybot是一个简单的工具。 尽管使用最热门的部署工具可能并不受欢迎,但这可能是一个值得考虑的劣势。 结合启动前脚本中的Scrutinizer和Travis等工具的报告,它可以变成真正强大且安全的工作流程。
Have you tried it? Will you? What tools do you use for your deploy chain? Let us know in the comments!
你有试过吗 你会? 您在部署链中使用哪些工具? 让我们在评论中知道!
翻译自: https://www.sitepoint.com/deploying-php-apps-digitalocean-dploy-io/


 813
813

 被折叠的 条评论
为什么被折叠?


