


In this tutorial I will teach you to make a very basic and simple flashlight app for android. This application lets you turn on and off your phone camera’s LED flash. I have tested this app in some Micromax and Karbonn mobiles.
在本教程中,我将教您制作一个非常简单的Android手电筒应用程序。 此应用程序使您可以打开和关闭手机摄像头的LED闪光灯。 我已经在某些Micromax和Karbonn手机中测试了此应用程序。
Also Read: Simple Notepad App Android Example Also Read: How to Make a Calculator App for Android
另请参阅: Android的简单记事本应用程序示例 还请阅读: 如何为Android制作计算器应用程序
Flashlight App Android示例 (Flashlight App Android Example)
Create a new project with package name com.thecrazyprogrammer.www.flashlight. You can change it according to you, but make sure to change the package name in the main code.
使用包名称com.thecrazyprogrammer.www.flashlight创建一个新项目。 您可以根据自己的需要进行更改,但是请确保在主代码中更改程序包名称。
MainActivity.java (MainActivity.java)
package com.thecrazyprogrammer.www.flashlight;
import android.app.Activity;
import android.os.Bundle;
import android.view.View;
import android.widget.Button;
import android.hardware.Camera;
import android.hardware.Camera.Parameters;

public class MainActivity extends Activity {

    Button onBtn,offBtn;
    Camera cam;
    Parameters p;
    boolean status;

    @Override
    protected void onCreate(Bundle savedInstanceState) {
        super.onCreate(savedInstanceState);
        setContentView(R.layout.activity_main);

        onBtn=(Button)findViewById(R.id.onBtn);
        offBtn=(Button)findViewById(R.id.offBtn);

        onBtn.setOnClickListener(new View.OnClickListener() {
            @Override
            public void onClick(View v) {

                if(!status)
                {
                    cam = Camera.open();
                    p = cam.getParameters();
                    p.setFlashMode(Parameters.FLASH_MODE_TORCH);
                    cam.setParameters(p);
                    cam.startPreview();
                    status=true;
                }
            }
        });

        offBtn.setOnClickListener(new View.OnClickListener() {
            @Override
            public void onClick(View v) {

                if(status) {
                    cam.stopPreview();
                    cam.release();
                    status=false;
                }
            }
        });
    }
}
activity_main.xml (activity_main.xml)
<LinearLayout xmlns:android="http://schemas.android.com/apk/res/android"
xmlns:tools="http://schemas.android.com/tools" android:layout_width="match_parent"
android:layout_height="match_parent" android:paddingLeft="@dimen/activity_horizontal_margin"
android:paddingRight="@dimen/activity_horizontal_margin"
android:paddingTop="@dimen/activity_vertical_margin"
android:paddingBottom="@dimen/activity_vertical_margin" tools:context=".MainActivity"
android:orientation="vertical"
android:gravity="center">
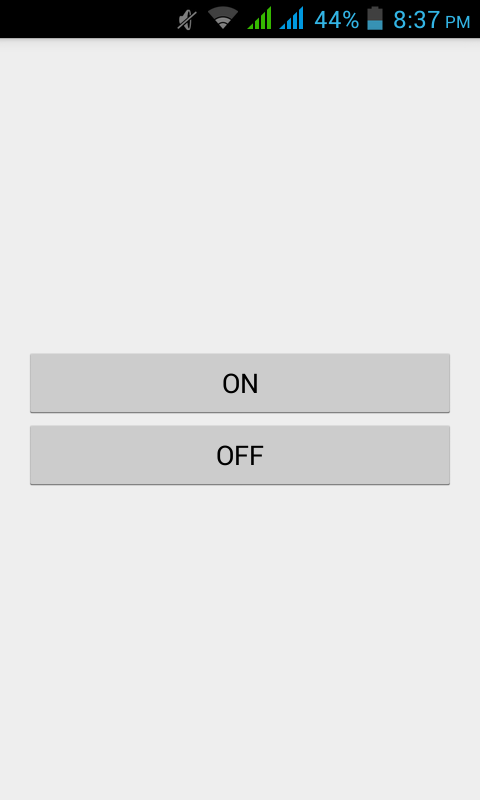
<Button
android:layout_width="match_parent"
android:layout_height="wrap_content"
android:text="ON"
android:id="@+id/onBtn"/>
<Button
android:layout_width="match_parent"
android:layout_height="wrap_content"
android:text="OFF"
android:id="@+id/offBtn"/>
</LinearLayout>AndroidManifest.xml (AndroidManifest.xml)
<?xml version="1.0" encoding="utf-8"?>
<manifest xmlns:android="http://schemas.android.com/apk/res/android"
    package="com.thecrazyprogrammer.www.flashlight" >

    <uses-permission android:name="android.permission.CAMERA" />
    <uses-feature android:name="android.hardware.camera" />

    <application
        android:allowBackup="true"
        android:icon="@mipmap/ic_launcher"
        android:label="@string/app_name"
        android:theme="@style/AppTheme" >
        <activity
            android:name=".MainActivity"
            android:label="@string/app_name" >
            <intent-filter>
                <action android:name="android.intent.action.MAIN" />

                <category android:name="android.intent.category.LAUNCHER" />
            </intent-filter>
        </activity>

    </application>

</manifest>
说明 (Explanation)
Turn On Flashlight
打开手电筒
The following code turn on the flashlight.
以下代码打开手电筒。
cam = Camera.open();
p = cam.getParameters();
p.setFlashMode(Parameters.FLASH_MODE_TORCH);
cam.setParameters(p);
cam.startPreview();
Camera is a class used to perform all functionality related to camera.
相机是用于执行与相机相关的所有功能的类。
Turn Off Flashlight
关闭手电筒
The following code turn off the flashlight.
以下代码关闭手电筒。
cam.stopPreview();
cam.release();
Camera Permission
摄影机权限
Make sure to add following two lines in AndroidManifest.xml file to get access to camera device.
确保在AndroidManifest.xml文件中添加以下两行以访问摄像头设备。
<uses-permission android:name="android.permission.CAMERA" />
<uses-feature android:name="android.hardware.camera" />
You can test this app in your mobile by downloading the apk from below link.
您可以通过以下链接下载apk在手机中测试此应用。
If you found anything incorrect or have doubts regarding above flashlight app android example tutorial then comment below.
如果您发现任何不正确或对上述手电筒应用android示例教程有疑问,请在下面评论。
翻译自: https://www.thecrazyprogrammer.com/2015/09/flashlight-app-android-example.html


 5338
5338

 被折叠的 条评论
为什么被折叠?
被折叠的 条评论
为什么被折叠?
 到【灌水乐园】发言


