


parcel react
When it comes to web application bundling, there's a new kid on the block and that's Parcel. ParcelJS is a relatively new bundler that was launched sometime around October, last year. Parcel describes itself as a blazing fast, zero-configuration web application bundler.
当涉及到Web应用程序捆绑时,有一个新来的孩子,那就是Parcel。 ParcelJS是一个相对较新的捆绑器,于去年10月左右推出。 Parcel将自己描述为一个快速,零配置的Web应用程序捆绑包。
Parcel is based on the premise that building apps with JavaScript bundlers could be easier. Wepback is arguably the most popular bundler out there right now, it's an awesome tool that gives you the power of configurability but sometimes all you need is a minimal tool that helps you get started as soon as possible.
Parcel的前提是,使用JavaScript捆绑器构建应用可能会更容易。 Wepback可以说是目前最流行的捆绑软件,它是一个了不起的工具,可为您提供可配置性,但是有时您所需要的只是一个最小的工具,可帮助您尽快上手。
This is where Parcel comes in. It touts itself as a fast bundle tool with zero configuration, all you need to is just point it at the entry point of your application, and it does the right thing. Parcel offers the following features:
这就是Parcel的用武之地。它自称为具有零配置的快速捆绑工具,您所要做的只是将其指向应用程序的入口点,并且做对了。 包裹提供以下功能:
- Blazing fast bundle times - Parcel has a considerably faster time than other bundling tools out there. Below is a screenshot of the Parcel page on Github.
快速的捆绑时间-包裹的时间比其他捆绑工具快得多。 以下是Github上包裹页面的屏幕截图。

- Assets Bundling - Parcel has out of the box support for JS, CSS, HTML, file assets. 资产捆绑-包裹具有对JS,CSS,HTML,文件资产的开箱即用支持。
- Automatic transforms - All your code are automatically transformed using Babel, PostCSS, and PostHTML. 自动转换-使用Babel,PostCSS和PostHTML自动转换所有代码。
- Code Splitting - Parcel allows you to split your output bundle by using the dynamic import() syntax. 代码拆分-使用Parcel,您可以使用动态import()语法拆分输出包。
- Hot module replacement (HMR) - Parcel automatically updates modules in the browser as you make changes during development, no configuration needed. 热模块更换(HMR)-在开发过程中进行更改时,Parcel会自动更新浏览器中的模块,无需进行配置。
- Error Logging - Parcel prints syntax highlighted code frames when it encounters errors to help you pinpoint the problem. 错误记录-包裹遇到错误时,Parcel会打印语法突出显示的代码帧,以帮助您查明问题。
One other thing to note about Parcel is that it allows developers to use an index.html file as an entry point as opposed to JS modules.
关于Parcel的另一件事要注意的是,它允许开发人员使用index.html文件作为入口点,而不是JS模块。
包裹入门 ( Getting Started With Parcel )
Let's get right into it and see how Parcel works. Create a new working directory and install Parcel by running the command below in your terminal.
让我们直接了解一下Parcel的工作原理。 创建一个新的工作目录并通过在终端中运行以下命令来安装Parcel。
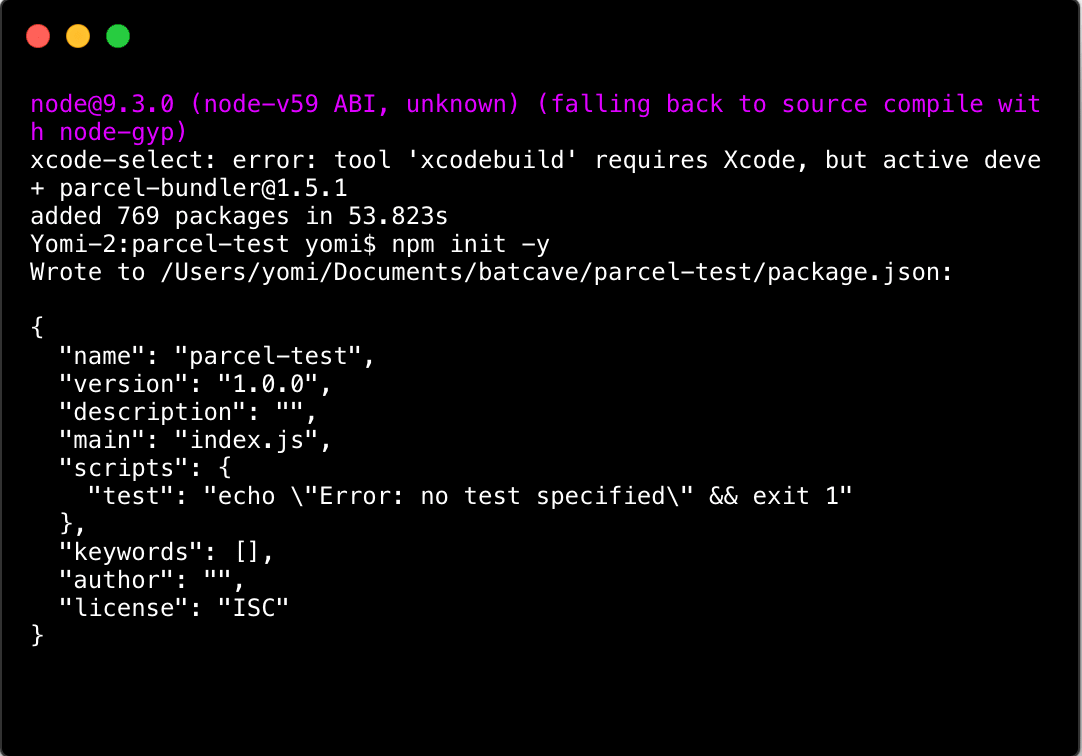
npm install -g parcel-bundlerThe next thing to do is create a package.json file in your directory. You can do this by running the command below.
下一步要做的是在目录中创建一个package.json文件。 您可以通过运行以下命令来执行此操作。
npm init -yThat generates a working package.json for you.
会为您生成一个有效的package.json 。
As mentioned above, Parcel can take any type of file as it's entry point but an HTML or JavaScript file is a good place to start. If you link your main JavaScript file in the HTML using a relative path, Parcel will also process it for you. Let's create the index.html and index.js file now.
如上所述,Parcel可以使用任何类型的文件作为入口,但是HTML或JavaScript文件是一个很好的起点。 如果您使用相对路径在HTML中链接主JavaScript文件,Parcel也会为您处理该文件。 让我们现在创建index.html和index.js文件。
index.html
index.html
<html>
<body>
  <script src="./index.js"></script>
</body>
</html>
index.js
index.js
console.log("hello world");So now that we have the files, how do we run the app? One of the many cool things about Parcel is that, it comes with a development server built in which will automatically rebuild your app as you change files and supports hot module replacement for fast development. To run the app, run the terminal command below:
现在我们有了文件,我们如何运行该应用程序? 关于Parcel的许多很酷的事情之一是,它带有一个内置的开发服务器,当您更改文件时,该服务器将自动重新构建您的应用程序,并支持热模块替换以进行快速开发。 要运行该应用程序,请运行以下终端命令:
parcel index.htmlYou can now open http://localhost:1234/ in your browser and check the console for the output in the console.

现在,您可以在浏览器中打开http:// localhost:1234 / ,并在控制台中检查控制台中的输出。
包裹和React ( Parcel and React )
That's all there is to get started. Next, let's actually setup a React project with Parcel. Before we go on, we'll need to install some dependencies.
这就是开始的全部。 接下来,让我们实际使用Parcel设置一个React项目。 在继续之前,我们需要安装一些依赖项。
npm i react
npm i react-dom
The dependencies above will help to install React and react-dom in our application. Since React is written in ES6, we'll need a way to transform the code. Parcel does that for you with no need for configs, all you have to do is install the presets and Parcel does all the heavy lifting for you.
上面的依赖关系将有助于在我们的应用程序中安装React和react-dom。 由于React是用ES6编写的,因此我们需要一种方法来转换代码。 Parcel无需配置即可为您完成这项工作,您所需要做的就是安装预设,而Parcel会为您完成所有繁重的工作。
npm i babel-preset-env babel-preset-react --save-devOnce that's done, create a .babelrc file and edit it with the following:
完成后,创建一个.babelrc文件,并使用以下内容对其进行编辑:
{
  "presets": ["env", "react"]
}
Now Babel is configured to transform ES6/ES7 JavaScript into a meaningful JavaScript bundle for browsers.
现在,Babel已配置为将ES6 / ES7 JavaScript转换为对浏览器有意义JavaScript包。
Let's begin to create the React app and its components. Open up the index.html file and replace it with the code below.
让我们开始创建React应用及其组件。 打开index.html文件,并将其替换为下面的代码。
<!DOCTYPE html>
<html>
<head>
    <title>React starter app</title>
    <link rel="stylesheet" href="https://cdnjs.cloudflare.com/ajax/libs/bulma/0.6.2/css/bulma.min.css">
</head>
<body>
<div id="app"></div>
<script src="./src/index.js"></script>
</body>
</html>
Next up, create a folder titled src and in it create an index.js file and edit it with the following.
接下来,创建一个名为src的文件夹,并在其中创建index.js文件,并使用以下内容对其进行编辑。
import React from "react";
import ReactDOM from "react-dom";
import Header from './components/Header'

class HelloMessage extends React.Component {
    render() {
        return <div>
            <Header/>
            <div className="container">
                <h1>Hello {this.props.name}</h1>
            </div>
        </div>
    }
}

let App = document.getElementById("app");

ReactDOM.render(<HelloMessage name="Yomi" />, App);
This is a basic React starting app, the HelloMessage component will be rendered in the index.html file in the div with an id of app.
这是一个基本的React启动应用程序, HelloMessage组件将在id为app的div的index.html文件中呈现。
Let's create the Header component too. Create a component folder and in it, create a JS file titled Header.js and edit it with the code below.
让我们也创建Header组件。 创建一个component文件夹,并在其中创建一个名为Header.js的JS文件,并使用以下代码对其进行编辑。
import React from 'react'
import ParcelLogo from "../img/parcel-logo.svg";

const Header = () => (
    <header>
        <nav className="navbar" role="navigation" aria-label="main navigation">
            <div className="navbar-brand">
                <a className="navbar-item" href="/">
                    <img width="120" src={ParcelLogo} alt=""/>
                </a>
            </div>
        </nav>
    </header>
)

export default Header
As you can see above, Parcel also supports import of assets like images. One more thing to note is that, Parcel also ships with SCSS support. All you need to do is install node-sass, which can be done with the terminal command below.
如您在上方所见,Parcel还支持导入资产(如图像)。 需要注意的另一件事是,Parcel还附带了SCSS支持。 您需要做的就是安装node-sass ,可以通过下面的terminal命令完成。
npm i node-sassOnce you have node-sass installed you can import SCSS files from JavaScript files. In your index.js file, add the line of code below to the top of the file to import an SCSS file.
一旦安装了node-sass,就可以从JavaScript文件导入SCSS文件。 在index.js文件中,将以下代码行添加到文件顶部,以导入SCSS文件。
index.js
index.js
import './scss/app.scss'Let's also create the app.scss file. Create a folder titled scss and create a file titled app.scss and edit it with the following.
我们还要创建app.scss文件。 创建一个名为scss的文件夹,并创建一个名为app.scss的文件,并使用以下内容对其进行编辑。
body {
  background-color: #fefefe;
  text-align: center;
  .navbar {
    background: #21374B;
    color: #E7DACB;
    height: 50px;
  }
  h1 {
    font-size: 40px;
    margin-top: 30px;
  }
}
Now that we're done setting up the React app, let's run it and see if it works. To do that, we'll need to start a dev server and configure our package.json. Add the line of code below to the package.json file.
现在我们已经完成了React应用的设置,让我们运行它,看看它是否有效。 为此,我们需要启动开发服务器并配置我们的package.json 。 将下面的代码行添加到package.json文件。
"scripts": {
"start": "parcel index.html"
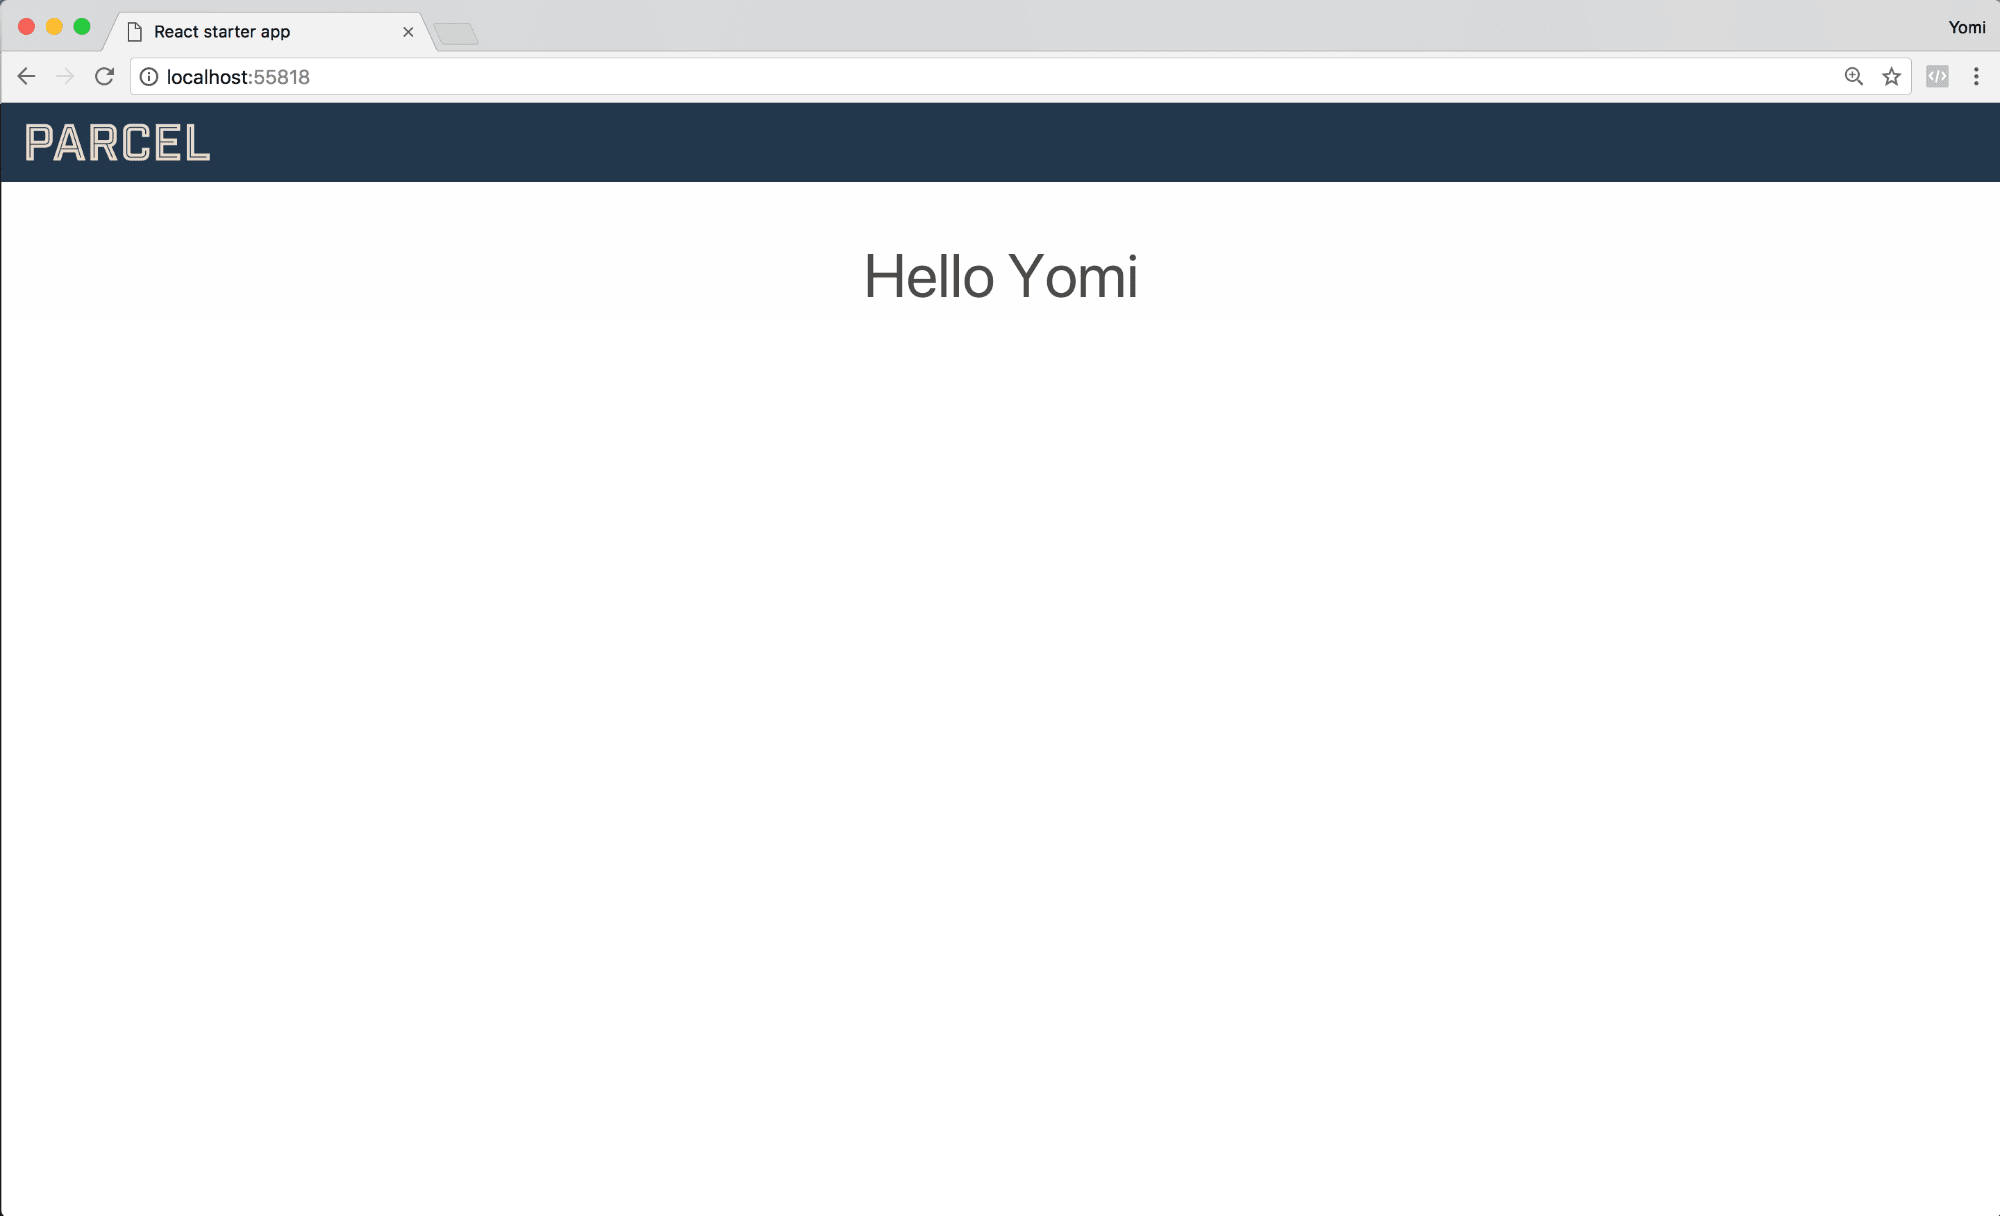
},This means that, whenever we run the npm start command, we are telling Parcel to start a development server using the index.html file as a entry file. Run the npm start command and you can now view the React app at http://localhost:1234 with support for hot module reloading.
这意味着,每当运行npm start命令时,我们都在告诉Parcel使用index.html文件作为入口文件来启动开发服务器。 运行npm start命令,您现在可以在http:// localhost:1234上查看React应用程序,并支持热模块重新加载。
生产建筑 ( Building for Production )
To prepare your app for production with Parcel, all you need to do is run the command parcel build .... Let's add that to the scripts object in the package.json file.
要准备使用Parcel进行生产的应用程序,您所需要做的就是运行命令parcel build ... 让我们将其添加到package.json文件中的scripts对象中。
"scripts": {
    "start": "parcel index.html",
    "build": "parcel build index.html"
  },
Once you run the npm run build command, Parcel disables watch mode and hot module replacement so it will only build once. It also enables the minifier for all output bundles to reduce file size. The build command also enables production mode which also sets the NODE_ENV=production environment variable. Parcel also gives you some options in which you can use to choose how your app is prepared for production mode.
一旦运行npm run build命令,Parcel将禁用监视模式和热模块替换,因此它将仅构建一次。 它还使所有输出包的压缩程序能够减小文件大小。 build命令还启用生产模式,该模式还设置了NODE_ENV=production环境变量。 Parcel还为您提供了一些选项,您可以在其中使用这些选项来选择应用程序如何准备进入生产模式。
Change output directory If you'd prefer another directory for Parcel to put the production files in (dist is the default directory), you can specify that by appending --out-dir directory-name at the end of the build key in package.json so it looks like this:
更改输出目录如果希望Parcel使用另一个目录将生产文件放入( dist是默认目录),则可以通过在软件包的build键末尾附加--out-dir directory-name来指定该--out-dir directory-name 。 json,所以看起来像这样:
"scripts": {
    "start": "parcel index.html",
    "build": "parcel build index.html --out-dir directory-name"
  },
Disable minification If for some weird reasons, you'd like to disable minification which is the default setting, you can do that by appending --no-minify at the end of the build key in package.json so it looks like this:
禁用缩小如果出于某些奇怪的原因,您想禁用最小化(这是默认设置),则可以通过在package.json的build密钥末尾附加--no-minify来做到这一点,如下所示:
"scripts": {
    "start": "parcel index.html",
    "build": "parcel build index.html --no-minify"
  },
Disable filesystem cache If you'd like to disable filesystem caching, you can do that by appending --no-cache at the end of the build key in package.json so it looks like this:
禁用文件系统缓存如果要禁用文件系统缓存,可以通过在package.json的build键末尾附加--no-cache来实现,如下所示:
"scripts": {
    "start": "parcel index.html",
    "build": "parcel build index.html --no-cache"
  },
You can read more about the different options here.
结论 ( Conclusion )
In this tutorial, we've seen how easy Parcel makes web app bundling looks with features like zero config and fast bundling time. Parcel is still relatively new and its support keeps growing in numbers every day. Its use case might be different from Webpack but it's a bundle tool that can be considered in your everyday web development.
在本教程中,我们已经了解了Parcel如何轻松实现具有零配置和快速捆绑时间等功能的Web应用捆绑。 包裹仍然相对较新,其支持每天都在增长。 它的用例可能不同于Webpack,但它是一个捆绑工具,可以在您的日常Web开发中考虑。
You can check out the Parcel repo here to see issues and submit PRs.
您可以在此处签出包裹回购以查看问题并提交PR。
The codebase for this tutorial can also be seen here.
本教程的代码库也可以在这里看到。
翻译自: https://scotch.io/tutorials/setting-up-a-react-project-with-parcel
parcel react


 674
674

 被折叠的 条评论
为什么被折叠?
被折叠的 条评论
为什么被折叠?
 到【灌水乐园】发言


