laravel集成谷歌验证
Laravel is a wonderful PHP framework that makes building applications with PHP a lot of fun.
Laravel是一个很棒PHP框架,它使使用PHP构建应用程序变得非常有趣。
One of the nice features of Laravel is how easy it is to set up user authentication. It includes everything from registering to authentication and even password retrieval.
Laravel的一项不错的功能是设置用户身份验证非常容易。 它包括从注册到身份验证甚至是密码检索的所有内容。
However, with the state of the things at the moment, the regular email and password login method is becoming less and less secure. Brute force attacks, phishing scams, data breaches, and SQL injection attacks have become so common that usernames and passwords can be easily cracked, captured, and leaked. Also, the use of weak passwords, same passwords across multiple accounts, and unsecure wifi networks, put many people in jeopardy of getting hacked.
但是,鉴于目前的状况,常规的电子邮件和密码登录方法变得越来越安全。 蛮力攻击,网络钓鱼诈骗,数据泄露和SQL注入攻击已变得非常普遍,用户名和密码很容易被破解,捕获和泄漏。 此外,使用弱密码,跨多个帐户使用相同密码以及不安全的wifi网络,使许多人面临被黑客攻击的危险。
Two factor authentication (2FA) strengthens access security by requiring two methods (also referred to as factors) to verify your identity. Two factor authentication protects against phishing, social engineering and password brute force attacks and secures your logins from attackers exploiting weak or stolen credentials.
两要素认证(2FA)通过要求两种方法(也称为要素)来验证您的身份,从而增强了访问安全性。 两因素身份验证可防止网络钓鱼,社会工程学和密码暴力破解攻击,并利用脆弱或被盗的凭据保护您的登录名不受攻击者的攻击。
In this tutorial, we are going to learn how to add two factor authentication to our Laravel application. We'll be using Google Authenticator and implementing the Time-based One-time Password (TOTP) algorithm specified in RFC 6238.
在本教程中,我们将学习如何在我们的Laravel应用程序中添加两因素身份验证。 我们将使用Google Authenticator并实现RFC 6238中指定的基于时间的一次性密码(TOTP)算法。
To use the two factor authentication, your user will have to install a Google Authenticator compatible app. Here are some that are currently available:
要使用两因素身份验证,您的用户将必须安装与Google Authenticator兼容的应用。 以下是一些当前可用的:
- Authy for iOS, Android, Chrome, OS X 适用于iOS,Android,Chrome,OS X的Authy
- FreeOTP for iOS, Android and Pebble 适用于iOS,Android和Pebble的FreeOTP
- Google Authenticator for iOS 适用于iOS的Google身份验证器
- Google Authenticator for Android 适用于Android的Google身份验证器
- Google Authenticator (port) on Windows Store Windows Store上的Google Authenticator(端口)
- Microsoft Authenticator for Windows Phone Windows Phone的Microsoft身份验证器
- LastPass Authenticator for iOS, Android, OS X, Windows 适用于iOS,Android,OS X,Windows的LastPass Authenticator
- 1Password for iOS, Android, OS X, Windows 1适用于iOS,Android,OS X,Windows的密码
配置 ( Setting up )
安装Laravel (Installing Laravel)
To start, we will create a fresh Laravel installation. Let's install it in a folder called laravel-2fa
首先,我们将创建一个全新的Laravel安装。 让我们将其安装在名为laravel-2fa的文件夹中
composer create-project --prefer-dist laravel/laravel laravel-2fa# set proper folder permissions
sudo chmod -R 777 laravel-2fa/storage laravel-2fa/bootstrap/cache
For more detailed installation instructions, visit the documentation.
有关更详细的安装说明,请访问文档 。
We can then start our server with the command:
然后,我们可以使用以下命令启动服务器:
php artisan serve --port=8000Now our website will be available on http://localhost:8000. It should look like this.
现在我们的网站将在http://localhost:8000上可用。 它应该看起来像这样。

连接到数据库 (Connecting to a database)
In order to manage the user data, we need to connect to a database. We will use MySQL for this tutorial, but it works the same for any other database system.
为了管理用户数据,我们需要连接到数据库。 在本教程中,我们将使用MySQL,但对于其他任何数据库系统,它的作用相同。
In the .env file, edit the following lines according to your database setup.
在.env文件中,根据数据库设置编辑以下几行。
# .env
DB_CONNECTION=mysql
DB_HOST=127.0.0.1
DB_PORT=3306
DB_DATABASE=homestead
DB_USERNAME=homestead
DB_PASSWORD=secret
You should also update the following lines.
您还应该更新以下几行。
# .env
APP_NAME=Laravel 2FA Demo
APP_URL=http://localhost:8000
This is to give our application a name different from the default (Laravel) and also to update our base URL. You can choose any other URL depending on your setup, but take note and use the right base URL while following this tutorial.
这是为了给我们的应用程序一个不同于默认名称的名称(Laravel),并更新我们的基本URL。 您可以根据自己的设置选择其他任何URL,但是在学习本教程时,请注意并使用正确的基本URL。
设置Laravel身份验证 ( Setting up Laravel authentication )
Laravel ships with several pre-built authentication controllers and provides a quick way to scaffold all of the routes and views you need for authentication using one simple command:
Laravel随附了几个预先构建的身份验证控制器,并提供了一种使用一种简单的命令来搭建身份验证所需的所有路由和视图的快速方法:
php artisan make:auth# create the database tables needed with
php artisan migrate
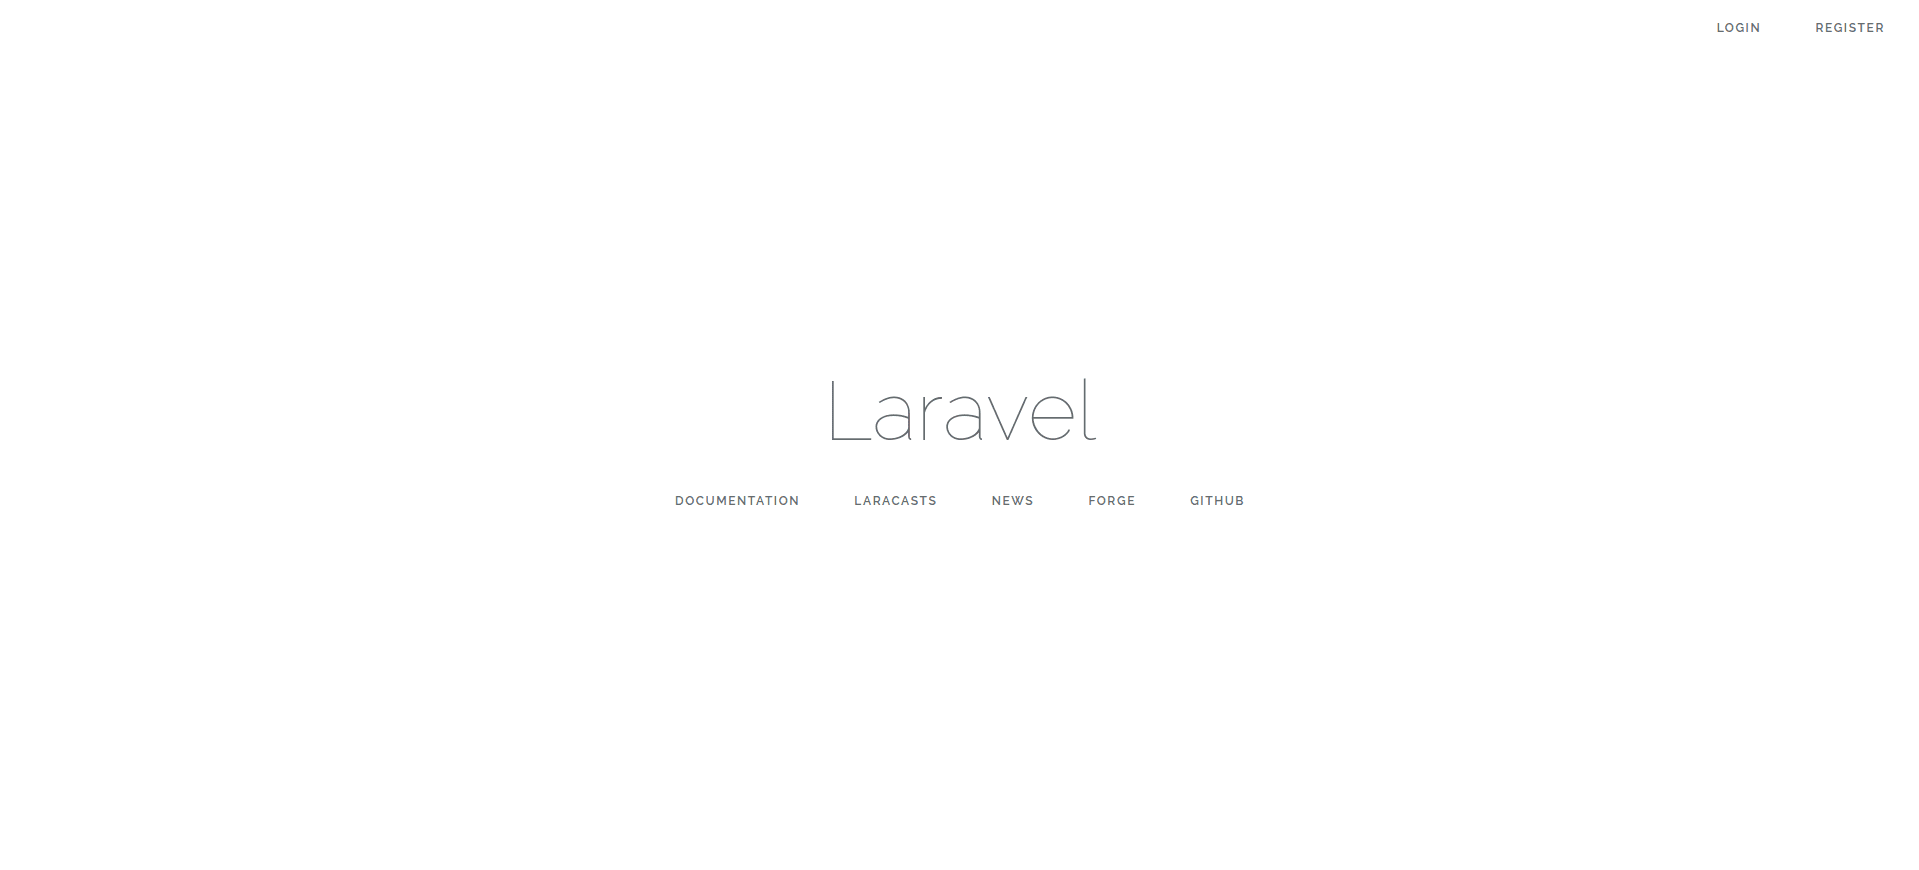
If we visit our site, we will now see this. Notice LOGIN and REGISTER at the top of the screen.
如果我们访问我们的网站,我们现在将看到此信息。 注意屏幕顶部的“ LOGIN和“ REGISTER ”。
 .
.
We can then visit http://localhost:8000/register to register a new user.
然后,我们可以访问http://localhost:8000/register注册一个新用户。
在注册过程中添加两个因素认证 ( Adding two factor authentication during registration )
What we aim to achieve is this:
我们旨在实现的目标是:
- When a new user tries to register we will generate a user secret for the authenticator. 当新用户尝试注册时,我们将为身份验证器生成用户密码。
- On the next request, we will use that secret to show the QR code for the user to set up their Google Authenticator. 在下一个请求时,我们将使用该密码显示QR码,以供用户设置其Google身份验证器。
- When the user clicks "OK" we will then register the user with their Google Authenticator secret. 当用户单击“确定”时,我们将使用其Google Authenticator密码注册用户。
This way the QR code page is accessible ONLY once. This is for maximum security. If the user wants to set up the two factor authentication again, they will have to repeat the flow and invalidate the old one.
这样,QR码页面只能访问一次。 这是为了最大程度的安全。 如果用户想再次设置两因素身份验证,则他们将不得不重复该流程并使旧的身份验证无效。
To achieve this, we will put a step for setting up the Google Authenticator before registering the user in the database.
为此,我们将采取步骤设置Google身份验证器,然后再在数据库中注册用户。
To make changes to the registration flow, we have to define the register method of the RegisterController (you can find it at app/Http/Controllers/Auth/RegisterController).
要更改注册流程,我们必须定义RegisterController的register方法(您可以在app/Http/Controllers/Auth/RegisterController找到它)。
生成并显示秘密 (Generating and displaying the secret)
First, we need to install two packages.
首先,我们需要安装两个软件包。
composer require pragmarx/google2fa-laravel
composer require bacon/bacon-qr-code
If you are using Laravel 5.4 and below, you need to add PragmaRX\Google2FALaravel\ServiceProvider::class, to your providers array, and 'Google2FA' => PragmaRX\Google2FALaravel\Facade::class, to your aliases array in app/config/app.php (Laravel 4.x) or config/app.php (Laravel 5.x).
如果您使用的是Laravel 5.4及更低版本,则需要将PragmaRX\Google2FALaravel\ServiceProvider::class,添加到您的provider数组中,并将'Google2FA' => PragmaRX\Google2FALaravel\Facade::class,到app/config/app.php 'Google2FA' => PragmaRX\Google2FALaravel\Facade::class,数组中app/config/app.php 4.x)或config/app.php (Laravel 5.x)。
Next, we have to publish the config file using:
接下来,我们必须使用以下方法发布配置文件:
php artisan vendor:publish --provider=PragmaRX\\Google2FALaravel\\ServiceProviderNext, we include request class at the top of our RegisterController. This is so we can use the Request class without using of the full namespace.
接下来,我们在RegisterController的顶部包含请求类。 这样我们就可以使用Request类而不使用完整的名称空间。
// app/Http/Controllers/Auth/RegisterController.php

use Illuminate\Http\Request;
Then we define the register method of our RegisterController as this.
然后,我们以此定义RegisterController的register方法。
// app/Http/Controllers/Auth/RegisterController.php

    public function register(Request $request)
    {

        //Validate the incoming request using the already included validator method
        $this->validator($request->all())->validate();

        // Initialise the 2FA class
        $google2fa = app('pragmarx.google2fa');

        // Save the registration data in an array
        $registration_data = $request->all();

        // Add the secret key to the registration data
        $registration_data["google2fa_secret"] = $google2fa->generateSecretKey();

        // Save the registration data to the user session for just the next request
        $request->session()->flash(


 最低0.47元/天 解锁文章


 6410
6410


 被折叠的 条评论
为什么被折叠?


