


angular2 cli
One of the most common stacks that accompany Angular as a web framework is the MEAN stack. MEAN simply stands for MongoDB, ExpressJS, Angular and NodeJS, and is a concept that came about a few years ago with the growing popularity of all those technologies, and the fact that you only needed to know one language, javascript, to get started.
MEAN堆栈是Angular作为Web框架最常见的堆栈之一。 MEAN只是MongoDB,ExpressJS,Angular和NodeJS的缩写,它是几年前出现的一个概念,随着所有这些技术的日益普及,而且您只需要了解一种语言即javascript就可以开始使用。
To explain the different parts,
为了解释不同的部分,
- MongoDB usually acts as the database for your application, in case you need to persist data. It's where we store records. 如果需要持久化数据, MongoDB通常充当应用程序的数据库。 我们在这里存储记录。
- ExpressJS is a web framework for nodejs, usually used as a backend for web apps in the MEAN stack. ExpressJS是用于nodejs的Web框架,通常用作MEAN堆栈中Web应用程序的后端。
- Angular is usually the client side MVC web framework. In this case, we will be using Angular 2.*. Angular通常是客户端MVC Web框架。 在这种情况下,我们将使用Angular 2. *。
- NodeJS powers express, and will be the layer our server run on. NodeJS支持express,它将成为我们服务器运行的层。
We've previously written about setting ap a mean single application page. Since then, we've seen Angular release a newer version, Angular 2, and with it the Angular CLI, that enables quick scaffolding of Angular 2 apps.
我们之前已经写过有关设置平均单个应用程序页面的文章 。 从那时起,我们已经看到Angular发布了较新的版本Angular 2,并附带了Angular CLI ,它可以快速构建Angular 2应用程序。
This article will focus on setting up a MEAN app with Angular 2, while still using the Angular CLI.
本文将重点介绍在仍然使用Angular CLI的情况下使用Angular 2设置MEAN应用的方法。
先决条件 ( Prerequisites )
We'll of course need the angular cli
我们当然需要角度cli
$npm install -g angular-cliYou also need to know a little about Creating Angular apps with the Angular CLI, as well as Creating an Express app.
您还需要了解一些有关使用Angular CLI创建Angular应用程序以及创建Express应用程序的知识 。
创建Angular应用 ( Creating the Angular App )
Next, we'll create an angular app with the CLI. If you'd like to use yarn please check below after the command.
接下来,我们将使用CLI创建一个角度应用程序。 如果您想使用纱线,请在命令后检查以下内容。
$ ng new mean-appNOTE: If you have yarn installed, simply skip npm then run yarn later. Otherwise, the above command should be fine.
注意:如果已安装纱线,只需跳过npm,然后再运行纱线即可。 否则,上面的命令应该没问题。
$ ng new mean-app --skip-npm
$cd mean-app
$ yarn
Both of the above approaches will scaffold an Angular 2 app and install all the dependencies. To serve the app, simply run
以上两种方法都将搭建Angular 2应用并安装所有依赖项。 要提供该应用,只需运行
$ ng serveAnd open http://localhost:4200 in your browser.
并在浏览器中打开http://localhost:4200 。
添加快递 ( Adding Express )
Angular CLI comes with a command ng build, which bundles your angular app into a dist folder, or a folder that you may specify in the angular-cli.json file. This is what our express app will point to.
Angular CLI带有命令ng build ,该命令将您的角度应用程序捆绑到dist文件夹或您可以在angular-cli.json文件中指定的文件夹中。 这就是我们的快速应用程序将指向的内容。
Install express and body-parser as dependecies.
根据需要安装express和body-parser。
$npm install --save express body-parserOr if using yarn
或者如果使用纱线
$ yarn add express body-parserThen create a file server.js and a folder server in the root of our angular project. The server.js file will have the server code, that will point to the server folder, where the rest of the server implementation is.
然后在我们的角度项目的根目录中创建一个文件server.js和一个文件夹server 。 server.js文件将包含服务器代码,该代码指向服务器文件夹,服务器实现的其余部分位于该文件夹中。
server.js
server.js
// Get dependencies
const express = require('express');
const path = require('path');
const http = require('http');
const bodyParser = require('body-parser');

// Get our API routes
const api = require('./server/routes/api');

const app = express();

// Parsers for POST data
app.use(bodyParser.json());
app.use(bodyParser.urlencoded({ extended: false }));

// Point static path to dist
app.use(express.static(path.join(__dirname, 'dist')));

// Set our api routes
app.use('/api', api);

// Catch all other routes and return the index file
app.get('*', (req, res) => {
  res.sendFile(path.join(__dirname, 'dist/index.html'));
});

/**
 * Get port from environment and store in Express.
 */
const port = process.env.PORT || '3000';
app.set('port', port);

/**
 * Create HTTP server.
 */
const server = http.createServer(app);

/**
 * Listen on provided port, on all network interfaces.
 */
server.listen(port, () => console.log(`API running on localhost:${port}`));
The above code sets up a simple express app, with an /api route and all other routes are directed towards the dist/index.html page. This catch all route, denoted with *, MUST come last after all other API routes have been defined.
上面的代码使用/api路由设置了一个简单的express应用,所有其他路由都指向dist/index.html页面。 该捕获的所有路由(用*表示) 必须在定义所有其他API路由之后排在最后。
The /api route points to a file ./server/routes/api.js. Let's create this file.
/api路由指向文件./server/routes/api.js 。 让我们创建这个文件。
server/routes/api.js
服务器/路由/api.js
const express = require('express');
const router = express.Router();

/* GET api listing. */
router.get('/', (req, res) => {
  res.send('api works');
});

module.exports = router;
One last thing before we run this. Since the catch all route is pointing to dist/index.html, we need to do a build of the angular app.
运行此操作之前的最后一件事。 由于捕获所有路线都指向dist/index.html ,因此我们需要构建angular应用程序。
$ ng buildThis creates the dist folder with the angular 2 app built files. Now we can serve the app with express.
这将创建带有angular 2应用程序内置文件的dist folder 。 现在,我们可以通过快递服务该应用了。
$ node server.jsGoing to http://localhost:3000 should load the app, and http://localhost:3000/api should show as below.
转到http://localhost:3000应该会加载应用程序,并且http://localhost:3000/api应该显示如下。
angular app (http://localhost:3000)
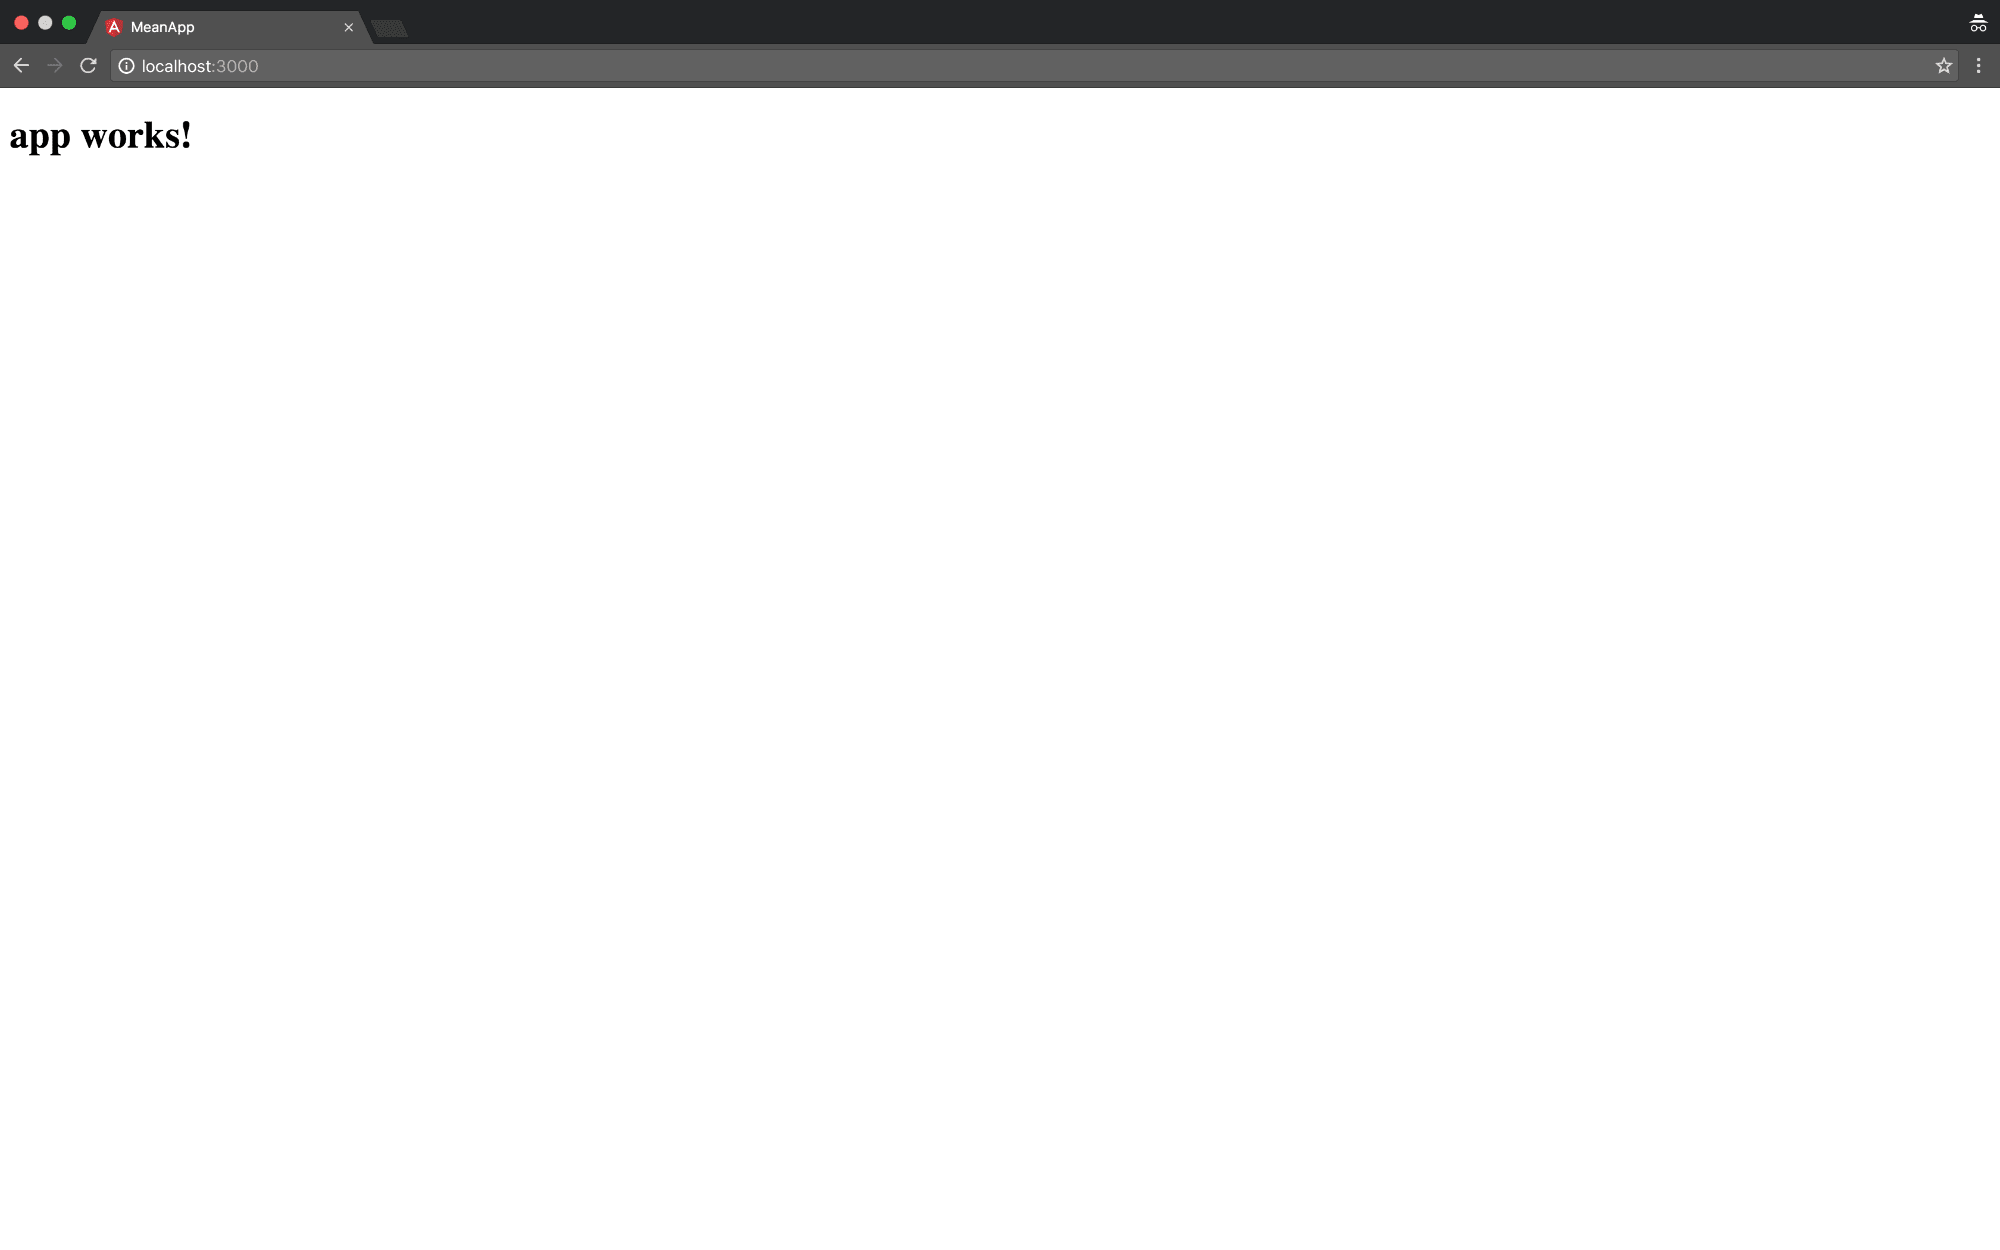
角度应用程序( http://localhost:3000 )
express api (http://localhost:3000/api)
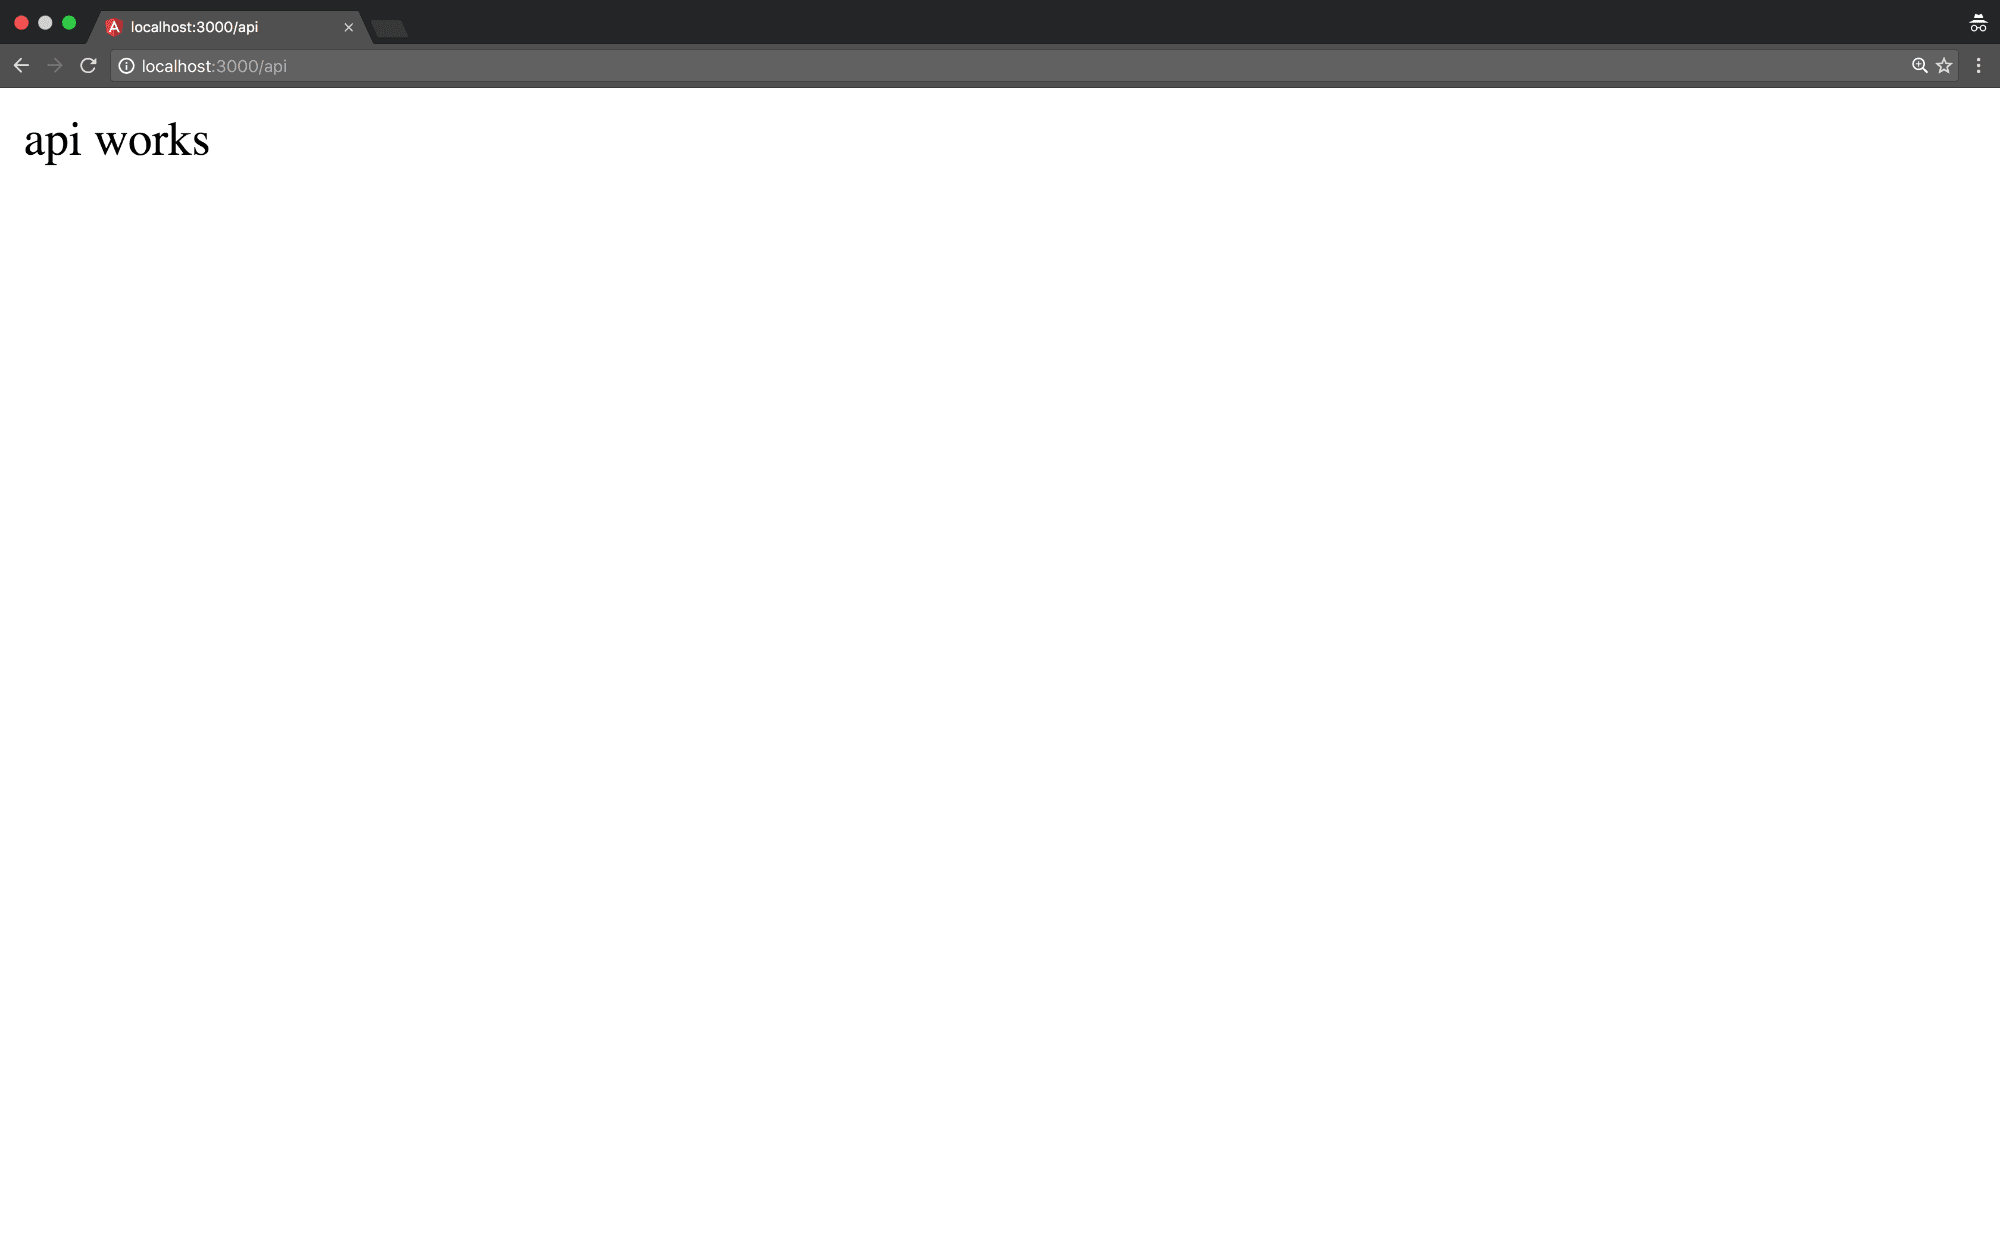
表达api( http://localhost:3000/api )
服务器数据 ( Server data )
Now that we have the api set up. Let's quickly mock up some data for three route endpoints. We'll call the jsonplaceholder mock api to respond with some data.
现在我们已经设置了api。 让我们快速模拟三个路由端点的一些数据。 我们将调用jsonplaceholder模拟api来响应一些数据。
In a real MEAN app however, this data should be retrieved from Mongo DB. To read more on this, you can go through connecting a node app to MongoDB.
但是,在真正的MEAN应用中,应从Mongo DB中检索此数据。 要了解更多信息,可以将节点应用程序连接到MongoDB 。
First add axios for making http requests.
首先添加axios以发出http请求。
$npm install --save axiosOr, if using yarn
或者,如果使用纱线
$ yarn add axiosThen, update the api.js file to have the following content.
然后,更新api.js文件以具有以下内容。
server/routes/api.js
服务器/路由/api.js
const express = require('express');
const router = express.Router();

// declare axios for making http requests
const axios = require('axios');
const API = 'https://jsonplaceholder.typicode.com';

/* GET api listing. */
router.get('/', (req, res) => {
  res.send('api works');
});

// Get all posts
router.get('/posts', (req, res) => {
  // Get posts from the mock api
  // This should ideally be replaced with a service that connects to MongoDB
  axios.get(`${API}/posts`)
    .then(posts => {
      res.status(200).json(posts.data);
    })
    .catch(error => {
      res.status(500).send(error)
    });
});

module.exports = router;
If we now stop the server and run it again, node server.js, we should see json data when we go to http://localhost:3000/api/posts
 I'm using a
如果现在停止服务器并再次运行它,请运行node server.js ,当我们转到http://localhost:3000/api/posts时,应该会看到json数据。 json-viewer chrome插件 。 您可能会看到一个不太漂亮的json响应。
角度路线,组件和提供者 ( Angular route, component and provider )
We'll add an angular component, then add a route that display this component's template.
我们将添加一个角度组件,然后添加一条显示该组件模板的路径。
Add an angular component with the Angular CLI
使用Angular CLI添加角度组件
$ ng generate component postsThis adds a new folder in the src/app directory, called posts. If you've done a little getting started with Angular 2, the generated content of the component should be clear. We'll edit them when the time comes.
这将在src/app目录中添加一个名为posts的新文件夹。 如果您已经开始使用Angular 2,那么组件的生成内容应该很清楚。 时间到了,我们将对其进行编辑。
The above command also imports the generated PostComponent in the src/app/app.module.ts file, and adds it to the declarations property of the @NgModule decorator.
上面的命令还将导入的生成的PostComponent导入src/app/app.module.ts文件,并将其添加到@NgModule装饰器的declarations属性中。
src/app/app.module.ts
src / app / app.module.ts
// Imports commented out for brevity

import { PostsComponent } from './posts/posts.component';

@NgModule({
  declarations: [
    AppComponent,
    PostsComponent // Posts Component injected here
  ],
  imports: [
    BrowserModule,
    FormsModule,
    HttpModule
  ],
  providers: [],
  bootstrap: [AppComponent]
})
export class AppModule { }
Next we'll add a posts route. There are a couple of recommended ways to add routes to your angular 2 apps, and that is out of scope for this guide. We'll use the simplest and most straight foreward.
接下来,我们将添加发布路线。 有几种推荐的方法可将路由添加到您的angular 2应用程序,但这不在本指南的范围之内。 我们将使用最简单,最直接的方法。
src/app/app.module.ts
src / app / app.module.ts
// Imports commented out for brevity
import { RouterModule } from '@angular/router';

import { AppComponent } from './app.component';
import { PostsComponent } from './posts/posts.component';

// Define the routes
const ROUTES = [
  {
    path: '',
    redirectTo: 'posts',
    pathMatch: 'full'
  },
  {
    path: 'posts',
    component: PostsComponent
  }
];

@NgModule({
  declarations: [
    AppComponent,
    PostsComponent
  ],
  imports: [
    BrowserModule,
    FormsModule,
    HttpModule,
    RouterModule.forRoot(ROUTES) // Add routes to the app
  ],
  providers: [],
  bootstrap: [AppComponent]
})
export class AppModule { }
We are simply telling our router that whenever the root route / is visited, redirect to /posts. We then decalre the /posts route.
我们只是告诉路由器,无论何时访问根路由/ ,都将重定向到/posts 。 然后,我们将/posts路线贴花。
One final thing to complete our routing is to first make sure that we have a <base href="/"> in the src/index.html head tag. And then add a router-outlet where the route should be rendered. We'll add this in the src/app/app.component.html
完成路由的最后一件事是首先确保src/index.html头标记中具有<base href="/"> 。 然后添加一个router-outlet ,应在其中渲染路由。 我们将其添加到src/app/app.component.html
src/app/app.component.html
src / app / app.component.html
<h1>
  {{title}}
</h1>
<router-outlet></router-outlet>
We need to do a build and serve the app, we could do
我们需要做一个构建并为应用服务,我们可以做
$ ng build&& node server.jsOr just create an npm script within the package.json.
或者只是在package.json创建一个npm脚本。
package.json
package.json
{
  "name": "mean-app",
  // meta data
  "scripts": {
    // Other scripts
    "build": "ng build && node server.js"
  },
  "private": true,
  "dependencies": {
    ...
  },
  "devDependencies": {
    ...
  }
}
Then simply run.
然后简单地运行。
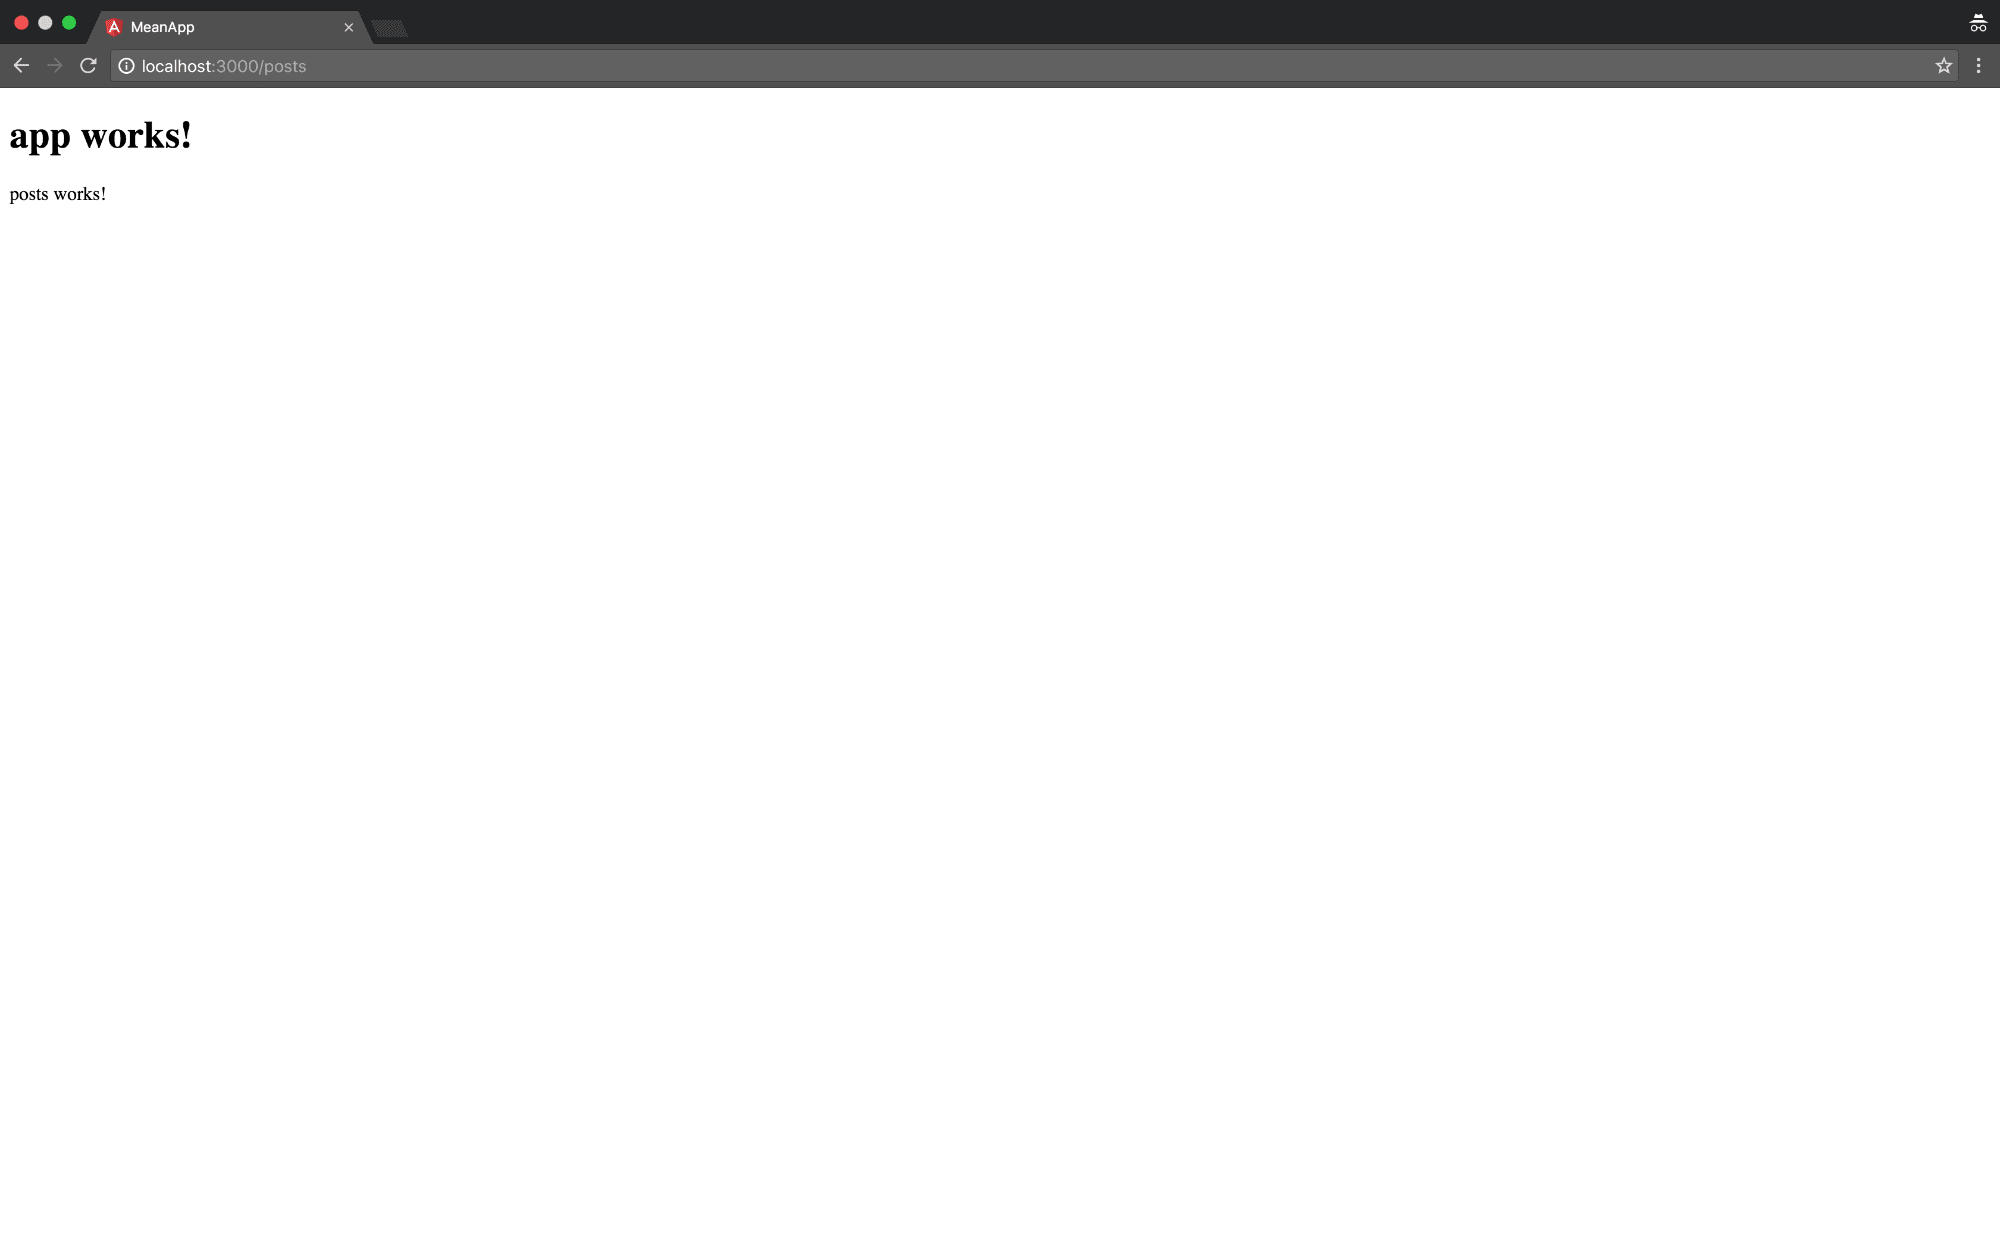
$npm run buildGoing to http://localhost:3000 should redirect you to http://locahost:3000/posts, based on the instructions we gave to our router.
 .
.
根据我们给路由器的说明,转到http://localhost:3000会将您重定向到http://locahost:3000/posts 。
将组件连接到Express API ( Connecting Component to Express API )
Angular 2's best practices recommend defining a provider or service to handle the http calls. So, we'll generate one with the Angular CLI.
Angular 2的最佳做法建议定义一个提供程序或服务来处理http调用。 因此,我们将使用Angular CLI生成一个。
$ ng generateservice postsThis creates a posts.service.ts in the src/app directory. We then need to add it in the providers section of our module declaration.
这将在src/app目录中创建一个posts.service.ts 。 然后,我们需要在模块声明的providers部分中添加它。
src/app/app.module.ts
src / app / app.module.ts
// Imports commented out for brevity

import { PostsService } from './posts.service';

// Routes

@NgModule({
  declarations: [
    AppComponent,
    PostsComponent
  ],
  imports: [
    BrowserModule,
    FormsModule,
    HttpModule,
    RouterModule.forRoot(ROUTES)
  ],
  providers: [PostsService], // Add the posts service
  bootstrap: [AppComponent]
})
export class AppModule { }
Then make the http call within the service to our express server.
然后在服务内对我们的快递服务器进行http调用。
src/app/posts.service.ts
src / app / posts.service.ts
import { Injectable } from '@angular/core';
import { Http } from '@angular/http';
import 'rxjs/add/operator/map';

@Injectable()
export class PostsService {

  constructor(private http: Http) { }

  // Get all posts from the API
  getAllPosts() {
    return this.http.get('/api/posts')
      .map(res => res.json());
  }
}
Then import our service in the post component.
然后将我们的服务导入post组件。
src/app/posts/posts.component.ts
src / app / posts / posts.component.ts
import { Component, OnInit } from '@angular/core';
import { PostsService } from '../posts.service';

@Component({
  selector: 'app-posts',
  templateUrl: './posts.component.html',
  styleUrls: ['./posts.component.css']
})
export class PostsComponent implements OnInit {
  // instantiate posts to an empty array
  posts: any = [];

  constructor(private postsService: PostsService) { }

  ngOnInit() {
    // Retrieve posts from the API
    this.postsService.getAllPosts().subscribe(posts => {
      this.posts = posts;
    });
  }
}
And finally, we'll just display the posts in the view.
最后,我们将在视图中显示帖子。
src/app/posts/posts.component.html
src / app / posts / posts.component.html
<div class="container">
  <div class="row" *ngFor="let post of posts">
    <div class="card card-block">
      <h4 class="card-title">{{ post.title }}</h4>
      <p class="card-text">{{post.body}}</p>
      <a href="#" class="card-link">Card link</a>
      <a href="#" class="card-link">Another link</a>
    </div>
  </div>
</div>
This is just a bootstrap 4 card, looping through our posts and binding the title and the body properties. I also added the bootstrap cdn to the src/index.html page in the head tag.
这只是一张Bootstrap 4卡 ,它遍历我们的帖子并绑定标题和正文属性。 我还在head标签的src/index.html页面中添加了引导CDN。
<link rel="stylesheet" href="https://cdnjs.cloudflare.com/ajax/libs/twitter-bootstrap/4.0.0-alpha.5/css/bootstrap.css">Aren't we all awesome designers with bootstrap: ;-).
我们不是都拥有bootstrap:;-)的优秀设计师。
Run the app.
运行应用程序。
$npm run buildGoing to localhost:3000, should produce this.
转到localhost:3000 ,应产生此结果。

结论 ( Conclusion )
There is some sort of server-client separation in the approach we took. Both the Angular app and the Express server can be built independently.
在我们采用的方法中,服务器与客户端之间存在某种分离。 Angular应用程序和Express服务器均可独立构建。
You can now just continuously use the Angular CLI to build out your angular app, while developing the express server just as you would any nodejs express App.
现在,您可以像开发任何Node.js Express App一样,继续使用Angular CLI来构建您的angular应用程序,同时开发Express Server。
翻译自: https://scotch.io/tutorials/mean-app-with-angular-2-and-the-angular-cli
angular2 cli


 403
403

 被折叠的 条评论
为什么被折叠?
被折叠的 条评论
为什么被折叠?
 到【灌水乐园】发言


