


 本文介绍了一种利用Photoshop的通道功能去除图片背景的高效方法,尤其适用于那些Magic Eraser工具难以应对的情况。文章针对中级及以上的Photoshop用户,详细介绍了选择最佳对比度的通道、使用级别调整、结合Dodge Tool和Burn Tool等步骤,最终实现精准地分离主体与背景。
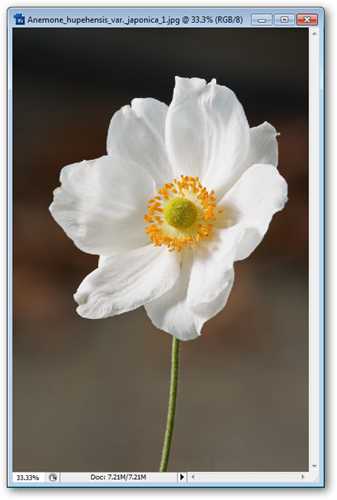
There are those occasions where the Magic Eraser is just too frustrating to use and there’s an opportunity to remove the background without all of that tedious erasing. In this How-To, you’ll see how to use Channels to remove your background with minimal use of the Eraser tool and no use of the clunky Magic Eraser tool at all.
在某些情况下, Magic Eraser太令人沮丧而无法使用,并且有机会在不进行所有繁琐删除操作的情况下删除背景。 在本操作方法中,您将看到如何使用通道以最小的使用橡皮擦工具来删除背景,而根本不使用笨拙的魔术橡皮擦工具。
Beginner Photoshop users be warned—this How-To is aimed at intermediate-level and higher Photoshop users. If you are unclear on how to use Channels and want a primer, you can look at my article about Demystifying Channels.
警告初学者Photoshop用户-此操作方法针对中级和更高级别的Photoshop用户。 如果您不清楚如何使用频道并想要入门,可以查看我有关频道揭秘的文章。
If not, there is little to do except find your Channels Palette and dive in. It should be on screen by default when you open Photoshop. If you’ve lost it, you can always reclaim it by going to Window > Channels.
如果没有,除了找到您的Channels Palette并潜入水中,别无所求。打开Photoshop时,默认情况下它应该在屏幕上。 如果您丢失了它,可以随时通过转到窗口>通道来对其进行回收。
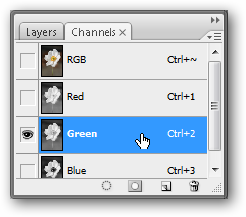
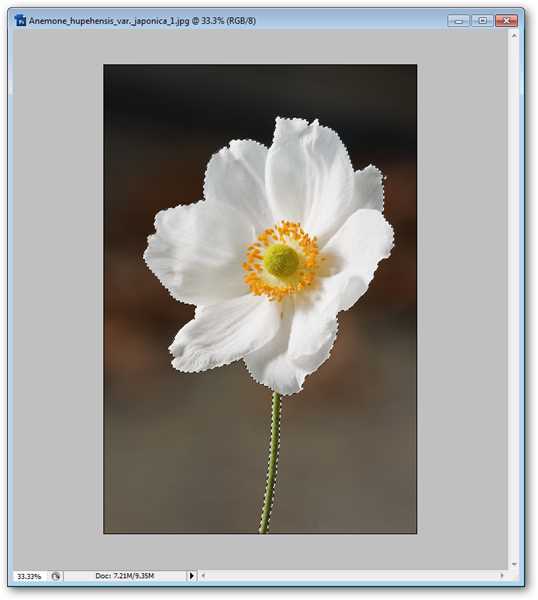
When you flip to the Channels Palette, thumb through your RGB channels by clicking off two of the three channels. If you have a CMYK image, don’t worry, this will still work just fine for you, simply click off three of the four channels (although, if you want, you can convert to RGB by going to Image > Mode > RGB Color).
翻转到“通道调色板”时,通过单击三个通道中的两个来翻阅RGB通道。 如果您有CMYK图像,请放心,这仍然适合您,只需单击四个通道中的三个即可(不过,如果需要,可以通过转到图像>模式> RGB颜色来转换为RGB。 )。
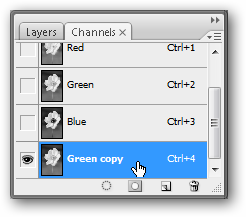
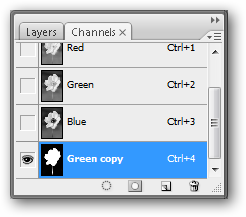
You want to find the channel that gives you the best contrast. Your image should look the brightest, while your background should look the darkest. Make a copy by dragging the channel you want to the icon or by right clicking and choosing “Duplicate.”
您想找到给您最佳对比度的通道。 您的图像应该看起来最亮,而背景应该看起来最暗。 通过将所需频道拖动到图标或右键单击并选择“复制”来进行复制。
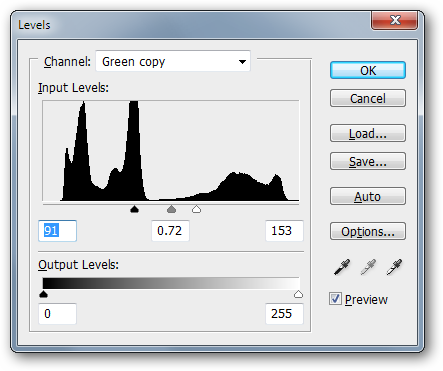
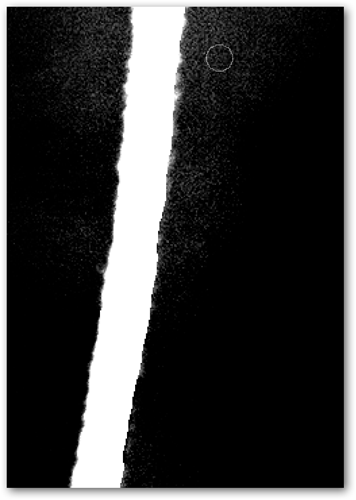
Press to bring up Levels. Adjust them intensely, bringing your darks and lights close together. You can copy my values (91, .72, 153) but I recommend you eyeball it. Every image is going to work a little differently.
按下调出等级。 强烈调整它们,使暗处和暗处靠近。 您可以复制我的值(91,.72、153),但我建议您注意一下。 每个图像的工作方式都会有所不同。
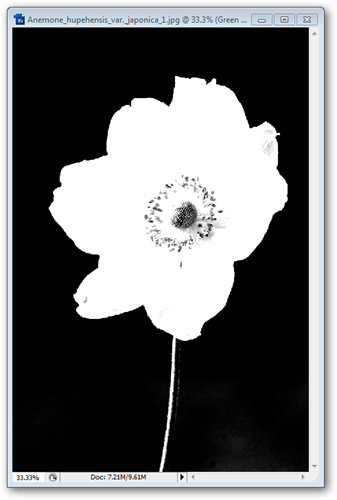
Our flower has lightened up, while our background has become solid dark. This is the look we want at this stage, so make sure you adjust your image with similar contrast with bright white where you want your cutout to be. From here, we need to erase the grays, clean out the inside of the flower, and then see what we can do about the stem, as some of it has been lost by our overzealous Levels.
我们的花朵变亮了,而背景却变成了纯黑色。 这是我们现阶段想要的外观,因此请确保在您要裁切的位置使用明亮的白色以类似的对比度调整图像。 从这里开始,我们需要消除灰色,清理花朵的内部,然后查看我们对茎的处理方法,因为有些茎被过度的热度所丢失。
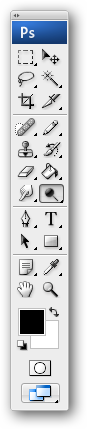
Start with the Dodge Tool, shown here. If that spot has the Burn or Sponge Tool, click and hold it to open the contextual menu and pick the Dodge Tool.
从此处所示的“道奇工具”开始。 如果该点具有“烧伤”或“海绵工具”,请单击并按住以打开上下文菜单,然后选择“减淡工具”。

On your Control Palette, you’ll need to set your options on your burn tool. You need to set it to Range: Highlights to only affect the lightest grays, ignoring the darkest colors.
在控制面板上,您需要在刻录工具上设置选项。 您需要将其设置为Range:高光仅影响最浅的灰色,而忽略最暗的颜色。

Using your mouse, paint over the gray parts of your image. Most, if not all, of them should disappear.
使用鼠标在图像的灰色部分上绘制。 大多数(如果不是全部)应该消失。
You’ll want to avoid areas around the stem as we actually want to get them darker. But we’ll work on that in a minute.
您将要避开茎周围的区域,因为我们实际上要使它们变暗。 但是,我们将在一分钟内进行处理。
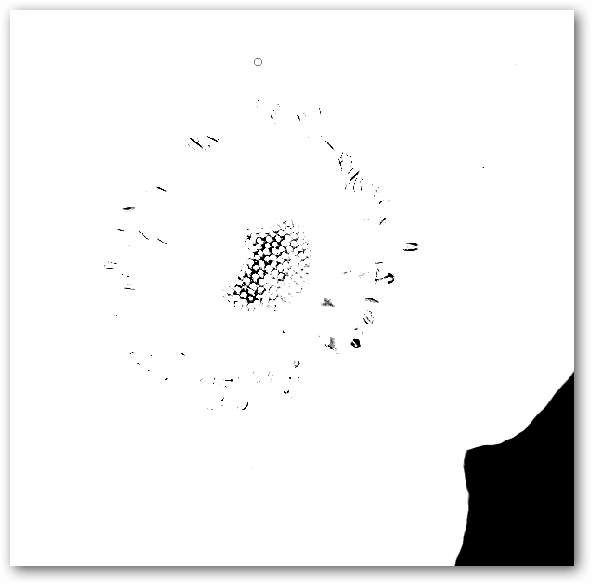
You should have some internal areas you want to clean up. You can simply use the Eraser tool to quickly take them out.
您应该有一些要清理的内部区域。 您只需使用橡皮擦工具即可将它们快速取出。
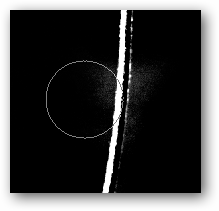
We also use the eraser tool to clean up the stem, where it had become dark from adjusting levels before.
我们还使用橡皮擦工具来清理茎,以前由于调整水平而使茎变黑。
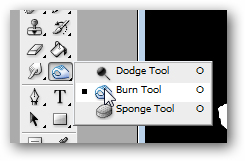
Pick your Burn Tool from the Contextual Menu.
从上下文菜单中选择您的刻录工具。

To be useful in this situation, you have to set it to “Range: Shadows.”
为了在这种情况下有用,您必须将其设置为“ Range:Shadows”。

Paint over any dark areas that aren’t 100% black. Your whites will remain white.
在不是100%黑色的任何深色区域上油漆。 您的白人将保持白色。
Return to RGB by pressing . The Tilde key should be to the left of your key if you’re using a USA keyboard.
按下可返回RGB。 如果您使用的是美国键盘,则Tilde键应该在键的左侧。
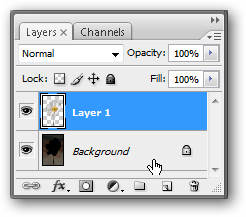
On your Layers Palette, go to your Background and press to create a new layer using the cut command.
在“图层面板”上,转到“背景”,然后按使用cut命令创建一个新图层。
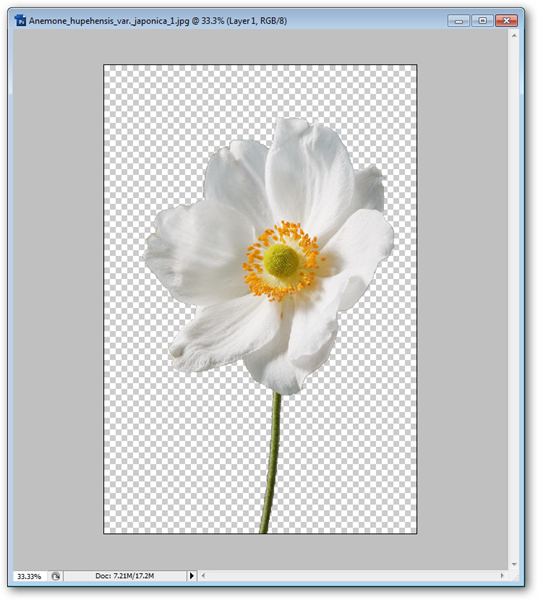
You can turn your “Background” layer off at this point and see the fruits of your labor.
您可以在此时关闭“背景”层并查看您的工作成果。
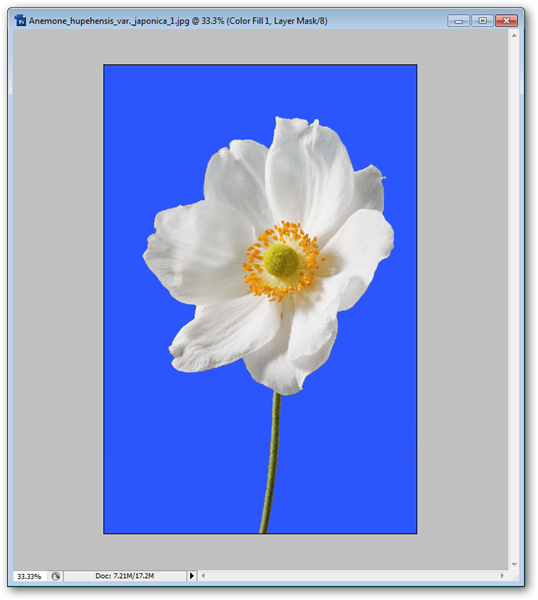
This method may seem intimidating to a beginner user, but it is the method I always prefer to use, as it is one of the fastest, most robust ways to remove an image background. If you can master this, congratulations! You’ve dug your way through one of the darkest, most intimidating areas of Photoshop.
这种方法对初学者来说似乎很吓人,但这是我一直喜欢使用的方法,因为它是去除图像背景的最快,最可靠的方法之一。 如果您能熟练掌握,恭喜! 您已经通过Photoshop中最黑暗,最令人生畏的区域之一进行了挖掘。
Image by NoodleSnacks via Wikipedia, released under GNU License.
由 NoodleSnacks 通过 Wikipedia提供的 图片 ,在 GNU许可 下 发布 。


 被折叠的 条评论
为什么被折叠?
被折叠的 条评论
为什么被折叠?
 到【灌水乐园】发言


