


Your Nest Thermostat can learn your preferences over time and automatically adjust the temperature accordingly. But if you’d rather program specific temperatures for specific times, here’s how to set a schedule on your Nest.
您的Nest Thermostat可以随着时间的推移了解您的偏好,并相应地自动调节温度。 但是,如果您希望为特定时间设置特定温度,则可以通过以下方法在Nest上设置时间表。
Of course, a feature like this can be found on any programmable thermostat, but the Nest makes it rather quick and easy to set a schedule and do it right from your smartphone within the Nest app, but you can also do it right on the thermostat itself. Here’s how to do it both ways.
当然,在任何可编程的恒温器上都可以找到类似的功能,但Nest可以使您轻松快速地设置时间表,并直接在Nest应用程序中通过智能手机进行设置,但是您也可以在恒温器上进行设置本身。 这是双向的方法。
在Nest应用程式中 (In the Nest App)
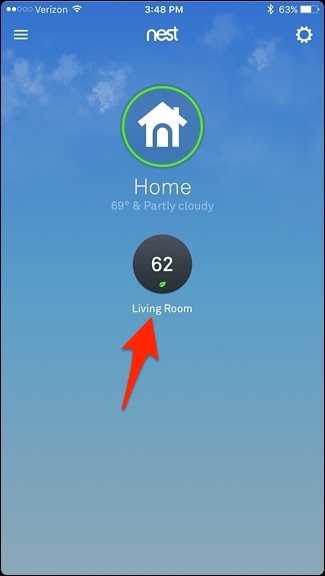
Start by opening the Nest app and tapping on your Nest Thermostat on the main screen.
首先打开Nest应用,然后在主屏幕上点击Nest Thermostat。
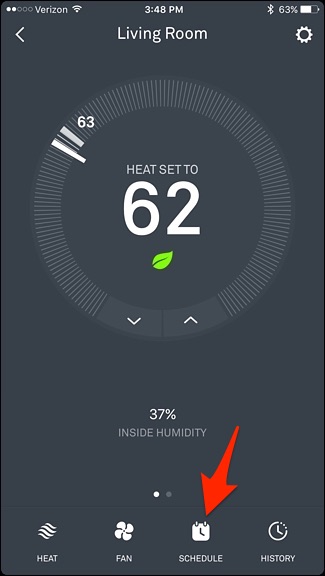
Tap on “Schedule” at the bottom.
点击底部的“时间表”。
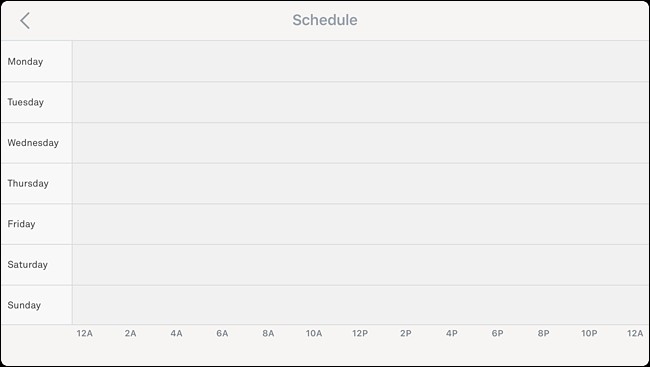
This will bring up a blank spreadsheet of sorts, which looks similar to what you’d find in any calendar app. Tap on a day of the week. We’ll start with “Monday”.
这将显示一个空白的电子表格,其外观类似于您在任何日历应用程序中找到的电子表格。 点击一周中的某一天。 我们将从“星期一”开始。
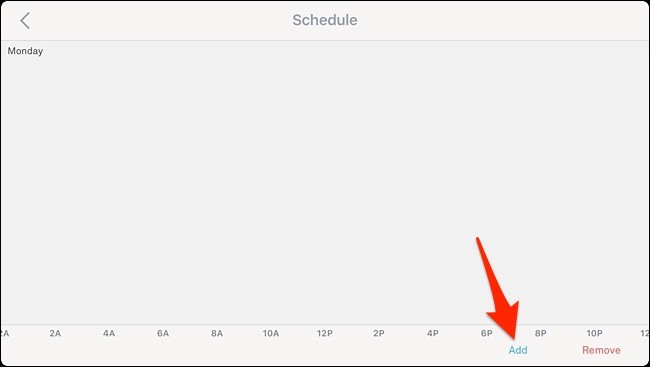
Tap “Add” in the bottom-right corner of the screen.
点击屏幕右下角的“添加”。
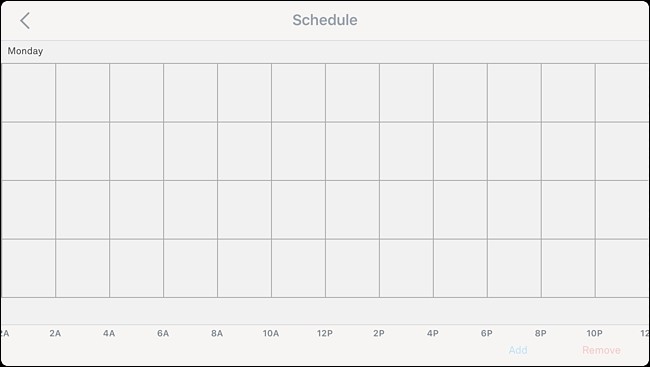
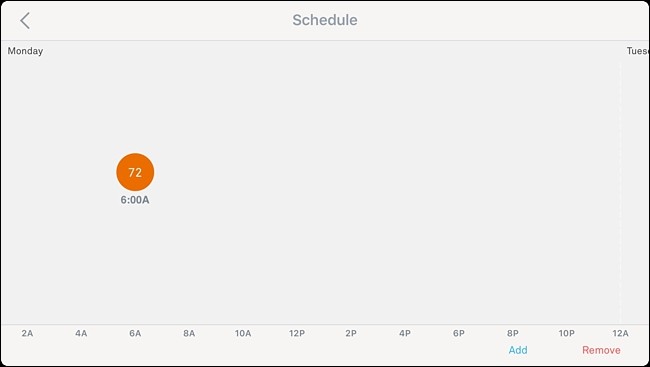
This will make a grid appear. Next, tap anywhere on the vertical axis above the time that you want to set to a specific temperature. So if you want it to be 72 degrees at 6 AM, tap anywhere right above “6A”.
这将使网格出现。 接下来,点击垂直轴上您想要设置为特定温度的时间上方的任何位置。 因此,如果您希望在上午6点为72度,请点击“ 6A”正上方的任意位置。
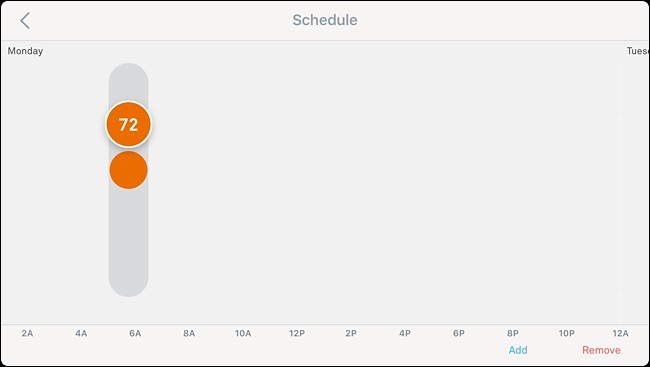
When you tap, a dot will appear with a temperature and a time below that.
当您点击时,将出现一个温度和低于此温度的时间点。

To adjust the temperature to 72 degrees, tap and hold on the dot, and then drag it up until it reads “72”.
要将温度调节到72度,请点住该点,然后将其向上拖动直到其显示为“ 72”。
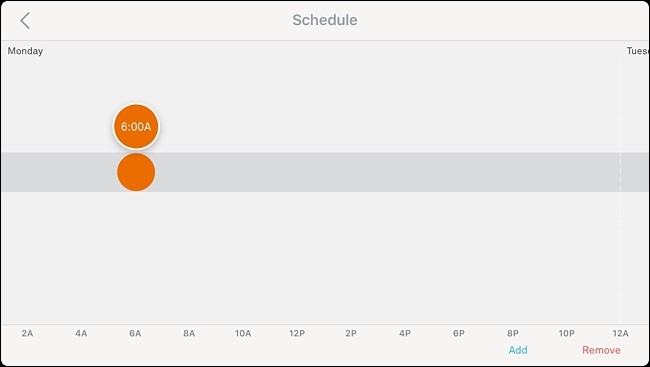
Next, to adjust the time, tap and hold on the dot and drag it from left to right to set the specific time that you want to set it to. Times can be set on the hour or at 15-minute intervals, like 6:00, 6:15, 6:30, etc.
接下来,要调整时间,请点住该点并将其从左向右拖动以设置要设置的特定时间。 时间可以按小时或每15分钟间隔设置,例如6:00、6:15、6:30等。
Once that’s finished, you’re done setting that specific temperature and time setting. If you want to add more, just repeat that same process.
完成后,就完成了设置该特定温度和时间设置的操作。 如果要添加更多,只需重复相同的过程即可。
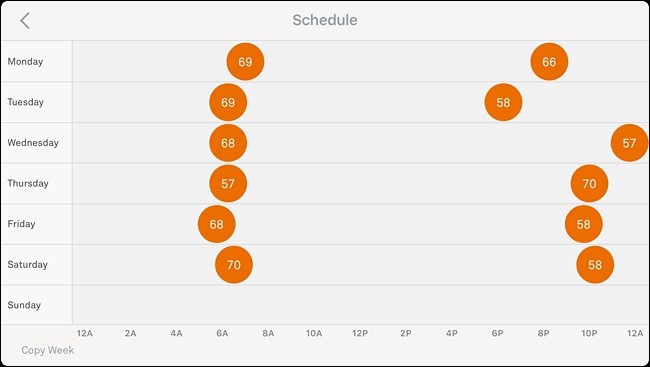
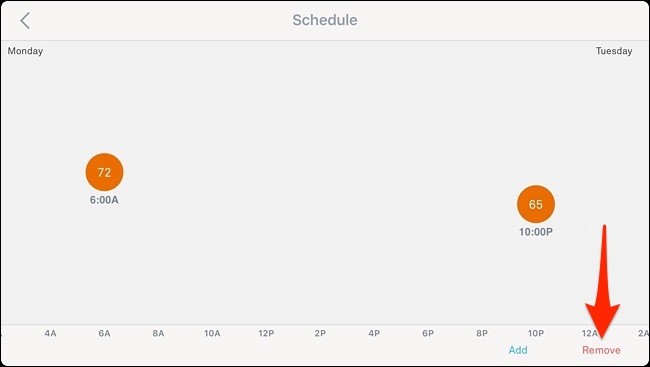
You scan swipe your finger to the left to scroll into the next day and set that day’s temperature/time preferences, so if you want it to be 72 degrees at 6AM every day, you’ll need to repeat the above steps six times to finish out the week, but you can create custom settings for each individual day if you want.
您可以向左滑动手指以滚动到第二天,并设置当天的温度/时间偏好设置,因此,如果您希望每天早上6点为72度,则需要重复上述步骤六次才能完成操作一周,但您可以根据需要为每一天创建自定义设置。
To remove an entry, simply tap on “Remove” in the bottom-right corner and then tap on an entry to delete it.
要删除条目,只需点击右下角的“删除”,然后点击条目即可将其删除。
To change an existing entry, tap and hold on it and adjust it accordingly by sliding it up or down and left or right.
要更改现有条目,请点击并按住该条目,然后通过上下左右滑动来进行相应调整。
在巢温控器 (On the Nest Thermostat)
You can also set and adjust a schedule right from the Nest Thermostat itself using the scroll wheel and the display.
您还可以使用滚轮和显示屏从Nest Thermostat本身设置和调整时间表。
Start by clicking on the unit to bring up the main menu.
首先单击设备以调出主菜单。
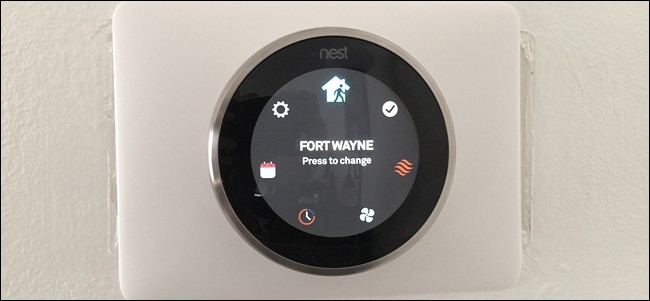
Use the silver scroll wheel to navigate to “Schedule” and click on it.
使用银色滚轮导航至“时间表”,然后单击它。
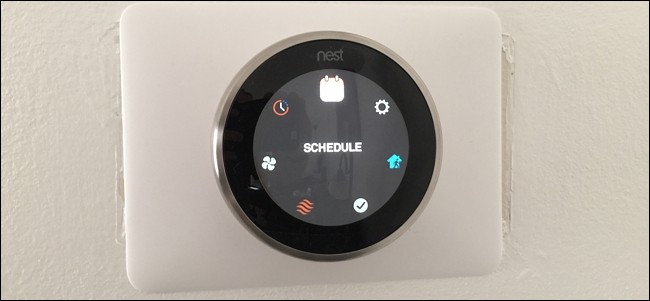
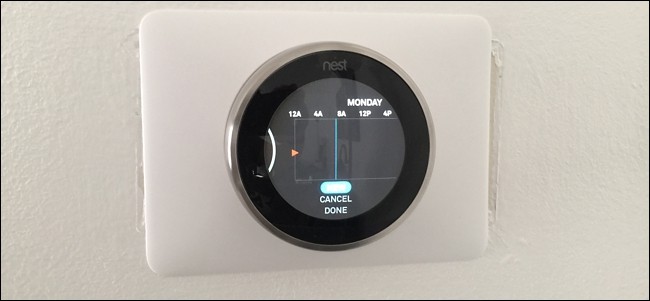
When you get to the Schedule screen, click on the unit to begin setting a scheduled temperature for your Nest Thermostat and select “New”.
进入“计划”屏幕时,单击设备以开始为Nest Thermostat设置计划温度,然后选择“新建”。
Use the wheel to scroll to the time of the day that you want and click on the unit to select it.
使用滚轮滚动到所需的时间,然后单击单位以将其选中。
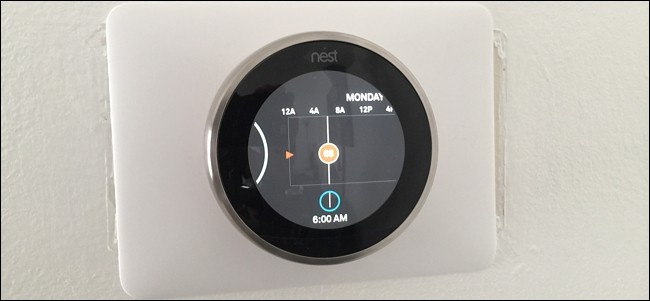
Next, turn the wheel to select the specific temperature that you want it set to at that time. Click on the unit to select it.
接下来,转动滚轮以选择您希望当时设置的特定温度。 单击该单元以将其选中。
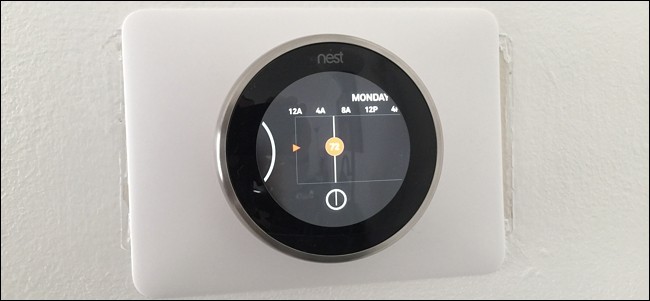
From there, that entry will be saved and you can continue to make more entries.
从那里开始,该条目将被保存,您可以继续进行更多输入。
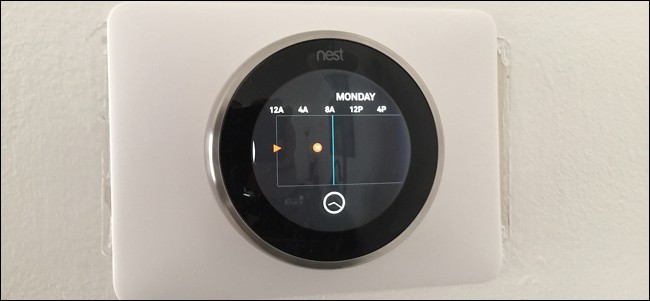
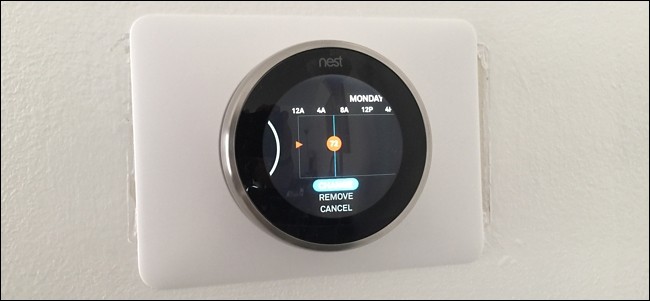
To change an existing entry, scroll over to it until you hover over it and click down. From there, select “Change” and make any adjustments. You can also select “Remove” to delete the entry.
要更改现有条目,请滚动至该条目,直到将鼠标悬停在该条目上并单击向下。 从那里选择“更改”并进行任何调整。 您也可以选择“删除”来删除条目。
That’s all it takes to set a schedule for your Nest Thermostat, and it’s certainly a lot easier to do than on most non-smart programmable thermostats for sure.
这就是为Nest恒温器设定时间表所需要的全部,并且肯定比大多数非智能可编程恒温器要容易得多。
翻译自: https://www.howtogeek.com/250941/how-to-set-a-schedule-for-your-nest-thermostat/


 被折叠的 条评论
为什么被折叠?
被折叠的 条评论
为什么被折叠?
 到【灌水乐园】发言


