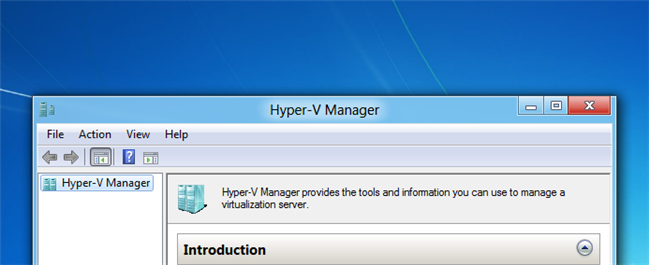
Windows 8 and 10 includes Hyper-V as a virtualization platform, but since not everybody will use this feature, it’s not enabled by default. Here’s how to enable it on your Windows 8 or Windows 10 PC.
Windows 8和10包括Hyper-V作为虚拟化平台,但是由于并非所有人都会使用此功能,因此默认情况下未启用该功能。 这是在Windows 8或Windows 10 PC上启用它的方法。
混乱 (Confusion)
Hyper-V only allows you to create a new virtual machine on 64-bit versions of Windows 10 or 8, but the client tools are available on both versions. If you are running 32-bit, you’ll be able to do the installation, but you won’t be able to actually use it to create a new VM.
Hyper-V仅允许您在Windows 10或8的64位版本上创建新的虚拟机,但两种版本均提供客户端工具。 如果运行的是32位,则可以进行安装,但实际上将无法使用它来创建新的VM。
安装或启用Hyper-V (Installing or Enabling Hyper-V)
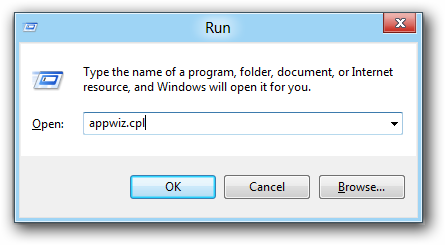
Hyper-V is installed in the add features section of the add or remove programs dialog. To get there we need to open a run box by pressing Win+R, now type appwiz.cpl and press enter. You could also get to the Programs and Features box through Control Panel or the Start search, but this is easy and geeky.
Hyper-V安装在“添加或删除程序”对话框的“添加功能”部分中。 要到达那里,我们需要按Win + R打开运行框,现在键入appwiz.cpl并按Enter。 您也可以通过“控制面板”或“开始”搜索进入“程序和功能”框,但这很简单。
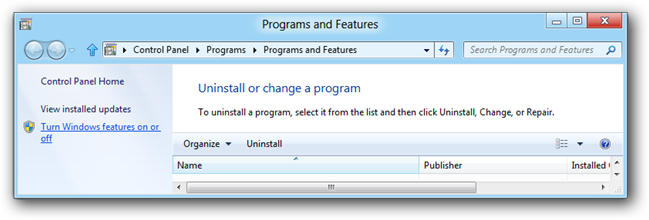
Once the Programs and Features dialog opens, select the Turn Windows features on or off link on the left hand side.
打开“程序和功能”对话框后,选择左侧的“打开或关闭Windows功能”链接。
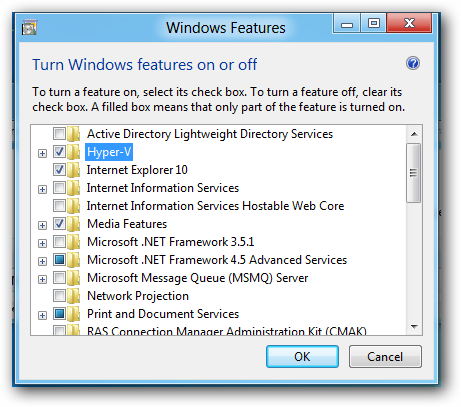
When the Windows Features open, check the Hyper-V option. Then click Ok.
Windows功能打开时,检查Hyper-V选项。 然后单击确定。
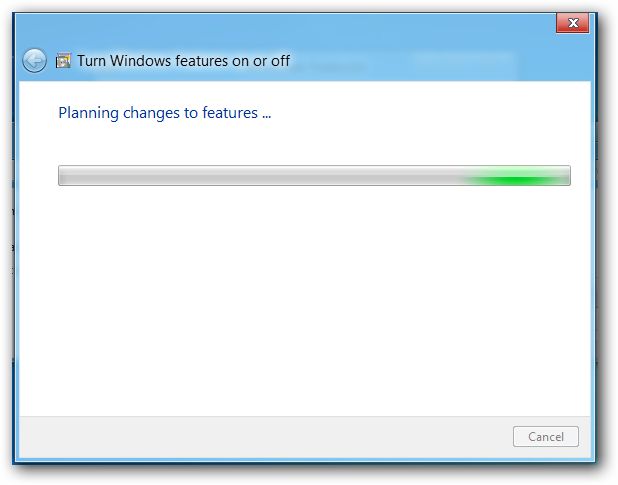
Windows will now add the Hyper-V binaries to your Windows installation.
Windows现在将Hyper-V二进制文件添加到Windows安装中。
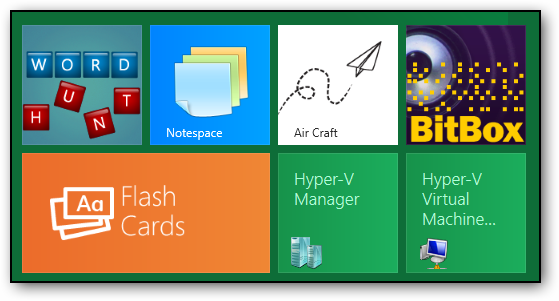
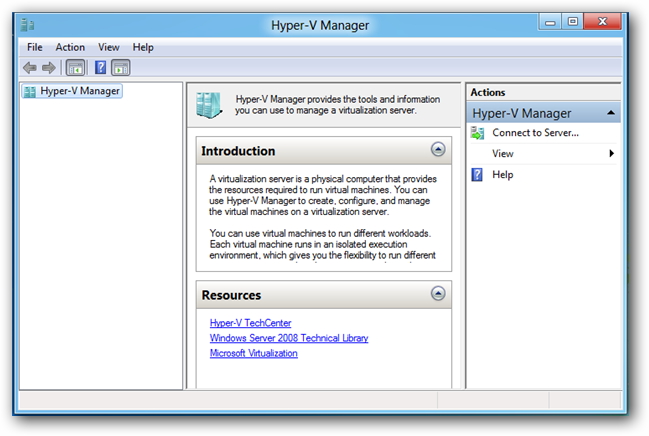
You can now launch the Hyper-V manager from the Metro dashboard, or from the Start Menu in Windows 10.
现在,您可以从Metro仪表板或Windows 10中的“开始”菜单启动Hyper-V管理器。
翻译自: https://www.howtogeek.com/76532/how-to-install-or-enable-hyper-v-virtualization-in-windows-8/


 7585
7585

 被折叠的 条评论
为什么被折叠?


