


In my previous articles, we installed SQL Server 2019 on the windows environment (vs Linux / Ubuntu). We also explored some of the important enhancements in SQL Server 2019
在之前的文章中,我们在Windows环境(相对于Linux / Ubuntu)上安装了SQL Server 2019。 我们还探讨了SQL Server 2019中的一些重要增强功能
- SQL Server 2019 installation and overview SQL Server 2019安装和概述
- SQL Server 2019 – New DMF sys.dm_db_page_info SQL Server 2019 –新的DMF sys.dm_db_page_info
- PolyBase series of articles. PolyBase系列文章。
- SQL truncate enhancement: Silent Data truncation in SQL Server 2019 SQL截断增强功能:SQL Server 2019中的静默数据截断
- SQL data classification – Add sensitivity classification in SQL Server 2019 SQL数据分类–在SQL Server 2019中添加敏感度分类
- The new SQL Server 2019 function Approx_Count_Distinct 新SQL Server 2019函数Approx_Count_Distinct
SQL Server 2019 works on both the windows and the Linux operating system and in this series, I’ll be focusing on using SQL Server with Linux and Ubuntu
SQL Server 2019在Windows和Linux操作系统上均可使用,在本系列中,我将重点介绍在Linux和Ubuntu上使用SQL Server
In the installation page of SQL Server 2019, we get below options.
在SQL Server 2019的安装页面中,我们获得以下选项。
It is very important for the database developers and the database administrators to be familiar with the SQL Server on all environments. In most organization, SQL DBA might not be having the test Linux environment. Therefore, it becomes difficult to explore this version on the cross-platform operating system. In this article, we will install SQL Server 2019 CTP 2.1 on the Ubuntu Linux. Before installing SQL Server, we will prepare the test VM environment.
对于数据库开发人员和数据库管理员来说,熟悉所有环境上SQL Server都是非常重要的。 在大多数组织中,SQL DBA可能没有测试Linux环境。 因此,在跨平台操作系统上探索此版本变得困难。 在本文中,我们将在Ubuntu Linux上安装SQL Server 2019 CTP 2.1。 在安装SQL Server之前,我们将准备测试虚拟机环境。
In this part of the article, we set up a virtual machine and load Ubuntu operating system in it.
在本文的这一部分中,我们设置了一个虚拟机,并在其中加载了Ubuntu操作系统。
You can follow this article to install SQL Server 2019 CTP 2.1 on Ubuntu without having knowledge of the OS other than Windows.
您可以按照本文的说明在Ubuntu上安装SQL Server 2019 CTP 2.1,而无需了解Windows以外的操作系统。
准备虚拟机的步骤 (Steps to prepare a Virtual Machine )
- The first step is to install free and open-source Oracle VM VirtualBox. This is a free and open source cross-platform virtualization software to host the virtual machine. Installation of VirtualBox is quite simple and straightforward. Download Oracle VM VirtualBox version 5.2.22 for windows environment and follow the installation wizard to finish the installation. In this article, further, we will refer ‘Oracle VM VirtualBox’ as ‘VirtualBox’
- 第一步是安装免费的开源Oracle VM VirtualBox。 这是一个免费的开源跨平台虚拟化软件,用于托管虚拟机。 VirtualBox的安装非常简单明了。 下载适用于Windows环境的Oracle VM VirtualBox 版本5.2.22 ,并按照安装向导完成安装。 此外,在本文中,我们将“ Oracle VM VirtualBox”称为“ VirtualBox”
-
- Name of the Virtual Machine 虚拟机名称
- Type: in this option, select the type of the operating system from the drop-down list 类型:在此选项中,从下拉列表中选择操作系统的类型
- Version: Select the version of the operating system. For example, in this article, we want to install Ubuntu 64-bit version 版本:选择操作系统的版本。 例如,在本文中,我们要安装Ubuntu 64位版本
- In the next step, specify the RAM for the virtual machine. Recommended memory size is 1024 GB. We will install SQL Server 2019 on this VM, so I specified memory size 3096 MB 在下一步中,为虚拟机指定RAM。 建议的内存大小为1024 GB。 我们将在此VM上安装SQL Server 2019,因此我指定了3096 MB的内存大小
- Now, we can specify a virtual hard disk to this machine. We can create a virtual hard disk or if we have the existing disk, select the last option and use existing virtual hard disk file. We will select ‘Create a new virtual hard disk now’ option to create it. We should have sufficient free space in the hard disk 现在,我们可以为该计算机指定一个虚拟硬盘。 我们可以创建虚拟硬盘,或者如果我们有现有磁盘,则选择最后一个选项并使用现有虚拟硬盘文件。 我们将选择“立即创建一个新的虚拟硬盘”选项来创建它。 硬盘上应该有足够的可用空间
Since we have specified to create the new virtual hard disk, in the next step, specify the hard disk format:
由于我们已经指定要创建新的虚拟硬盘,因此在下一步中,请指定硬盘格式:
-
- VDI (VirtualBox disk image) VDI(VirtualBox磁盘映像)
- VHD (VirtualBox hard disk) VHD(VirtualBox硬盘)
- VMDK (Virtual Machine disk) VMDK(虚拟机磁盘)
Select the VDI (VirtualBox disk image) in the next step as shown here.
如下所示,在下一步中选择VDI(VirtualBox磁盘映像)。
- For the new hard disk in the virtual machine, we will either give it a fixed size or dynamic size. In the dynamic size, the hard disk will use the space on the physical hard disk. We do not space related issue for our test virtual machine so let us select the option ‘Dynamically allocated’ 对于虚拟机中的新硬盘,我们将为其指定固定大小或动态大小。 在动态大小中,硬盘将使用物理硬盘上的空间。 我们的测试虚拟机没有与空间相关的问题,因此让我们选择“动态分配”选项
Specify the hard disk name. We will keep it same as the name of our virtual machine. Since we are using dynamically allocated hard disk size, we can simply move to the next step.
指定硬盘名称。 我们将其与虚拟机的名称保持相同。 由于我们使用的是动态分配的硬盘大小,因此我们可以简单地进行下一步。
Now, click on ‘Create’ and we can see the new virtual machine on the left-hand side. The current state of the virtual machine is ‘Powered off’.
现在,单击“创建”,我们可以在左侧看到新的虚拟机。 虚拟机的当前状态为“关闭电源”。
Before we move further, we need to download the Ubuntu operating system software. We will install the latest version of Ubuntu 18.10 for desktop PC and laptops. Go to the link ‘Download Ubuntu Desktop’ and download ‘Ubuntu 18.10’.
在继续之前,我们需要下载Ubuntu操作系统软件。 我们将为台式机和笔记本电脑安装最新版本的Ubuntu 18.10。 转到链接“ 下载Ubuntu桌面 ”,然后下载“ Ubuntu 18.10”。
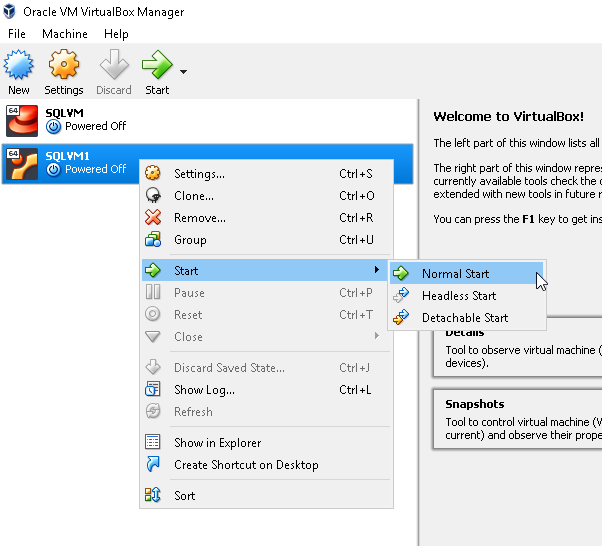
Now, let us start the virtual machine which we created earlier. Right click on virtual machine ‘SQLVM1’ and click on ‘Start -> Normal Start ‘.
现在,让我们启动我们之前创建的虚拟机。 右键单击虚拟机“ SQLVM1”,然后单击“开始->正常启动”。
We have not specified the image of the Ubuntu in the virtual machine yet. When we start the virtual machine, it asks for the start-up disk. In the start-up disk, specify the path of the downloaded ISO file of Ubuntu 18.10 and click on ‘Start’.
我们尚未在虚拟机中指定Ubuntu的映像。 当我们启动虚拟机时,它会要求启动磁盘。 在启动盘中,指定Ubuntu 18.10的已下载ISO文件的路径,然后单击“开始”。
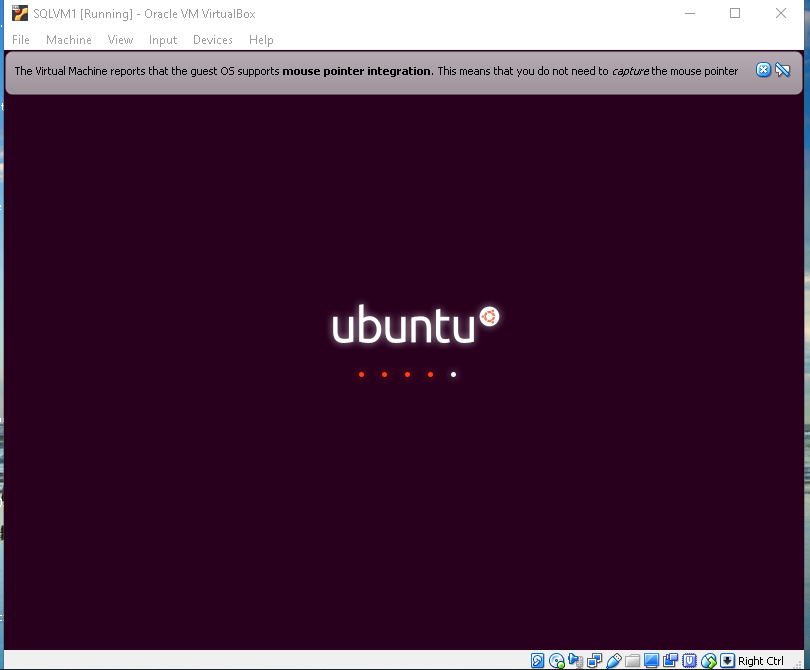
Now, the Virtual machine starts to load and configure the Ubuntu operating system from the ISO file.
现在,虚拟机开始从ISO文件加载和配置Ubuntu操作系统。
We can specify the language of the operating system from the list of languages. It also gives two options to install Ubuntu:
我们可以从语言列表中指定操作系统的语言。 它还提供了两个安装Ubuntu的选项:
- Try Ubuntu: we can start Ubuntu from a CD or USB drive. We can just use Ubuntu for the duration of that session. When we shut down the machine, all of our data is lost 试试Ubuntu:我们可以从CD或USB驱动器启动Ubuntu。 在该会话期间,我们只能使用Ubuntu。 当我们关闭机器时,我们所有的数据都会丢失
- Install Ubuntu: This option will install Ubuntu on the virtual machine similar to when we install windows on our system, laptops 安装Ubuntu:此选项将在虚拟机上安装Ubuntu,就像我们在系统笔记本电脑上安装Windows时一样
We want to install Ubuntu on the virtual machine, therefore select the option ‘Install Ubuntu’:
我们要在虚拟机上安装Ubuntu,因此选择选项' Install Ubuntu':
- Choose keyboard layout. We can test the keyboard by type test as well. Let us go with default keyboard layout ‘English(U.S.)’ 选择键盘布局。 我们也可以通过类型测试来测试键盘。 让我们使用默认的键盘布局“英语(美国)”
In the next screen, we can choose from the below options:
在下一个屏幕中,我们可以从以下选项中进行选择:
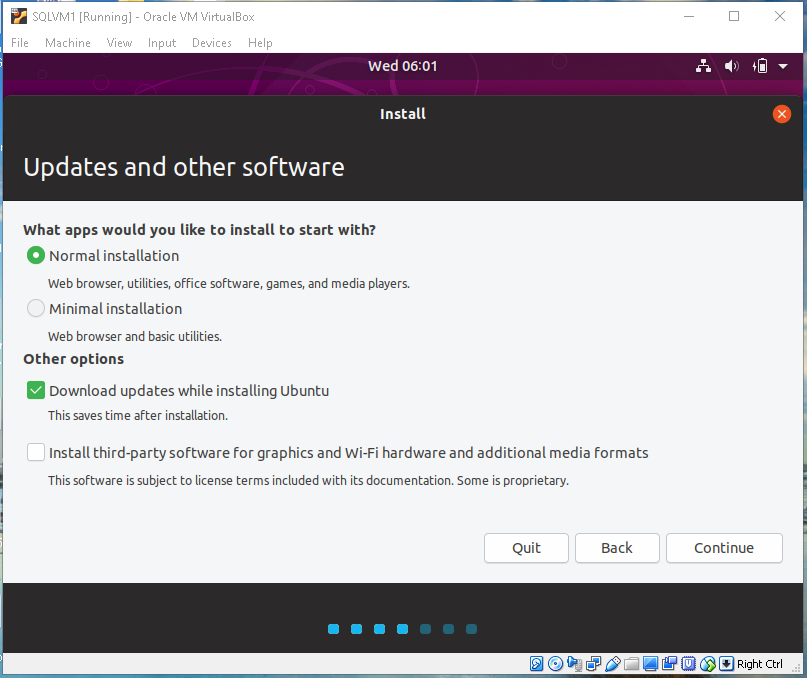
- Normal installation: Normally installation installs Ubuntu OS with the web browser, office software, and the media players etc. 常规安装:通常,安装会通过网络浏览器,办公软件和媒体播放器等安装Ubuntu OS。
- Minimal installation: In the minimal installation, it installs Ubuntu with system tools, web browser, and basic utilities 最小安装:在最小安装中,它将通过系统工具,Web浏览器和基本实用程序安装Ubuntu。
We can also choose to install updates while installing Ubuntu or disable this option by removing the checkbox ‘Download updates while installing Ubuntu’:
我们还可以选择在安装Ubuntu时安装更新,或通过取消选中“在安装Ubuntu时下载更新”复选框来禁用此选项:
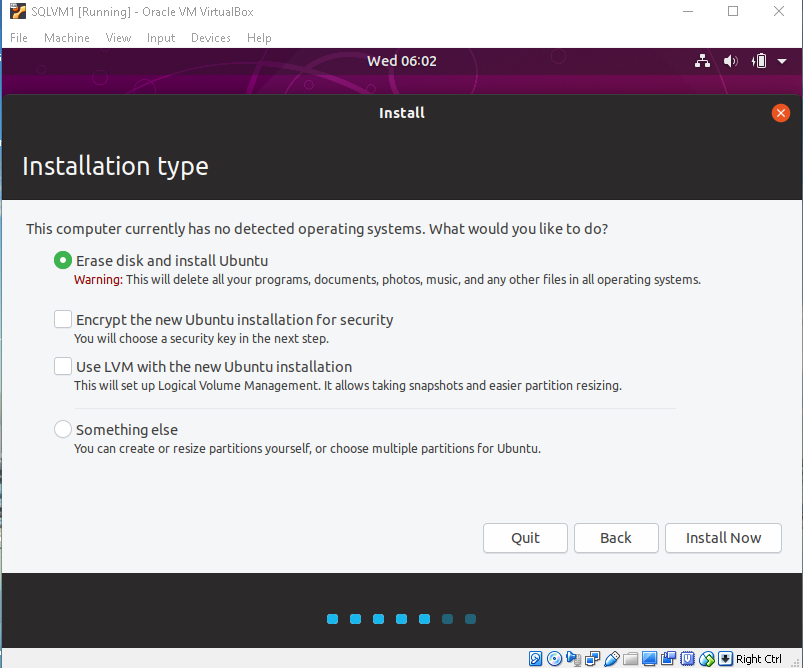
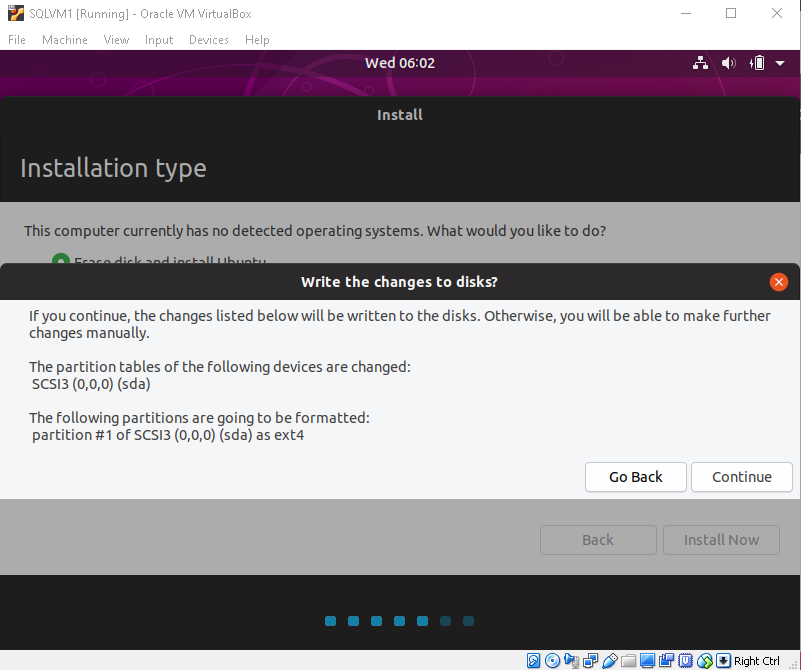
In the next step, we can choose from the different options provided. By default, it gives the option ‘Erase disk and install Ubuntu’. We have created a new hard disk, so we do not have an issue with the erase disk and then install Ubuntu. Click on ‘Install now’ to begin the installation.
在下一步中,我们可以从提供的不同选项中进行选择。 默认情况下,它提供选项“擦除磁盘并安装Ubuntu”。 我们已经创建了一个新硬盘,因此擦除磁盘没有问题,然后安装Ubuntu。 单击“立即安装”开始安装。
Click on ‘Continue’ to erase the disk and install.
单击“继续”以擦除磁盘并安装。
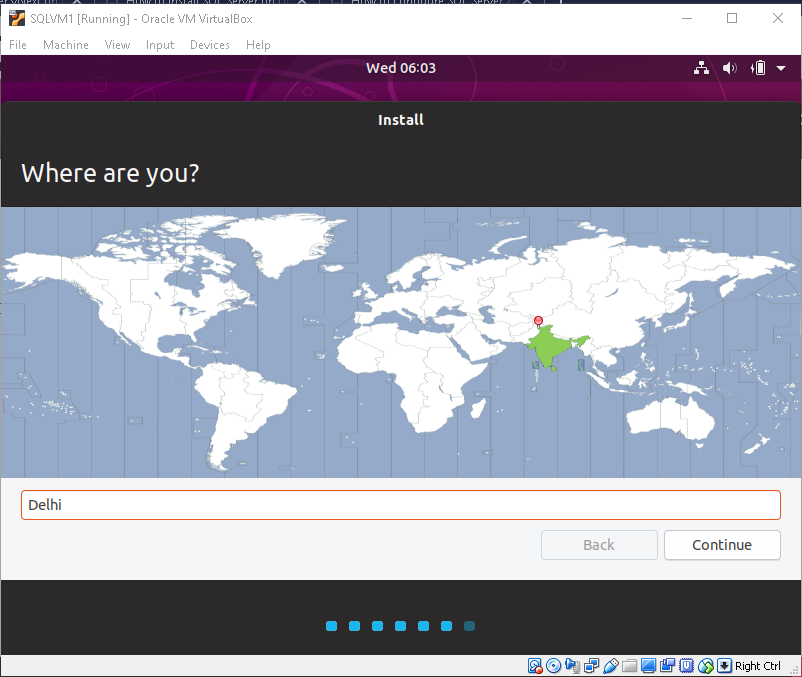
Provide the location and click ‘Continue’.
提供位置,然后单击“继续”。
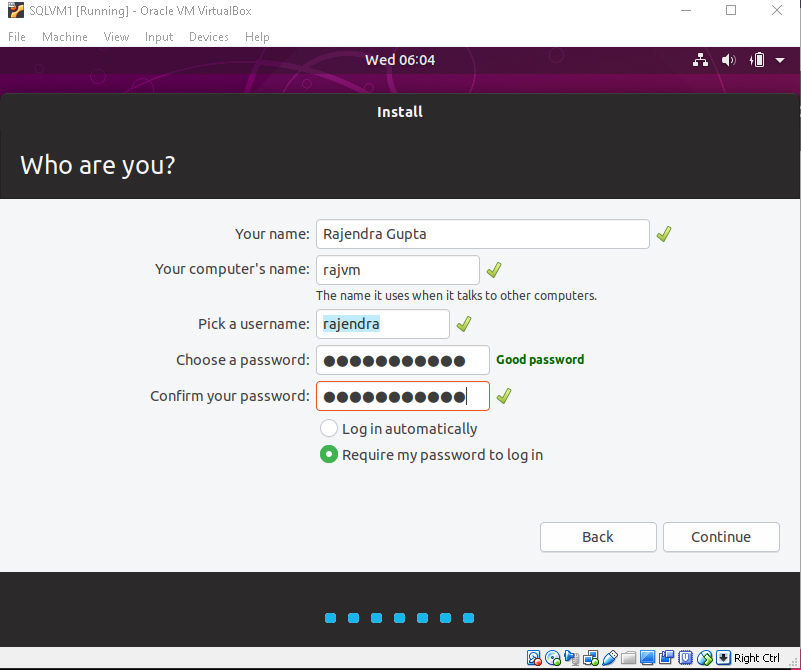
Enter the personal details like full name, username and the password.
输入个人详细信息,例如全名,用户名和密码。
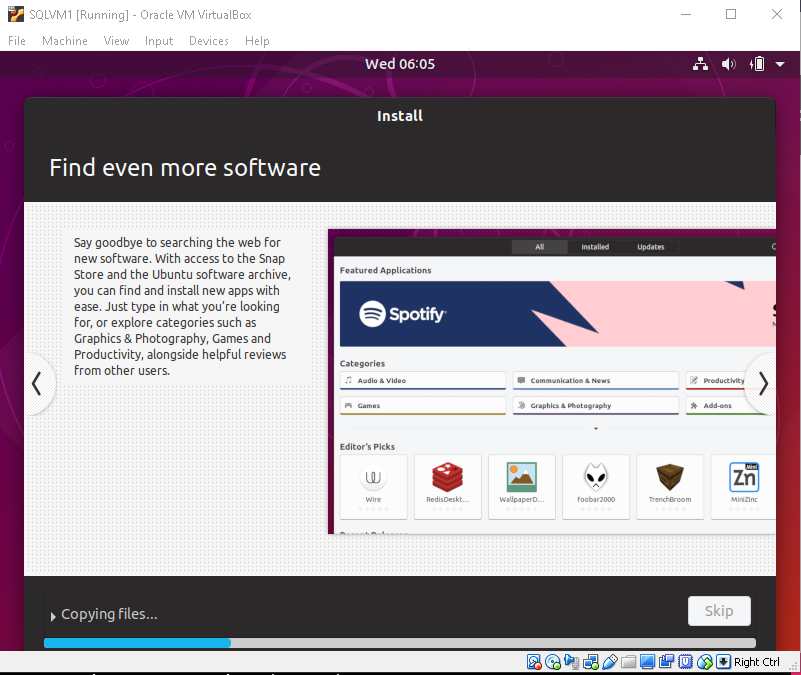
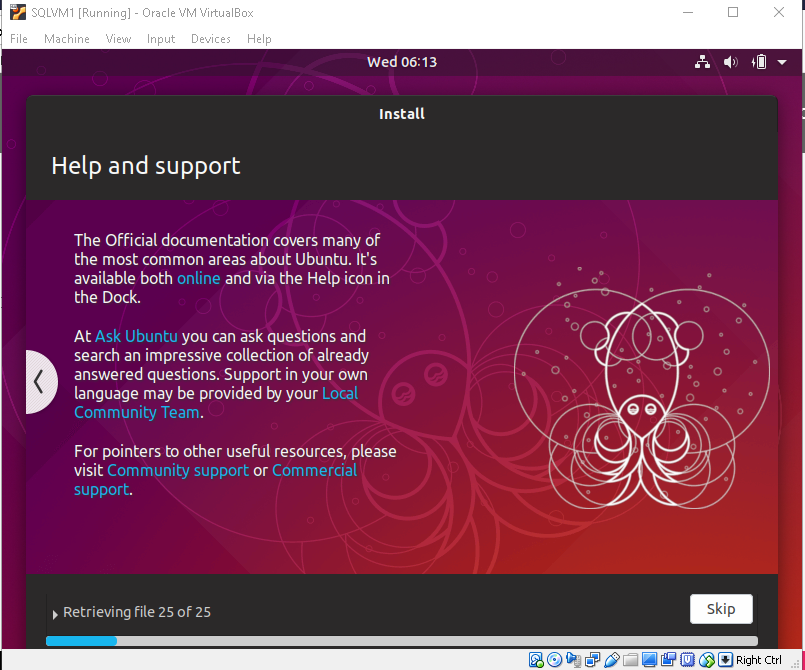
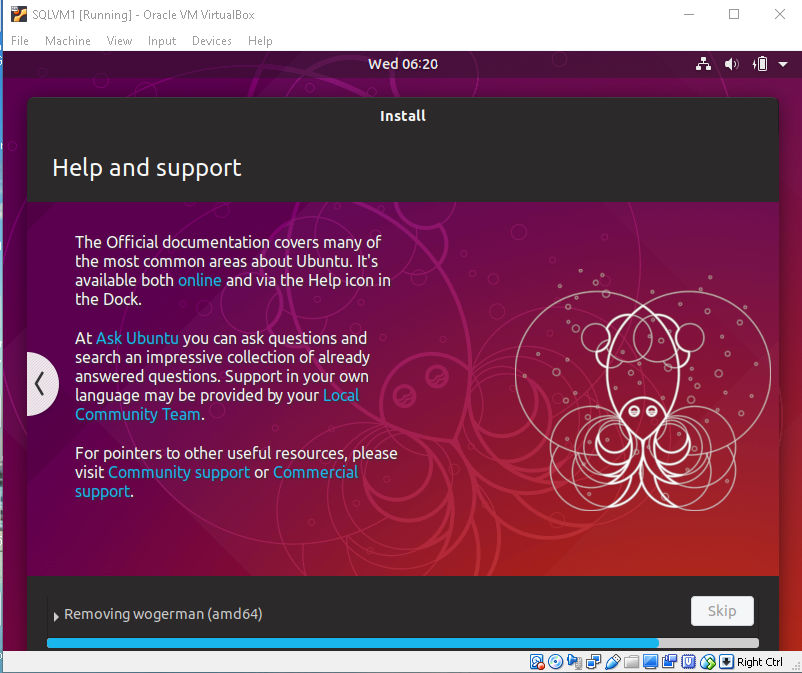
Now it starts copying the files and show progress as installation goes on.
现在,它开始复制文件,并在安装进行时显示进度。
You can track the progress of the Ubuntu installation.
您可以跟踪Ubuntu安装进度。
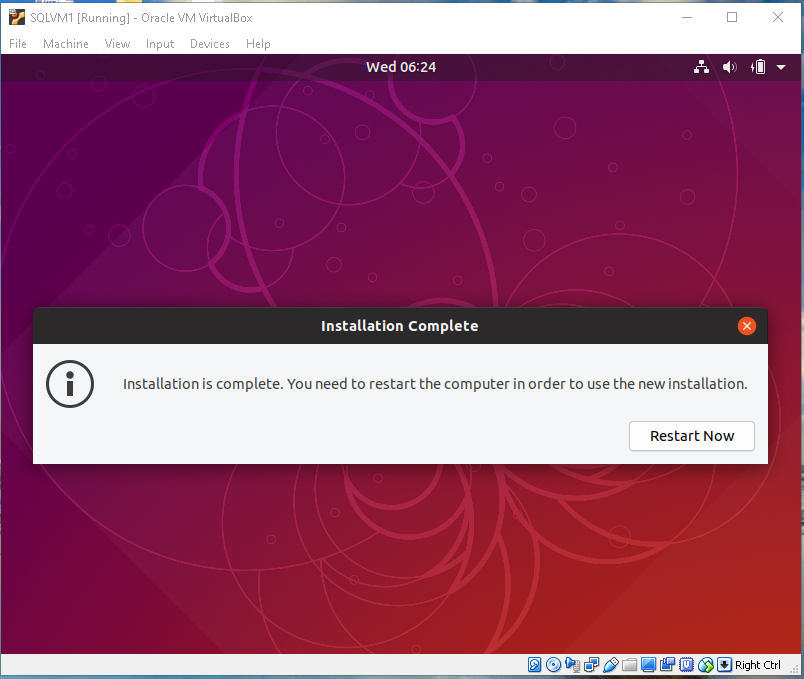
Once the installation is complete, we need to reboot the system as per the message is shown.
安装完成后,我们需要根据显示的消息重新引导系统。
During the reboot, it gives a message to remove the installation media and press ‘Enter’.
在重新引导过程中,它会提示您删除安装媒体,然后按“ Enter”。
Now the Ubuntu software loads into the virtual machine and we can enter the password for the user created during installation.
现在,Ubuntu软件已加载到虚拟机中,我们可以输入在安装过程中创建的用户的密码。
We can connect online accounts to access the documents, images etc. We can skip this option as it is not mandatory.
我们可以连接在线帐户来访问文档,图像等。我们可以跳过此选项,因为它不是必需的。
We can choose to send diagnostics information to Ubuntu developers to improve the product. We can disable this option by click on ‘No, don’t send system info’.
我们可以选择将诊断信息发送给Ubuntu开发人员以改进产品。 我们可以通过单击“否,不发送系统信息”来禁用此选项。
Here we go, we can see the desktop after loading the Ubuntu operating system:
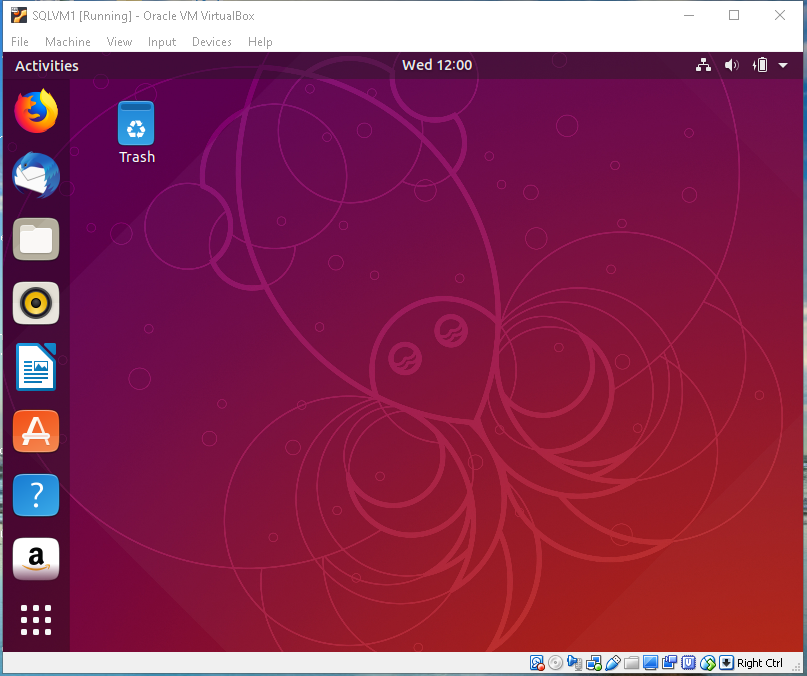
到这里,加载Ubuntu操作系统后,我们可以看到桌面:
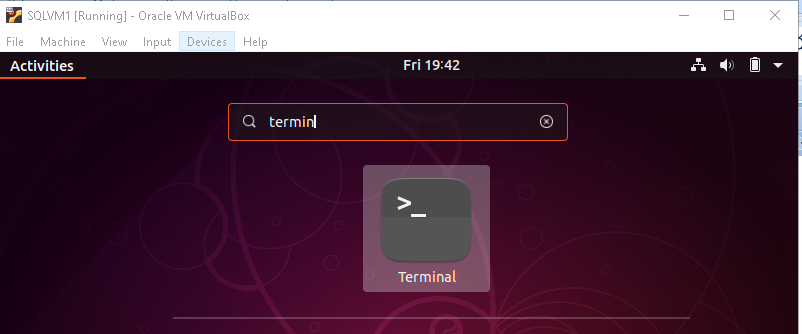
Let us verify the operating system version. For this, go to Applications -> Terminal and run the command
让我们验证操作系统版本。 为此,请转到应用程序->终端并运行命令
- lsb_release –a. lsb_release –a。
In the below command, we can see the Ubuntu version as Ubuntu 18.10.
在下面的命令中,我们可以看到Ubuntu版本为Ubuntu 18.10。
结论 (Conclusion)
In this article, we explored to prepare Oracle VM VirtualBox and install Ubuntu 18.10 on it. In the further articles, we will install SQL Server 2019 on it and explore its important features.
在本文中,我们探讨了如何准备Oracle VM VirtualBox并在其上安装Ubuntu 18.10。 在其他文章中,我们将在其上安装SQL Server 2019并探索其重要功能。
目录 (Table of contents)
翻译自: https://www.sqlshack.com/sql-server-2019-on-linux-with-ubuntu/


 669
669

 被折叠的 条评论
为什么被折叠?
被折叠的 条评论
为什么被折叠?
 到【灌水乐园】发言


