


 本文详细介绍了Microsoft Power BI中M语言和DAX的区别。M语言是用于在Power BI查询编辑器中预处理数据的查询公式语言,而DAX是一种用于深入数据分析的计算语言,主要在数据视图模型中使用。两者不相互依赖,具有不同的语法和逻辑,不能同时使用。通过例子,文章展示了如何在Power BI中运用M和DAX创建和分析数据。
power bi dax
Microsoft Power BI supports two different languages, M language and DAX (Data Analysis Expression) that can be used to filter, manage, and visualize data.
Microsoft Power BI支持两种不同的语言,即M语言和DAX(数据分析表达式),可用于过滤,管理和可视化数据。
M can be considered as a query formula language and it can be used in the Power BI Query Editor in order to prepare data before it can be loaded into the Power BI model.
M可以视为查询公式语言,可以在Power BI查询编辑器中使用M,以便在将数据加载到Power BI模型之前准备数据。
On the flip side, DAX is an analytical data calculation language which can be used for in-depth data analysis during the Data View phase.
另一方面,DAX是一种分析数据计算语言,可用于“数据视图”阶段的深入数据分析。
M and DAX are not dependent upon each other and follow totally different structures and logics, and have different underlying codes. M and DAX cannot be used simultaneously since the M language is used in Query Editor while DAX is mostly used in the Data View model.
M和DAX不相互依赖,遵循完全不同的结构和逻辑,并且具有不同的基础代码。 M和DAX无法同时使用,因为在查询编辑器中使用M语言,而在数据视图模型中则主要使用DAX。
This blog post will show you how M and DAX differ from each other in Power BI, with the help of examples. See this article for a quick introduction to DAX.
这篇博客文章将通过示例帮助您了解M和DAX在Power BI中的区别。 请参阅本文以快速了解DAX 。
导入数据集 (Importing the Dataset)
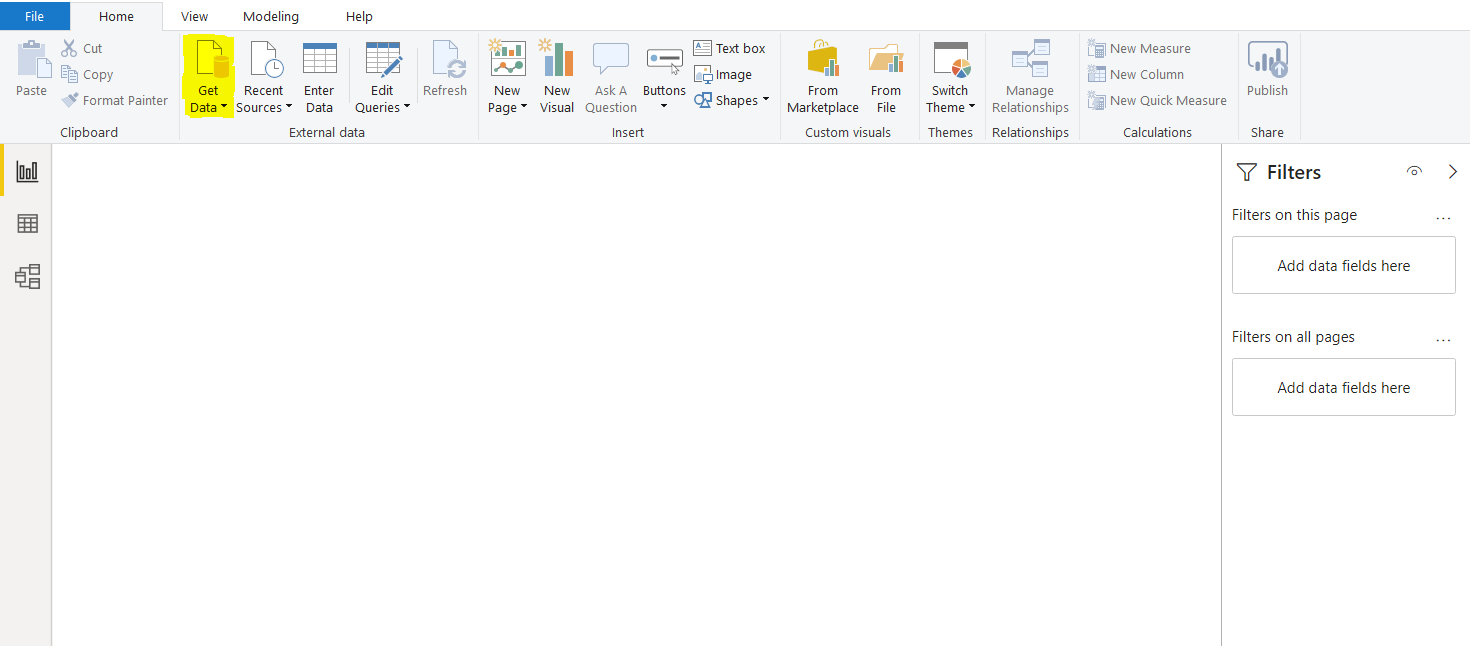
In this section, we will import a dummy dataset that we will use to execute our M Language and DAX queries. To do this start by clicking the “Get data” button in the top menu as shown in the following screenshot.
在本节中,我们将导入一个虚拟数据集,该数据集将用于执行M语言和DAX查询。 为此,请单击顶部菜单中的“获取数据”按钮,如以下屏幕截图所示。
A new dialogue will list all the data links open to Power BI.
一个新的对话框将列出打开到Power BI的所有数据链接。
Insert web” into the search section, and very shortly a Web” data option will appear and also an icon will show in the All data source options. Select the Web” option and then click “connect” at the bottom. This is clear in the screenshot below.
在搜索部分插入“ Web”,不久将出现“ Web”数据选项,并且在“ 所有数据源”选项中也会显示一个图标。 选择“ Web”选项,然后单击底部的“连接”。 这在下面的屏幕截图中很明显。
The dialogue window you can see in the screenshot below will appear. You now need to insert the URL below into the field labelled URL:
您将在下面的屏幕快照中看到的对话窗口将会出现。 现在,您需要将下面的URL插入标有URL的字段中:
Click “OK” to confirm when this is done.
单击“确定”以确认何时完成。
Here is a screenshot for your reference:
这是屏幕截图供您参考:
 最低0.47元/天 解锁文章


 968
968

 被折叠的 条评论
为什么被折叠?
被折叠的 条评论
为什么被折叠?
 到【灌水乐园】发言


