


wi-fi频宽设置

TP-Link’s Wi-Fi Smart Plug is a fairly popular option for those looking to turn lamps and fans on from their phones, especially since it’s regularly on sale and was even a part of Amazon’s Echo deals over the holidays. Here’s how to set it up.
TP-Link的Wi-Fi智能插头对于希望从手机上打开灯和风扇的人来说是一个相当受欢迎的选择,尤其是因为它定期销售,并且在假期甚至是亚马逊Echo交易的一部分。 设置方法如下。
If you’ve shopped for a smart plug in the recent past and just wanted the cheapest option from a reputable brand, it’s likely you bought this TP-Link model or its multi-pack. You can grab one for around $15-$20 when it’s on sale, but if you bought an Amazon Echo during the holidays, you had the opportunity to tack one onto your order for just $5.
如果您最近购买过智能插头,而只是想从知名品牌中选择最便宜的选择,则很可能是您购买了这种TP-Link型号或其多件装。 您可以以约15至20美元的价格购买一个,但如果您在假期期间购买了Amazon Echo,则有机会以5美元的价格在订单上添加一个。
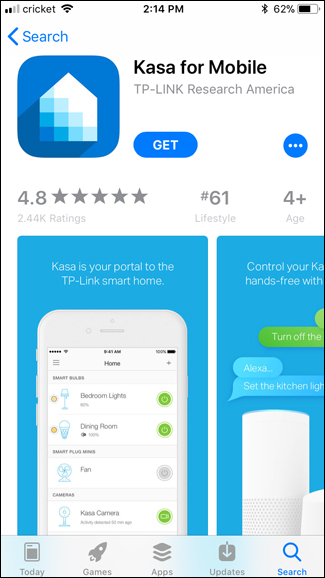
To start the setup process, you first need to download the Kasa app on your iPhone or Android device. This is TP-Link’s official app for its smarthome devices.
要开始设置过程,您首先需要在iPhone或Android设备上下载Kasa应用。 这是TP-Link的智能家居设备官方应用程序。
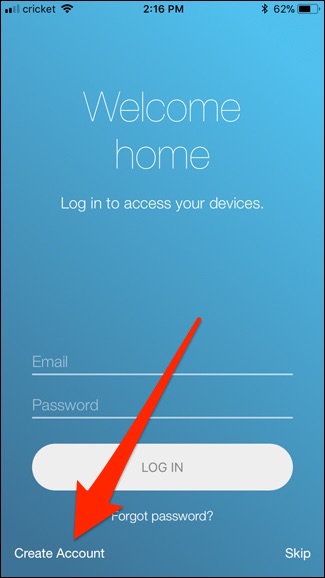
After installing it, open up the app and tap the “Create Account” link in the bottom left corner of the screen.
安装后,打开应用程序,然后点击屏幕左下角的“创建帐户”链接。
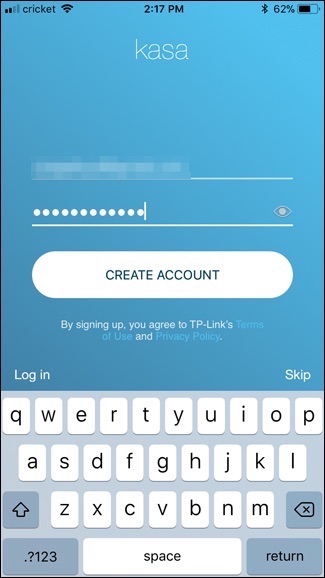
Type your email address, create a password, and then hit the “Create Account” button.
输入您的电子邮件地址,创建一个密码,然后点击“创建帐户”按钮。
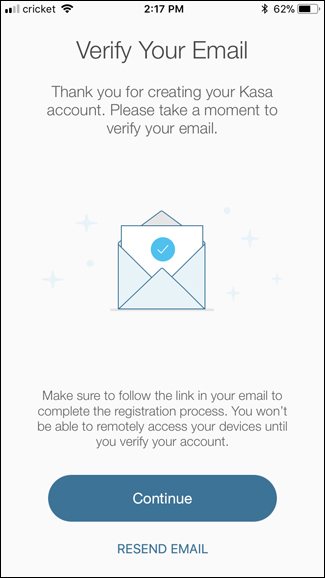
You’ll need to verify your email address to continue. Open your email inbox, select the email you received, and then click the verification link it contains. Once that’s done, you can return to the Kasa app, and then tap the “Continue” button.
您需要验证您的电子邮件地址才能继续。 打开您的电子邮件收件箱,选择您收到的电子邮件,然后单击其中包含的验证链接。 完成后,您可以返回到Kasa应用程序,然后点击“继续”按钮。
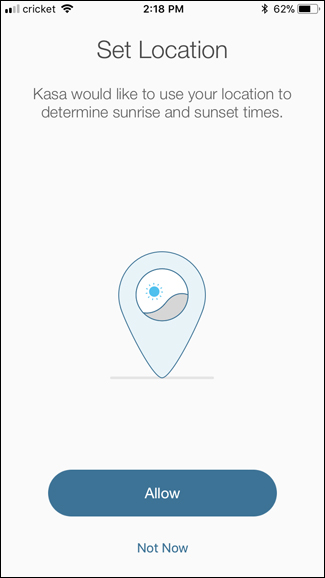
Next, you can choose whether or not you want to allow the app to access your location. This allows you to set a schedule for the smart plug based on sunrise and sunset. If you don’t need to do that, then there’s no reason to share your location.
接下来,您可以选择是否要允许该应用访问您的位置。 这使您可以基于日出和日落设置智能插头的时间表。 如果您不需要这样做,则无需共享您的位置。
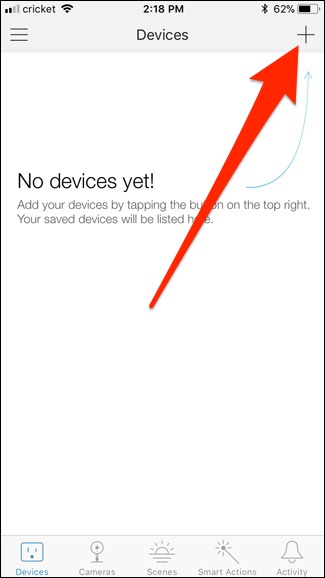
You’ll then be taken to the main screen. To set up your smart plug, tap on the “+” button in the top right corner of the screen.
然后,您将进入主屏幕。 要设置您的智能插头,请点击屏幕右上角的“ +”按钮。
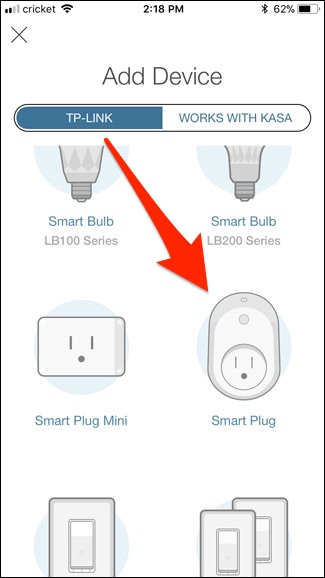
Scroll through the list and select the device that you’re setting up. In this case, we’ll select the “Smart Plug”.
滚动列表,然后选择要设置的设备。 在这种情况下,我们将选择“智能插头”。
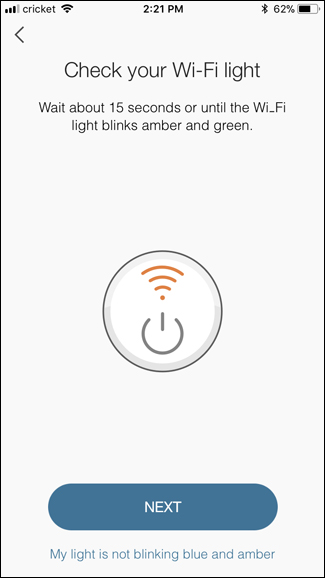
Now, plug the smart plug into an outlet and wait for it to boot up—it should take just a few seconds. The Wi-Fi logo lights up orange and then eventually flashes between orange and green. When you see this, tap the “Next” button in the app twice.
现在,将智能插头插入插座,等待其启动,这只需几秒钟。 Wi-Fi徽标点亮橙色,然后最终在橙色和绿色之间闪烁。 当您看到此消息时,在应用程序中点击两次“下一步”按钮。
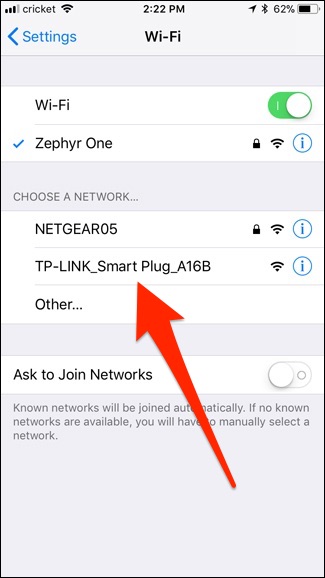
Now, you need to access the Wi-Fi settings for your phone, and connect your phone to the TP-Link Smart Plug’s Wi-Fi. Once that’s done, you can return to the Kasa app.
现在,您需要访问手机的Wi-Fi设置,并将手机连接到TP-Link Smart Plug的Wi-Fi。 完成后,您可以返回到Kasa应用。
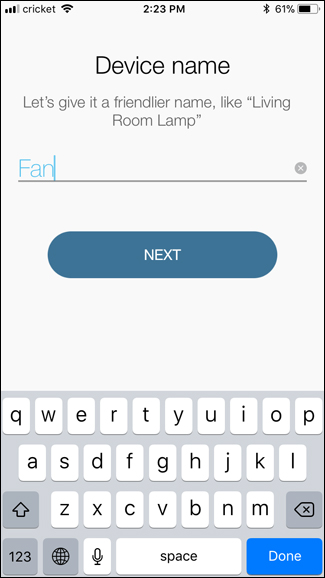
You’ll now move onto naming the smart plug. Type in whatever you want, and then hit the “Next” button.
现在,您将开始命名智能插头。 输入您想要的任何内容,然后单击“下一步”按钮。
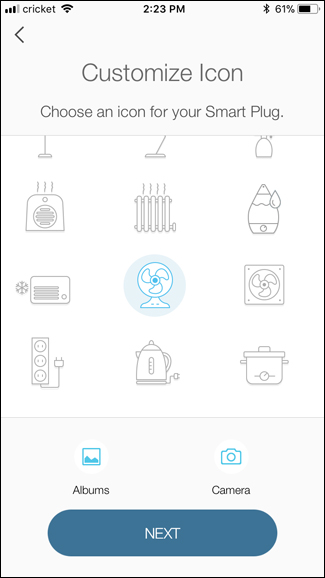
Select an icon you want to use to identify the device in the app. This really isn’t that important, but it is kind of fun. You can even choose a photo from your camera roll for a specific reminder of the device you’re controlling. Select your icon (or photo), and then tap the “Next” button.
选择您要用来在应用程序中标识设备的图标。 这确实不是那么重要,但是很有趣。 您甚至可以从相机胶卷中选择一张照片,以提醒您所控制的设备。 选择您的图标(或照片),然后点击“下一步”按钮。
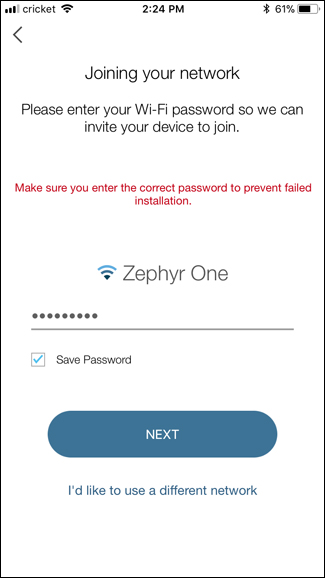
Next, the device must join your home Wi-Fi network. Type the password for your network, and then hit the “Next” button. If you want to use a different Wi-Fi network than the one Kasa pulls up first, tap the “I’d like to use a different network” link at the bottom of the screen.
接下来,该设备必须加入您的家庭Wi-Fi网络。 输入网络的密码,然后单击“下一步”按钮。 如果您要使用的无线网络不同于Kasa首先使用的Wi-Fi网络,请点击屏幕底部的“我想使用其他网络”链接。
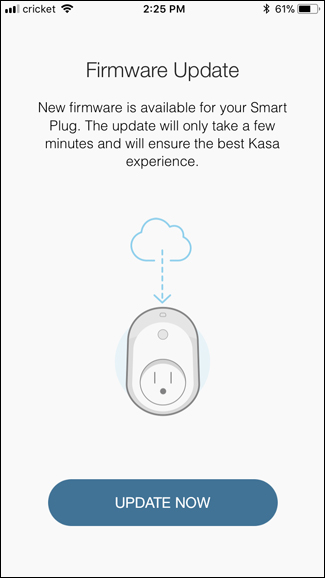
After connecting to your network, the device must grab the latest firmware update from the Internet. Tap the “Update Now” button.
连接到网络后,设备必须从Internet获取最新的固件更新。 点击“立即更新”按钮。
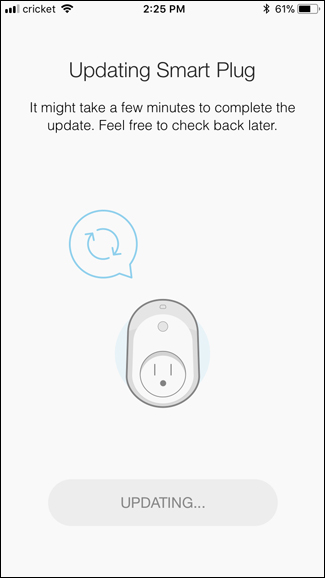
Give it a few minutes for the update to install. During this time, the smart plug may turn on and off automatically.
花几分钟时间安装更新。 在此期间,智能插头可能会自动打开和关闭。
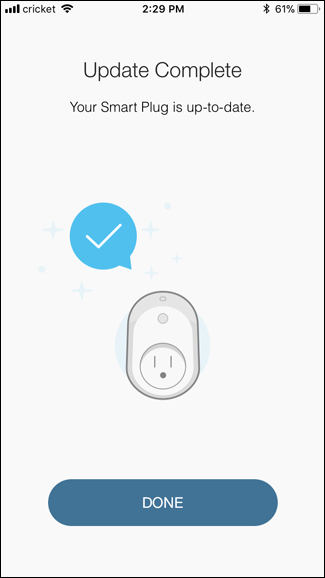
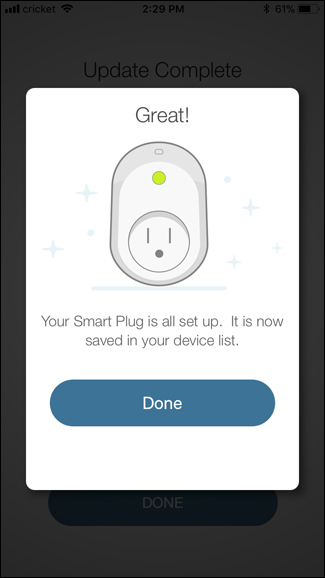
When the update is complete, hit the “Done” button.
更新完成后,点击“完成”按钮。
Tap “Done” again.
再次点击“完成”。
Your smart plug now appears on the main screen in the Kasa app, and you can tap the power button to the device’s right to turn it on and off.
现在,您的智能插头会出现在Kasa应用程序的主屏幕上,您可以点击设备右侧的电源按钮将其打开和关闭。

Tapping the smart plug opens up more information about its usage.
轻按智能插头可打开有关其用法的更多信息。

Tapping the “Total Runtime” figure brings up more information about how long the plug has been on, along with 7-day and 30-day total and averages.
轻按“总运行时间”图可显示有关该插头已开启多长时间的更多信息,以及7天和30天的总计和平均值。
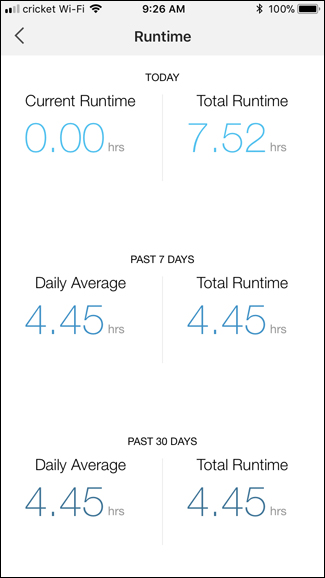
The TP-Link Smart Plug provides basic runtime information that’s pretty in line with what other smart plugs offer. Unfortunately, the information is not as detailed as that provided by the Belkin’s WeMo Insight (which can actually estimate energy costs), but it’s certainly better than nothing. Plus the Kasa app is really easy to use.
TP-Link智能插件提供的基本运行时信息与其他智能插件所提供的基本一致。 不幸的是,该信息没有Belkin的WeMo Insight提供的详细信息(它实际上可以估算能源成本),但是肯定比没有要好。 另外,Kasa应用程序非常易于使用。
翻译自: https://www.howtogeek.com/339569/how-to-set-up-the-tp-link-wi-fi-smart-plug/
wi-fi频宽设置


 被折叠的 条评论
为什么被折叠?
被折叠的 条评论
为什么被折叠?
 到【灌水乐园】发言


