


LXDE is light but eye-candy desktop environment mainly used by Linux distributions. Ubuntu supports as a sub-distribution for a long time named Lubuntu . In this tutorial, we will look at how to install Lubuntu.
LXDE是轻量级的桌面环境,主要供Linux发行版使用。 Ubuntu长期以来一直支持作为名为Lubuntu的子发行版。 在本教程中,我们将研究如何安装Lubuntu。
关于鲁本图 (About Lubuntu)
Lubuntu is fast and lightweight operating system based Ubuntu. It uses a minimal desktop environment named Lxde with the selection of light applications. Another main motivation of Lubuntu is less energy usage. This will make Lubuntu useful for Laptops.
Lubuntu是基于Ubuntu的快速,轻量级操作系统。 它使用带有灯光应用程序的最小桌面环境Lxde。 鲁本图的另一个主要动机是减少能源消耗。 这将使Lubuntu对笔记本电脑有用。
下载ISO镜像 (Download ISO Image)
Lubuntu image can be download from lubuntu.net . Lubuntu is provided as two versions 32 bit or 64 bit. I will use 64-bit Lubuntu in this tutorial. The size of both versions are similar and the 64-bit version is 912 MB.
可以从lubuntu.net下载Lubuntu图像。 Lubuntu提供两种版本的32位或64位。 在本教程中,我将使用64位Lubuntu。 这两个版本的大小相似,并且64位版本为912 MB 。
32位 (32 Bit)
http://cdimage.ubuntu.com/lubuntu/releases/17.04/release/lubuntu-17.04-desktop-i386.iso
http://cdimage.ubuntu.com/lubuntu/releases/17.04/release/lubuntu-17.04-desktop-i386.iso
64位 (64 Bit)
http://cdimage.ubuntu.com/lubuntu/releases/17.04/release/lubuntu-17.04-desktop-amd64.iso
http://cdimage.ubuntu.com/lubuntu/releases/17.04/release/lubuntu-17.04-desktop-amd64.iso
挂载或刻录Lubuntu安装介质 (Mount or Burn Lubuntu Installation Media)
Before starting installation we need to decide where we will install Lubuntu. If we will install into a virtual machine we should mount it to VM. If we will install into physical hardware like a laptop, netbook, or pc we should burn it into a CD or USB. In this example, I will install it into a VM.
在开始安装之前,我们需要确定在哪里安装Lubuntu。 如果要安装到虚拟机中,则应将其安装到VM。 如果要安装到笔记本电脑,上网本或PC等物理硬件中,则应将其刻录到CD或USB中。 在此示例中,我将其安装到VM中。
鲁本图安装 (Lubuntu Installation)
We will look Lubuntu installation step by step. We will use Lubuntu 17.04 which is the most recent version at the time of writing this tutorial.
我们将逐步介绍Lubuntu的安装。 我们将使用Lubuntu 17.04,它是撰写本教程时的最新版本。
语言选择 (Language Selection)
We will select the installation language.
我们将选择安装语言。

开始安装(Start Installation)
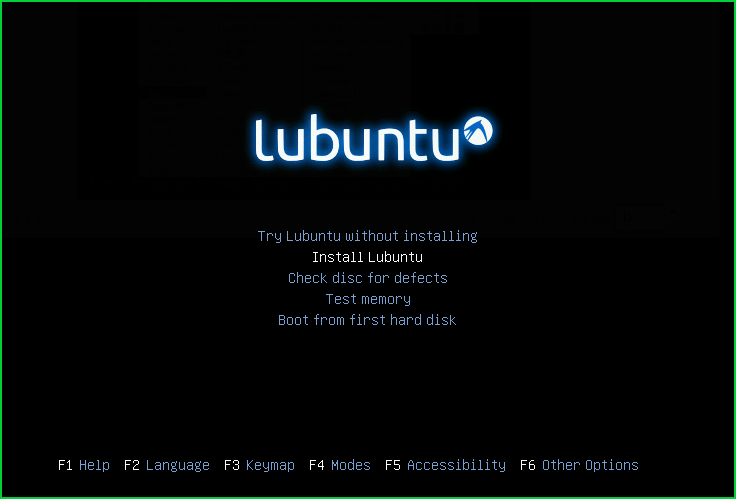
We have different options like
我们有不同的选择,例如
- Try Ubuntu where Lubuntu will not install and run a live system but changes will do not save.尝试Ubuntu,Lubuntu无法安装和运行实时系统,但更改不会保存。
Install Ubuntuwhere we will install ubuntu.Install Ubuntu,我们将安装ubuntu。Chech disk for defectswill make a disk check against disk hard or soft errors.检查
Chech disk for defects将对磁盘进行硬或软错误检查。Test memorywill test ram.Test memory将测试ram。Boot from first hard diskwill boot from the attached first hard disk.Boot from first hard disk引导将从连接的第一个硬盘引导。
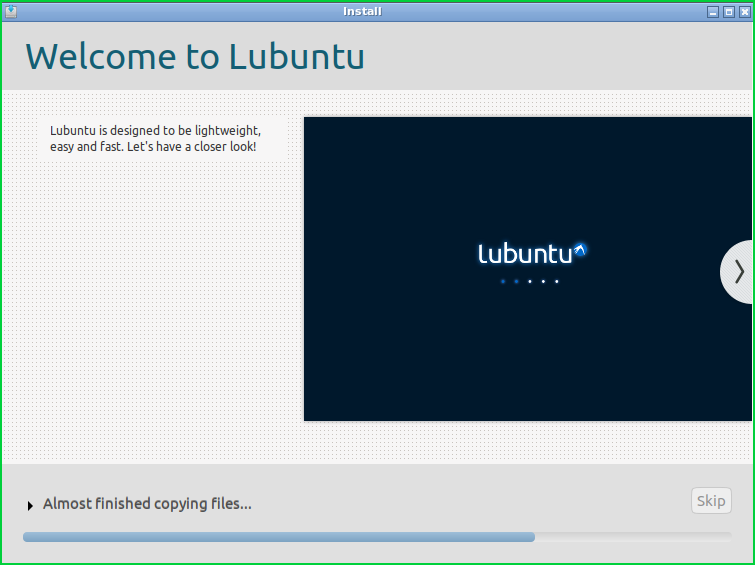
欢迎屏幕(Welcome Screen)
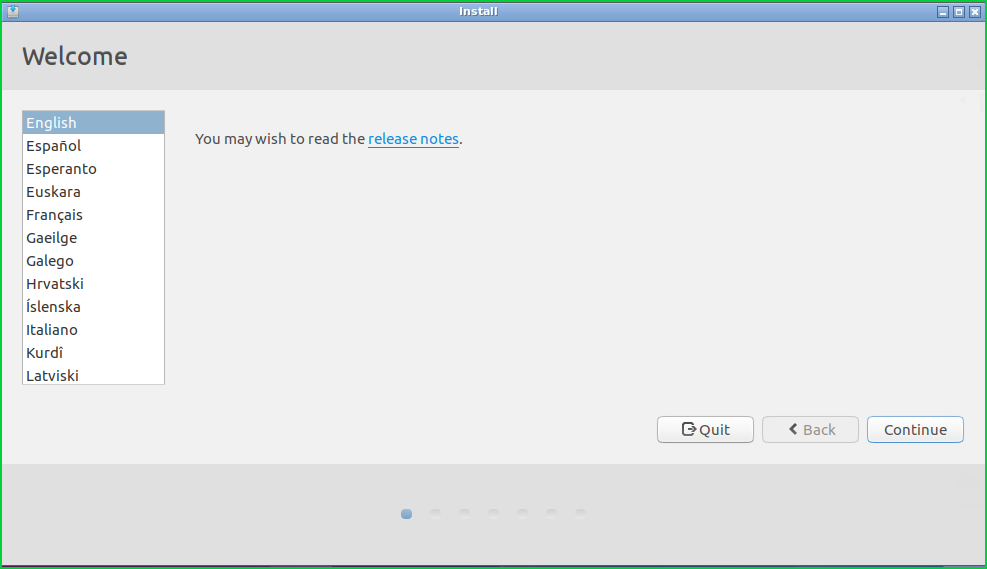
We will see the following welcome screen which shows the name of the Lubuntu.
我们将看到以下欢迎屏幕,其中显示了Lubuntu的名称。

选择语言 (Select Language)
We will select the language used after installation. Here we will select the English as language.
安装后,我们将选择使用的语言。 在这里,我们将选择English作为语言。
更新和多媒体(Update and Multimedia)
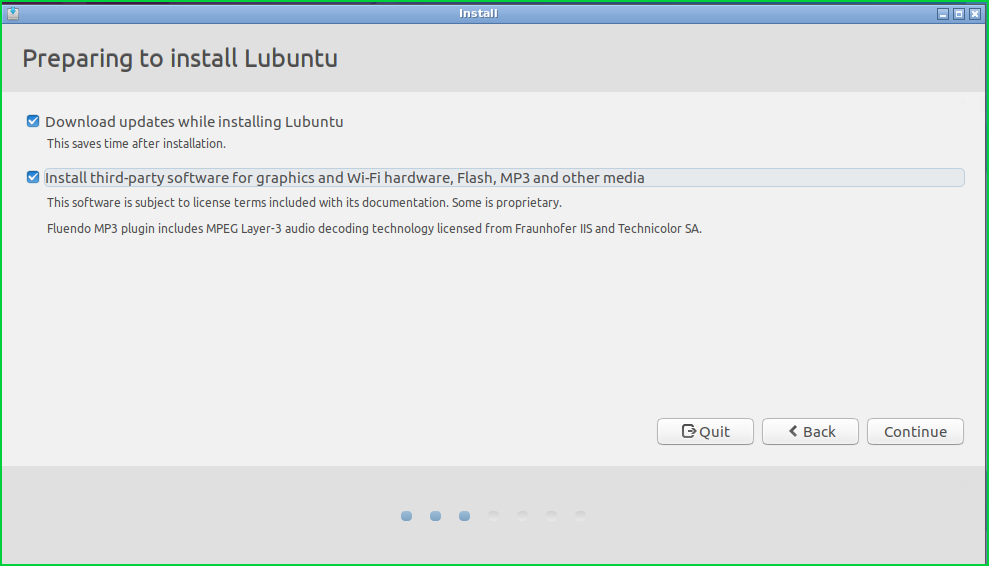
Here we will select install updates during installation and also enable multimedia plugins. This will download newer packages and multimedia related packages like ffmpeg etc during installation. This will make the installation a longer time.
在这里,我们将在安装过程中选择安装更新,并启用多媒体插件。 这将在安装过程中下载较新的软件包和与ffmpeg等多媒体相关的软件包。 这将使安装时间更长。
安装类型(Installation Type)
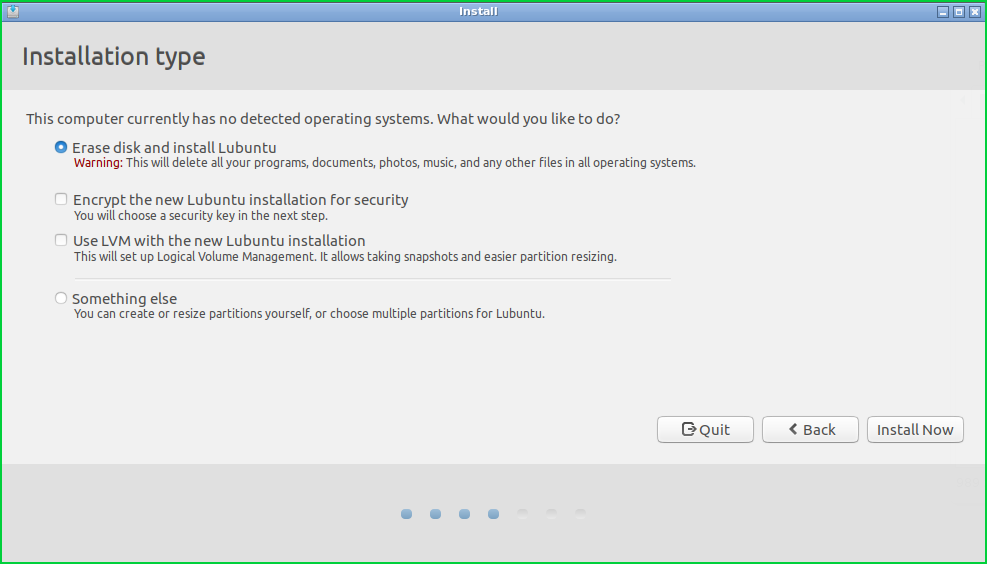
This is the disk configuration where we will select the disk configuration from 4 different options.
这是磁盘配置,我们将从4个不同的选项中选择磁盘配置。
Erase disk and install Lubuntuwill wipe the given disk and made a fresh install.Erase disk and install Lubuntu将擦除给定的磁盘并进行全新安装。Encrypt the new Lubuntu installation for securitywill encrypt created hard disk partitions that will provide security and privacy.Encrypt the new Lubuntu installation for security将对创建的硬盘分区进行加密,以提供安全性和私密性。Use LVM with the new Lubuntu installationwill useLVMdisk type which is used to add remove disks easily running the Lubuntu and increase decrease partition sizes.Use LVM with the new Lubuntu installation使用LVM将使用LVM磁盘类型,该磁盘类型用于添加可轻松运行Lubuntu的删除磁盘并增加减小分区的大小。Something elsewill be used for a manual configuration where we can manually specify the configuration.Something else将用于手动配置,在这里我们可以手动指定配置。
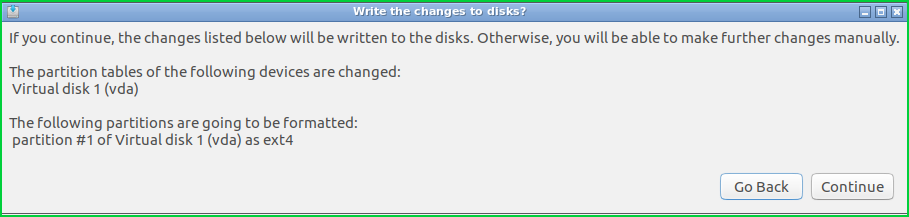
擦除磁盘(Erase Disk)
As disk operations are critical like deleting, formatting we have to approve explicitly them. This step will delete specified partition content and create new ext4 file system.
由于磁盘操作至关重要,例如删除,格式化,因此我们必须明确批准它们。 此步骤将删除指定的分区内容并创建新的ext4文件系统。
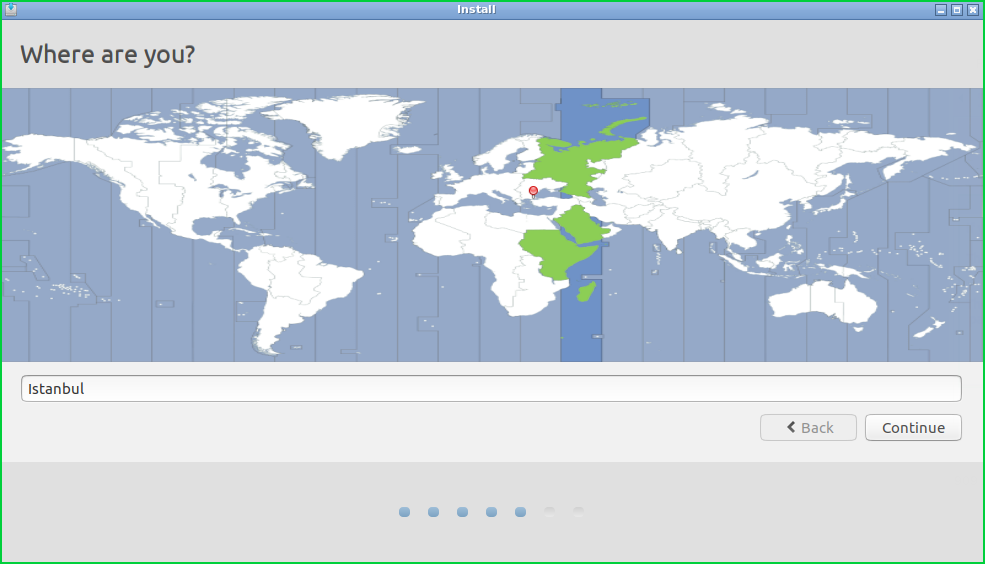
设定时区(Set Time zone)
As I am living in Turkey I select Istanbul time zone. We can select the time zone by clicking to the map.
当我住在土耳其时,我选择了伊斯坦布尔时区。 我们可以通过单击地图来选择时区。
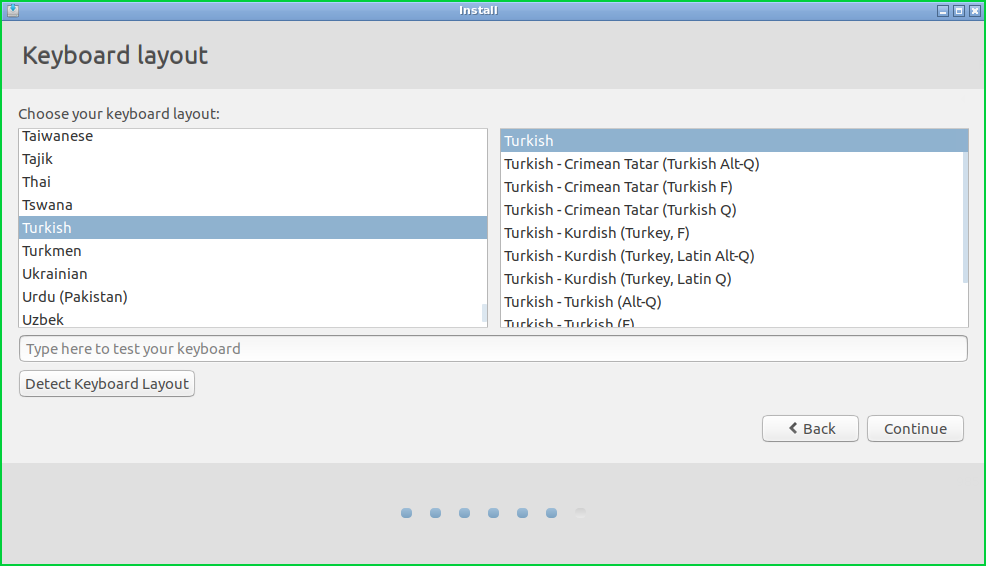
键盘布局(Keyboard Layout)
We will select the keyboard layout with sub-layouts. I am currently using Turkish language default layout which is Q keyboard.
我们将选择带有子布局的键盘布局。 我当前使用的是Q keyboard语言的Turkish默认布局。
创建用户并设置密码(Create User and Set Password)
We create an initial user by setting user name, real name, and password with the computer name.
我们通过使用计算机名设置用户名,真实姓名和密码来创建初始用户。

As we can see that
我们可以看到
Your nameis the full name of the user which isismailbut we can also use the surname or similar.Your name是用户的全名,即ismail但我们也可以使用姓氏或类似名称。Your computer's nameis the computer or hostname where we can change it whatever we want.Your computer's name是我们可以随意更改的计算机或主机名。Pick a usernamewere we will set our Linux system user name which will be used for authentication, authorization, etc.Pick a username,我们将设置我们Linux系统用户名,该用户名将用于身份验证,授权等。Choose a passwordwill be used to specify the user password. Also, some feedback about password complexity is provided which isFairin this case.Choose a password将用于指定用户密码。 另外,提供了一些有关密码复杂性的反馈,在这种情况下,这是Fair。Confirm your passwordis used to double-check the previously defined password.Confirm your password用于再次检查先前定义的密码。Log in automaticallywill log in to the current user session without any password check or authentication.Log in automatically将登录到当前用户会话,而无需任何密码检查或身份验证。Required my password to log inwill check the password of the user for the session.Required my password to log in将检查该会话用户的密码。Encrypt my home folderwill encrypt the user’s home directory which is a practical security metric.Encrypt my home folder将对用户的主目录进行加密,这是一种实用的安全指标。
安装程序包 (Setup Packages)
This is the installation phase where the specified default packages will be downloaded and installed into the system.
在安装阶段,将下载指定的默认软件包并将其安装到系统中。
安装完成(Installation Complete)
Installation is complete we need to restart the system.
安装完成后,我们需要重新启动系统。

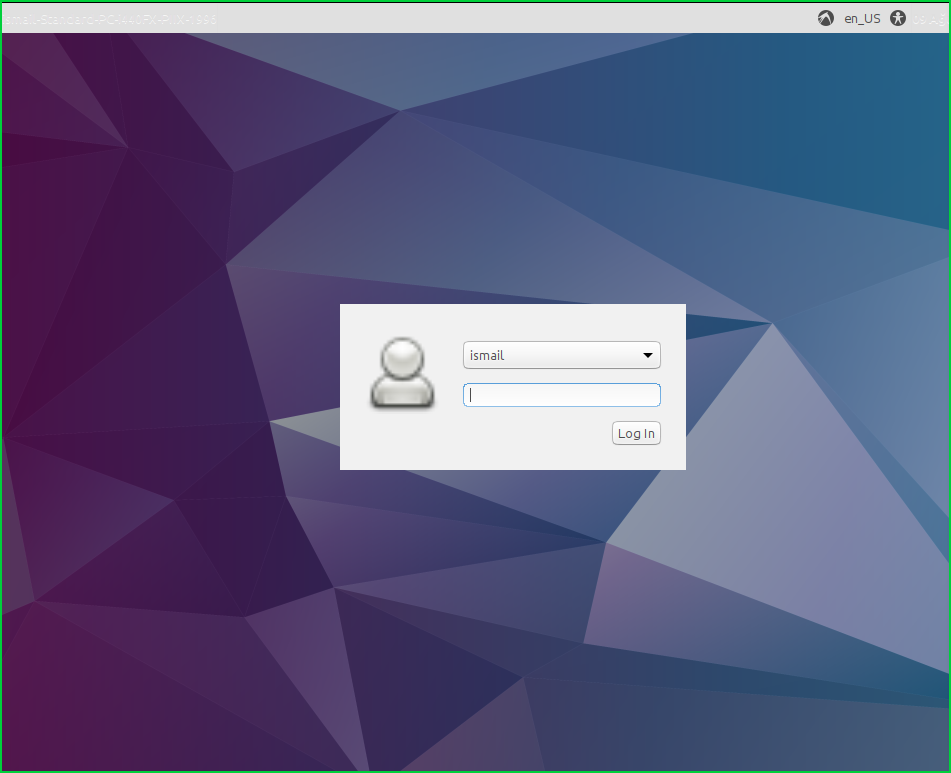
登入画面(Login Screen)
We can use our Lubuntu installation by providing our user password.
我们可以通过提供用户密码来使用Lubuntu安装。
翻译自: https://www.poftut.com/lubuntu-download-install-tutorial/


 1473
1473

 被折叠的 条评论
为什么被折叠?
被折叠的 条评论
为什么被折叠?
 到【灌水乐园】发言


