


Knife4j 完全遵循了 Swagger 的使用方式,所以可以无缝切换。
第一步,在 pom.xml 文件中添加 Knife4j 的依赖(不需要再引入 springfox-boot-starter)。
<dependency>
    <groupId>com.github.xiaoymin</groupId>
    <artifactId>knife4j-spring-boot-starter</artifactId>
    <!--在引用时请在maven中央仓库搜索3.X最新版本号-->
    <version>3.0.2</version>
</dependency>
第二步,添加 Knife4j 的 Java 配置类,只需要配置基本的 API 信息和需要扫描的类路径即可。添加 @EnableOpenApi 注解,开启 Knife4j 增强功能。
@Configuration
@EnableOpenApi
public class Knife4jConfig {
    @Bean
    public Docket createRestApi() {
        return new Docket(DocumentationType.SWAGGER_2)
                .apiInfo(apiInfo())
                .select()
                .apis(RequestHandlerSelectors.basePackage("com.zf.controller"))
                .paths(PathSelectors.any())
                .build();
    }

    private ApiInfo apiInfo() {
        return new ApiInfoBuilder()
                .title("订单微服务接口文档")  // 大标题
                .description("订单接口,这个接口有一些关于订单的增删改查.....") //描述
                .termsOfServiceUrl("http://www.zf.com")  //网络服务地址
                .version("1.0.0")     //版本号
                .build();
    }
}
第三步,开启增强功能以及基本的登录认证,保证了接口文档的安全性。
knife4j:
  enable: true   # 开启增强
  basic:    # 开启登录认证
    enable: true
    username: test
    password: test
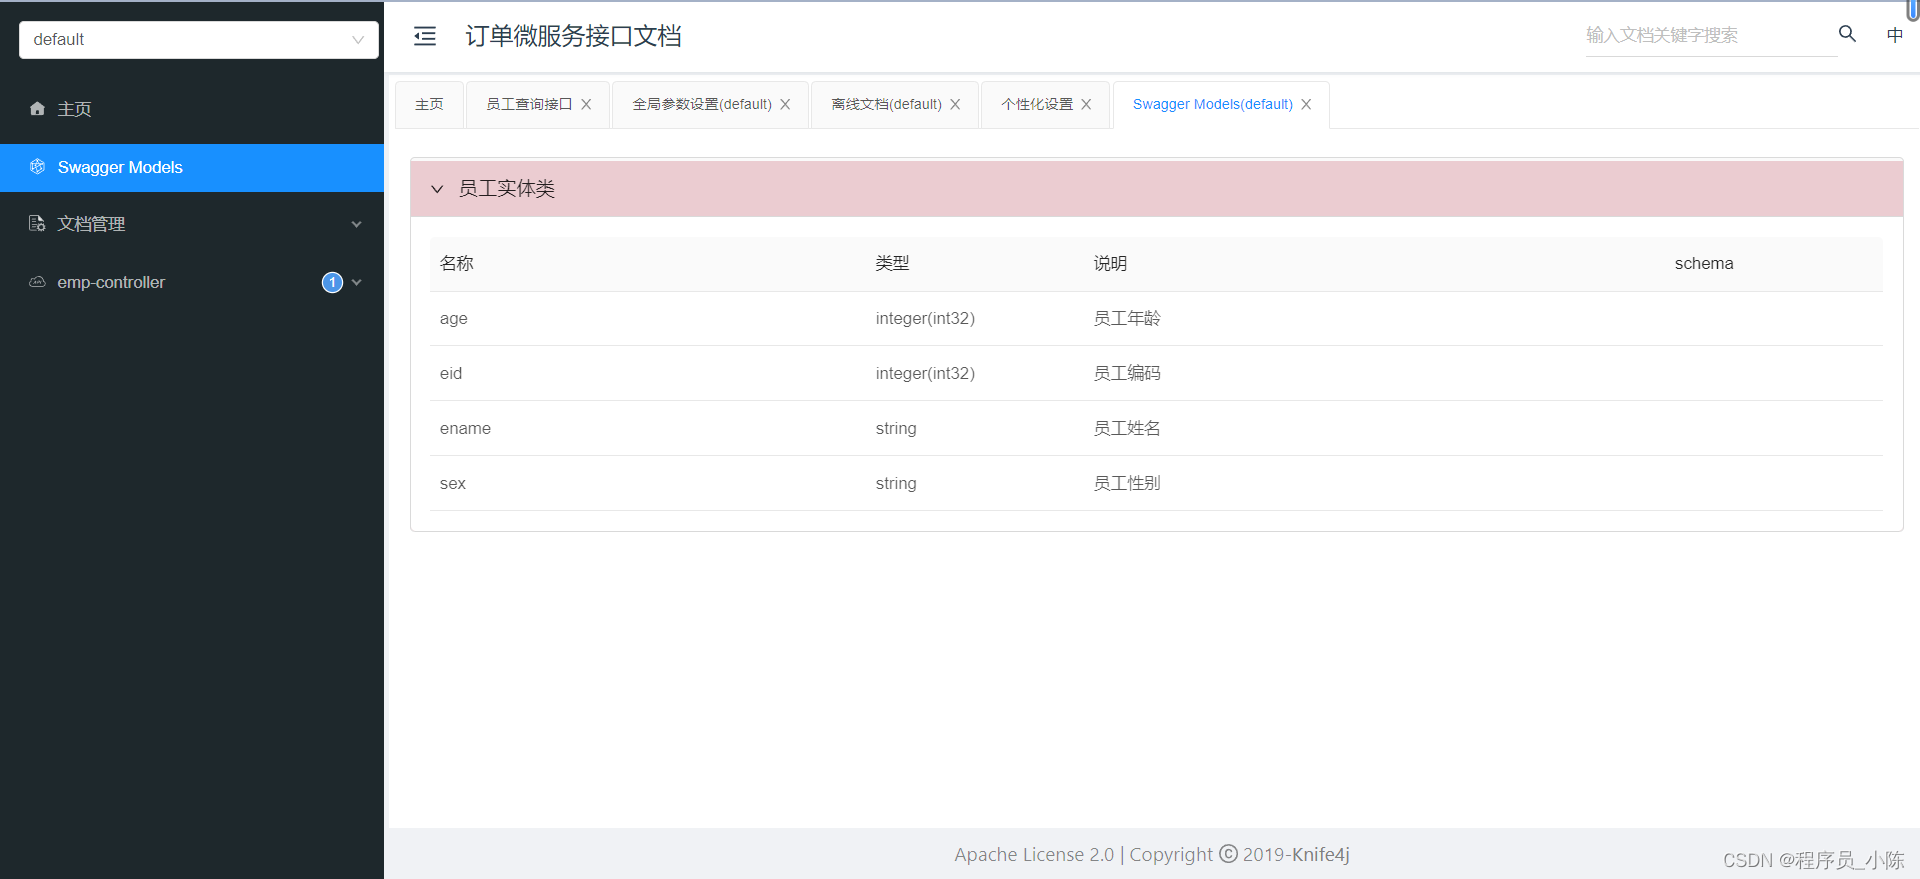
第五步,重新运行 Spring Boot 项目,访问 API 文档,查看效果。
访问地址:http://localhost:8080/doc.html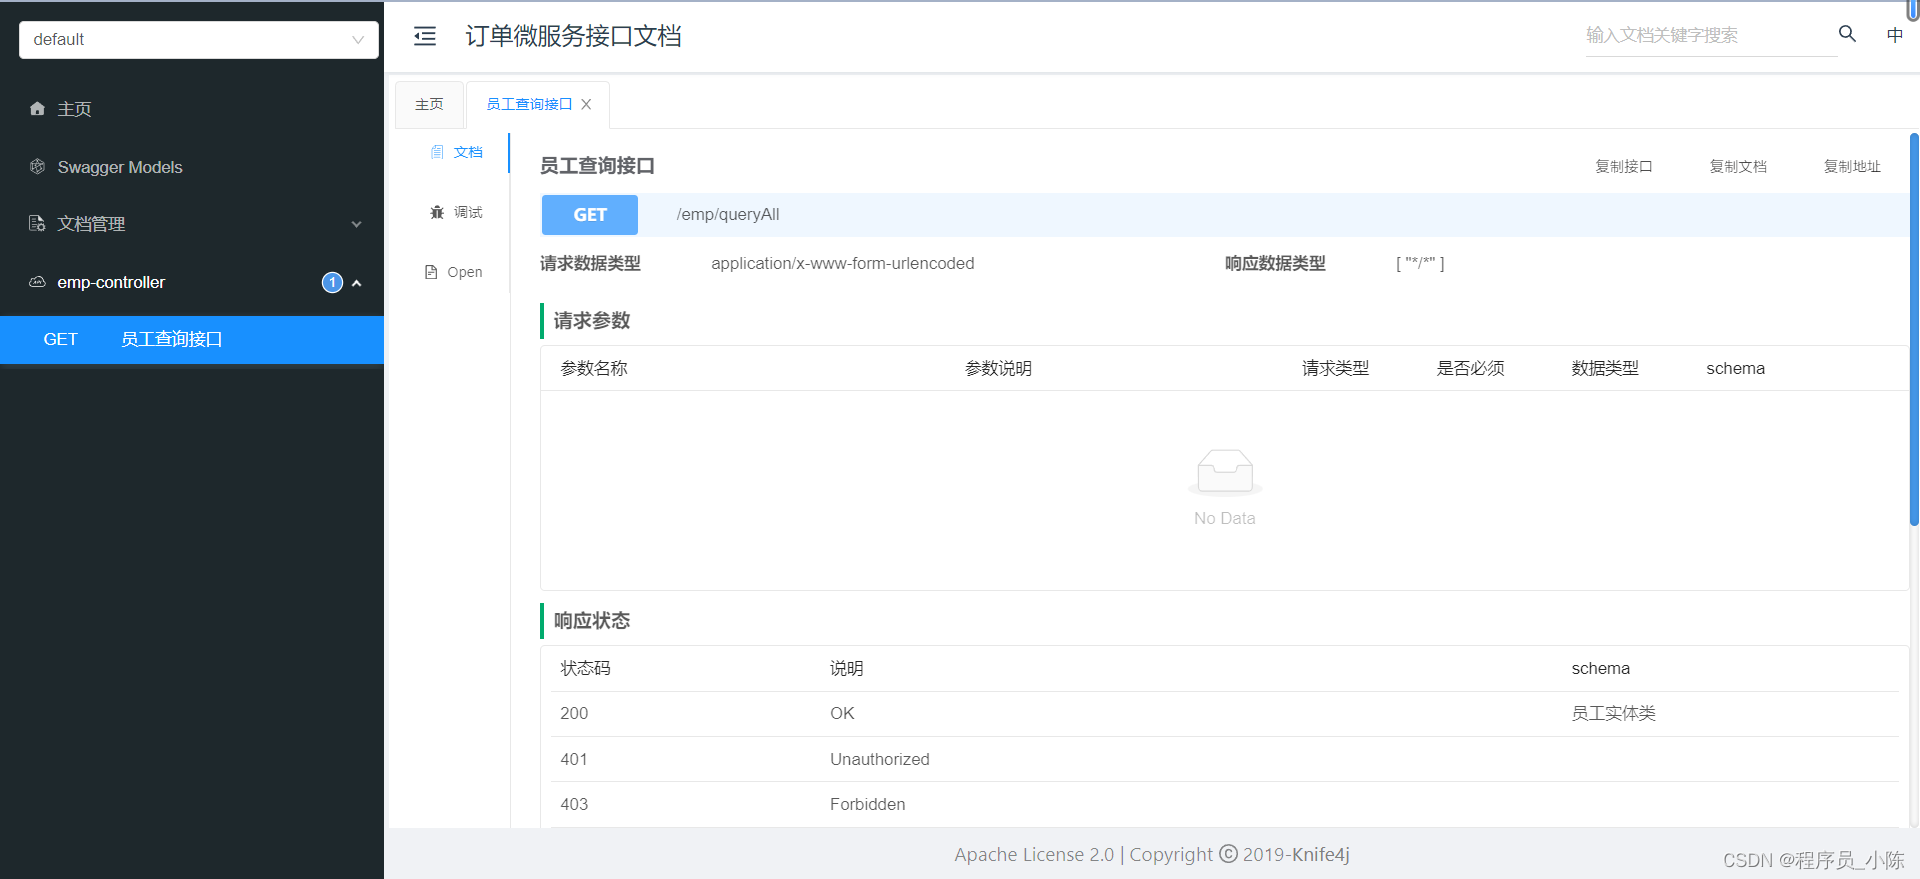


 395
395

 被折叠的 条评论
为什么被折叠?
被折叠的 条评论
为什么被折叠?
 到【灌水乐园】发言


