


scala akka
去年年底,我写了几篇文章,展示了如何使用Spray.io创建基于Scala的REST服务(),以及如何使用Scala,Akka和reactmongogo创建Websocket服务器。 我想进一步研究REST服务器部分,但发现在2013年底,Spray.io被typesafe收购,并将与Akka堆栈集成。 因此,在本文中,我们将研究如何使用Akka HTTP功能来创建简单的Web服务器,在后续工作中,我们将研究如何将Spray.io的路由移植到Akka。
在本文中,我们将执行以下步骤:
- 将一些伪数据放入mongoDB中进行测试。
- 使用Akka Http创建服务器,该服务器使用简单的异步处理程序来处理请求。
- 创建一个使用自定义流程图处理传入请求的服务器。
- 使用同样由Akka-Http创建的http客户端测试这两个服务器。
因此,让我们开始一些准备工作,并将一些数据放入mongoDB中供我们使用。
将数据加载到mongoDB
在此示例中,我们使用了一些与股票相关的信息,您可以从此处下载( http://jsonstudio.com/wp-content/uploads/2014/02/stocks.zip )。 您可以通过执行以下步骤轻松地做到这一点:
首先获取数据:
wget http://jsonstudio.com/wp-content/uploads/2014/02/stocks.zip在另一个终端中启动mongodb
mongod --dbpath ./data/最后使用mongoimport导入数据
unzip -c stocks.zip | mongoimport --db akka --collection stocks作为快速检查,运行查询以查看是否一切正常:
jos@Joss-MacBook-Pro.local:~$ mongo akka
MongoDB shell version: 2.4.8
connecting to: akka
> db.stocks.findOne({},{Company: 1, Country: 1, Ticker:1 } )
{
        "_id" : ObjectId("52853800bb1177ca391c17ff"),
        "Ticker" : "A",
        "Country" : "USA",
        "Company" : "Agilent Technologies Inc."
}
>
至此,我们有了测试数据,可以查看运行服务器所需的代码。
创建一个使用简单的异步处理程序来处理请求的服务器
要使用Akka Http并访问mongo中的数据,我们将需要一些其他库。 因此,在执行其他任何操作之前,让我们首先看一下我们用于本文的sbt构建文件:
import com.typesafe.sbt.SbtAspectj._

name := "http-akka"

version := "1.0"

scalaVersion := "2.11.5"

libraryDependencies ++= Seq(
  "com.typesafe.akka" %% "akka-http-core-experimental" % "1.0-M2",
  "org.reactivemongo" %% "reactivemongo" % "0.10.5.0.akka23",
  "org.reactivemongo" %% "play2-reactivemongo" % "0.10.5.0.akka23",
  "com.typesafe.play" % "play-json_2.11" % "2.4.0-M2",
  "ch.qos.logback" % "logback-classic" % "1.1.2"
)

resolvers += "Sonatype Snapshots" at "https://oss.sonatype.org/content/repositories/snapshots/"

resolvers += "Typesafe" at "https://repo.typesafe.com/typesafe/releases/"

mainClass in (Compile, run) := Some("Boot")
当您查看依赖性时,您会看到通常的可疑对象:
- akka-http-core-experimental包含我们将要使用的所有http服务器和客户端内容。 该库取决于akka-stream,因此我们还将在类路径上获取该库。
- reactiemongo允许我们以React方式连接到mongo。
- 我还包括了play2-reactivemongo和play-json,这使得将从mongo返回的BSON转换为JSON变得更加容易。
- 最后,对于日志记录,我们添加了logback。
现在,在查看运行服务器所需的代码之前,让我们快速看一下如何查询mongo。 为此,我们创建了一个简单的辅助对象,创造性地命名为Database:
import reactivemongo.api._
import reactivemongo.api.collections.default.BSONCollection
import reactivemongo.bson.BSONDocument
import scala.concurrent.ExecutionContext.Implicits.global
import scala.concurrent.Future

object Database {

  val collection = connect()


  def connect(): BSONCollection = {

    val driver = new MongoDriver
    val connection = driver.connection(List("localhost"))

    val db = connection("akka")
    db.collection("stocks")
  }

  def findAllTickers(): Future[List[BSONDocument]] = {
    val query = BSONDocument()
    val filter = BSONDocument("Company" -> 1, "Country" -> 1, "Ticker" -> 1)

    // which results in a Future[List[BSONDocument]]
    Database.collection
      .find(query, filter)
      .cursor[BSONDocument]
      .collect[List]()
  }

  def findTicker(ticker: String) : Future[Option[BSONDocument]] = {
    val query = BSONDocument("Ticker" -> ticker)

    Database.collection
      .find(query)
      .one
  }

}
没有太多的解释。 这里要注意的最重要的一点是,两个find函数都返回一个future,因此不会阻塞对这些函数的调用。 既然我们已经掌握了基础知识,那么让我们看一下第一个使用异步处理程序的http服务器的代码。
/**
 * Simple Object that starts an HTTP server using akka-http. All requests are handled
 * through an Akka flow.
 */
object Boot extends App {

  // the actor system to use. Required for flowmaterializer and HTTP.
  // passed in implicit
  implicit val system = ActorSystem("Streams")
  implicit val materializer = FlowMaterializer()

  // start the server on the specified interface and port.
  val serverBinding2 = Http().bind(interface = "localhost", port = 8091)
  serverBinding2.connections.foreach { connection =>
    connection.handleWith(Flow[HttpRequest].mapAsync(asyncHandler))
   }
 }
在这段代码中,我们创建了一个监听8091端口的http服务器。我们处理使用asyncHandler建立的每个连接。 该处理程序应返回Future [HttpResponse]。 接下来让我们看一下这个处理程序:
// With an async handler, we use futures. Threads aren't blocked.
  def asyncHandler(request: HttpRequest): Future[HttpResponse] = {

    // we match the request, and some simple path checking
    request match {

      // match specific path. Returns all the avaiable tickers
      case HttpRequest(GET, Uri.Path("/getAllTickers"), _, _, _) => {

        // make a db call, which returns a future.
        // use for comprehension to flatmap this into
        // a Future[HttpResponse]
        for {
          input <- Database.findAllTickers
        } yield {
          HttpResponse(entity = convertToString(input))
        }
      }

      // match GET pat. Return a single ticker
      case HttpRequest(GET, Uri.Path("/get"), _, _, _) => {

        // next we match on the query paramter
        request.uri.query.get("ticker") match {

            // if we find the query parameter
            case Some(queryParameter) => {

              // query the database
              val ticker = Database.findTicker(queryParameter)

              // use a simple for comprehension, to make
              // working with futures easier.
              for {
                t <- ticker
              } yield  {
                t match {
                  case Some(bson) => HttpResponse(entity = convertToString(bson))
                  case None => HttpResponse(status = StatusCodes.OK)
                }
              }
            }

            // if the query parameter isn't there
            case None => Future(HttpResponse(status = StatusCodes.OK))
          }
      }

      // Simple case that matches everything, just return a not found
      case HttpRequest(_, _, _, _, _) => {
        Future[HttpResponse] {
          HttpResponse(status = StatusCodes.NotFound)
        }
      }
    }
  }
从该代码可以看到,处理程序代码非常简单。 我们使用模式匹配来匹配特定的URL,并使用我们之前看到的Database对象查询mongo。 请注意对convertToString的调用。 这些是几个帮助程序方法,它们使用我们之前包含的播放库将BSON转换为JSON:
def convertToString(input: List[BSONDocument]) : String = {
    input
      .map(f => convertToString(f))
      .mkString("[", ",", "]")
  }

  def convertToString(input: BSONDocument) : String = {
    Json.stringify(BSONFormats.toJSON(input))
  }
当启动此服务器并在浏览器中打开adres时,我们将看到以下内容:
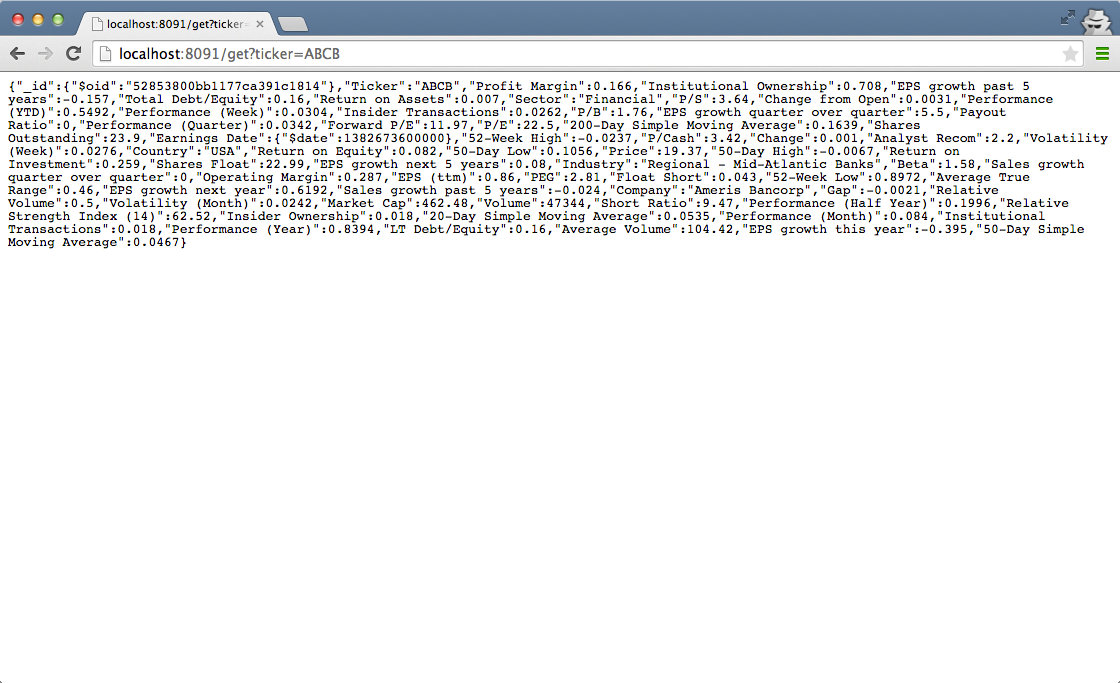
容易吧? 现在,让我们看一下更高级的场景。
创建一个使用自定义流程图处理传入请求的服务器。
Akka-http内部使用akka-streams处理http连接。 这意味着我们可以使用akka-streams以响应方式轻松处理http请求。 对于线性流,我们可以使用akka提供的标准流api。 对于更高级的图形,akka-streams提供了它自己的DSL,您可以使用它很容易地创建更复杂的图形,在其中并行处理流事件。
让我们创建一个侦听端口8090的新服务器绑定:
object Boot extends App {

  // the actor system to use. Required for flowmaterializer and HTTP.
  // passed in implicit
  implicit val system = ActorSystem("Streams")
  implicit val materializer = FlowMaterializer()

  // start the server on the specified interface and port.
  val serverBinding1 = Http().bind(interface = "localhost", port = 8090)

  serverBinding1.connections.foreach { connection =>
    connection.handleWith(broadCastMergeFlow)
   }
 }
该服务器绑定的创建方式与之前相同。 主要区别在于这一次我们不将请求的处理传递到处理程序上,而是指定名称为broadCastMergeFlow的流的实例。 此广播合并流如下所示:
val bCast = Broadcast[HttpRequest]

// some basic steps that each retrieve a different ticket value (as a future)
val step1 = Flow[HttpRequest].mapAsync[String](getTickerHandler("GOOG"))
val step2 = Flow[HttpRequest].mapAsync[String](getTickerHandler("AAPL"))
val step3 = Flow[HttpRequest].mapAsync[String](getTickerHandler("MSFT"))

// We'll use the source and output provided by the http endpoint
val in = UndefinedSource[HttpRequest]
val out = UndefinedSink[HttpResponse]
 // when an element is available on one of the inputs, take
// that one, igore the rest
val merge = Merge[String]
// since merge doesn't output a HttpResponse add an additional map step.
val mapToResponse = Flow[String].map[HttpResponse](
(inp:String) => HttpResponse(status = StatusCodes.OK, entity = inp)
)


  // define another flow. This uses the merge function which
  // takes the first available response
  val broadCastMergeFlow = Flow[HttpRequest, HttpResponse]() {
    implicit builder =>

            bCast ~> step1 ~> merge
      in ~> bCast ~> step2 ~> merge ~> mapToResponse ~> out
            bCast ~> step3 ~> merge

      (in, out)
  }
最重要的部分是此代码片段的最后几行。 在这里,我们绘制了一个图形,该图形定义了服务器处理消息时如何处理消息。 在这种情况下,我们首先将传入的http请求广播到三个并行流。 接下来,在每个流中,我们都要调用数据库以获取票证。 接下来,我们将结果合并在一起(合并将第一个可用的上游合并)并创建响应。 因此,根据最快的步骤,我们将为GOOG,AAPL或MSFT返回代码。 为了更好地查看结果,我们在getTickerHandler中添加了一个sleep:
def getTickerHandler(tickName: String)(request: HttpRequest): Future[String] = {
    // query the database
    val ticker = Database.findTicker(tickName)

    Thread.sleep(Math.random() * 1000 toInt)

    // use a simple for comprehension, to make
    // working with futures easier.
    for {
      t <- ticker
    } yield  {
      t match {
        case Some(bson) => convertToString(bson)
        case None => ""
      }
    }
  }
干净利落! Akka-streams提供了许多可用于创建这些流程的基本构建块(有关更多信息,请参见其文档: http : //doc.akka.io/docs/akka-stream-and-http-experimental/1.0-M2 / scala / s ... )。 例如,如果我们想将步骤的响应压缩在一起,则可以创建如下流程:
// waits for events on the three inputs and returns a response
  val zip = ZipWith[String, String, String, HttpResponse] (
    (inp1, inp2, inp3) => new HttpResponse(status = StatusCodes.OK,entity = inp1 + inp2 + inp3)


  // define a flow which broadcasts the request to the three
  // steps, and uses the zipWith to combine the elements before
  val broadCastZipFlow = Flow[HttpRequest, HttpResponse]() {
    implicit builder =>

            bCast ~> step1 ~> zip.input1
      in ~> bCast ~> step2 ~> zip.input2 ~> out
            bCast ~> step3 ~> zip.input3

      (in, out)
  }
我真的很喜欢它的工作原理,以及可视化通过不同步骤流动的数据有多么容易。 如果我们使用合并方法,则会看到类似以下的结果(被调用10次):
{"_id":{"$oid":"52853804bb1177ca391c2221"},"Ticker":"GOOG","Profit Margin":0.217
{"_id":{"$oid":"52853804bb1177ca391c2221"},"Ticker":"GOOG","Profit Margin":0.217
{"_id":{"$oid":"52853800bb1177ca391c1809"},"Ticker":"AAPL","Profit Margin":0.217
{"_id":{"$oid":"52853807bb1177ca391c2781"},"Ticker":"MSFT","Profit Margin":0.282
{"_id":{"$oid":"52853804bb1177ca391c2221"},"Ticker":"GOOG","Profit Margin":0.217
{"_id":{"$oid":"52853800bb1177ca391c1809"},"Ticker":"AAPL","Profit Margin":0.217
{"_id":{"$oid":"52853807bb1177ca391c2781"},"Ticker":"MSFT","Profit Margin":0.282
{"_id":{"$oid":"52853804bb1177ca391c2221"},"Ticker":"GOOG","Profit Margin":0.217
{"_id":{"$oid":"52853800bb1177ca391c1809"},"Ticker":"AAPL","Profit Margin":0.217
{"_id":{"$oid":"52853807bb1177ca391c2781"},"Ticker":"MSFT","Profit Margin":0.282
最后一部分,我想向您展示在使用akka-http创建http客户端时如何使用相同的方法。
使用同样由Akka-Http创建的http客户端测试这两个服务器
Akka-http还提供了轻松设置http客户端的功能,该客户端还使用基于流/流的消息处理方法。 以下清单显示了完整的正在运行的客户端:
import akka.actor.ActorSystem
import akka.http.Http
import akka.stream.FlowMaterializer
import akka.http.model._
import akka.stream.scaladsl._
import akka.stream.scaladsl.Source
import akka.stream.scaladsl.FlowGraphImplicits._
import scala.concurrent.ExecutionContext.Implicits.global
import scala.concurrent.Future

/**
 * Simple HTTP client created with akka-http
 */
object Client extends App {

  // the actor system to use. Required for flowmaterializer and HTTP.
  // passed in implicit
  implicit val system = ActorSystem("ServerTest")
  implicit val materializer = FlowMaterializer()

  val httpClient1 = Http(system).outgoingConnection("localhost", 8090).flow
  val httpClient2 = Http(system).outgoingConnection("localhost", 8091).flow

  // define a sink that will process the answer
  // we could also process this as a flow
  val printChunksConsumer = Sink.foreach[HttpResponse] { res =>
    if(res.status == StatusCodes.OK) {

      println("Recieved response : " + res);
      res.entity.getDataBytes().map {
        chunk =>
          System.out.println("Chunk: " + chunk.decodeString(HttpCharsets.`UTF-8`.value).substring(0, 80))
        }.to(Sink.ignore).run()
    } else
      println(res.status)
  }

  // we need to set allow cycles since internally the httpclient
  // has some cyclic flows (apparently)
  // we construct a sink, to which we connect a later to define source.
  val reqFlow2: Sink[HttpRequest] = Sink[HttpRequest]() { implicit b =>
    b.allowCycles()
    val source = UndefinedSource[HttpRequest]
    val bcast = Broadcast[HttpRequest]
    val concat = Concat[HttpResponse]

    // simple graph. Duplicate the request, send twice.
    // concat the result.
              bcast ~> httpClient1 ~> concat.first
    source ~> bcast ~> httpClient1 ~> concat.second ~> printChunksConsumer
    source
  }

  // make two calls, both return futures, first one shows direct linked sinks and
  // sources. Second one makes yse if our graph.

  // make number of calls
  val res = 1 to 5 map( i => {
    Source.single(HttpRequest()).to(reqFlow2).run().get(printChunksConsumer)
  })
  val f = Future.sequence(res)

  // make some calls with filled in request URI
  val f3 = Source.single(HttpRequest(uri = Uri("/getAllTickers"))).via(httpClient2).runWith(printChunksConsumer)
  val f4 = Source.single(HttpRequest(uri = Uri("/get?ticker=ADAT"))).via(httpClient2).runWith(printChunksConsumer)
  val f5 = Source.single(HttpRequest(uri = Uri("/get?tikcer=FNB"))).via(httpClient2).runWith(printChunksConsumer)

  for {
    f2Result <- f
    f2Result <- f3
    f2Result <- f4
    f2Result <- f5
  } yield ({
      println("All calls done")
      system.shutdown()
      system.awaitTermination()
    }
  )
}
由于代码遵循与HTTP服务器相同的过程,因此在此不再赘述。 就是这篇文章,以及akka-stream和akka-http的介绍。 我真的很喜欢他们的消息处理和创建可读的,React式代码的方法。 在以后的文章中,我们将介绍akka-http的其他方面(例如路由)。
scala akka


 291
291

 被折叠的 条评论
为什么被折叠?
被折叠的 条评论
为什么被折叠?
 到【灌水乐园】发言


