


android 模态视图
Gallery视图提供了一个可滚动对象的列表,就像标准ListView一样 。 使用“图库视图”的一个主要好处是它的定位功能。 当用户停止滚动时,最终显示的图像也会被捕捉到屏幕中央。 这意味着用户不会一次查看两张单独的图像的一半,而作为开发人员,您也将确切地知道用户所关注的内容。 此外,“图库”视图在水平模式下也能很好地工作,而不是像标准ListView那样在垂直模式下。
Gallery View的好处是它可以与您可以想到的任何类型的View一起使用,而不仅仅是图像。 通过使用任何您想要在“画廊视图”中显示的布局创建自定义布局,您可以提出一些非常有趣的显示。
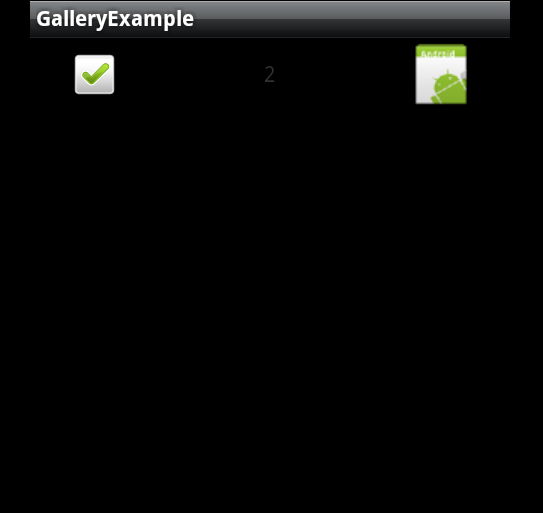
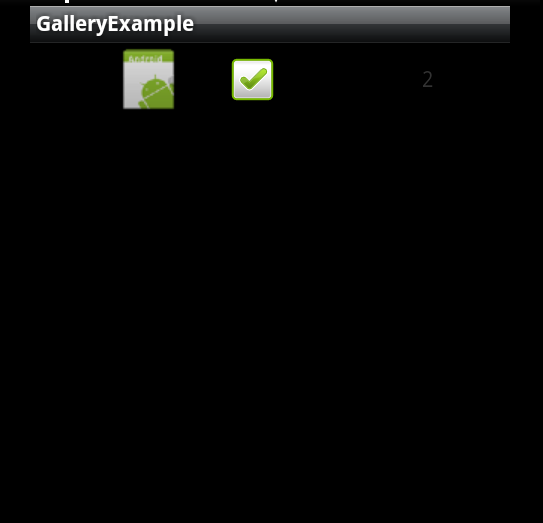
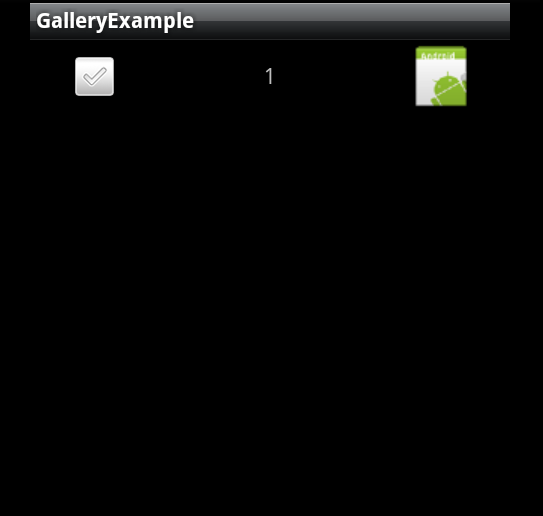
制作自定义视图并将其添加到图库视图非常简单。 这是一个简单的示例,其中显示了水平画廊视图,左侧为CheckBox ,中间为TextView ,右侧为ImageView 。
首先,我们仅创建一个新的Android项目(API级别无关紧要,该版本可以在任何版本中使用)。 在main.xml(这是项目的默认布局文件)中,我们添加Gallery并删除默认的TextView,如下所示:
<?xml version="1.0" encoding="utf-8"?>
<LinearLayout xmlns:android="http://schemas.android.com/apk/res/android" android:orientation="vertical" android:layout_width="fill_parent" android:layout_height="fill_parent">
	<Gallery android:id="@+id/gallery" android:layout_width="fill_parent" android:layout_height="wrap_content"></Gallery>
</LinearLayout>
现在我们在项目中有了Gallery小部件,让我们继续创建Gallery项目布局。 此布局准确地表示了图库视图中每个项目的外观。 就像我上面说的,我们希望CheckBox锁定在左侧,TextView锁定在中心,ImageView锁定在右侧。 另外,在右侧和左侧进行一些填充会很好,以确保我们可以看到一切正常。 为了获得理想的外观,使用了RelativeLayout:
<?xml version="1.0" encoding="utf-8"?>
<RelativeLayout xmlns:android="http://schemas.android.com/apk/res/android" android:orientation="horizontal" android:layout_width="fill_parent" android:layout_height="fill_parent" android:id="@+id/gallery_item">
	<TextView android:id="@+id/textView" android:layout_width="wrap_content" android:text="TextView" android:layout_height="wrap_content" android:layout_alignParentTop="true" android:layout_centerHorizontal="true" android:layout_marginTop="14dp"></TextView>
	<ImageView android:layout_width="wrap_content" android:id="@+id/imageView" android:src="@drawable/icon" android:layout_height="wrap_content" android:layout_alignParentTop="true" android:layout_alignParentRight="true" android:layout_marginRight="22dp"></ImageView>
	<CheckBox android:id="@+id/checkBox" android:layout_width="wrap_content" android:layout_height="wrap_content" android:layout_alignParentTop="true" android:layout_alignParentLeft="true" android:layout_marginLeft="24dp"></CheckBox>
</RelativeLayout>
现在所有布局都可以使用了,我们需要做的就是设置图库适配器。 这是Gallery视图与标准ListView有点不同的地方。 为了获得自定义布局,需要扩展BaseAdapter以提供自定义视图。 因此,我们将新的自定义适配器称为newGalleryAdapter。 我们只是将适配器放在“活动”的底部。 这是我们的活动现在的样子:
public class GalleryExampleActivity extends Activity {

	@Override
	public void onCreate(Bundle savedInstanceState) {
		super.onCreate(savedInstanceState);
		setContentView(R.layout.main);
		// Find our gallery view and set the adapter for it
		Gallery gallery = (Gallery) findViewById(R.id.gallery);
		gallery.setAdapter(new newGalleryAdapter(this));
	}

	// The new custom Gallery Adapter for our new layout

	private class newGalleryAdapter extends BaseAdapter {
		private Context context; // needed to create the view

		public newGalleryAdapter(Context c) {
			Context = c;
		}

		// set to three for this example
		// for normal use this should be set to the length of the data
		// structure that contains the items to be displayed
		public int getCount() {
			return 3;

		}

		public Object getItem(int position) {
			return position;
		}

		public long getItemId(int position) {
			return position;
		}

		public View getView(int position, View convertView, ViewGroup parent) {
			View v;

			// just a simple optimiztaion -
			// we only inflate a new layout if we don't have one to reuse

			if (convertView == null)
				v = LayoutInflater.from(context).inflate(R.layout.gallery_item,
					parent, false);
			else
				v = convertView;

			// Now that we have our new custom View, find out widgets in the
			// view and set them
			TextView tv = (TextView) v.findViewById(R.id.textView);

			tv.setText(String.valueOf(position));
			CheckBox cb = (CheckBox) v.findViewById(R.id.checkBox);

			// this just alternates what the checkbox states are
			if (position % 2 == 0)
				cb.setChecked(true);
			else
				cb.setChecked(false);
			return v;

		}

	}

}
在onCreate中,我们只找到Gallery视图并将其Adapter设置为我们的新Adapter。 从第14行开始,我们设计了新的适配器。 适配器类中最重要的方法是getView方法(第37行)。 在这种方法中,我们的新自定义布局(gallery_item.xml)被放大。 然后,我们找到这些小部件并将其设置为我们想要的任何内容。 设置完视图后,只需将其返回即可。
一切都说完了,我们得到了:
参考: Android教程: JCG合作伙伴 在Programming Mobile博客上的 无图片画廊视图 。
相关文章 :
翻译自: https://www.javacodegeeks.com/2011/09/android-gallery-view-without-pictures.html
android 模态视图


 1266
1266

 被折叠的 条评论
为什么被折叠?
被折叠的 条评论
为什么被折叠?
 到【灌水乐园】发言


