


1.在package.json中添加
"main": "electron.js",
在 “scripts”: {添加:
"package": "electron-packager ./ appName --overwrite"
在"dependencies": {添加:
   "electron-share-memory": "^1.0.1",
   "node-gyp-build": "^4.3.0",
   "vue-photo-preview": "^1.1.3",
在 “devDependencies”: {添加:
   "electron": "^15.3.1",
   "electron-packager": "^15.4.0",
2.vue.config.js
在devServer: {修改:
// open: true,(之前是没有注释掉的,现在把他注释掉)
在proxy: {修改
 '/api': {
        target: "electron-renderer",(只改了这个地方,之前是 target: 'http://localhost',)
        changeOrigin: true,
        pathRewrite: {
          '^/api': ''
        }
      }
3.main.js添加:
import preview from 'vue-photo-preview'
import 'vue-photo-preview/dist/skin.css'
Vue.use(preview)
// 解决electron 报错
process.env['ELECTRON_DISABLE_SECURITY_WARNINGS'] = 'TRUE'
4.在vue.config.js同级添加electron.js
// Modules to control application life and create native browser window
const {app, BrowserWindow} = require('electron')
const path = require('path')

function createWindow () {
  // Create the browser window.
  const mainWindow = new BrowserWindow({
    width: 1889,
    height: 1000,
    webPreferences: {
      preload: path.join(__dirname, 'preload.js')
    }
  })

  // and load the index.html of the app.
//   mainWindow.loadFile('./dist/index.html')
  mainWindow.loadURL('http://172.16.1.155:7890/xjbd')

  // Open the DevTools.
  mainWindow.webContents.openDevTools()
}

// This method will be called when Electron has finished
// initialization and is ready to create browser windows.
// Some APIs can only be used after this event occurs.
app.whenReady().then(() => {
  createWindow()

  app.on('activate', function () {
    // On macOS it's common to re-create a window in the app when the
    // dock icon is clicked and there are no other windows open.
    if (BrowserWindow.getAllWindows().length === 0) createWindow()
  })
})

// Quit when all windows are closed, except on macOS. There, it's common
// for applications and their menu bar to stay active until the user quits
// explicitly with Cmd + Q.
app.on('window-all-closed', function () {
  if (process.platform !== 'darwin') app.quit()
})

// In this file you can include the rest of your app's specific main process
// code. You can also put them in separate files and require them here.
5.在vue.config.js同级添加preload.js
// All of the Node.js APIs are available in the preload process.
// It has the same sandbox as a Chrome extension.
window.addEventListener('DOMContentLoaded', () => {
  const replaceText = (selector, text) => {
    const element = document.getElementById(selector)
    if (element) element.innerText = text
  }

  for (const type of ['chrome', 'node', 'electron']) {
    replaceText(`${type}-version`, process.versions[type])
  }
})
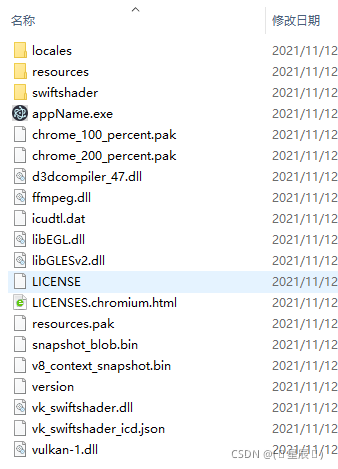
6.先把项目打包
npm run dev
然后在运行
npm run package


 747
747


 被折叠的 条评论
为什么被折叠?
被折叠的 条评论
为什么被折叠?
 到【灌水乐园】发言


