


本次实验使用IDEA 24.1+ Maven 进行配置Struts2框架
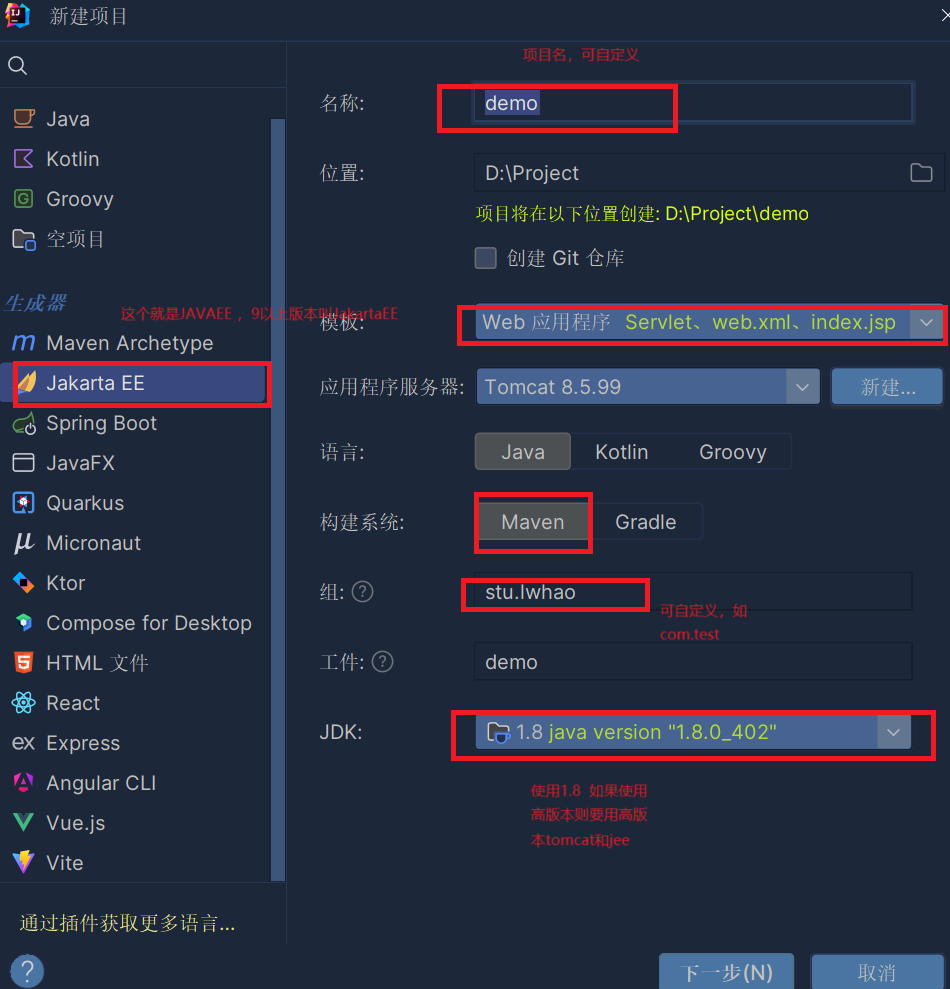
首先,打开IDEA,创建一个新的java项目 ,这里直接使用IDEA自带生成器生成一个Javaee的web项目
项目创建完成后进入页面提示加载maven ,可以使用自己的maven 或者默认等待加载完成,
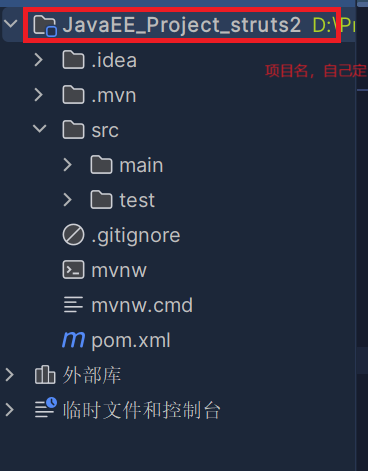
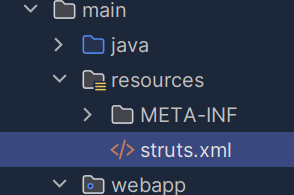
项目结构如下
接下来配置maven依赖 即pom.xml文件
在文件中的<dependencies> 这里</dependencies>
加入strtus2的依赖 ,这里使用strtus2.5.33 配置完成保存后右侧maven重新加载
<!-- https://mvnrepository.com/artifact/org.apache.struts/struts2-core -->
<dependency>
  <groupId>org.apache.struts</groupId>
  <artifactId>struts2-core</artifactId>
  <version>2.5.33</version>
</dependency>
<!-- https://mvnrepository.com/artifact/org.apache.struts/struts2-convention-plugin -->
<dependency>
  <groupId>org.apache.struts</groupId>
  <artifactId>struts2-convention-plugin</artifactId>
  <version>2.5.33</version>
</dependency>
<!-- https://mvnrepository.com/artifact/org.apache.struts/struts2-json-plugin -->
<dependency>
  <groupId>org.apache.struts</groupId>
  <artifactId>struts2-json-plugin</artifactId>
  <version>2.5.33</version>
</dependency>
<!-- https://mvnrepository.com/artifact/org.apache.struts/struts2-junit-plugin -->
<dependency>
  <groupId>org.apache.struts</groupId>
  <artifactId>struts2-junit-plugin</artifactId>
  <version>2.5.33</version>
</dependency>
接下来在src/main/webapp/WEB-INF/web.xml 下配置web.xml 加入sturts2的过滤器和映射
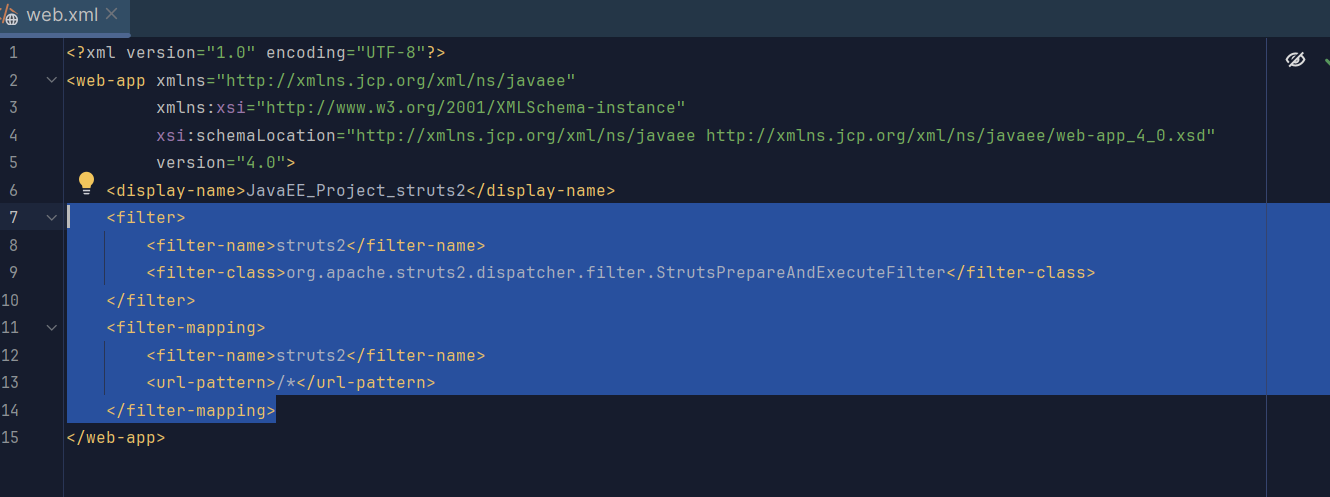
在此处插入以下配置
<filter>
<filter-name>struts2</filter-name>
<filter-class>org.apache.struts2.dispatcher.filter.StrutsPrepareAndExecuteFilter</filter-class>
</filter>
<filter-mapping>
<filter-name>struts2</filter-name>
<url-pattern>/*</url-pattern>
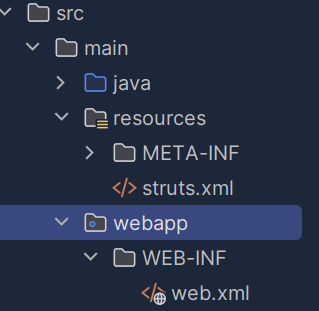
</filter-mapping>接下来创建struts。xml文件(重要) 在maven项目下 该文件创建在src/main/resources下
<?xml version="1.0" encoding="UTF-8" ?>
<!DOCTYPE struts PUBLIC
"-//Apache Software Foundation//DTD Struts Configuration 2.5//EN"
"http://struts.apache.org/dtds/struts-2.5.dtd">
<struts>

</struts>
此时基本就算配置完成了,只需为后续创建的Action在struts.xml中配置映射就行
现在进行一个hello strtus的测试
在src/main/java/自定义的软件包名/项目名下创建一个hello类 例如我的是src/main/java/stu/lwhao/javaee_project_strtus2/HelloAction.java
package stu.lwhao.javaee_project_strtus2;  //这里是软件包名 ,按自己的写

import com.opensymphony.xwork2.ActionSupport;

public class HelloAction extends ActionSupport {
    private String message;

    public String execute() {
        message = "Hello Struts";
        return SUCCESS;
    }

    public String getMessage() {
        return message;
    }
}
随后在webapp目录下创建对应的jsp页面 hello.jsp用来显示内容

<%@ page contentType="text/html;charset=UTF-8" language="java" %>
  <%@ taglib prefix="s" uri="/struts-tags" %>
  <html>
  <head>
  <title>Hello Struts</title>
  </head>
  <body>
  <h1><s:property value="message"/></h1>
  </body>
  </html>
然后我们需要在sturts.xml中配置映射
映射名我把他取为hello class=后的内容为自己的文件路径 用.分隔。
result name为在HelloAction类中定义返回的SUCCESS 这里写为了小写 /hello.jsp为刚刚创建的jsp页面 ,注:如果该页面创建时创建在webapp目录下新一级目录中 这里配置要为 /新一级目录名/hello.jsp
<package name="hello" extends="struts-default">
  <action name="hello" class="stu.lwhao.javaee_project_strtus2.HelloAction">
    <result name="success">/hello.jsp</result>
  </action>
</package>
此时基本配置已完成 ,只需运行到tomcat到浏览器
此时需要注意的是运行部署成功后进入浏览器后要想看到页面 需要转到的浏览器url后需要加上 /hello 即我们的action名
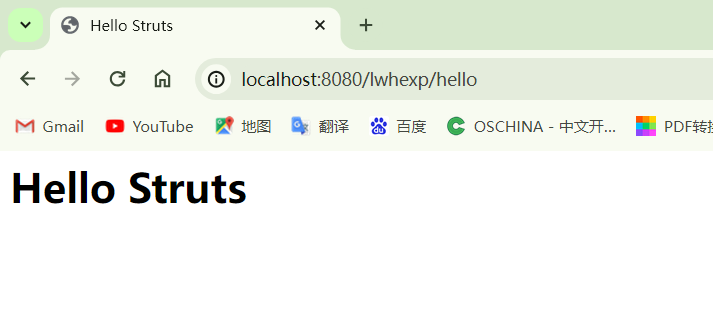
/hello前为自己配置的上下文 或者默认的工件名称
需要确保你的请求URL与struts.xml中定义的action匹配。例如,
如果你的应用程序部署在 `http://localhost:8080/项目名或自定义的上下文/`,
那么你应该访问 `http://localhost:8080/项目名或自定义的上下文/hello`
来触发`HelloAction`。


 2703
2703

 被折叠的 条评论
为什么被折叠?
被折叠的 条评论
为什么被折叠?
 到【灌水乐园】发言


