


 本文详细介绍了如何在SpringBoot应用中使用JavaMailSender发送邮件,包括配置依赖、设置SMTP属性以及发送带附件和嵌入静态资源的邮件案例。
本文主要讲解使用JavaMailSender发送邮件,并给出对应的参考案例、源码。
1、使用的依赖jar包
JavaMailSender发送邮件,只需要 "spring-boot-starter-mail" jar包就可以。考虑到邮件发送时,使用 Hutool工具生成Excel文件做为附件,因此这里也将 Hutool工具包依赖添加上。
<!-- 引入 spring-boot-starter-mail 依赖 -->
<dependency>
	<groupId>org.springframework.boot</groupId>
	<artifactId>spring-boot-starter-mail</artifactId>
</dependency>

<!-- hutool工具包 -->
<dependency>
	<groupId>cn.hutool</groupId>
	<artifactId>hutool-all</artifactId>
	<version>5.8.12</version>
</dependency>

<!-- hutool工具需要和Apache中的POI合用,注意版本的问题。 -->
<dependency>
	<groupId>org.apache.poi</groupId>
	<artifactId>poi</artifactId>
	<version>5.0.0</version>
</dependency>

<dependency>
	<groupId>org.apache.poi</groupId>
	<artifactId>poi-ooxml</artifactId>
	<version>5.0.0</version>
</dependency>
2、application.properties中配置相应的属性内容。
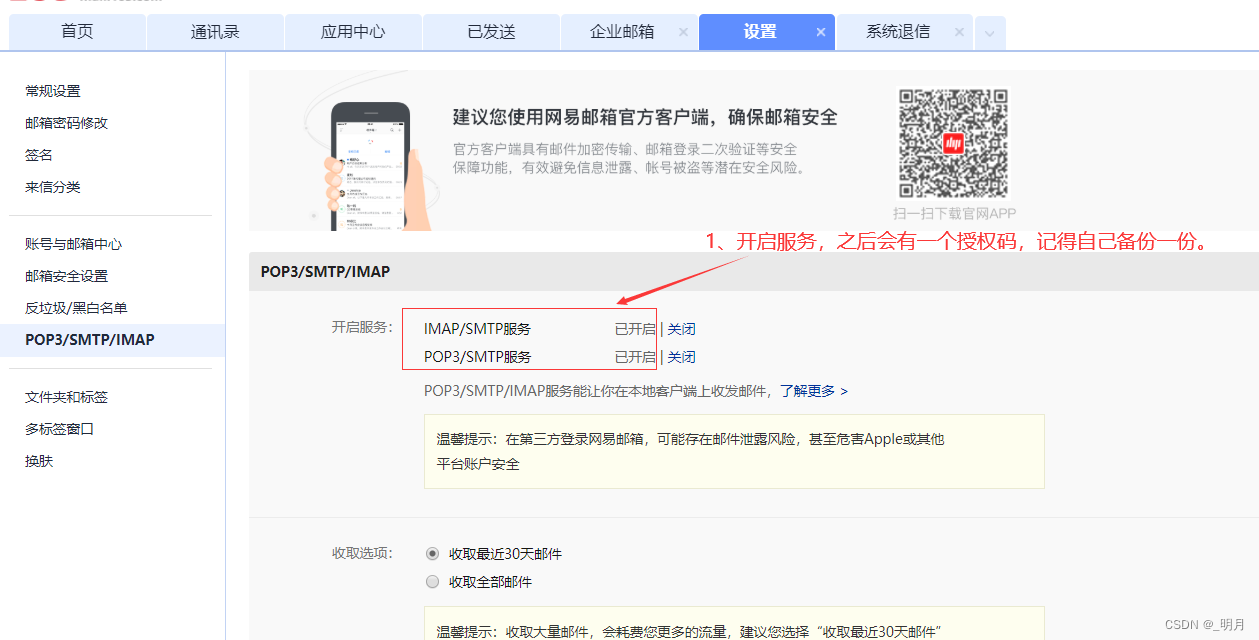
需要说明的是,163邮箱在邮件发送时开启了授权模式,需要将IMAP/SMTP服务、POP3/SMTP服务开启,spring.mail.password 属性填写的是授权码而非密码。
# 在我使用QQ邮箱测试时,不知道是不是QQ邮箱安全性较高,使用QQ邮箱测试失败了!  2022/12/09  17:44
# 发送服务器域名或地址,以 163 邮箱为例.
spring.mail.host=smtp.163.com
# 163邮箱中的账户,在 com.moon.EmailApplicationTests.test01 中, message.setFrom("...") 要与这里的 mail.username 保持一致.
spring.mail.username=abc_xxxx_123@163.com
# 163 邮箱中的授权码
spring.mail.password=XSL6666666IZZ
spring.mail.properties.mail.smtp.auth=true
spring.mail.properties.mail.smtp.starttls.enable=true
spring.mail.properties.mail.smtp.starttls.required=true
# 邮件接收时间的限制,单位毫秒
spring.mail.properties.mail.smtp.timeout = 10000
# 连接时间的限制,单位毫秒
spring.mail.properties.mail.smtp.connectiontimeout = 10000
# 邮件发送时间的限制,单位毫秒
spring.mail.properties.mail.smtp.writetimeout = 10000
3、简单的邮件发送案例
/**
* 测试:实现一封简单邮件的发送
*
* @author moon 2022/12/09 17:10
*/
@Test
public void sendSimpleMail() throws Exception {
SimpleMailMessage message = new SimpleMailMessage();
message.setFrom(from);
message.setTo("12345678@qq.com");
// message.setTo("123333444@qq.com");
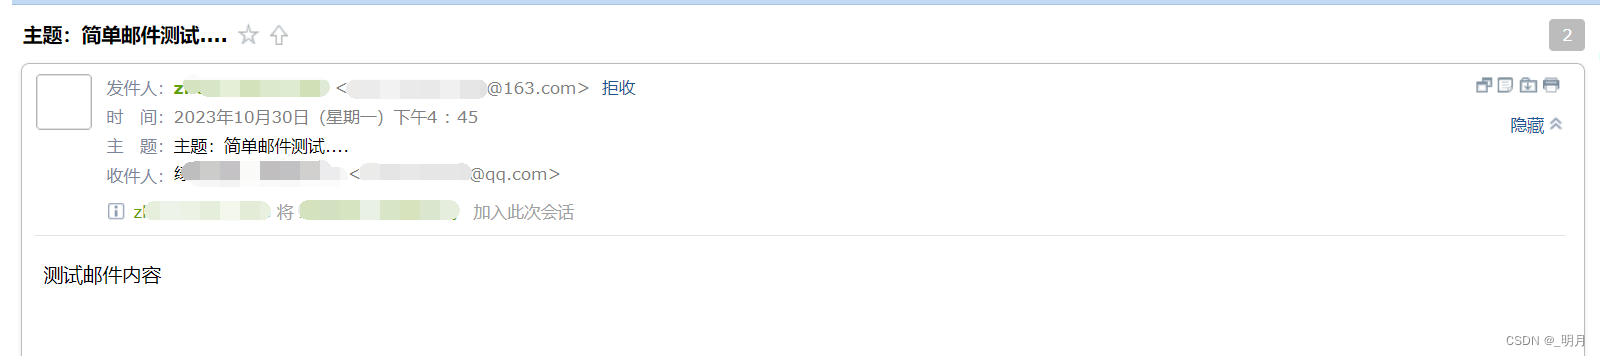
message.setSubject("主题:简单邮件测试....");
message.setText("测试邮件内容");
mailSender.send(message);
log.info("实现一封简单邮件的发送,邮件发送成功~~~~~");
}
程序运行之后,邮件发送成功。
4、发送邮件并带附件
	/**
	 * 测试:发送邮件并带附件
	 *
	 * @author moon 2022/12/12  09:58
	 */
	@Test
	public void sendAttachmentsMail() throws Exception {

		// 日期格式
		SimpleDateFormat sdf = new SimpleDateFormat("yyyy-MM-dd HH:mm:ss");
		// 设置邮件发送时间
		Date sendDate = sdf.parse("2023-07-10 17:51:50");

		MimeMessage mimeMessage = mailSender.createMimeMessage();
		MimeMessageHelper helper = new MimeMessageHelper(mimeMessage, true);
//		MimeMessageHelper helper2 = new MimeMessageHelper(mimeMessage);

		try {

			helper.setFrom(from);
			helper.setTo("12345678@qq.com");
			helper.setSubject("主题:邮件发送含附件");  // 标题
			helper.setSentDate(sendDate);  // 设置发送时间:没有实现定时发送。当运行该测试类后,邮件就直接发送了。  2022/12/12  10:34
			helper.setText("邮件中含有附件,请查收。");  // 邮件内容

			FileSystemResource file = new FileSystemResource(new File("si_cong.jpg"));
			FileSystemResource file2 = new FileSystemResource(new File("荷花.png"));
			helper.addAttachment("附件-1.jpg", file);
			helper.addAttachment("附件-2.png", file2);

			mailSender.send(mimeMessage);
			log.info("-------------- 邮件发送成功 --------------");

		} catch (Exception e) {
			log.error("发送邮件时发生异常!", e);
		}

	}
5、发送邮件并嵌入静态资源
/**
* 测试:发送邮件并嵌入静态资源.
*
* @throws Exception
*
* @author moon 2022/12/12 10:38
*/
@Test
public void sendInlineMail() throws Exception {
MimeMessage mimeMessage = mailSender.createMimeMessage();
MimeMessageHelper helper = new MimeMessageHelper(mimeMessage, true);
try {
//邮件发送人
helper.setFrom(from);
//邮件接收人
helper.setTo("12345678@qq.com");
//邮件主题
helper.setSubject("主题:邮件嵌入静态资源");
//邮件内容,html格式
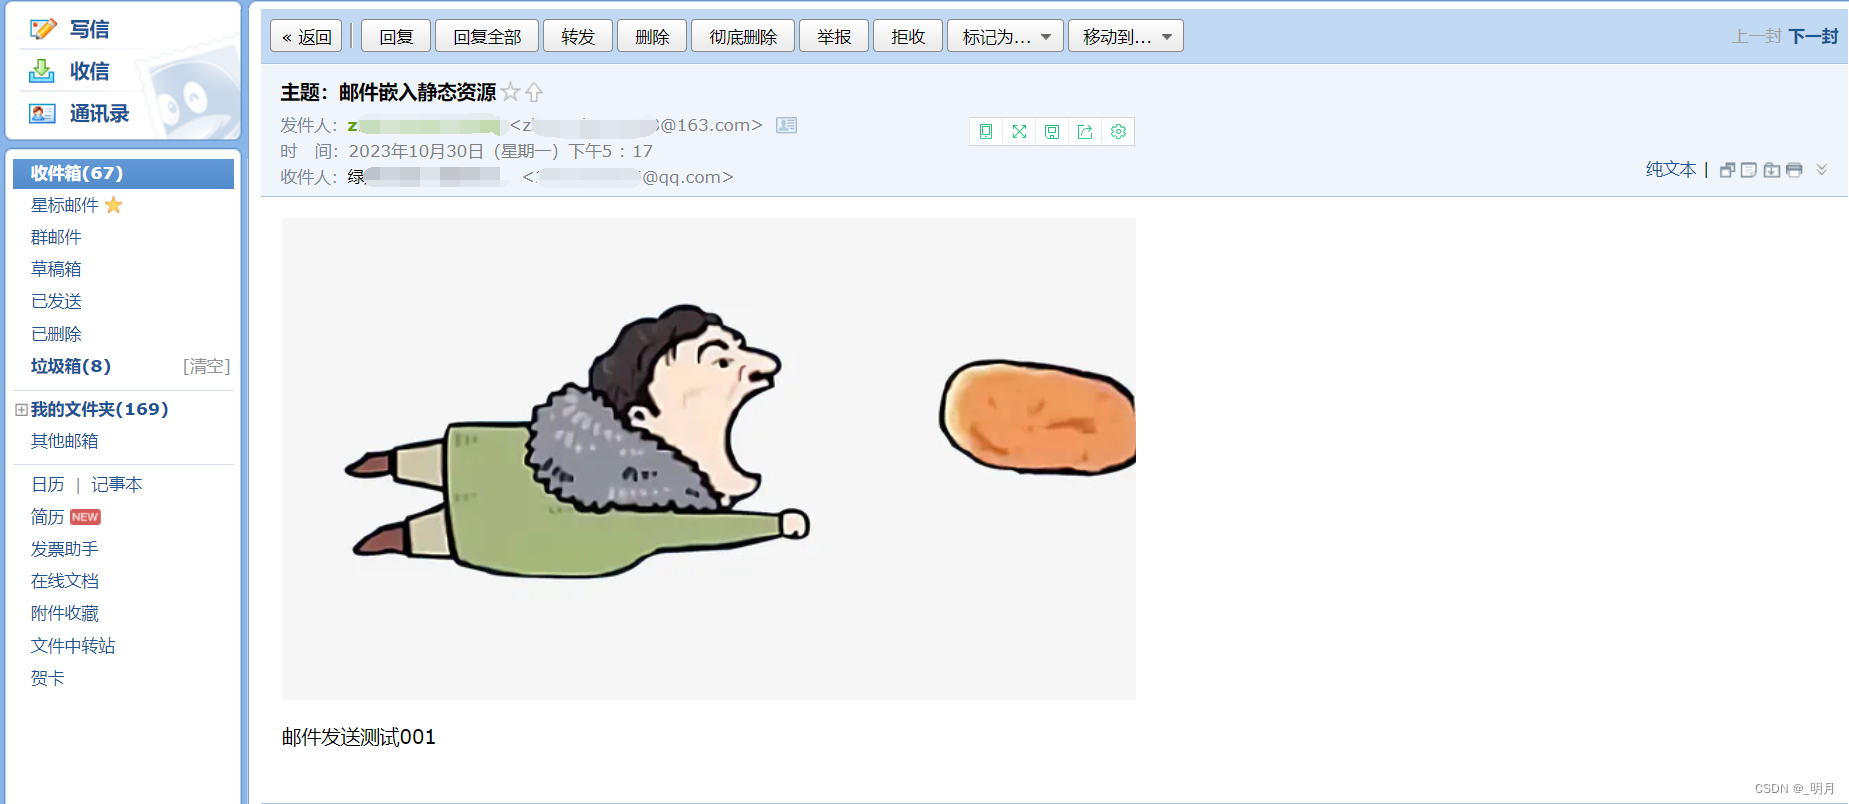
helper.setText("<html><body><img src=\"cid:abc\"><p>邮件发送测试001</p></body></html>", true);
FileSystemResource file = new FileSystemResource(new File("si_cong.jpg"));
// addInline()函数中,入参 "contentId" 需要与 <img> 标签中 cid 的值保持一致.
helper.addInline("abc", file);
//发送
mailSender.send(mimeMessage);
log.info("-------------- 邮件发送成功 --------------");
} catch (Exception e) {
log.error("发送邮件时发生异常!", e);
}
}
程序运行之后,邮件发送成功。
源码路径: springboot-mail 项目 ,SpringBoot2.x--翟永超/springboot-mail 项目中,参考 com.moon.EmailApplicationTests 单元测试类。
福利推荐:[推荐]SpringBoot,邮件发送附件含Excel文件(含源码)。
参考文章:
1、使用JavaMailSender发送邮件 | 程序猿DD
2、
3、


 311
311

 被折叠的 条评论
为什么被折叠?
被折叠的 条评论
为什么被折叠?
 到【灌水乐园】发言


