


由于Android系统对硬件的要求较高,并且上层应用都是用Java(效率要比C++低)编写的,对程序的优化就成了程序员的日常工作了;Android的优化
可以从以下几个地方下手:布局优化、数据库优化、使用异步加载数据、使用缓存技术、算法代码优化、使用线程池
先从比较简单的布局入手
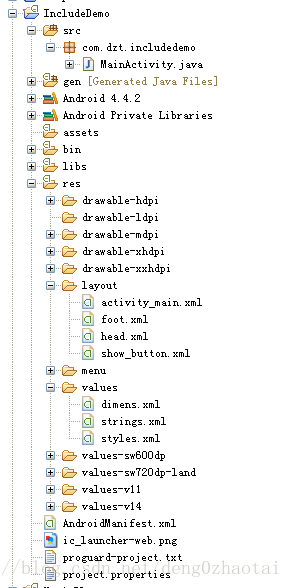
程序目录结构
activity_main.xml
<RelativeLayout xmlns:android="http://schemas.android.com/apk/res/android"
    xmlns:tools="http://schemas.android.com/tools"
    android:layout_width="match_parent"
    android:layout_height="match_parent"
    android:orientation="vertical" >

    <include layout="@layout/head" />

    <TextView
        android:id="@+id/tv_text"
        android:layout_width="wrap_content"
        android:layout_height="wrap_content"
        android:layout_centerInParent="true"
        android:text="@string/hello_world" />

    <include layout="@layout/foot" />

</RelativeLayout>head.xml
<?xml version="1.0" encoding="utf-8"?>
<RelativeLayout xmlns:android="http://schemas.android.com/apk/res/android"
    android:layout_width="match_parent"
    android:layout_height="match_parent"
    android:orientation="vertical" >

    <Button
        android:id="@+id/btn_head"
        android:layout_width="match_parent"
        android:layout_height="wrap_content"
        android:layout_alignParentTop="true"
        android:text="@string/btn_head" />

</RelativeLayout><?xml version="1.0" encoding="utf-8"?>
<RelativeLayout xmlns:android="http://schemas.android.com/apk/res/android"
android:layout_width="match_parent"
android:layout_height="match_parent"
android:orientation="vertical" >
<TextView
android:id="@+id/tv_foot"
android:layout_width="match_parent"
android:layout_height="wrap_content"
android:layout_alignParentBottom="true"
android:text="@string/tv_foot" />
</RelativeLayout>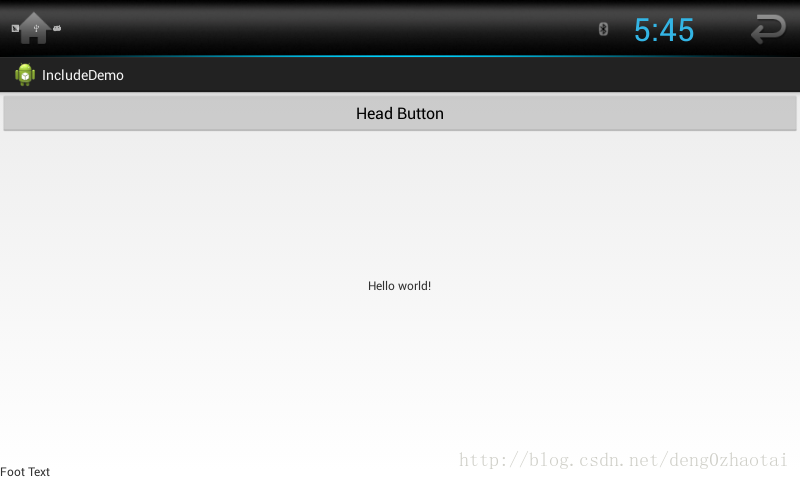
除了include可以引入一个布局也可以使用 <viewstub>标签,viewstub引入的布局默认不会扩张,即既不会占用显示也不会占用位置,从而在解析layout时节省cpu和内存。viewstub的作用是来引入那些默认不会显示,只在特殊情况下显示的布局,如进度布局、信息出错出现的提示布局等。
show_button.xml
<?xml version="1.0" encoding="utf-8"?>
<RelativeLayout xmlns:android="http://schemas.android.com/apk/res/android"
    android:layout_width="match_parent"
    android:layout_height="match_parent"
    android:orientation="vertical" >

    <Button
        android:id="@+id/btn_ok"
        android:layout_width="wrap_content"
        android:layout_height="wrap_content"
        android:layout_centerHorizontal="true"
        android:text="@string/ok" />

    <Button
        android:id="@+id/btn_cancel"
        android:layout_width="wrap_content"
        android:layout_height="wrap_content"
        android:layout_below="@id/btn_ok"
        android:layout_centerHorizontal="true"
        android:text="@string/cancel" />

</RelativeLayout>activity_main.xml
<RelativeLayout xmlns:android="http://schemas.android.com/apk/res/android"
    xmlns:tools="http://schemas.android.com/tools"
    android:layout_width="match_parent"
    android:layout_height="match_parent"
    android:orientation="vertical" >

    <!-- ................. -->

    <ViewStub
        android:id="@+id/stub_layout"
        android:layout_width="match_parent"
        android:layout_height="match_parent"
        android:layout_below="@id/tv_text"
        android:layout="@layout/show_button" />

    <!-- ................. -->

</RelativeLayout>package com.dzt.includedemo;
import android.app.Activity;
import android.os.Bundle;
import android.view.View;
import android.view.View.OnClickListener;
import android.view.ViewStub;
public class MainActivity extends Activity implements OnClickListener {
private View showView;
@Override
protected void onCreate(Bundle savedInstanceState) {
super.onCreate(savedInstanceState);
setContentView(R.layout.activity_main);
findViewById(R.id.btn_head).setOnClickListener(this);
}
@Override
public void onClick(View arg0) {
// TODO Auto-generated method stub
switch (arg0.getId()) {
case R.id.btn_head:
showView();
break;
case R.id.btn_ok:
hideView();
break;
case R.id.btn_cancel:
hideView();
break;
default:
break;
}
}
private void showView() {
if (showView != null) {
showView.setVisibility(View.VISIBLE);
return;
}
// 默认是隐藏的
ViewStub stub = (ViewStub) findViewById(R.id.stub_layout);
showView = stub.inflate();
showView.findViewById(R.id.btn_ok).setOnClickListener(this);
showView.findViewById(R.id.btn_cancel).setOnClickListener(this);
}
private void hideView() {
if (showView != null) {
showView.setVisibility(View.GONE);
}
}
}
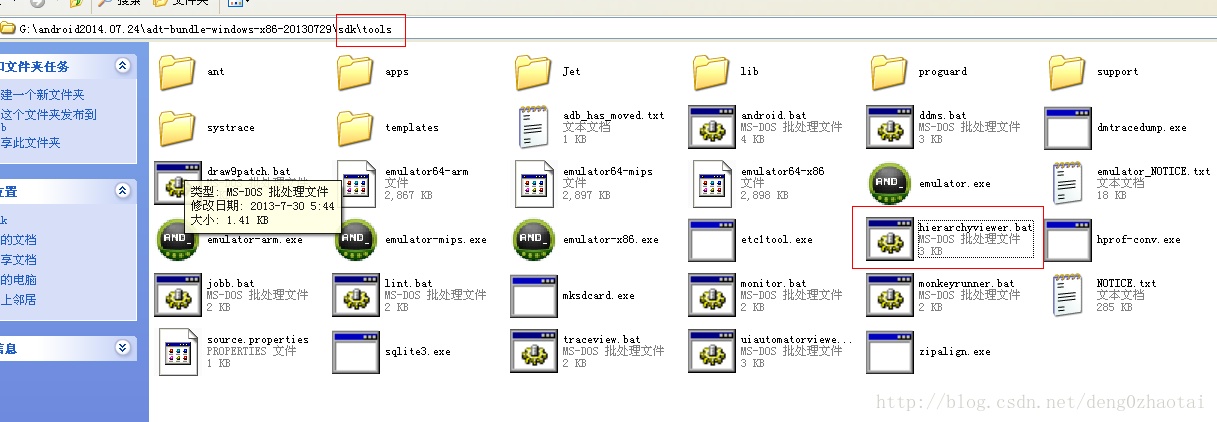
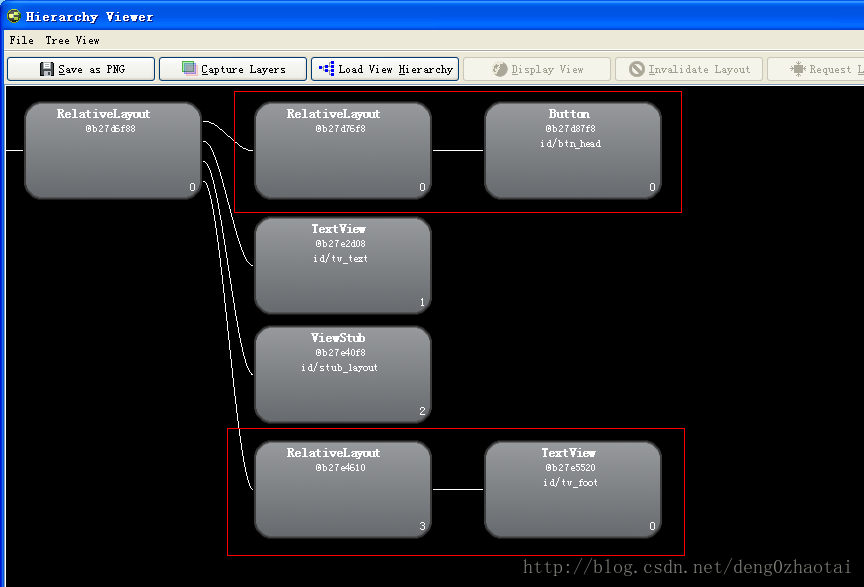
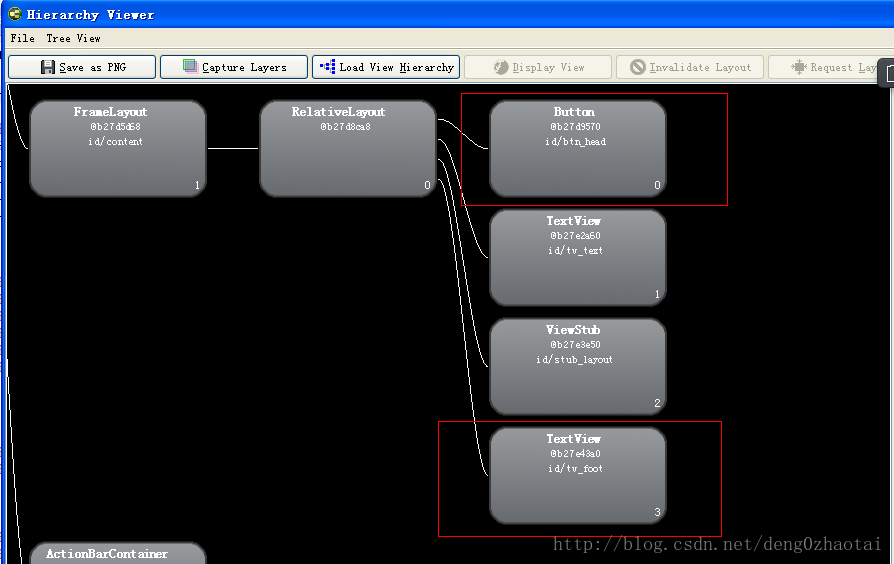
可以查看布局之间的关系,如下图,可以看到使用include包含进来的会嵌套到主布局上,跟直接在主布局添加一个相对布局没什么区别,而使用<ViewStub>标签添加的布局只显示一个<ViewStub>,并不显示详细内容
可以尝试把include改成merge标签
以下两种情况可以使用merge代替include的父节点
1.父布局的根节点是FrameLayout并且不用设置background或padding等属性
2.某布局作为子布局被其他布局include时,在相对布局中如果不需要调用android:layout_marginBottom等属性可以用merge代替include的父节点
使用


 254
254

 被折叠的 条评论
为什么被折叠?
被折叠的 条评论
为什么被折叠?
 到【灌水乐园】发言


