


web.xml:
<?xml version="1.0" encoding="UTF-8"?>
<web-app xmlns="http://xmlns.jcp.org/xml/ns/javaee"
         xmlns:xsi="http://www.w3.org/2001/XMLSchema-instance"
         xsi:schemaLocation="http://xmlns.jcp.org/xml/ns/javaee http://xmlns.jcp.org/xml/ns/javaee/web-app_4_0.xsd"
         version="4.0">


<!--    解决中文乱码问题:Spring给我们提供的过滤器CharacterEncodingFilter-->
    <filter>
        <filter-name>encodingFilter</filter-name>
        <filter-class>org.springframework.web.filter.CharacterEncodingFilter</filter-class>
        <init-param>
            <param-name>encoding</param-name>
            <param-value>UTF-8</param-value>
        </init-param>
    </filter>
    <filter-mapping>
        <filter-name>encodingFilter</filter-name>
        <url-pattern>/*</url-pattern>
    </filter-mapping>


<!--    配置开发的Servlet-->
    <servlet>
        <servlet-name>aServlet</servlet-name>
        <servlet-class>com.baizhiedu.AServlet</servlet-class>
    </servlet>
    <servlet-mapping>
        <servlet-name>aServlet</servlet-name>
        <url-pattern>/AServlet</url-pattern>
    </servlet-mapping>

    <servlet>
        <servlet-name>bServlet</servlet-name>
        <servlet-class>com.baizhiedu.BServlet</servlet-class>
    </servlet>
    <servlet-mapping>
        <servlet-name>bServlet</servlet-name>
        <url-pattern>/BServlet</url-pattern>
    </servlet-mapping>

</web-app>
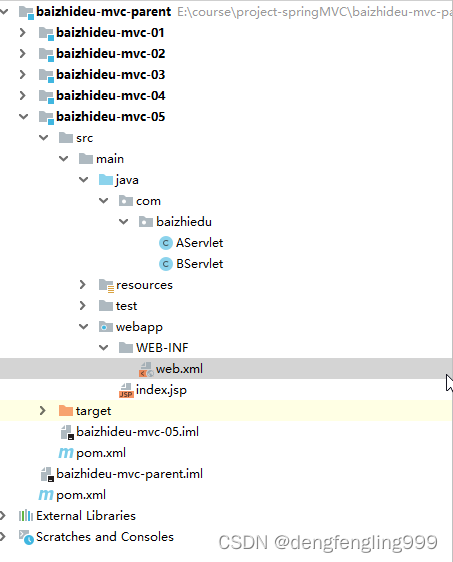
AServlet:
package com.baizhiedu;
import javax.servlet.ServletException;
import javax.servlet.http.HttpServlet;
import javax.servlet.http.HttpServletRequest;
import javax.servlet.http.HttpServletResponse;
import java.io.IOException;
public class AServlet extends HttpServlet {
@Override
protected void service(HttpServletRequest req, HttpServletResponse resp) throws ServletException, IOException {
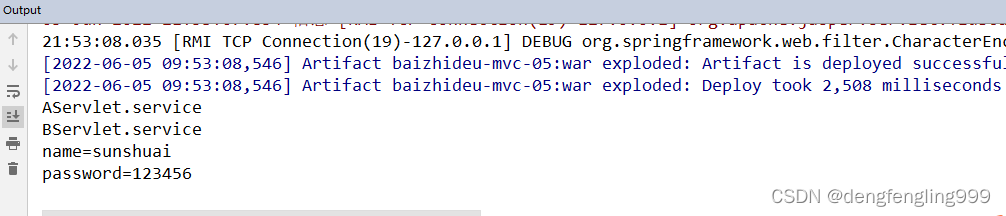
System.out.println("AServlet.service");
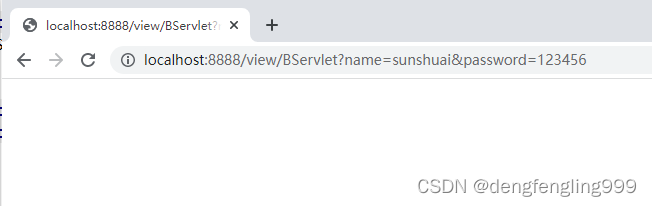
resp.sendRedirect("/view/BServlet?name=sunshuai&password=123456");//传统Servlet进行Redirect进行跳转,需要加上应用名view
}
}
BServlet:
package com.baizhiedu;

import javax.servlet.ServletException;
import javax.servlet.http.HttpServlet;
import javax.servlet.http.HttpServletRequest;
import javax.servlet.http.HttpServletResponse;
import java.io.IOException;

public class BServlet extends HttpServlet {
    @Override
    protected void service(HttpServletRequest req, HttpServletResponse resp) throws ServletException, IOException {
        System.out.println("BServlet.service");

        String name=req.getParameter("name");
        String password=req.getParameter("password");

        System.out.println("name="+name);
        System.out.println("password="+password);
    }
}
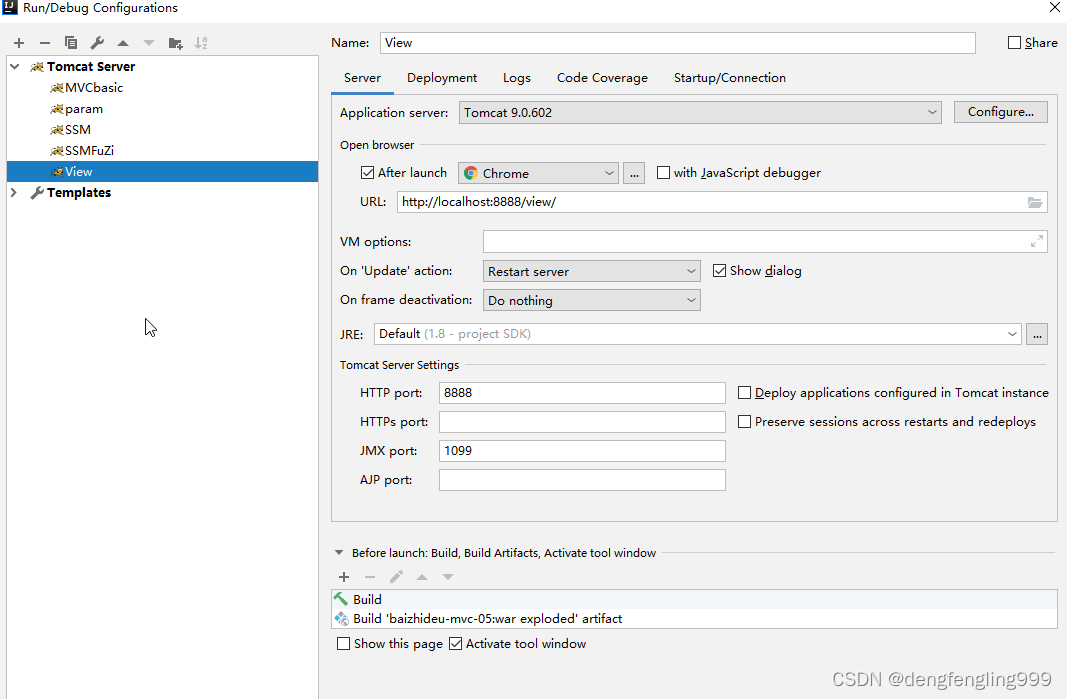
tomcat配置:

web.xml:还原springmvc的配置,注释掉Servlet的配置
<?xml version="1.0" encoding="UTF-8"?>
<web-app xmlns="http://xmlns.jcp.org/xml/ns/javaee"
         xmlns:xsi="http://www.w3.org/2001/XMLSchema-instance"
         xsi:schemaLocation="http://xmlns.jcp.org/xml/ns/javaee http://xmlns.jcp.org/xml/ns/javaee/web-app_4_0.xsd"
         version="4.0">


<!--    解决中文乱码问题:Spring给我们提供的过滤器CharacterEncodingFilter-->
    <filter>
        <filter-name>encodingFilter</filter-name>
        <filter-class>org.springframework.web.filter.CharacterEncodingFilter</filter-class>
        <init-param>
            <param-name>encoding</param-name>
            <param-value>UTF-8</param-value>
        </init-param>
    </filter>
    <filter-mapping>
        <filter-name>encodingFilter</filter-name>
        <url-pattern>/*</url-pattern>
    </filter-mapping>


<!--    初始化servlet-->
   <servlet>
       <servlet-name>dispatcherServlet</servlet-name>
       <servlet-class>org.springframework.web.servlet.DispatcherServlet</servlet-class>
       <!-- 初始化参数:指定SpringMVC配置文件的路径-->
       <init-param>
          <param-name>contextConfigLocation</param-name>
          <param-value>classpath:dispatcher.xml</param-value>
      </init-param>
      <!-- 本servlet会在tomcat启动的时候,就会被创建-->
      <load-on-startup>1</load-on-startup>
   </servlet>
<!--暴露servlet的url的访问路径-->
   <servlet-mapping>
       <servlet-name>dispatcherServlet</servlet-name>
       <url-pattern>/</url-pattern>
   </servlet-mapping>

<!--    配置刚创建的Servlet-->
   <!-- <servlet>
        <servlet-name>aServlet</servlet-name>
        <servlet-class>com.baizhiedu.AServlet</servlet-class>
    </servlet>
    <servlet-mapping>
        <servlet-name>aServlet</servlet-name>
        <url-pattern>/AServlet</url-pattern>
    </servlet-mapping>

    <servlet>
        <servlet-name>bServlet</servlet-name>
        <servlet-class>com.baizhiedu.BServlet</servlet-class>
    </servlet>
    <servlet-mapping>
        <servlet-name>bServlet</servlet-name>
        <url-pattern>/BServlet</url-pattern>
    </servlet-mapping>-->

</web-app>
dispatcher.xml:
<?xml version="1.0" encoding="UTF-8"?>
<beans xmlns="http://www.springframework.org/schema/beans"
xmlns:xsi="http://www.w3.org/2001/XMLSchema-instance"
xmlns:context="http://www.springframework.org/schema/context"
xmlns:mvc="http://www.springframework.org/schema/mvc" xmlns:tx="http://www.springframework.org/schema/tx"
xsi:schemaLocation="http://www.springframework.org/schema/beans http://www.springframework.org/schema/beans/spring-beans.xsd http://www.springframework.org/schema/context https://www.springframework.org/schema/context/spring-context.xsd http://www.springframework.org/schema/mvc https://www.springframework.org/schema/mvc/spring-mvc.xsd http://www.springframework.org/schema/tx http://www.springframework.org/schema/tx/spring-tx.xsd">
<!--设置注解扫描的路径 -->
<context:component-scan base-package="com.baizhiedu"/>
<!--引入springMVC的核心功能-->
<mvc:annotation-driven />
<!--视图解析器配置: 控制器方法返回的结果的前缀和后缀-->
<bean id="viewResolver" class="org.springframework.web.servlet.view.InternalResourceViewResolver">
<property name="prefix" value="/"></property>
<property name="suffix" value=".jsp"></property>
</bean>
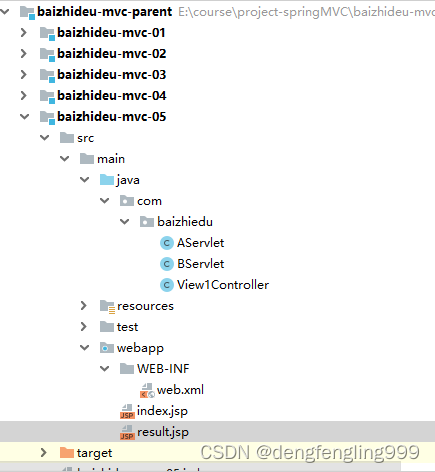
</beans>View1Controller:
package com.baizhiedu;
import org.springframework.stereotype.Controller;
import org.springframework.web.bind.annotation.RequestMapping;
@Controller
@RequestMapping("/view1")
public class View1Controller {
//使用视图解析器,实现从控制器跳转到jsp页面
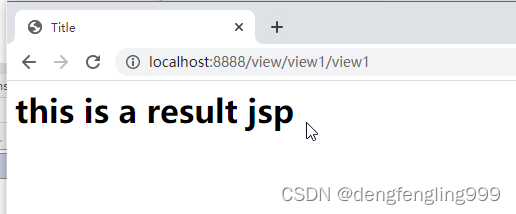
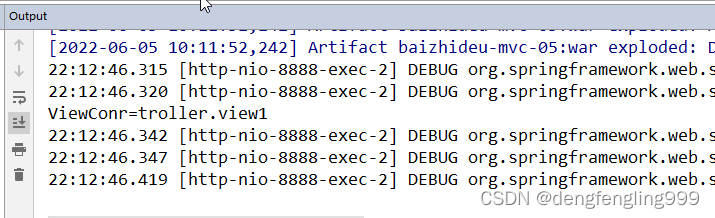
@RequestMapping("/view1")
public String view1(){
System.out.println("ViewConr=troller.view1");
return "result";
}
//使用forword关键字,书写上完整路径
@RequestMapping("/view2")
public String view2(){
System.out.println("ViewConrtroller.view2");
return "forward:/result.jsp";
}
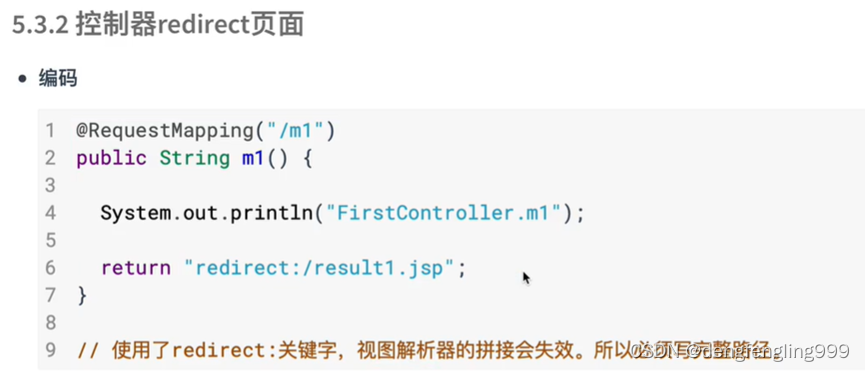
//使用Redirect实现页面跳转
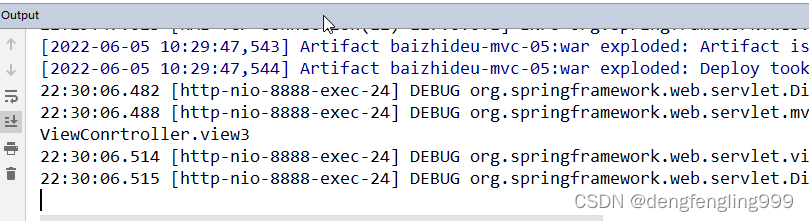
@RequestMapping("/view3")
public String view3(){
System.out.println("ViewConrtroller.view3");
return "redirect:/result.jsp";
}
}
result.jsp:
<%--
  Created by IntelliJ IDEA.
  User: DELL
  Date: 2022/6/5
  Time: 22:01
  To change this template use File | Settings | File Templates.
--%>
<%@ page contentType="text/html;charset=UTF-8" language="java" %>
<%
    String path = request.getContextPath();
    String basePath = request.getScheme() + "://" + request.getServerName() + ":" + request.getServerPort() + path + "/";
%>
<html>
<head>
    <title>Title</title>
    <base href="<%=basePath%>">
</head>
<body>
  <h1>this is a result jsp</h1>
</body>
</html>
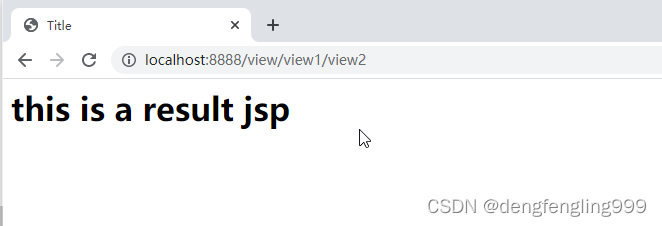
默认情况下,SpringMVC中的控制器通过视图解析器跳转到jsp页面,通过的是forword形式:
一次请求;地址栏不变;
发现跳转到result.jsp,地址栏没有发生改变
view1
view2:

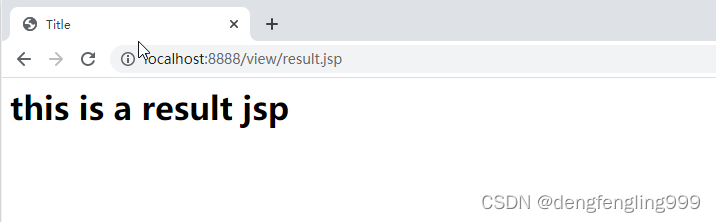
使用Redirect实现控制器到jsp页面的跳转:
多次请求;地址栏改变
view3:当在地址栏输入http://localhost:8888/view/view1/view3时,发现地址栏发生了改变
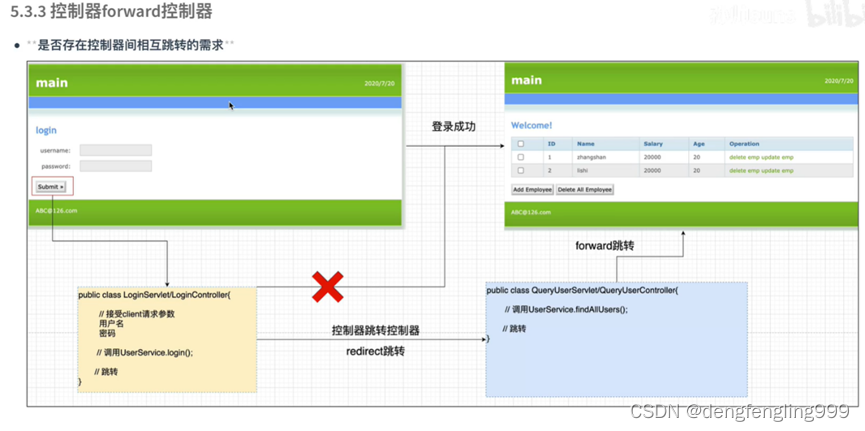
控制器到控制器forward之间的跳转:
需求登录调用一个控制器完成登录验证之后跳转到另外一个控制器,不能直接跳转到主页面显示数据,因为没有查询,需要调用另一个控制器进行查询数据才能进行显示,再跳转到主页面显示
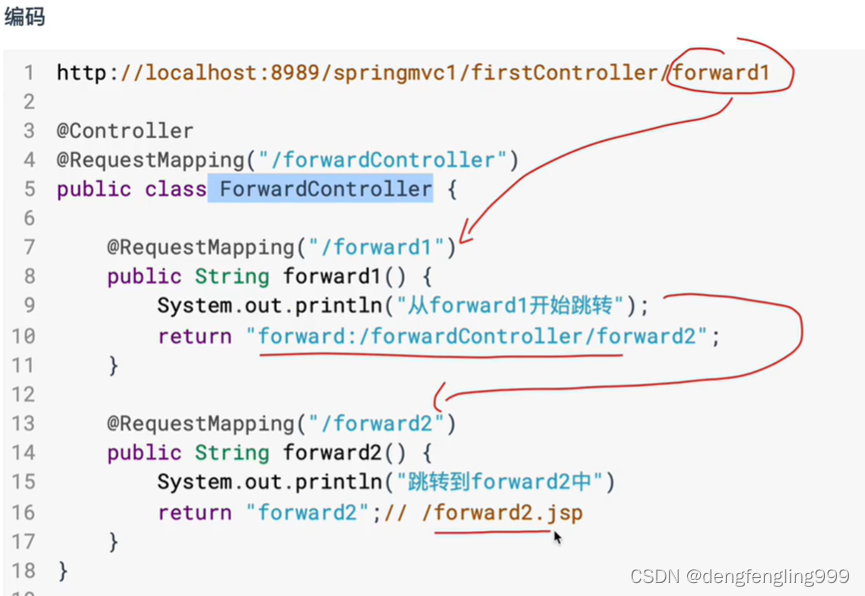
ForwardContrller:
package com.baizhiedu;
import org.springframework.stereotype.Controller;
import org.springframework.web.bind.annotation.RequestMapping;
@Controller
@RequestMapping("/forward")
public class ForwardController {
//实现控制控制器之间的跳转,两个控制器之间的跳转,本质也就是控制器方法之间的跳转
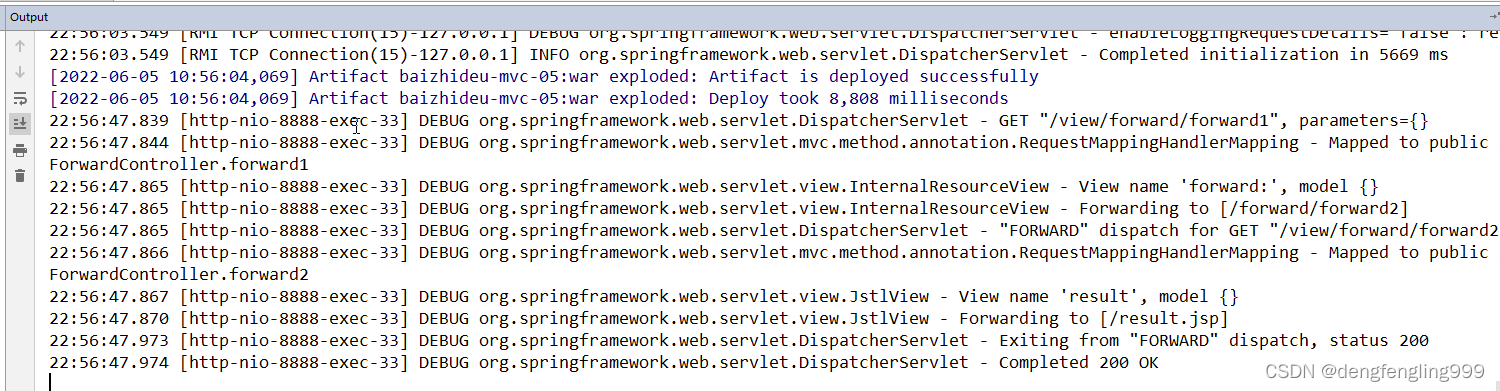
@RequestMapping("/forward1")
public String forward1(){
System.out.println("ForwardController.forward1");
return "forward:/forward/forward2";//控制器方法之间的跳转,不能使用视图解析器,的使用关键之forward
}
@RequestMapping("forward2")
public String forward2(){
System.out.println("ForwardController.forward2");
return "result";
}
}
输入地址栏没有发生改变

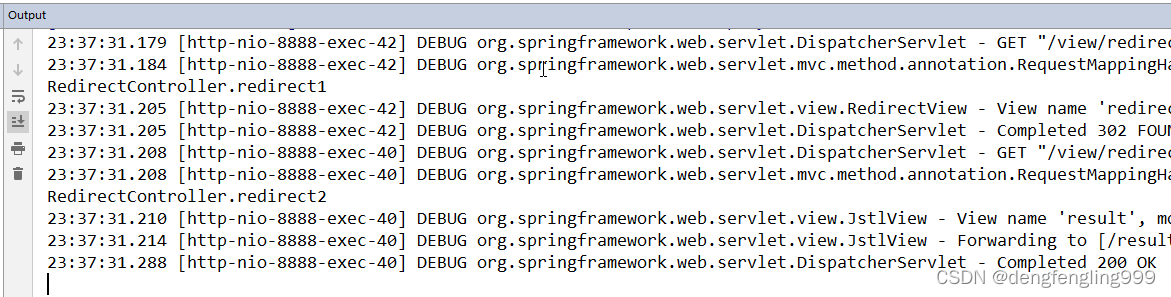
Redirect实现控制器之间的跳转
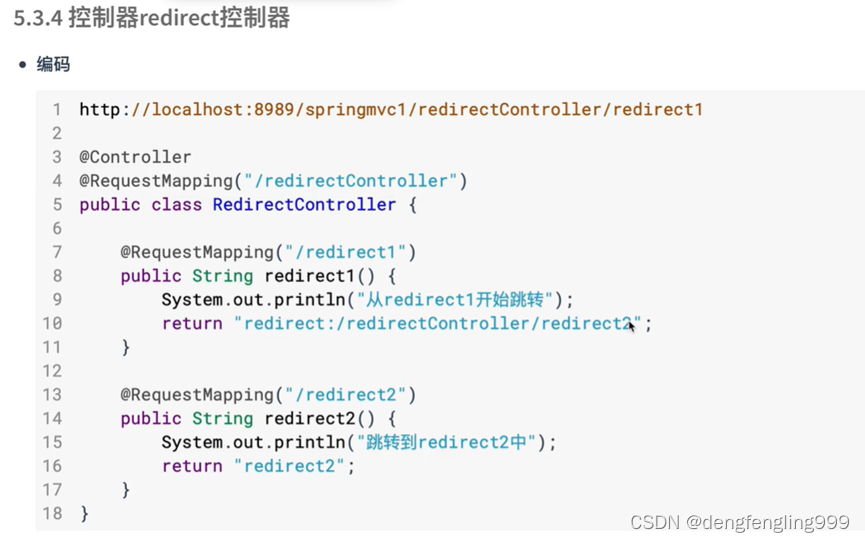
RedirectController:
package com.baizhiedu;

import org.springframework.stereotype.Controller;
import org.springframework.web.bind.annotation.RequestMapping;

@Controller
@RequestMapping("/redirect")
public class RedirectController {

    //Redirect实现控制器之间的跳转
    @RequestMapping("/redirect1")
    public String redirect1(){
        System.out.println("RedirectController.redirect1");
        return "redirect:/redirect/redirect2";
    }

    @RequestMapping("/redirect2")
    public String redirect2(){
        System.out.println("RedirectController.redirect2");
        return "result"; //使用视图解析器跳转到result.jsp中去
    }
}
输入地址:http://localhost:8888/view/redirect/redirect1发生了改变


 1794
1794


 被折叠的 条评论
为什么被折叠?
被折叠的 条评论
为什么被折叠?
 到【灌水乐园】发言


