


目录:
(1)jsp的使用
(2)手工获取容器对象
(3)使用CommandLineRunner
(1)jsp的使用
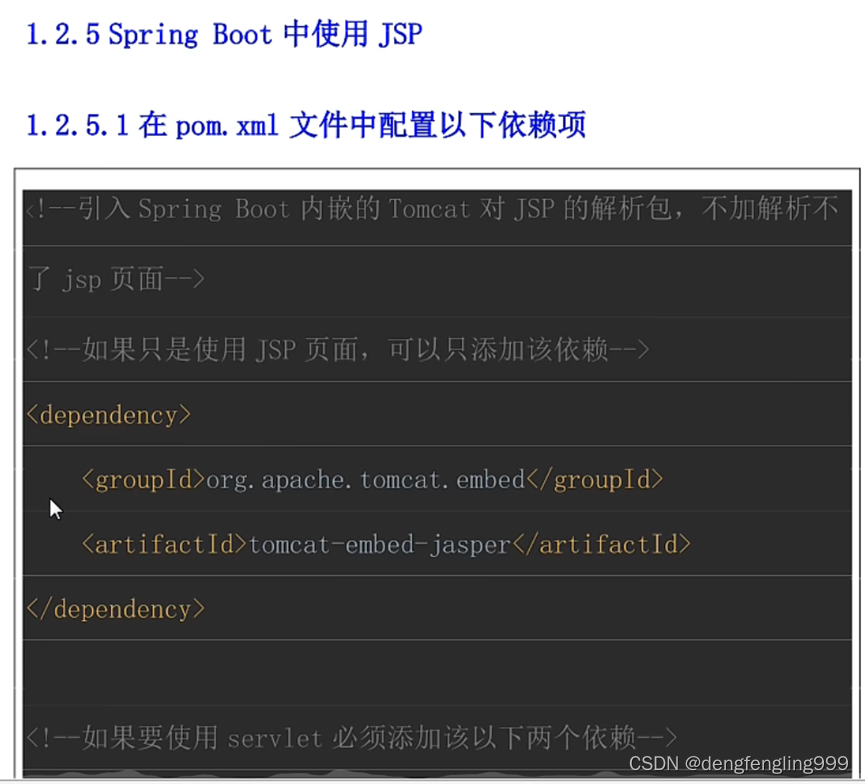
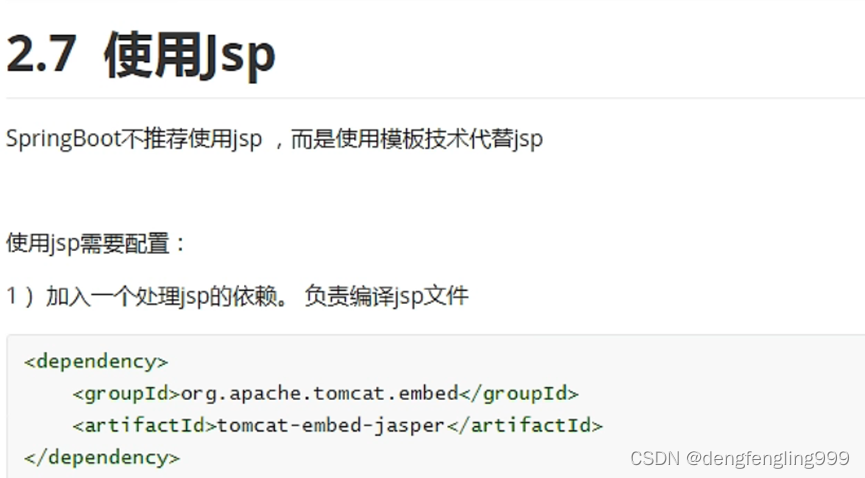
在springboot框中中并不推荐使用jsp,默认本身也不支持jsp,经过配置才可以使用,这个技术慢慢就会被淘汰掉了,会用模板技术来替代jsp,用模板(第九章讲)来作为视图做异步交互,显示数据
pom.xml:
<?xml version="1.0" encoding="UTF-8"?>
<project xmlns="http://maven.apache.org/POM/4.0.0" xmlns:xsi="http://www.w3.org/2001/XMLSchema-instance"
xsi:schemaLocation="http://maven.apache.org/POM/4.0.0 https://maven.apache.org/xsd/maven-4.0.0.xsd">
<modelVersion>4.0.0</modelVersion>
<parent>
<groupId>org.springframework.boot</groupId>
<artifactId>spring-boot-starter-parent</artifactId>
<version>2.7.1</version>
<relativePath/> <!-- lookup parent from repository -->
</parent>
<groupId>com.bjpowernode</groupId>
<artifactId>009-springboot-jsp</artifactId>
<version>1.0.0</version>
<properties>
<java.version>1.8</java.version>
</properties>
<dependencies>
<!--处理jsp的依赖-->
<dependency>
<groupId>org.apache.tomcat.embed</groupId>
<artifactId>tomcat-embed-jasper</artifactId>
</dependency>
<dependency>
<groupId>org.springframework.boot</groupId>
<artifactId>spring-boot-starter-web</artifactId>
</dependency>
<dependency>
<groupId>org.springframework.boot</groupId>
<artifactId>spring-boot-starter-test</artifactId>
<scope>test</scope>
</dependency>
</dependencies>
<build>
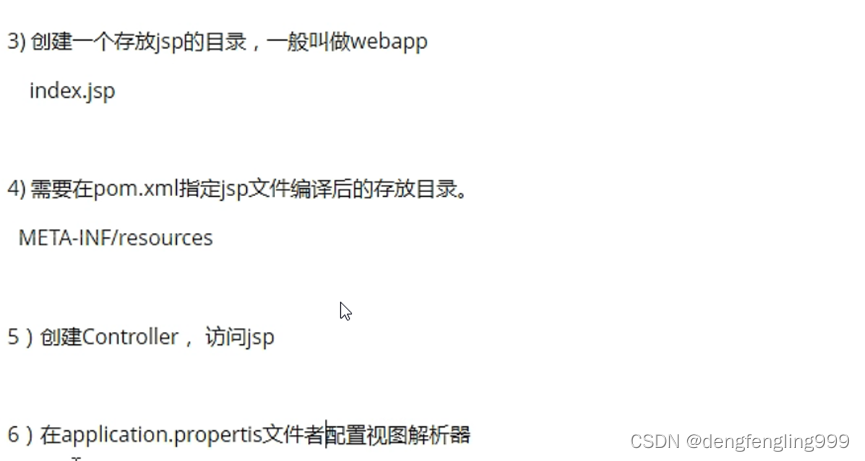
<!--指定jsp编译后存放的目录-->
<resources>
<resource>
<!--jsp原来的目录-->
<directory>src/main/webapp</directory>
<!--指定编译后的存放目录-->
<targetPath>META-INF/resources</targetPath>
<!--指定webapp下的目录和文件-->
<includes>
<include>**/*.*</include>
</includes>
</resource>
</resources>
<plugins>
<plugin>
<groupId>org.springframework.boot</groupId>
<artifactId>spring-boot-maven-plugin</artifactId>
</plugin>
</plugins>
</build>
</project>
在pom.xml,中加入jsp依赖:
<!--处理jsp的依赖-->
<dependency>
<groupId>org.apache.tomcat.embed</groupId>
<artifactId>tomcat-embed-jasper</artifactId>
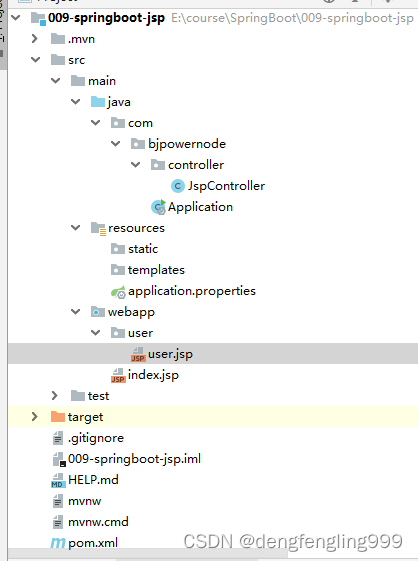
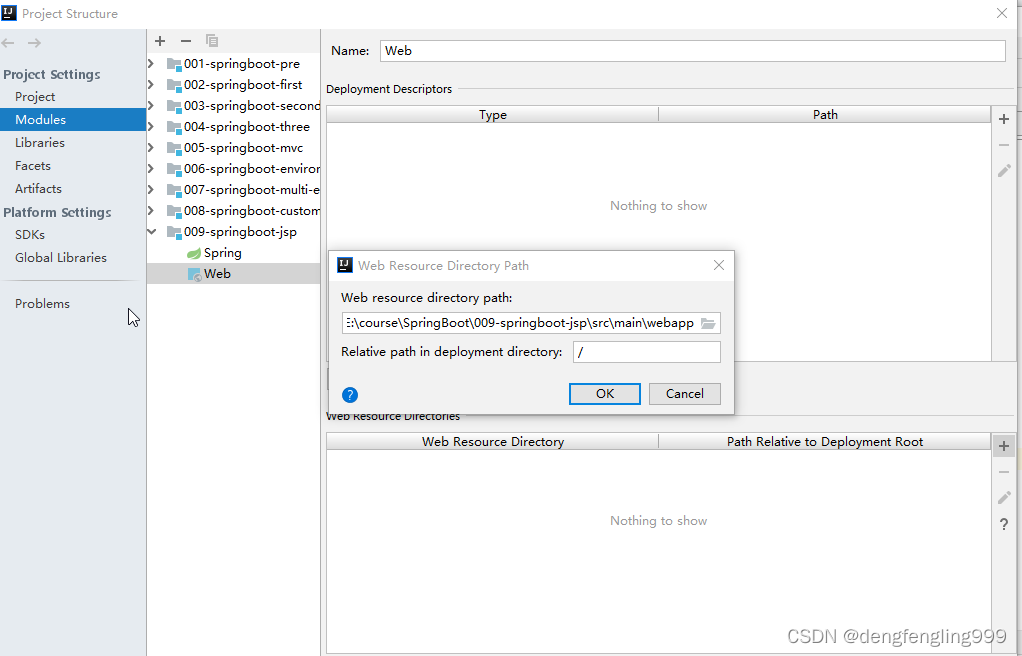
</dependency>在main下创建一个webapp目录,但它是普通的目录需要声明成web文件夹:点击009项目的Web,在点击右下方的+号,选中刚才创建的文件夹爱webapp
创建一个jsp页面,接收来自控制器的数据:index.jsp:
<%--
Created by IntelliJ IDEA.
User: DELL
Date: 2022/6/30
Time: 8:37
To change this template use File | Settings | File Templates.
--%>
<%@ page contentType="text/html;charset=UTF-8" language="java" %>
<%
String path = request.getContextPath();
String basePath = request.getScheme() + "://" + request.getServerName() + ":" + request.getServerPort() + path + "/";
%>
<html>
<head>
<title>Title</title>
<base href="<%=basePath%>">
</head>
<body>
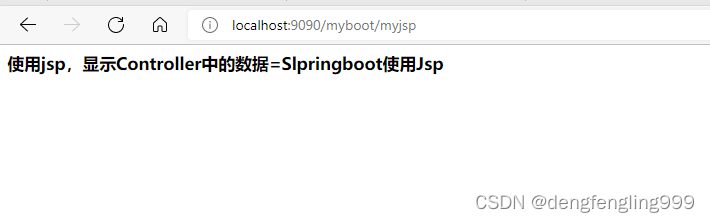
<h3>使用jsp,显示Controller中的数据=${data}</h3>
</body>
</html>
控制器:JspController:
package com.bjpowernode.controller;

import org.springframework.stereotype.Controller;
import org.springframework.ui.Model;
import org.springframework.web.bind.annotation.RequestMapping;

import javax.servlet.http.HttpServletRequest;

@Controller
public class JspController {

    //可以使用request,或者Model来传输数据
   /* public String doJsp(HttpServletRequest request){
        request.setAttribute("data","Slpringboot使用Jsp");

        //视图的逻辑名称
        return "index";
    }*/

   @RequestMapping("/myjsp")
    public String doJsp(Model model){
        model.addAttribute("data","Slpringboot使用Jsp");

        //视图的逻辑名称
        return "index";//返回的是视图,不用在@ResponseBody注解,视图是一个逻辑地址,需要加视图解析器
    }
}
配置文件Application.properties:配置端口号、视图解析器等
#配置端口号
server.port=9090
#配置上下文
server.servlet.context-path=/myboot

#配置视图解析器 :有一个前缀,后缀
#前缀 :/ 表示:src/main/webapp
spring.mvc.view.prefix=/
#后缀
spring.mvc.view.suffix=.jsp
告诉springboot框架jsp编译完成后放的位置,放在指定位置,告诉springboot框架到哪里使用jsp,在pom.xml的<bulid>中加入:
<resources>
    <resource>
        <!--jsp原来的目录-->
        <directory>src/main/webapp</directory>
        <!--指定编译后的存放目录-->
        <targetPath>META-INF/resources</targetPath>
        <!--指定webapp下的目录和文件-->
        <includes>
            <include>**/*.*</include>
        </includes>
    </resource>
</resources>
主启动类:Application:
package com.bjpowernode;

import org.springframework.boot.SpringApplication;
import org.springframework.boot.autoconfigure.SpringBootApplication;

@SpringBootApplication
public class Application {

    public static void main(String[] args) {
        SpringApplication.run(Application.class, args);
    }

}
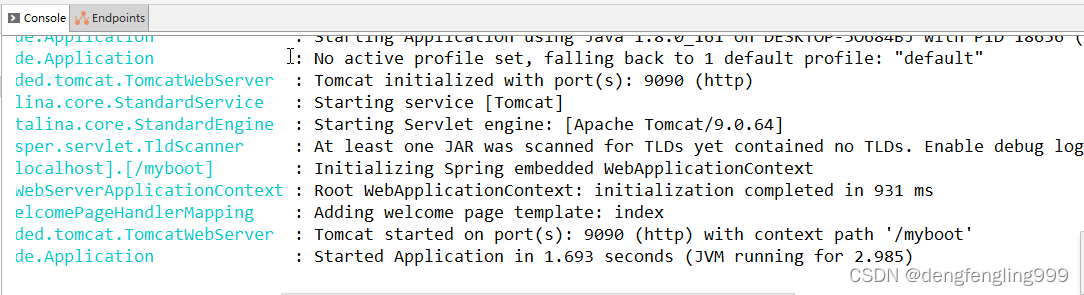
在浏览器输入:http://localhost:9090/myboot/myjsp
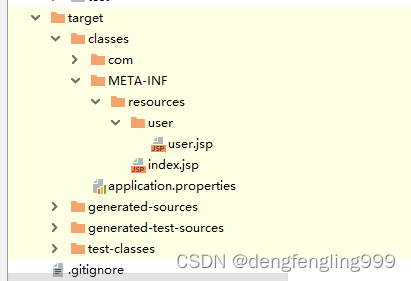
编译后的目录:可以看到它正常的按照把jsp文件方到META-INF/resources目录下
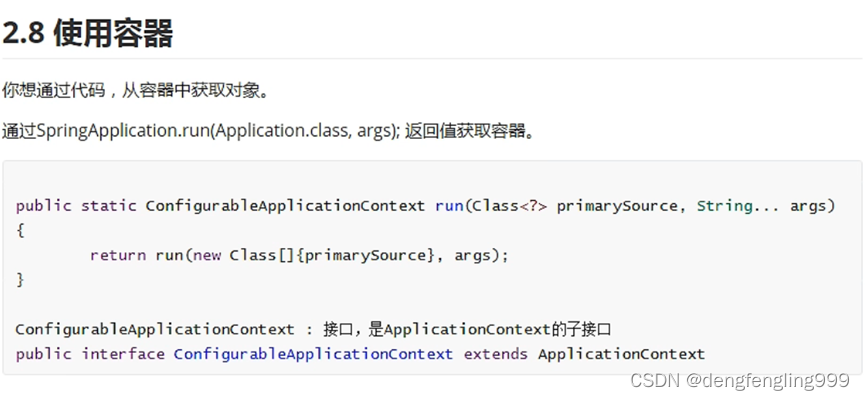
(2)手工获取容器对象
UserService接口:
package com.bjpowernode.service;

public interface UserService {
    void sayHello(String name);
}
实现类UserServiceInpl:
package com.bjpowernode.service.impl;
import com.bjpowernode.service.UserService;
import org.springframework.stereotype.Service;
@Service("userService") //注解创建Service对象
public class UserServiceImpl implements UserService {
@Override
public void sayHello(String name) {
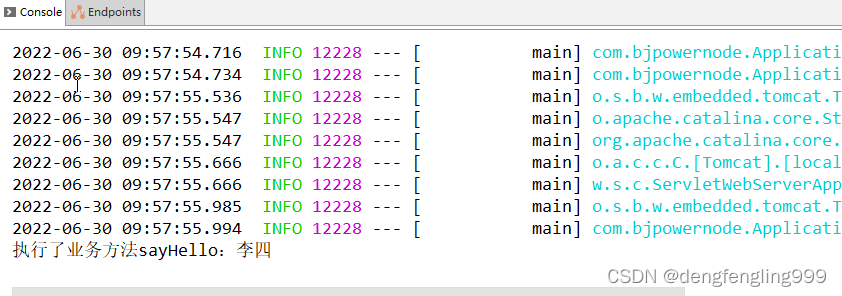
System.out.println("执行了业务方法sayHello:"+name);
}
}
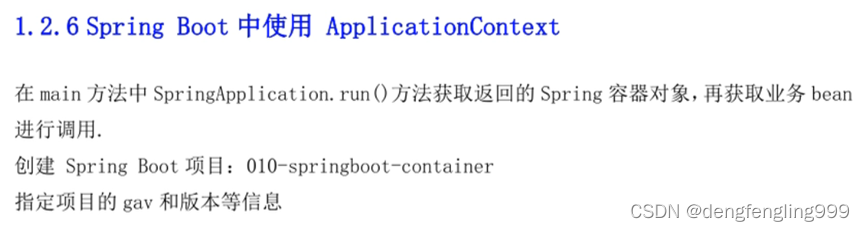
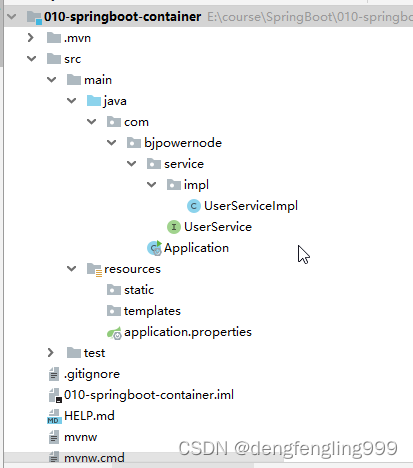
主启动类Application:获取容器创建对象:
package com.bjpowernode;

import com.bjpowernode.service.UserService;
import org.springframework.boot.SpringApplication;
import org.springframework.boot.autoconfigure.SpringBootApplication;
import org.springframework.context.ConfigurableApplicationContext;

@SpringBootApplication
public class Application {

    public static void main(String[] args) {
        //获取容器对象,用一个返回值接收run方法,获取的即是容器对象 ConfigurableApplicationContext是ApoplicationContext的子类
        ConfigurableApplicationContext ctx =SpringApplication.run(Application.class, args);

        //从容器中获取对象
        UserService userService = (UserService)ctx.getBean("userService");

        userService.sayHello("李四");
    }

}
运行项目:调用了方法
这个操作在什么时候用呢?
一般在自己做了测试时,想测试某个功能,你不想把整个项目都运行起来,你只想测试这个Service方法能不能用,这样做就比较方便一些
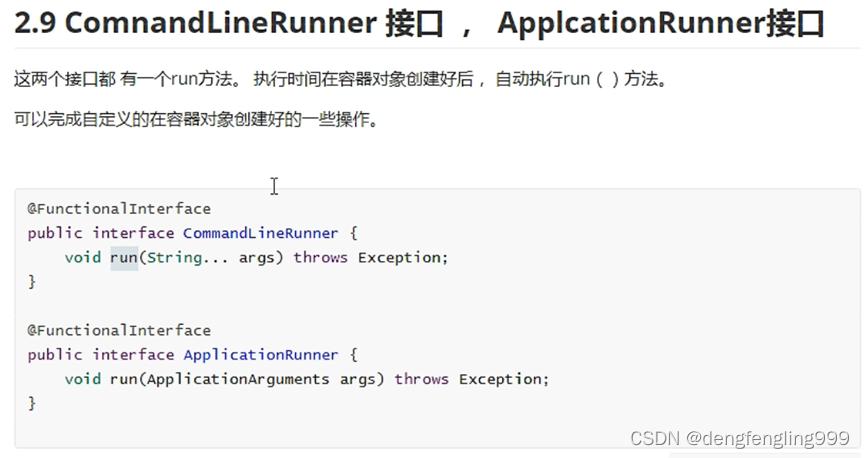
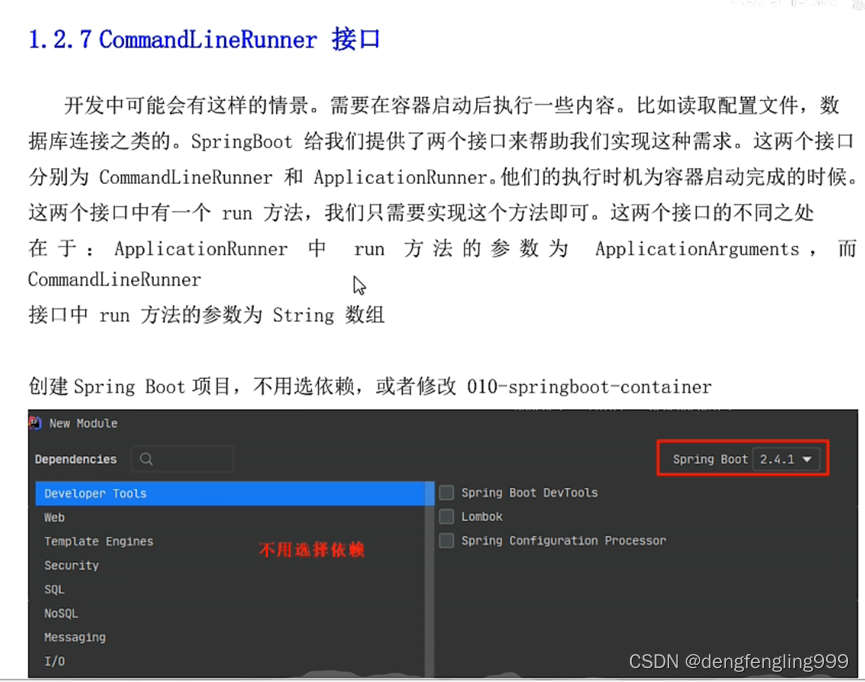
(3)使用CommandLineRunner
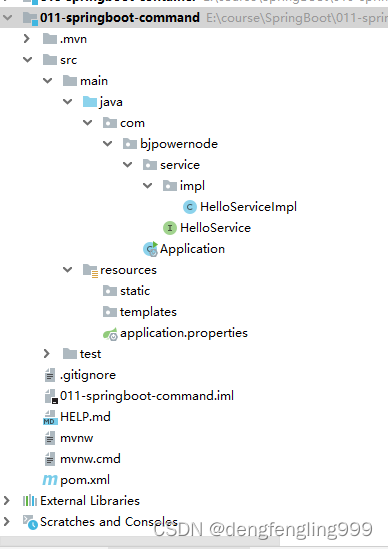
HelloService接口 :
package com.bjpowernode.service;

public interface HelloService {
    String sayHello(String name);
}
实现类HelloServiceImpl:
package com.bjpowernode.service.impl;

import com.bjpowernode.service.HelloService;
import org.springframework.stereotype.Service;

@Service("helloService")  //注解创建对象
public class HelloServiceImpl implements HelloService {
    @Override
    public String sayHello(String name) {
        return "你好:"+name;
    }
}
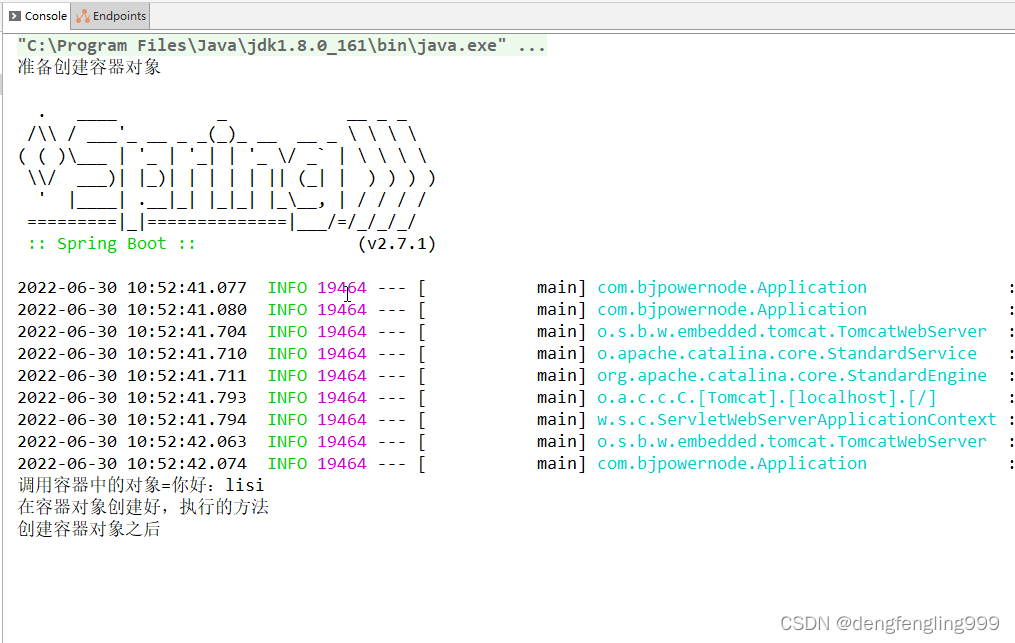
主启动类Application:实现CommandLineRunner接口,实现里面的run方法,他会在容器对象创建号之后执行
package com.bjpowernode;

import com.bjpowernode.service.HelloService;
import org.springframework.boot.CommandLineRunner;
import org.springframework.boot.SpringApplication;
import org.springframework.boot.autoconfigure.SpringBootApplication;

import javax.annotation.Resource;

@SpringBootApplication
public class Application implements CommandLineRunner {
    //容器对象创建号之后,会给对象赋值
    @Resource //注解自动赋值
    private HelloService helloService;

    public static void main(String[] args) {
        System.out.println("准备创建容器对象");
        //创建容器对象
        SpringApplication.run(Application.class, args);
        System.out.println("创建容器对象之后");
    }

    @Override
    public void run(String... args) throws Exception {

        String str=helloService.sayHello("lisi");
        System.out.println("调用容器中的对象="+str);

        //可做自定义的操作,比如读取文件,数据库等等
        System.out.println("在容器对象创建好,执行的方法");
    }
}
运行


 260
260


 被折叠的 条评论
为什么被折叠?
被折叠的 条评论
为什么被折叠?
 到【灌水乐园】发言


