


 本文介绍了如何在Mac上使用Automator创建自动脚本,包括变量使用、脚本编写、键盘录制与鼠标录制、循环操作等,并提供了解决循环控制和脚本间变量传递的技巧。通过Automator,作者成功编写了一个《连续抓图导出PDF》的工具,实现了自动截屏和翻页功能。
序
最近努力学习新知识,在公司内网上阅读一些优秀文章,但是发现这些文章:是通过通过flash控件展示,并且不提供无法下载地址(类似《百度文库》)。一次忍了,两次再忍了,三次就无法忍受:都在我电脑上展示了,这么做就是恶心人了。。。。
于是花了大半天时间,使用mac上自带软件Automator,从零开始完成了自己的工具:《连续抓图导出PDF》。
实现原理:自动截屏、翻页=》merge生成PDF文档。(感兴趣的人,可以下载附件看看源码)
在写这个脚本过程中,本以为会很快,但是还是碰到了不少问题;于是就记录并分享出来。
首先:最基本用法,可以直接参考Automator帮助,本文章只写自认为容易忽略或者难点的几个地方。
变量使用
变量新建就不说了;这里主要说变量再控件上使用,几种方法(有的方法只对部分控件有用):
从下拉列表直接选择“变量”
将“变量”拖进区域
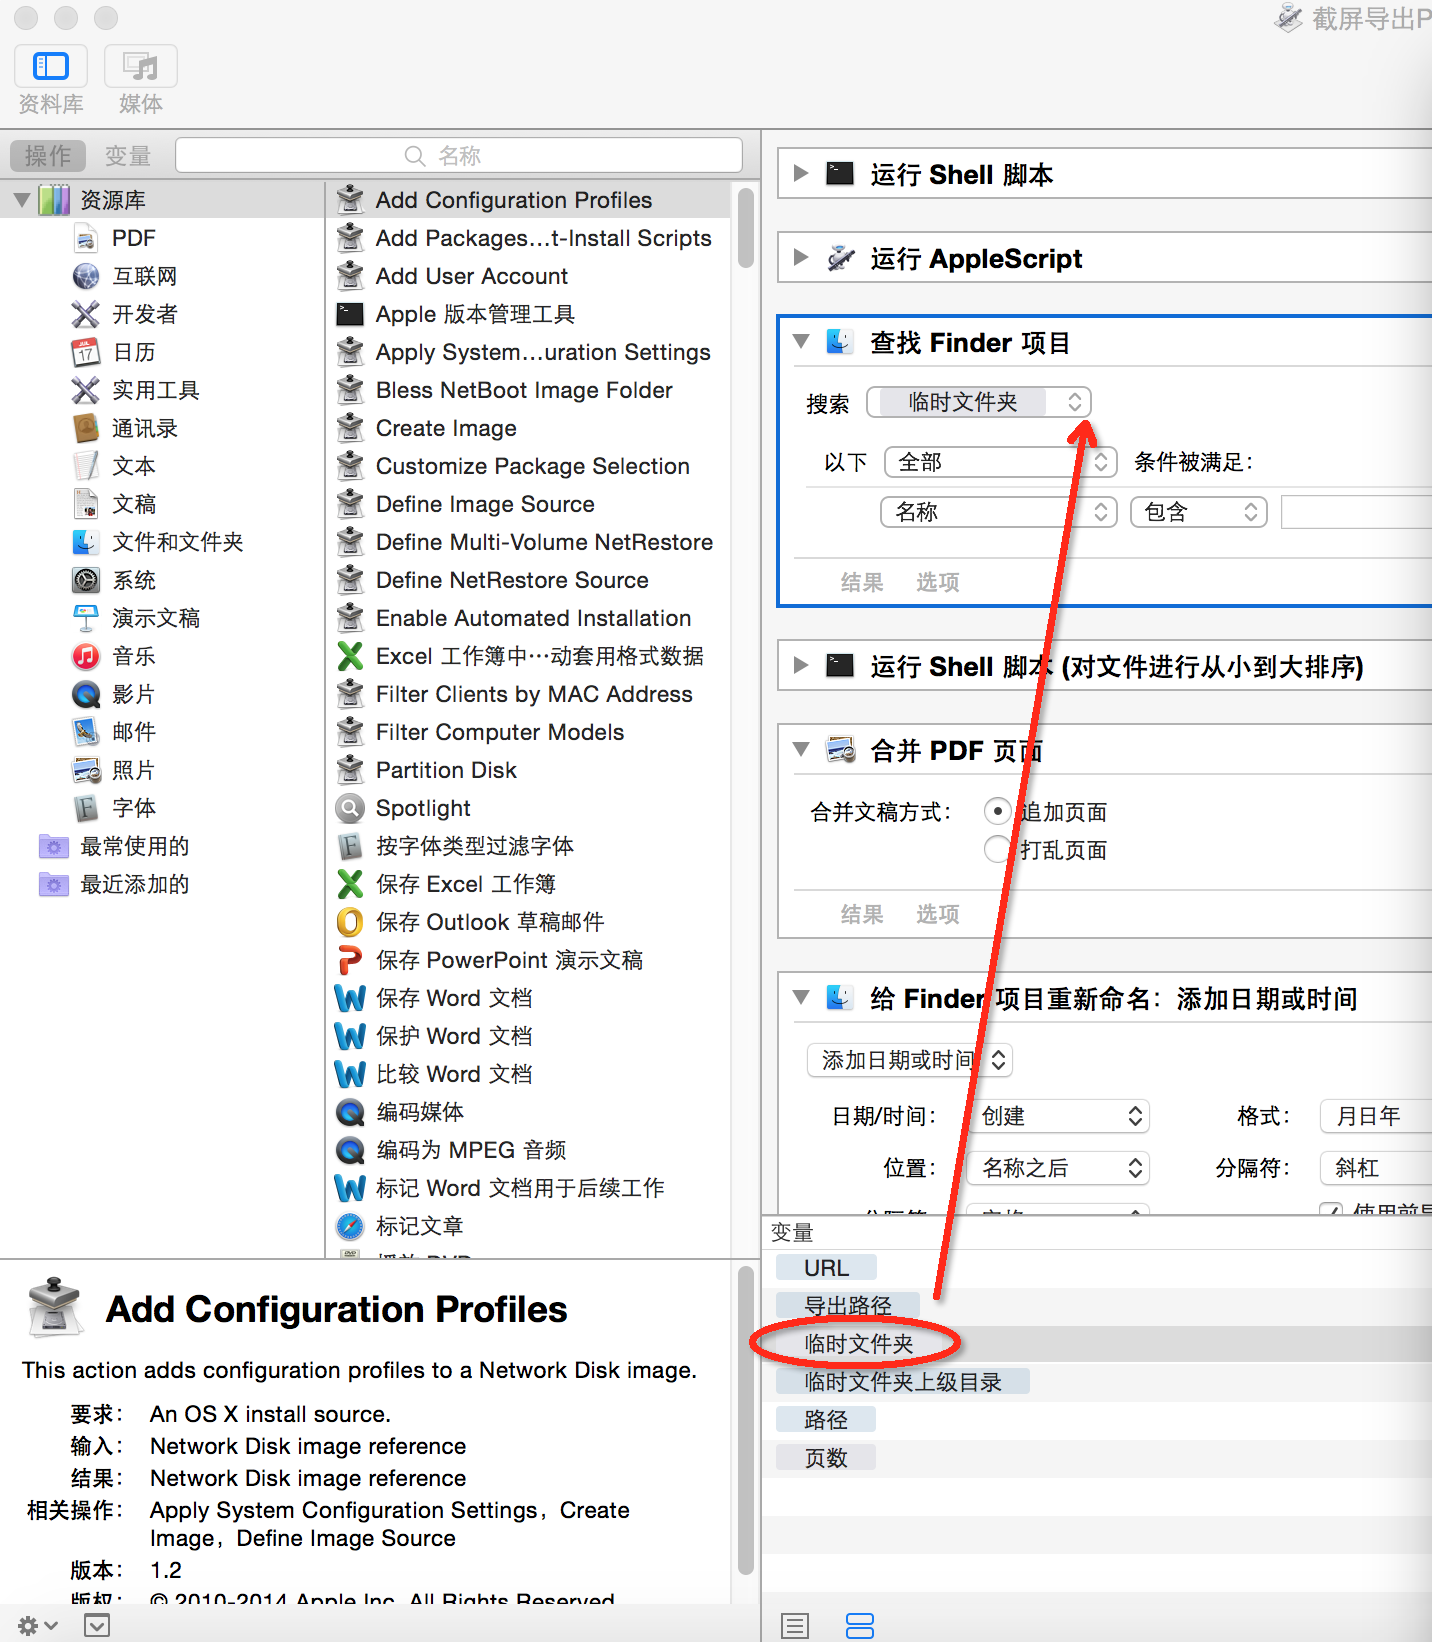
当然你也可以,抛弃使用已存在的变量,直接通过下拉框选择一个“新建变量”。
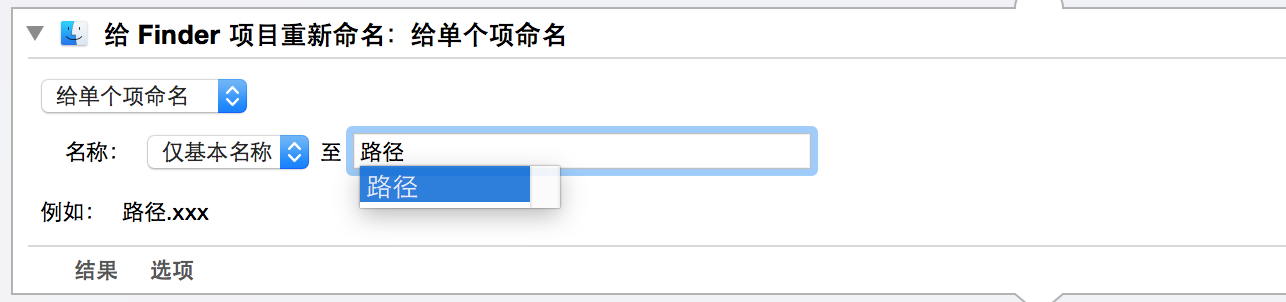
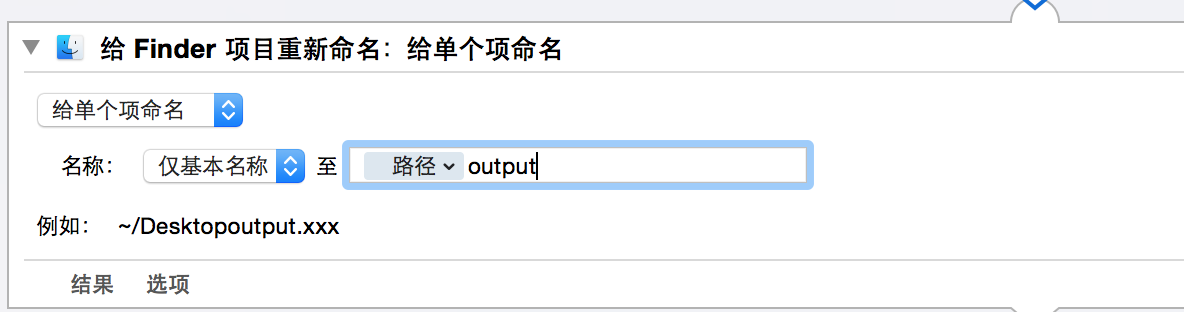
“输入变量名”弹出提示,“回车”选择
最后,如果上面三种方法你尝试都不行的话,基本上可以宣告,那个是不支持变量的。
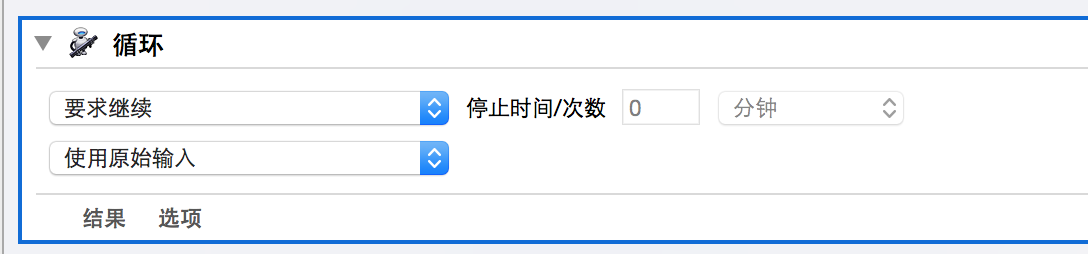
比如,LOOP的“次数”,是不支持变量的:
脚本
脚本使用
Automator脚本支持:shell脚本(bash、perl、python、ruby等)、appleScript、javascript几种,你可以选择不同的脚本来运行。

脚本参数传递
脚本和变量之间,是无法直接获取或设置的
“变量”值传递到脚本
– shell脚本
获取到的输入:只能是通过输入的一行一行的字符串
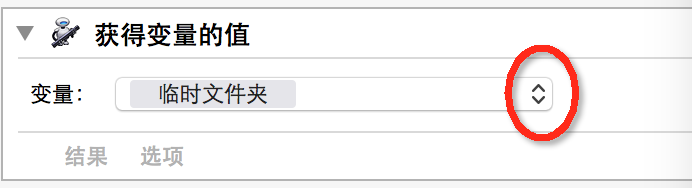
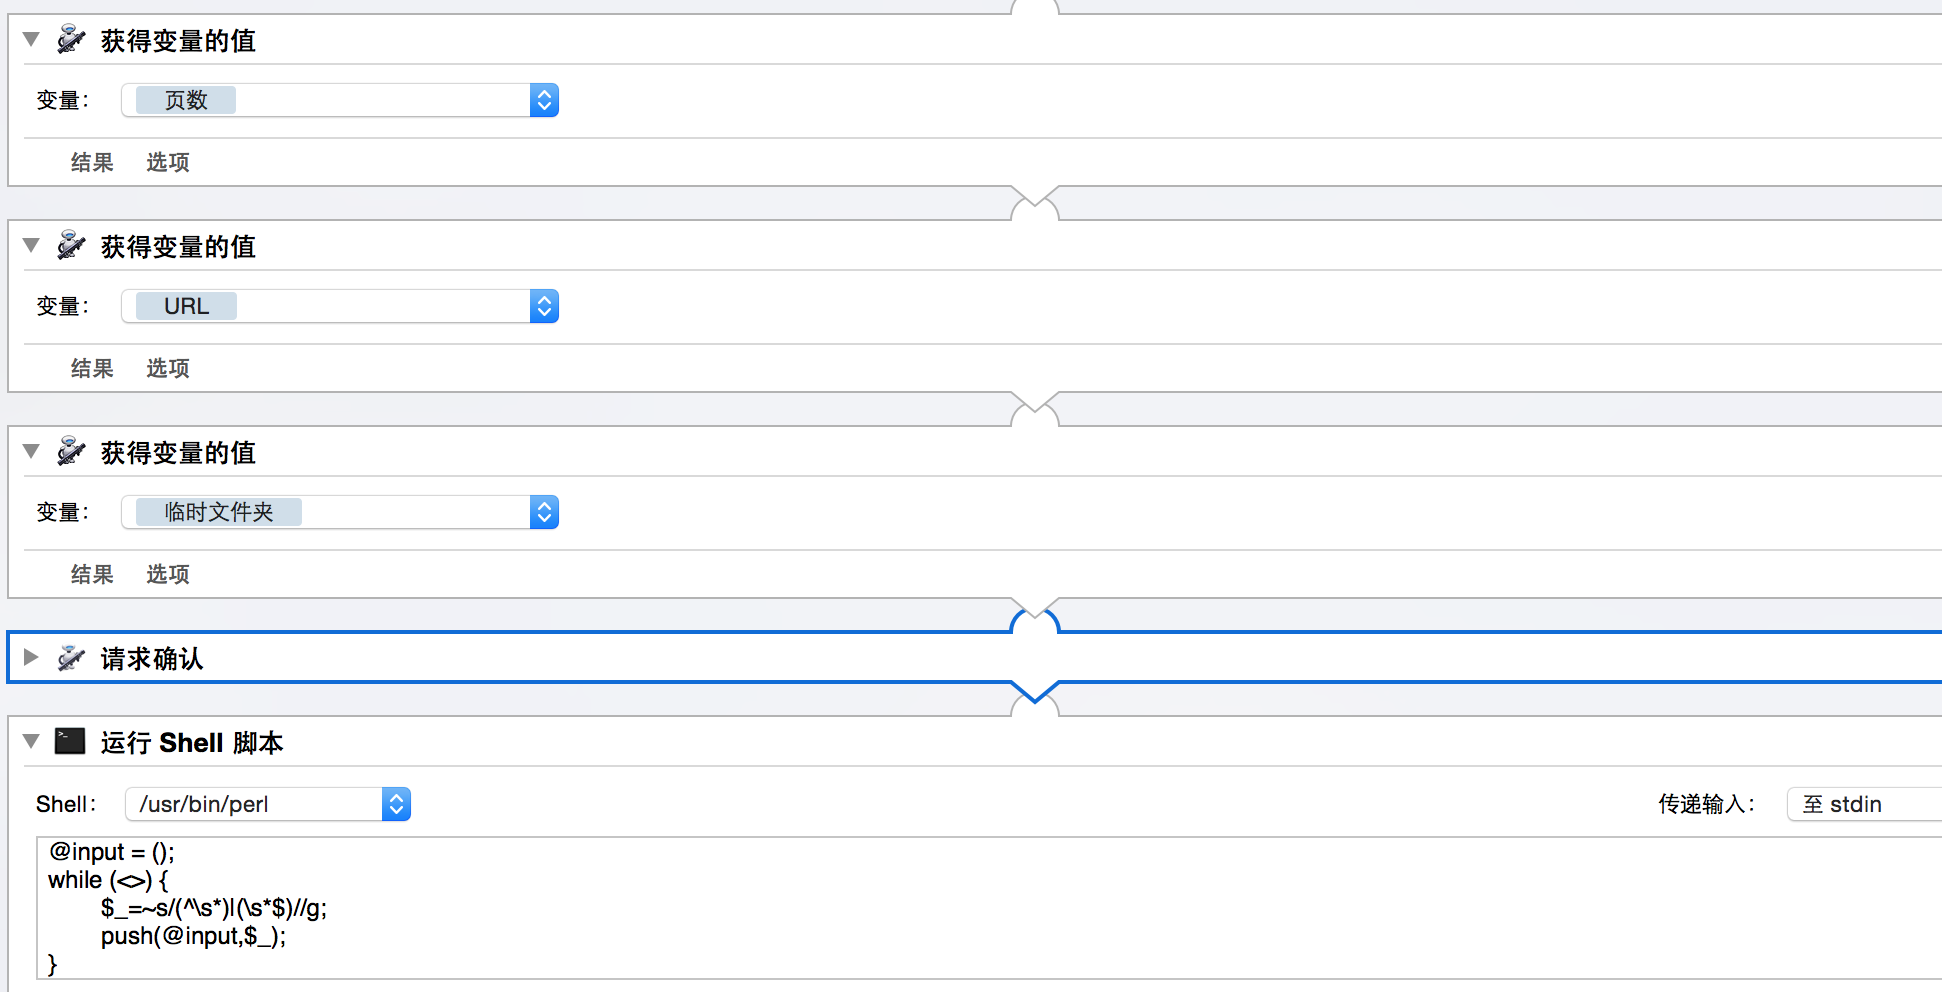
也即如果,想获取变量值的话,可以通过,“获得变量的值”控件来输出值,然后传递到脚本然后再读取。
如:下面是获取“页数”、“URL”、“临时文件夹”三个变量值到输出,然后传递给perl脚本。
– AppleScript脚本
AppleScript的输入不是一行一行的字符串,貌似是键值队(还不熟悉这块),结果没搞懂如何传递的变量——搞懂后,再补充。
于是我考虑的解决方案是:通过分隔符“|”将输入的多行转换成一行,然后在AppleScript进行反转。的确是有些trick -_-!——不过后来查资料发现,也有人这么整。
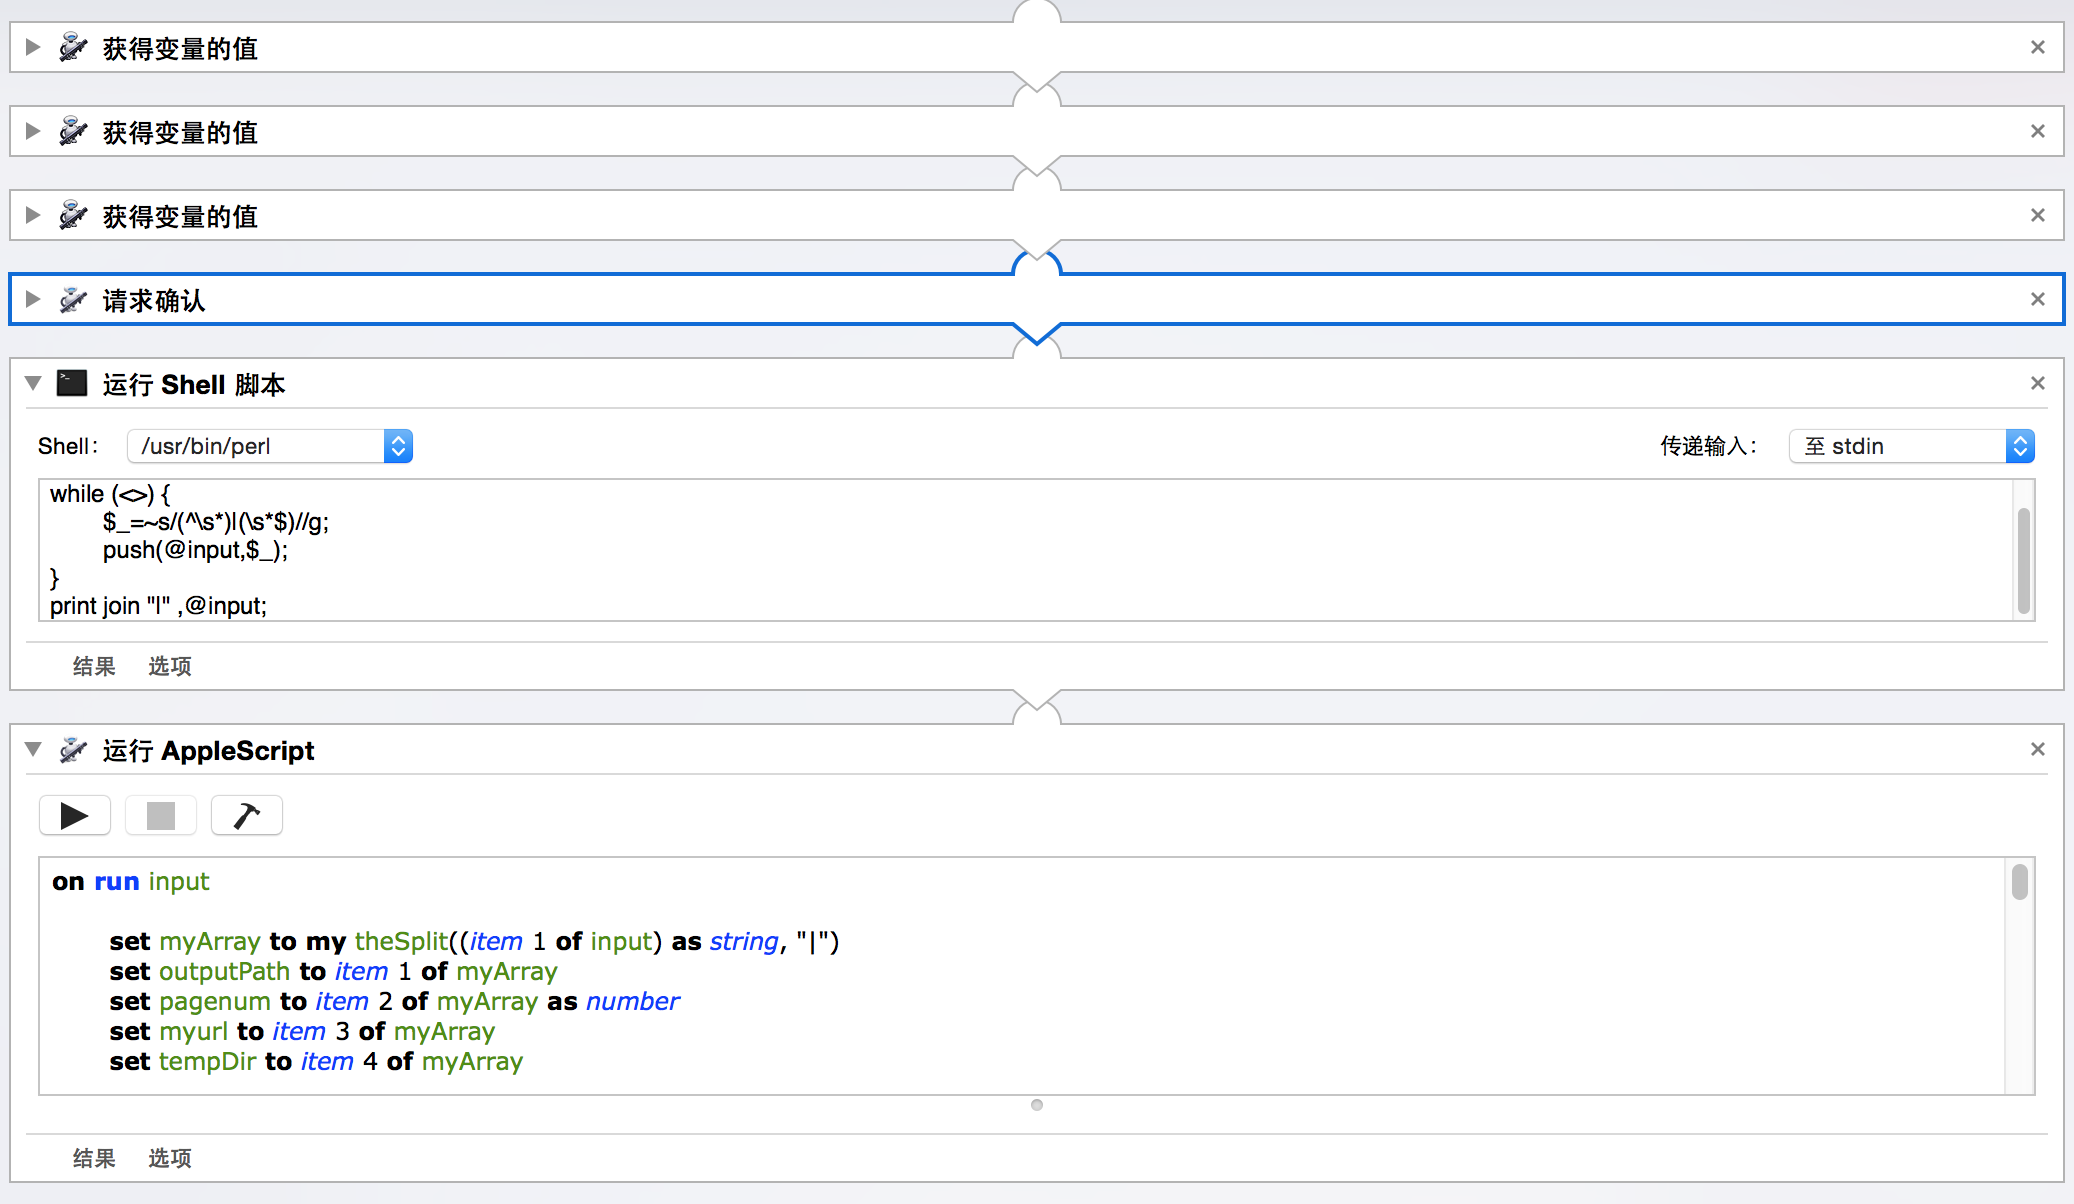
perl代码:
@input = ();
while (<>) {
        $_=~s/(^\s*)|(\s*$)//g;
        push(@input,$_);
}
print join "|" ,@input;
AppleScript代码:
on run input

    set myArray to my theSplit((item 1 of input) as string, "|")
    set outputPath to item 1 of myArray
    set pagenum to item 2 of myArray as number
    set myurl to item 3 of myArray
    set tempDir to item 4 of myArray

    return myArray
end run

on theSplit(theString, theDelimiter)
    -- save delimiters to restore old settings
    set oldDelimiters to AppleScript's text item delimiters

    -- set delimiters to delimiter to be used
    set AppleScript's text item delimiters to theDelimiter

    -- create the array
    --set theArray to every text item of theString
    set theArray to text items of theString

    -- restore the old setting
    set AppleScript's text item delimiters to oldDelimiters

    -- return the result
    return theArray
end theSplit
脚本结果,设置到“变量”中
脚本中的变量,是无法设置到脚本中,怎么办呢?其也只能通过脚本输出结果,然后“设定变量的值”控件,对变量进行设置。
- - 设置一个变量

注意:这里有一个问题,如果脚本输出的是多行,其实只把第一行字符串,赋值到“变量”中
-
- 设置多个变量
但是如果要设置多个变量值,咋办?
于是又是一个trick方法来了,利用上面“只会把第一行赋值给变量”的机制,通过“漏斗”方式逐个对变量进行赋值:
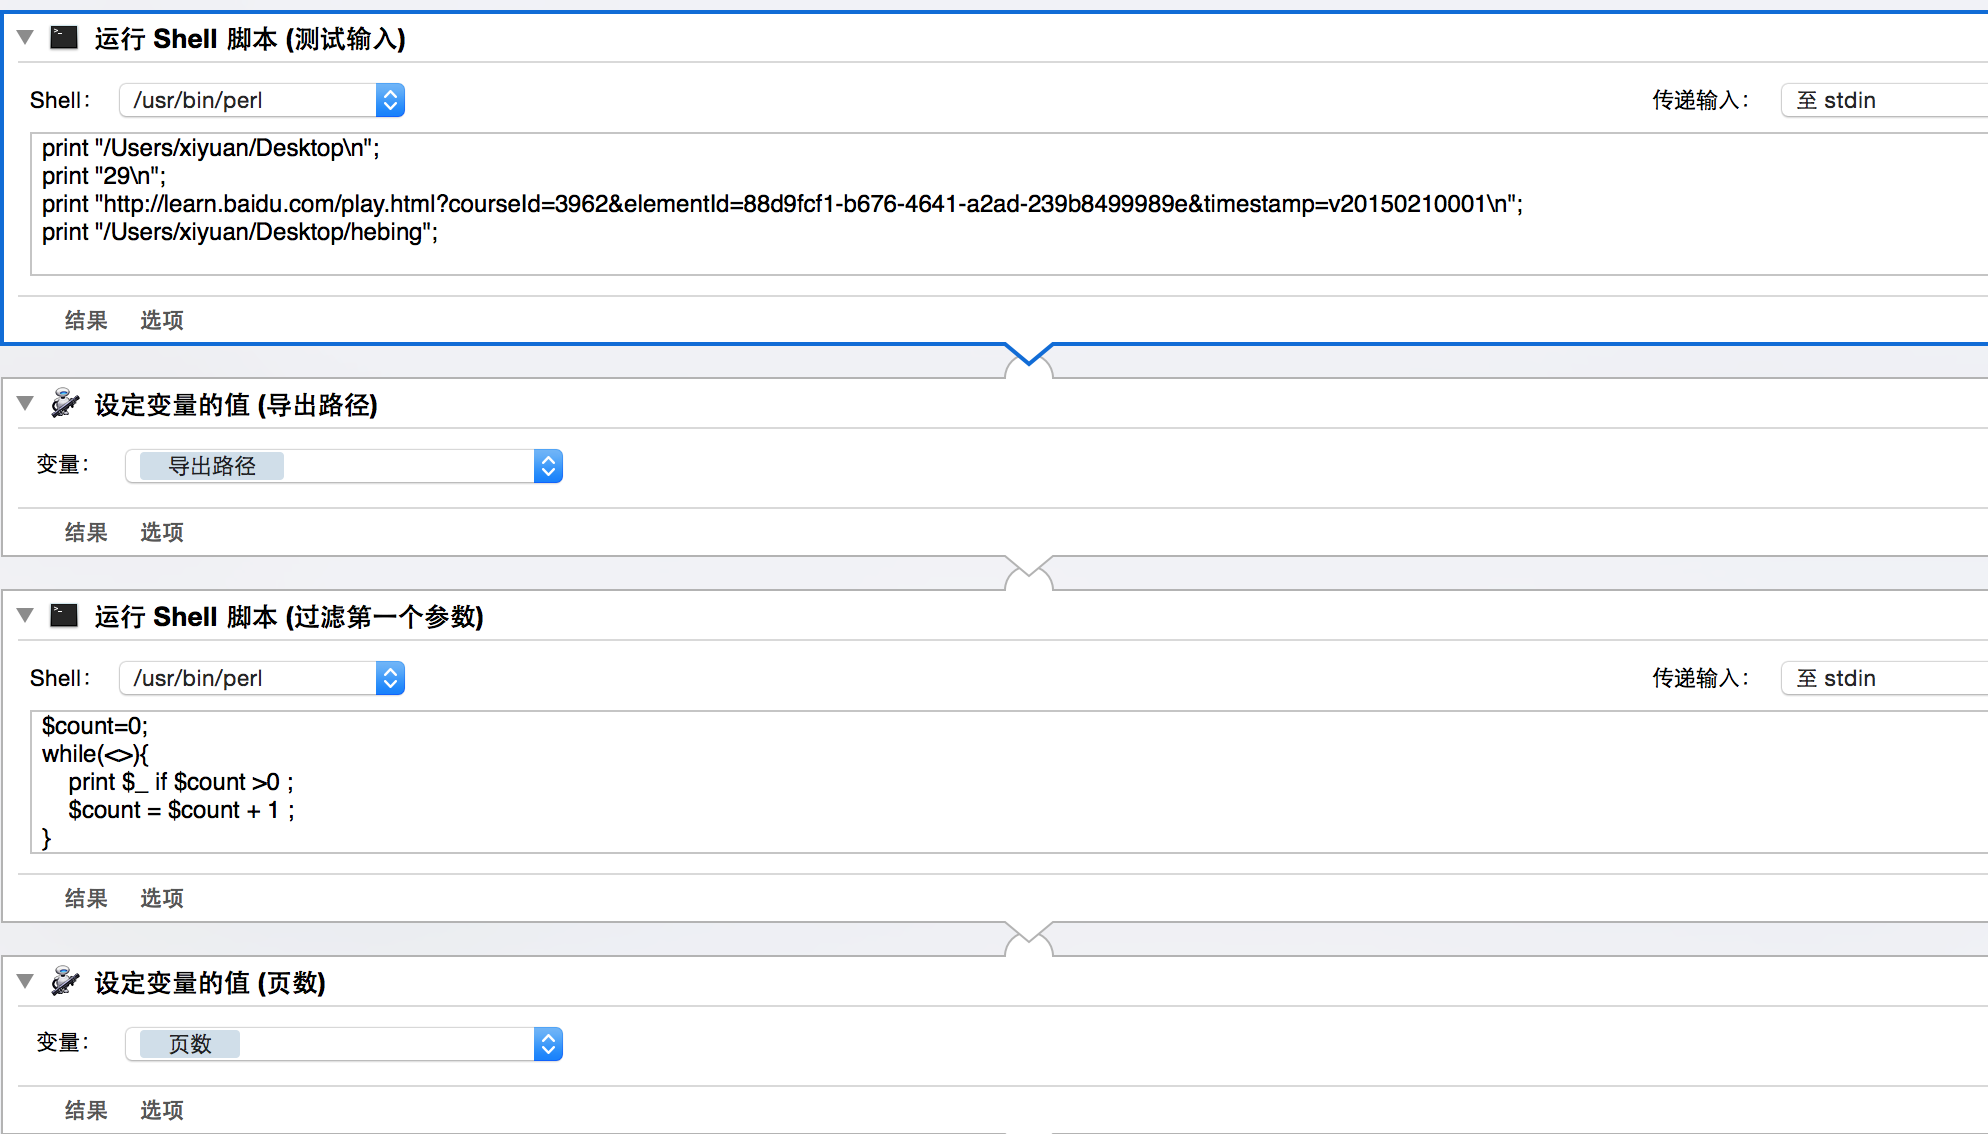
如上图,依次对“导出路径”、“页数”等多个变量进行逐个复制。
其中perl代码作用是:过滤第一行字符串:
$count=0;
while(<>){
    print $_ if $count >0 ;
    $count = $count + 1 ;
}
键盘录制&鼠标录制
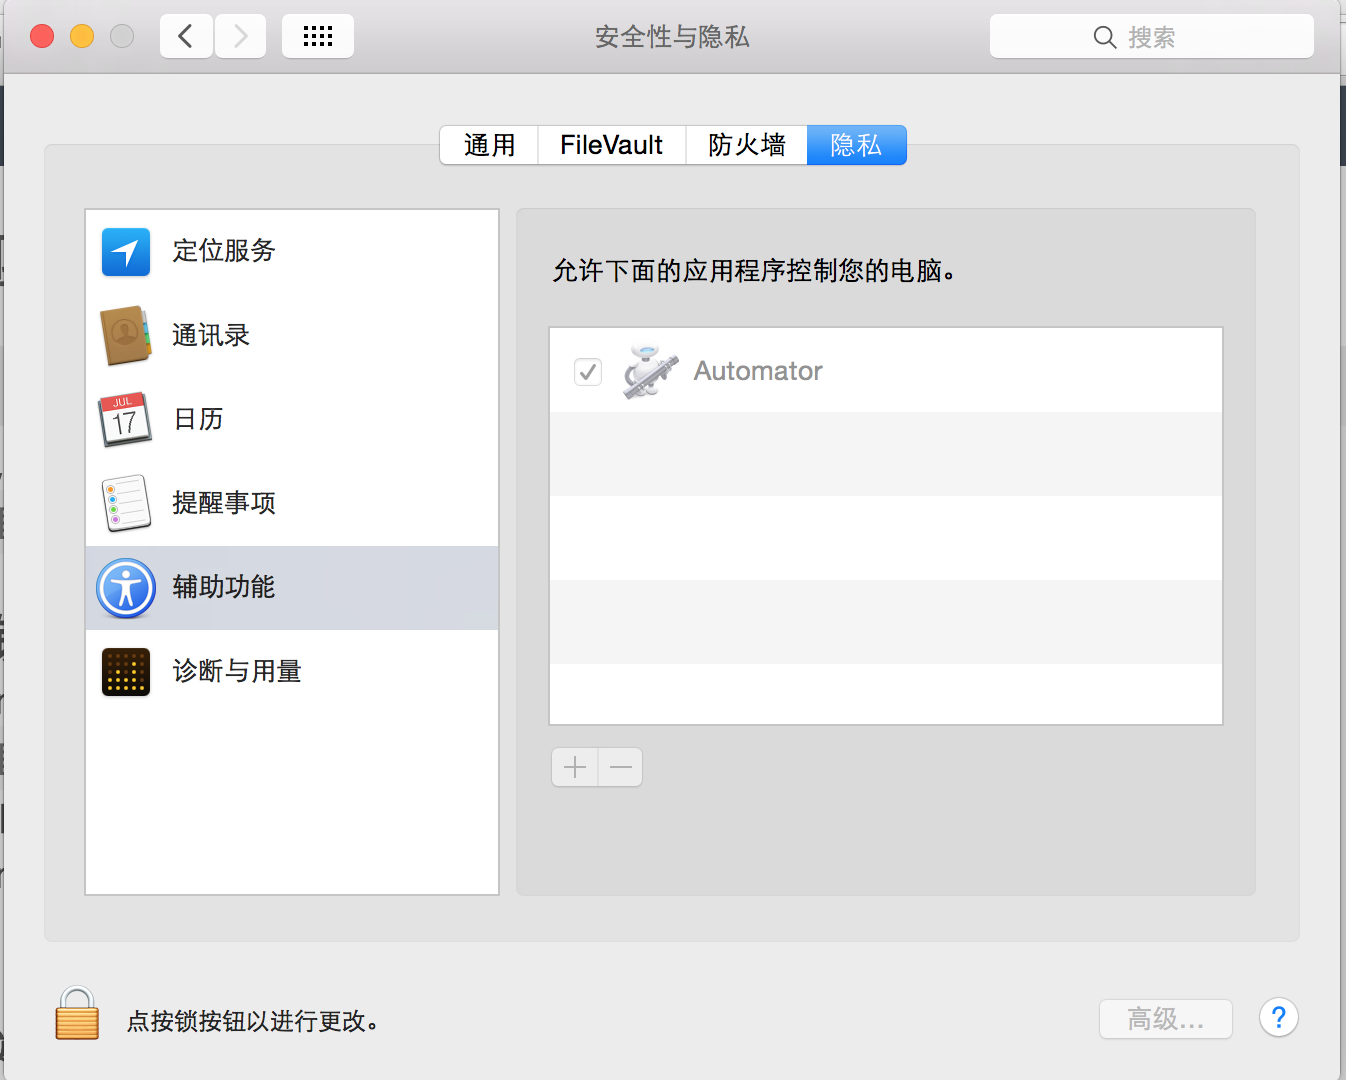
Automator提供“录制”功能,位于右上角:

注意如果你使用录制功能,需要mac再偏好设置里,设置一下“允许Automator控制你的电脑”,这样在运行时才有用:
但是实际操作起来,我碰到了下面两个问题:
1、鼠标录制,总是不准
2、键盘录制,则永远也没有录制上去
第一个问题,我没有找到很好办法;最后没有使用;
第二个问题,不是录入,而是写代码,通过appleScript来实现:
键盘操作
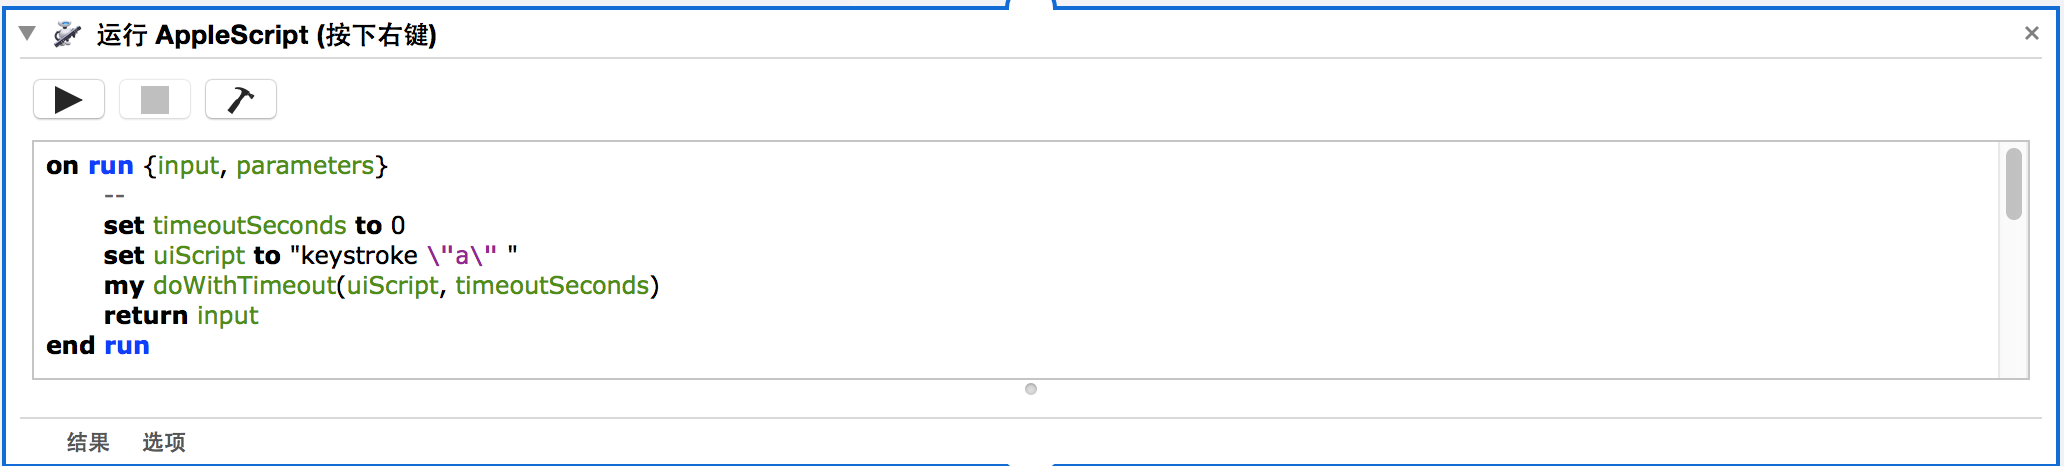
脚本代码是:
on run {input, parameters}
    --
 最低0.47元/天 解锁文章


 2610
2610

 被折叠的 条评论
为什么被折叠?
被折叠的 条评论
为什么被折叠?
 到【灌水乐园】发言


