


部署helm
官网: https://helm.sh/zh/docs/intro/quickstart/
https://github.com/helm/helm/releases
[root@k8s2 ~]# tar zxf helm-v3.11.0-linux-amd64.tar.gz
[root@k8s2 ~]# cd linux-amd64/
[root@k8s2 linux-amd64]# mv helm  /usr/local/bin/
配置helm命令补齐
[root@k8s2 ~]# echo "source <(helm completion bash)" >> ~/.bashrc
[root@k8s2 ~]# source ~/.bashrc
[root@k8s2 ~]# helm version
查询官方应用中心
[root@k8s2 ~]# helm search hub nginx添加第三方repo源
[root@k8s2 ~]# helm repo add my-repo https://charts.bitnami.com/bitnami

[root@k8s2 ~]# helm  repo  list
拉取应用
[root@k8s2 helm]# helm search repo nginx

[root@k8s2 helm]# helm  pull my-repo/nginx
[root@k8s2 helm]# tar zxf nginx-15.4.0.tgz

[root@k8s2 helm]# cd nginx/
按需修改
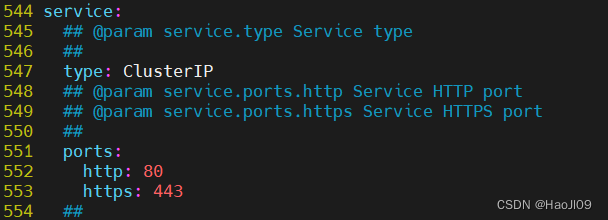
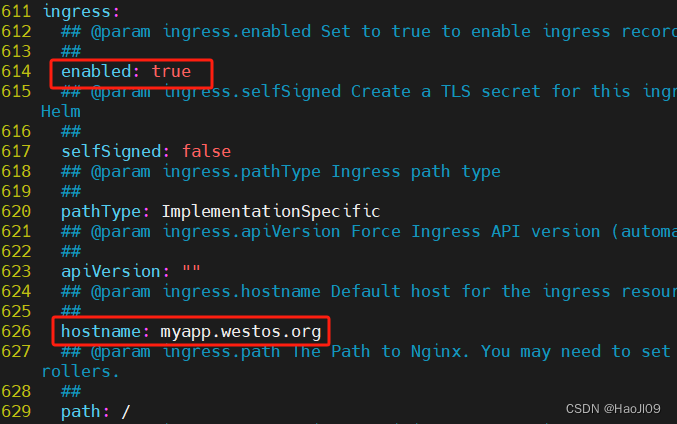
[root@k8s2 nginx]# vim values.yaml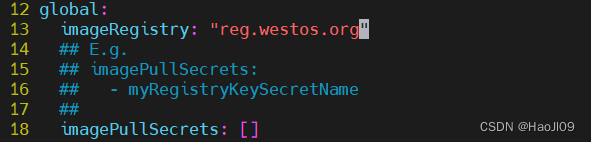

上传镜像
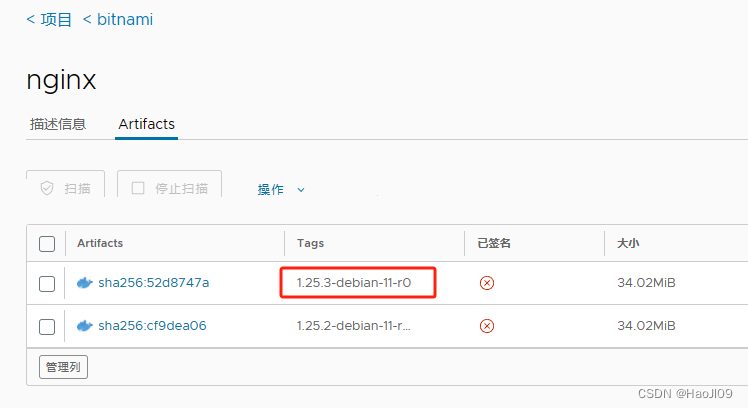
[root@k8s1 ~]# docker pull bitnami/nginx:1.25.3-debian-11-r0

[root@k8s1 ~]# docker tag bitnami/nginx:1.25.3-debian-11-r0 reg.westos.org/bitnami/nginx:1.25.3-debian-11-r0

[root@k8s1 ~]# docker push reg.westos.org/bitnami/nginx:1.25.3-debian-11-r0
部署应用
[root@k8s2 nginx]# helm install myapp .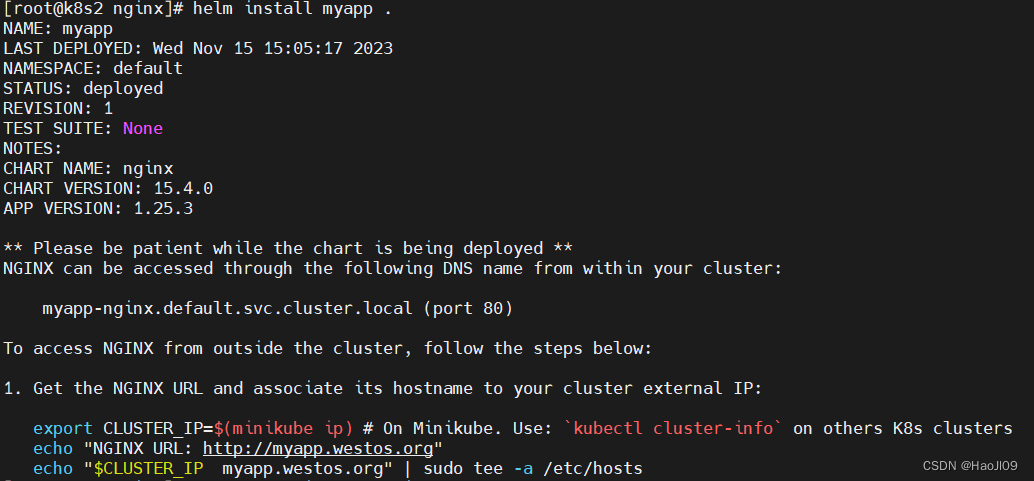
测试
[root@k8s1 ~]# curl myapp.westos.org
再次修改配置
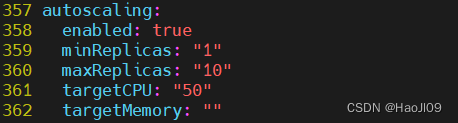
[root@k8s2 nginx]# vim values.yaml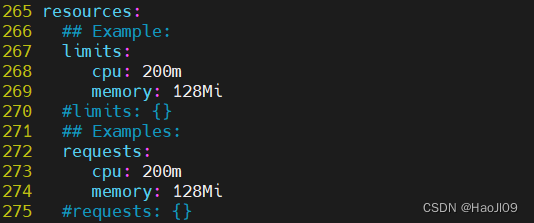
更新应用
[root@k8s2 nginx]# helm upgrade myapp .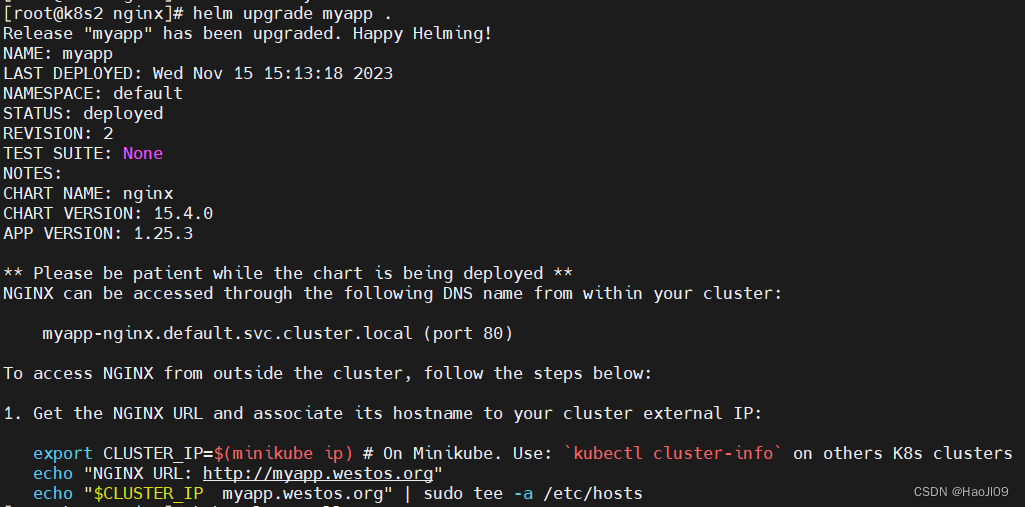
[root@k8s2 nginx]# kubectl get all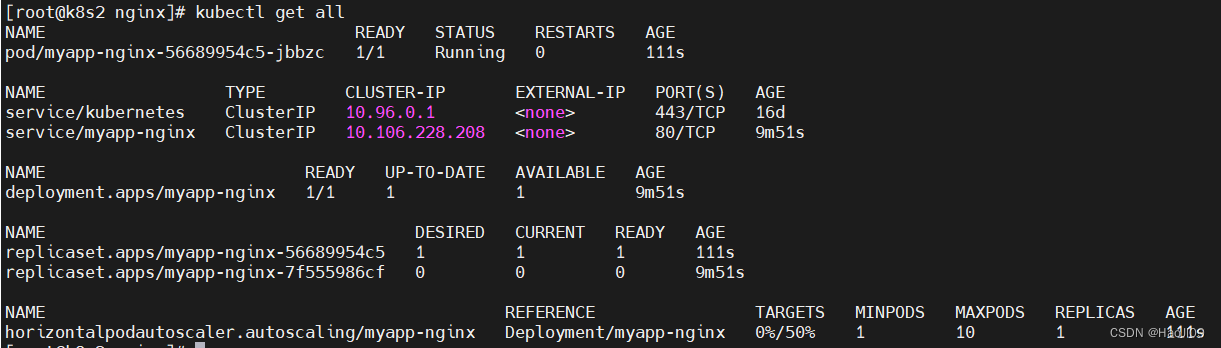
查看应用
[root@k8s2 nginx]# helm list
查看应用历史
[root@k8s2 nginx]# helm history myapp
回滚应用
[root@k8s2 nginx]# helm rollback myapp 1
回收
[root@k8s2 nginx]# helm uninstall myapp
封装chart包
[root@k8s2 helm]# helm  create mychart

[root@k8s2 helm]# tree mychart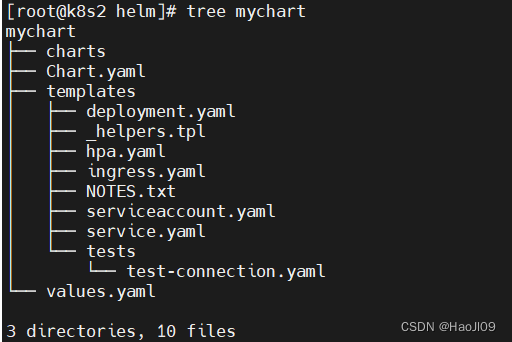
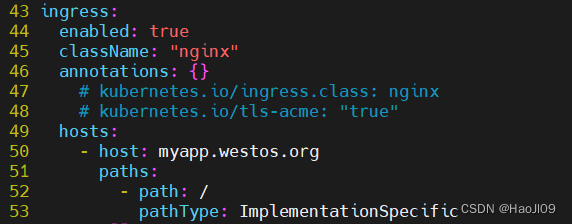
[root@k8s2 mychart]# vim Chart.yaml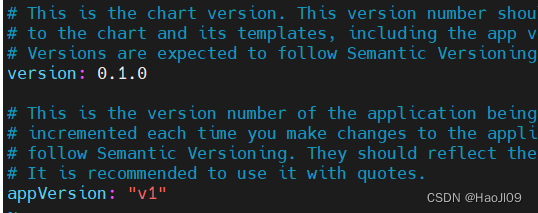
[root@k8s2 mychart]# vim values.yaml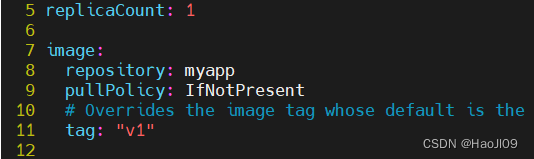
检测语法
[root@k8s2 helm]# helm lint mychart/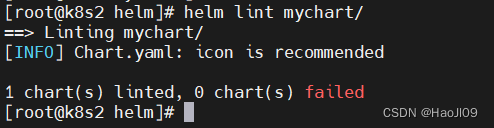
打包
[root@k8s2 helm]# helm package mychart/
部署应用
[root@k8s2 helm]# helm install myapp mychart-0.1.0.tgz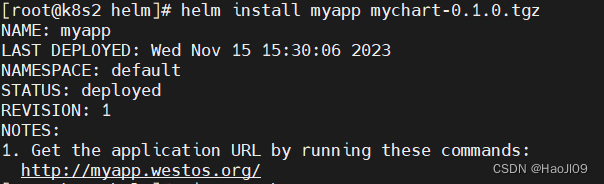
测试
[root@k8s2 helm]# curl myapp.westos.org
[root@k8s2 helm]# helm list
回收
[root@k8s2 helm]# helm uninstall myapp
上传chart到OCI仓库
复制仓库证书
cp /etc/docker/certs.d/reg.westos.org/ca.crt /etc/pki/tls/certs/登录仓库
helm registry login reg.westos.org -u admin -p westos查看默认缓存信息
helm env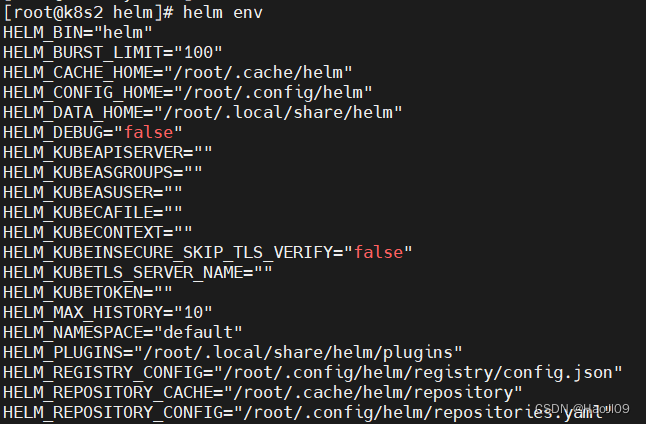
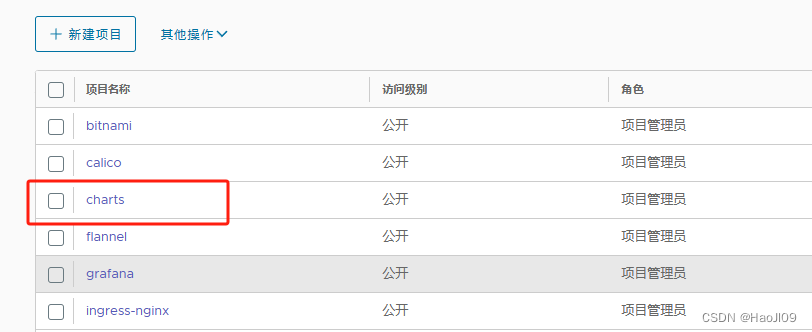
提前在harbor仓库创建charts项目,这个仓库专门存放chart包
上传chart
[root@k8s2 helm]# helm push mychart-0.1.0.tgz oci://reg.westos.org/charts

[root@k8s2 helm]# helm push mychart-0.2.0.tgz oci://reg.westos.org/charts
下载chart,默认下载最新版本
[root@k8s2 helm]# helm pull oci://reg.westos.org/charts/mychart
[root@k8s2 helm]# helm pull oci://reg.westos.org/charts/mychart --version 0.1.0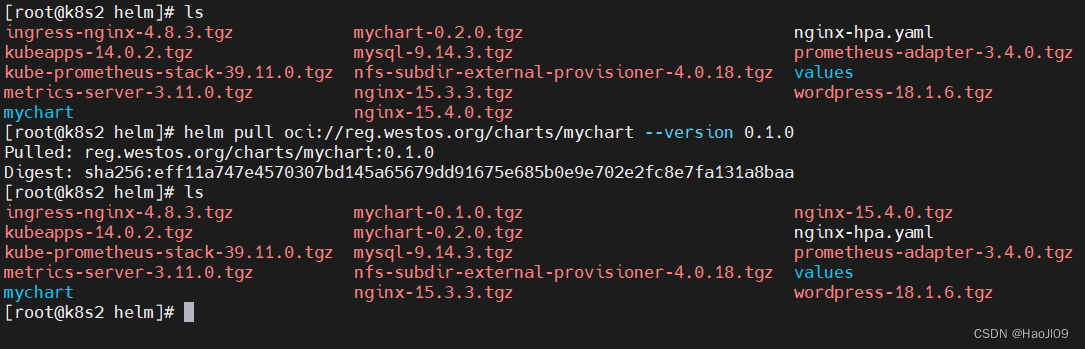
安装chart
[root@k8s2 helm]# helm install myapp oci://reg.westos.org/charts/mychart --version 0.1.0
测试
[root@k8s2 helm]# curl http://myapp.westos.org/![]()
升级
[root@k8s2 helm]# helm upgrade myapp oci://reg.westos.org/charts/mychart --version 0.2.0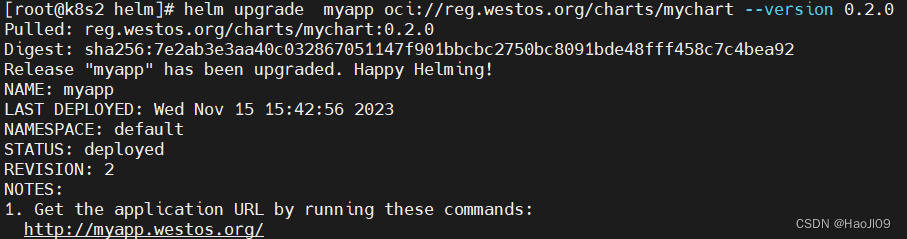
测试
[root@k8s2 helm]# curl http://myapp.westos.org/
部署wordpress博客系统
部署mysql数据库集群
[root@k8s2 values]# vim mysql-values.yamlglobal:
imageRegistry: reg.westos.org
architecture: replication
auth:
rootPassword: westos
database: wordpress
username: wordpress
password: wordpress
replicationUser: replicator
replicationPassword: westos[root@k8s2 helm]# helm install --wait mydbcluster -f values/mysql-values.yaml mysql-9.14.3.tgz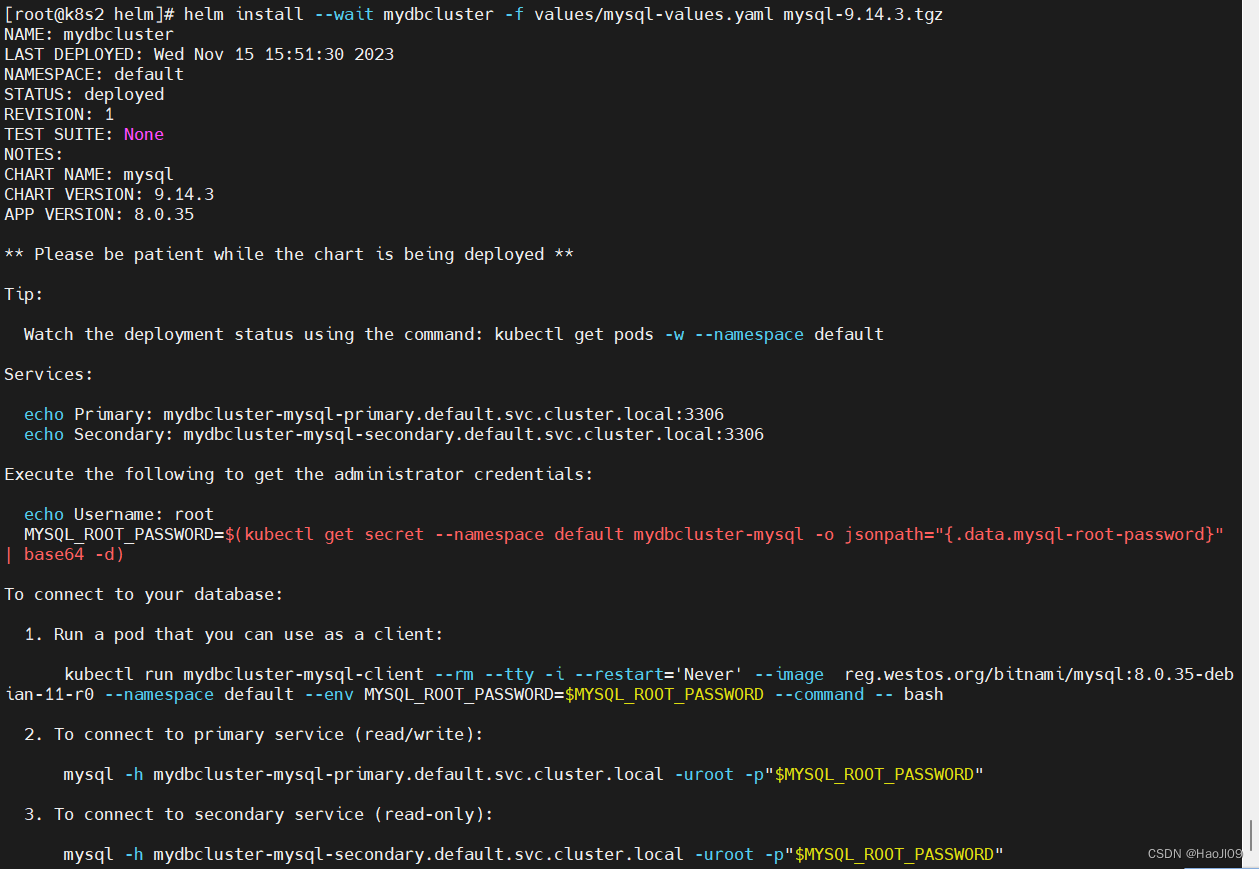
查看部署信息
[root@k8s2 ~]# helm get manifest mydbcluster |kubectl get -f -
连接数据库
[root@k8s2 helm]# kubectl run mydbcluster-mysql-client --rm --tty -i --restart='Never' --image reg.westos.org/bitnami/mysql:8.0.35-debian-11-r0 --namespace default --env MYSQL_ROOT_PASSWORD=$MYSQL_ROOT_PASSWORD --command -- bash
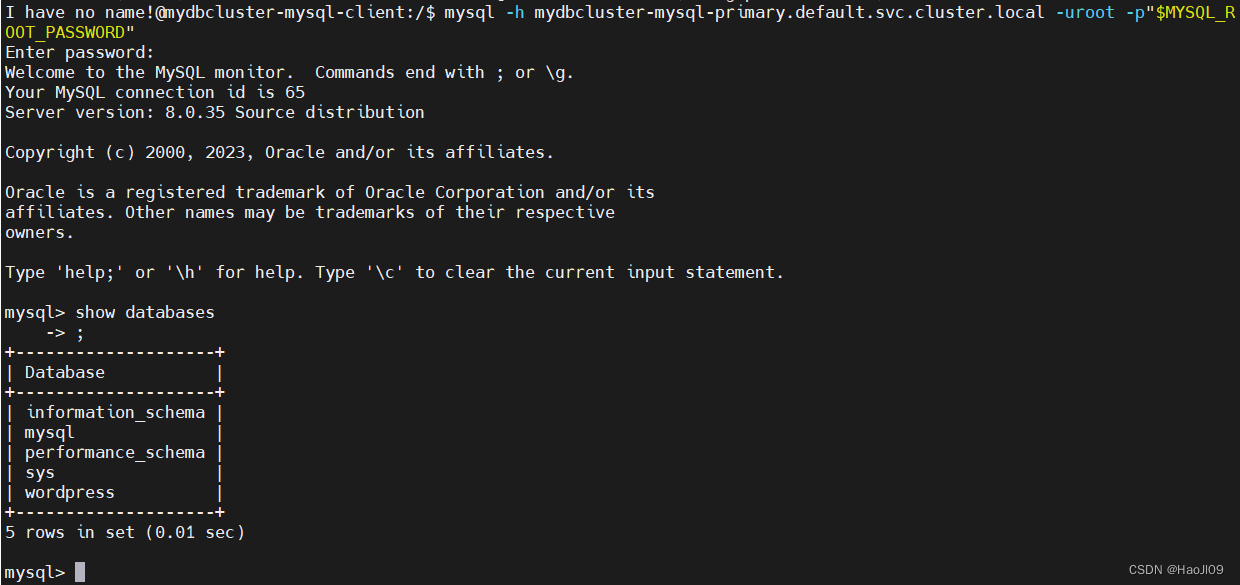
连接主库
I have no name!@mydbcluster-mysql-client:/$ mysql -h mydbcluster-mysql-primary.default.svc.cluster.local -uroot -p"$MYSQL_ROOT_PASSWORD"

mysql> show databases;
连接从库
I have no name!@mydbcluster-mysql-client:/$ mysql -h mydbcluster-mysql-secondary.default.svc.cluster.local -uwordpress -pwordpress


mysql> show databases;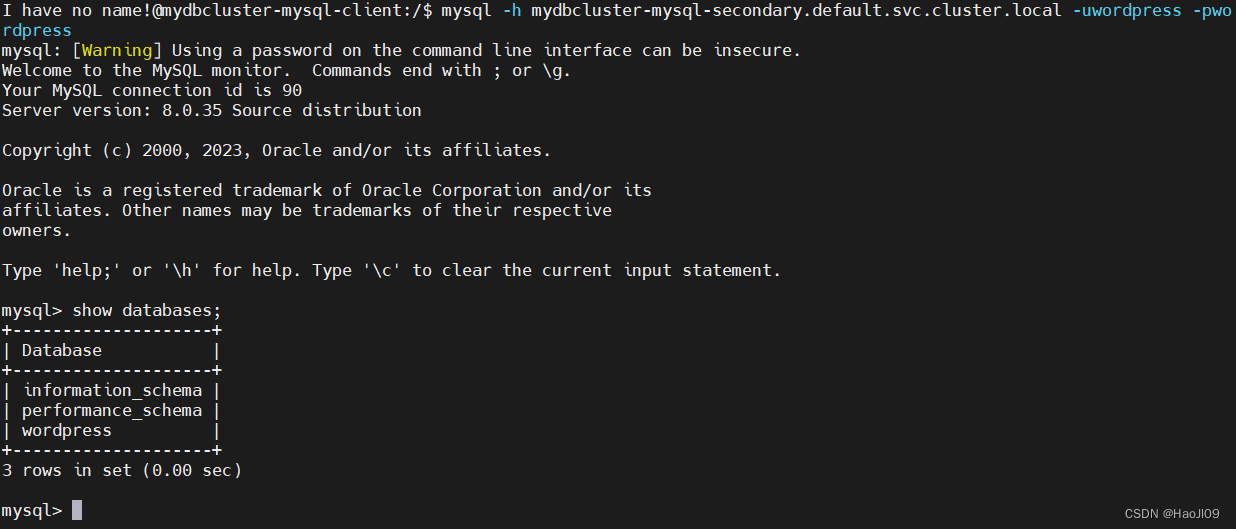
部署wordpress
[root@k8s2 values]# vim wordpress-values.yamlglobal:
imageRegistry: reg.westos.org
wordpressUsername: james
wordpressPassword: james
mariadb:
enabled: false
externalDatabase:
host: mydbcluster-mysql-primary
user: wordpress
password: wordpress
database: wordpress[root@k8s2 helm]# helm install myblog -f values/wordpress-values.yaml wordpress-18.1.6.tgz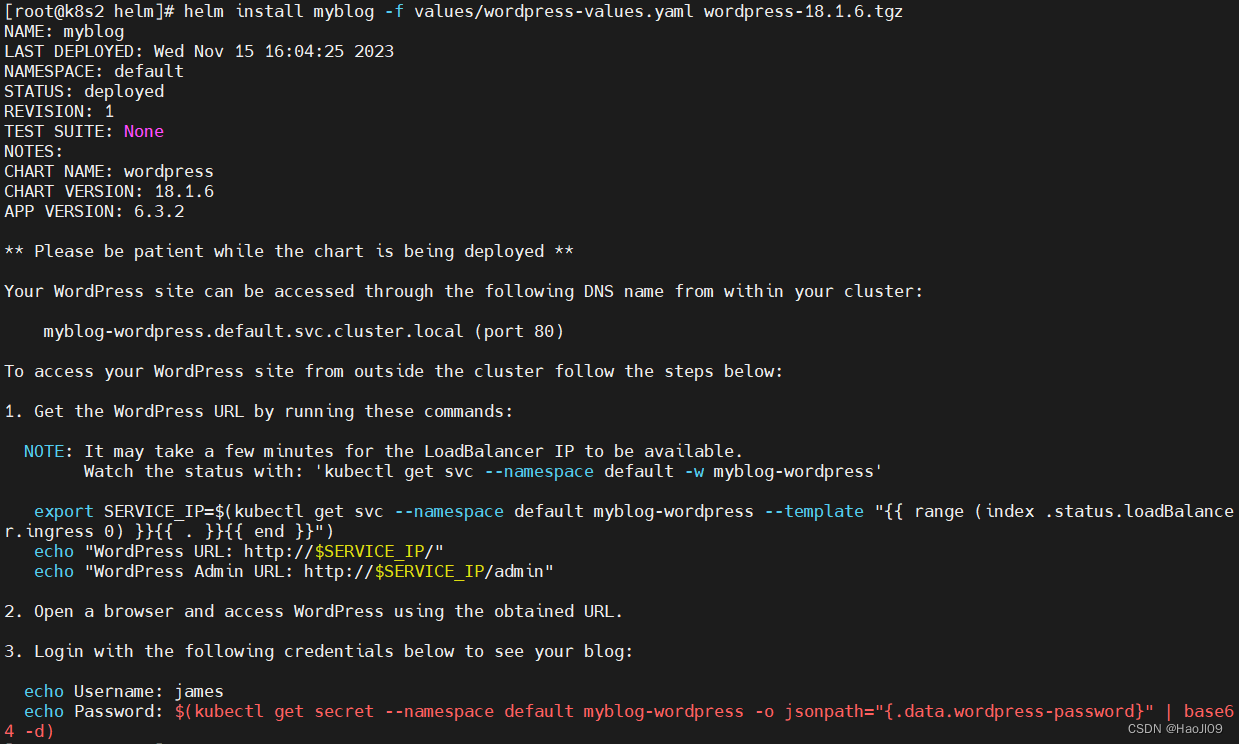
等待myblog初始化完毕
[root@k8s2 helm]# kubectl logs myblog-wordpress-c6d4c4647-vps4b -f
获取myblog 外部IP
[root@k8s2 helm]# helm get manifest myblog |kubectl get -f -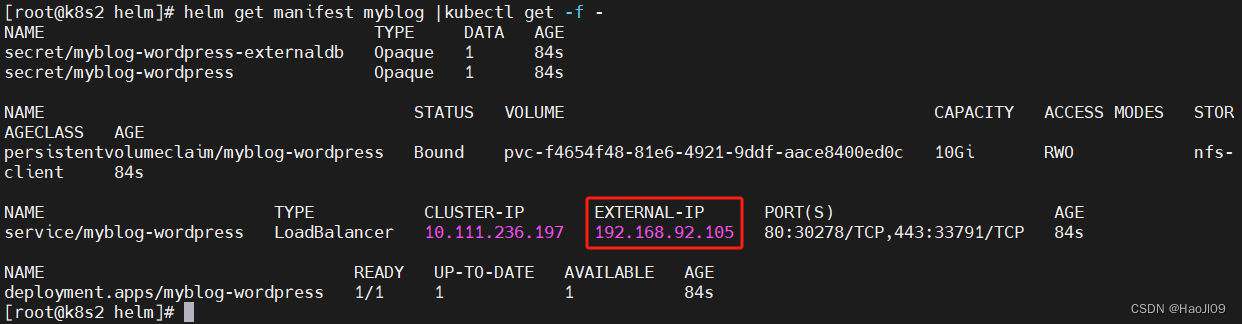
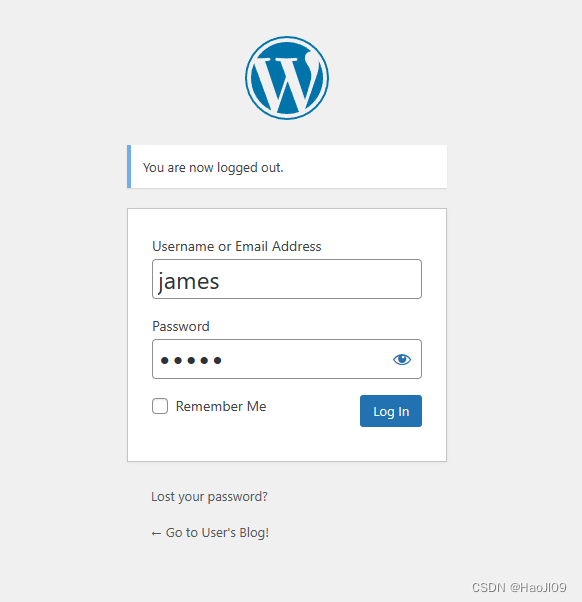
使用浏览器访问wordpress
http://192.168.92.105/admin
登录用户、密码: james/james
升级mydbcluster
[root@k8s2 values]# vim mysql-values-update.yamlglobal:
imageRegistry: reg.westos.org
architecture: replication
auth:
rootPassword: westos
database: wordpress
username: wordpress
password: wordpress
replicationUser: replicator
replicationPassword: westos
secondary:
replicaCount: 2
[root@k8s2 helm]# helm upgrade mydbcluster -f values/mysql-values-update.yaml mysql-9.14.3.tgz
查看历史修订
[root@k8s2 helm]# helm history mydbcluster
[root@k8s2 helm]# helm get manifest mydbcluster --revision 1回滚版本
[root@k8s2 helm]# helm rollback mydbcluster 1

[root@k8s2 helm]# helm history mydbcluster
helm部署storageclass
删除原有的部署
[root@k8s2 storageclass]# ls

[root@k8s2 storageclass]# kubectl delete -f nfs-client.yaml![]()
添加repo
[root@k8s2 helm]# helm repo add nfs-subdir-external-provisioner https://kubernetes-sigs.github.io/nfs-subdir-external-provisioner/

[root@k8s2 helm]# helm repo list
编写配置文件
[root@k8s2 values]# vim nfs-client-values.yamlimage:
repository: sig-storage/nfs-subdir-external-provisioner
tag: v4.0.2
nfs:
server: 192.168.92.11
path: /nfsdata
storageClass:
defaultClass: true
reclaimPolicy: Delete
archiveOnDelete: false创建ns
[root@k8s2 helm]# kubectl create namespace nfs-provisioner部署
helm -n nfs-provisioner install nfs-client --wait -f values/nfs-client-values.yaml nfs-subdir-external-provisioner-4.0.18.tgz测试
[root@k8s2 storageclass]# kubectl apply -f pvc.yaml

[root@k8s2 storageclass]# kubectl get pvc
[root@k8s1 nfsdata]# ll
[root@k8s2 storageclass]# kubectl delete -f pvc.yaml

[root@k8s2 storageclass]# kubectl get pvc
[root@k8s1 nfsdata]# ll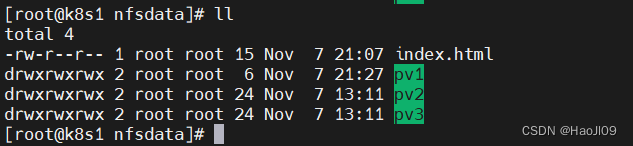
helm部署ingress-nginx
回收原有部署
[root@k8s2 ingress]# kubectl delete -f deploy.yaml添加repo
[root@k8s2 helm]# helm repo add ingress-nginx https://kubernetes.github.io/ingress-nginx


[root@k8s2 helm]# helm repo list
编写配置文件
[root@k8s2 values]# vim ingress-nginx-values.yamlcontroller:
image:
registry: reg.westos.org
image: ingress-nginx/controller
tag: "v1.9.4"
digest: ""
digestChroot: ""
ingressClassResource:
name: nginx
default: true
service:
type: LoadBalancer
admissionWebhooks:
patch:
image:
registry: reg.westos.org
image: ingress-nginx/kube-webhook-certgen
tag: v20231011-8b53cabe0
digest: ""创建ns
[root@k8s2 helm]# kubectl create namespace ingress-nginx部署
helm -n ingress-nginx install ingress-nginx -f values/ingress-nginx-values.yaml ingress-nginx-4.8.3.tgz查看状态
[root@k8s2 helm]# helm -n ingress-nginx get manifest ingress-nginx |kubectl get -f -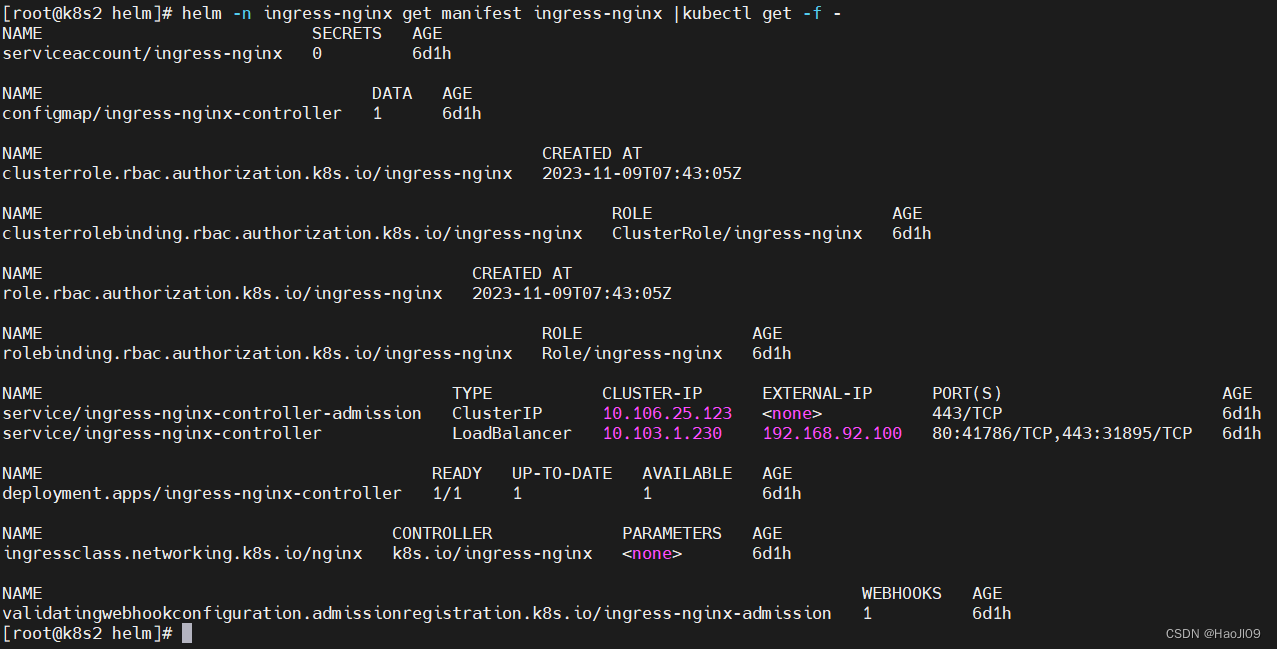
测试
[root@k8s2 helm]# helm install myapp mychart-0.1.0.tgz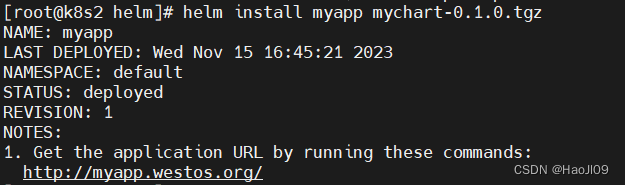
[root@k8s2 helm]# curl myapp.westos.org
回收
[root@k8s2 helm]# helm uninstall myapphelm部署metrics-server
回收原有部署
[root@k8s2 metrics]# kubectl delete -f components.yaml添加repo
[root@k8s2 helm]# helm repo add metrics-server https://kubernetes-sigs.github.io/metrics-server/


[root@k8s2 helm]# helm repo list
编写配置文件
[root@k8s2 values]# vim metrics-server-values.yamlimage:
repository: metrics-server/metrics-server
tag: "v0.6.4"
defaultArgs:
- --cert-dir=/tmp
- --kubelet-preferred-address-types=InternalIP,ExternalIP,Hostname
- --kubelet-use-node-status-port
- --metric-resolution=15s
- --kubelet-insecure-tls
创建ns
[root@k8s2 helm]# kubectl create namespace metrics-server部署
[root@k8s2 helm]# helm -n metrics-server install metrics-server -f values/metrics-server-values.yaml metrics-server-3.11.0.tgz测试
[root@k8s2 helm]# kubectl top node

[root@k8s2 helm]# kubectl top pod -A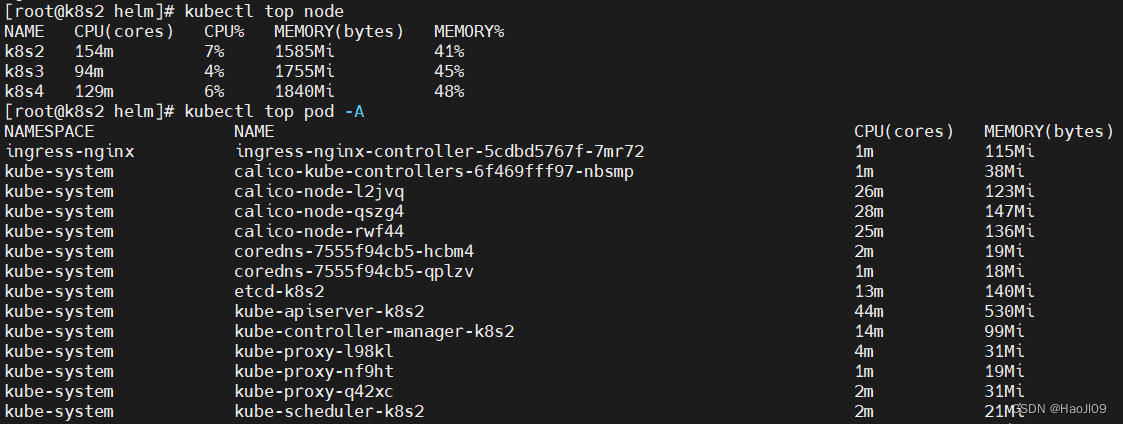
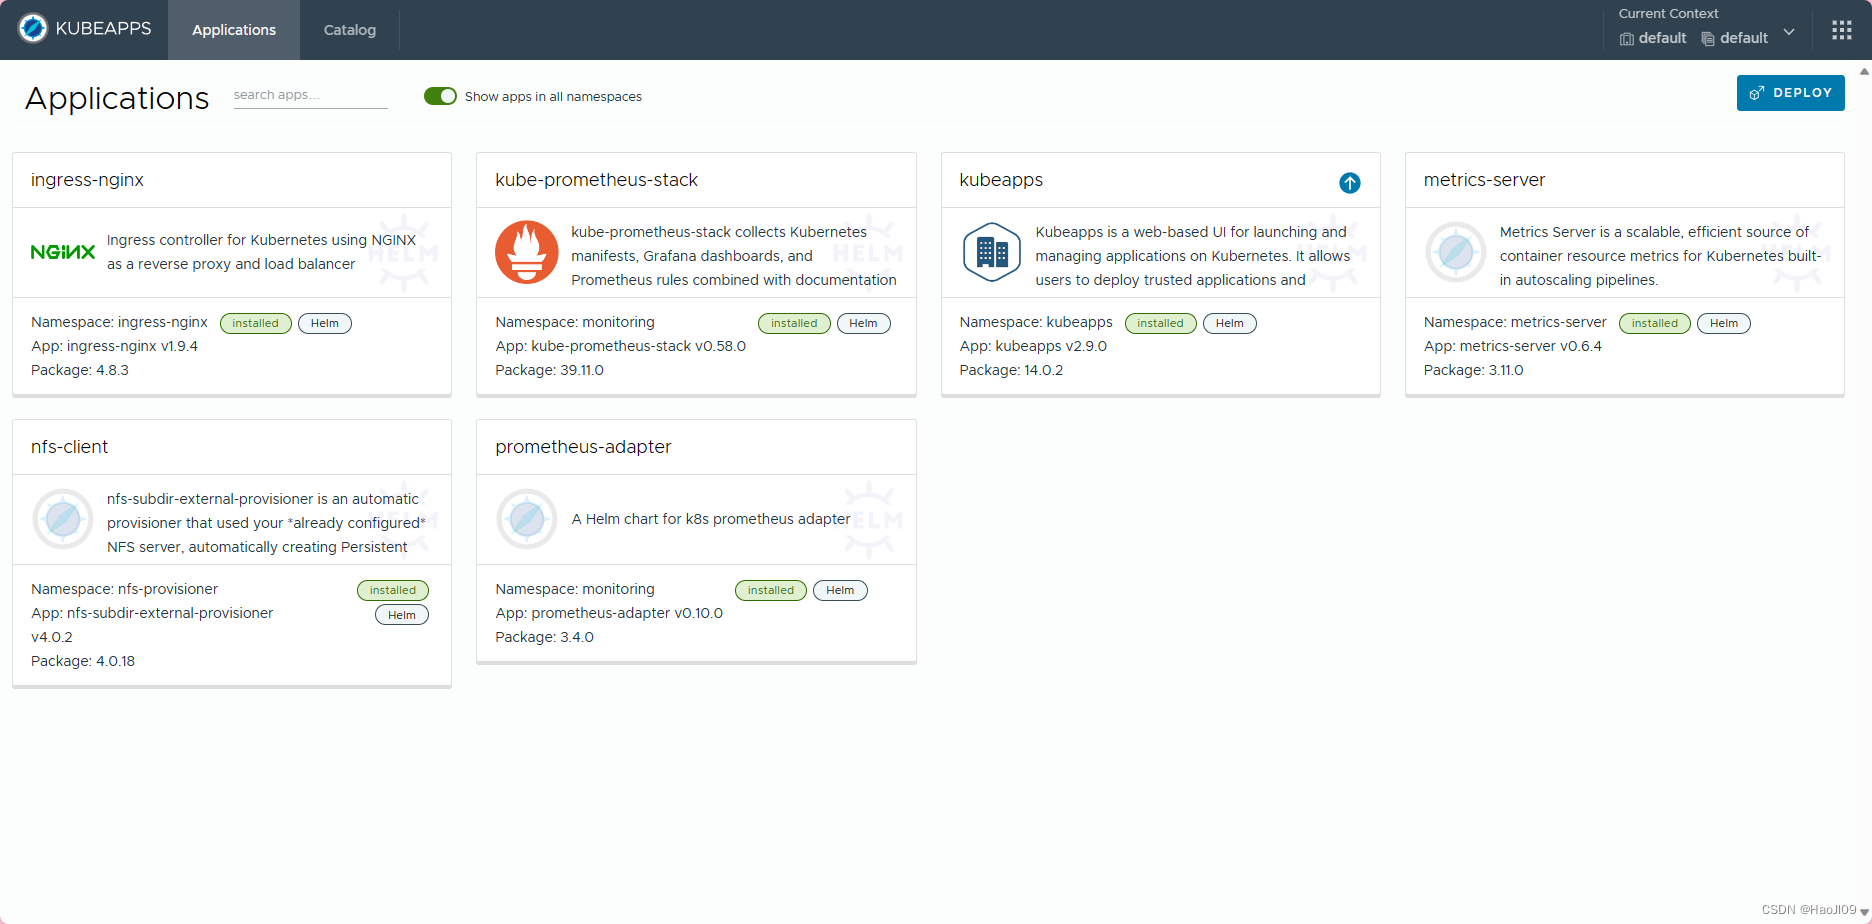
kubeapps
上传镜像
docker images |grep reg.westos.org/bitnami | awk '{system("docker push "$1":"$2"")}'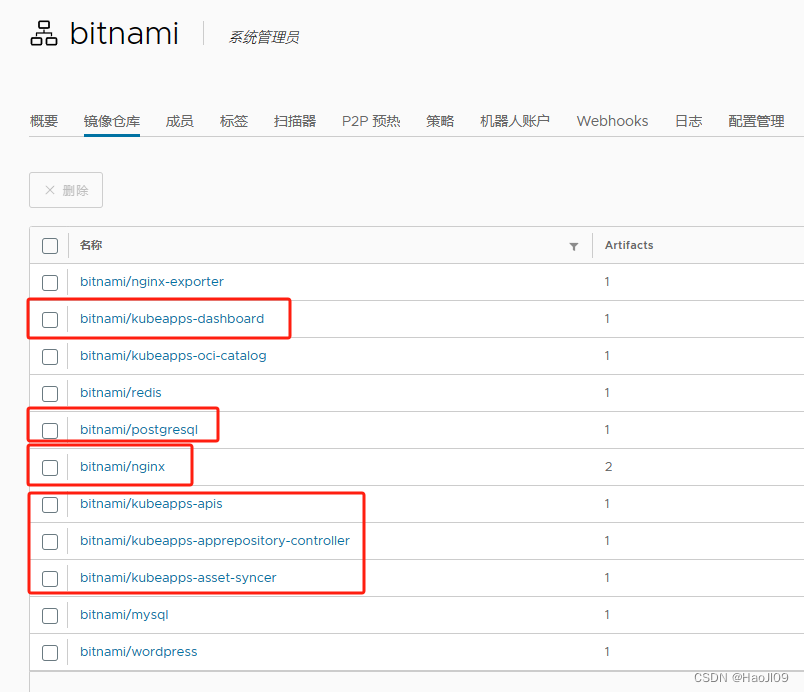
编写配置文件
[root@k8s2 values]# vim kubeapps-values.yamlglobal:
imageRegistry: reg.westos.org
frontend:
service:
type: LoadBalancer创建ns
[root@k8s2 helm]# kubectl create namespace kubeapps部署
[root@k8s2 helm]# helm -n kubeapps install kubeapps -f values/kubeapps-values.yaml kubeapps-14.0.2.tgz查看状态
[root@k8s2 ~]# kubectl -n kubeapps get pod

[root@k8s2 ~]# kubectl -n kubeapps get svc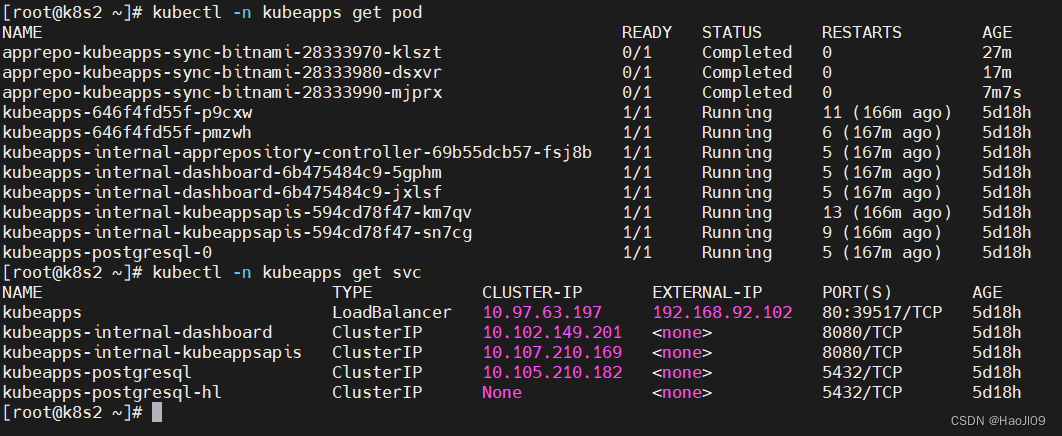
访问:http://192.168.92.102
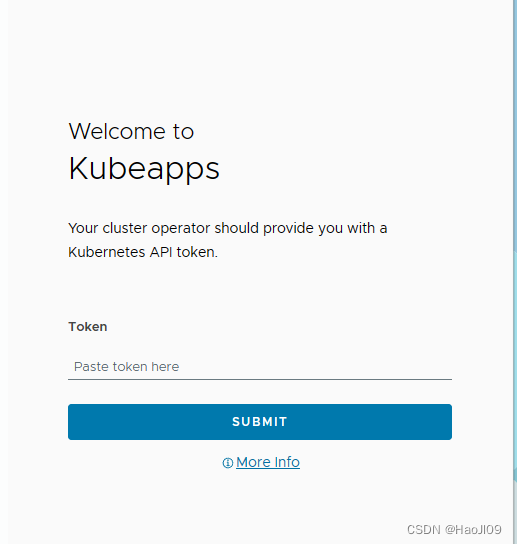
授权并获取token
[root@k8s2 helm]# kubectl create serviceaccount kubeapps-operator -n kubeapps

[root@k8s2 helm]# kubectl create clusterrolebinding kubeapps-operator --clusterrole=cluster-admin --serviceaccount=kubeapps:kubeapps-operator

[root@k8s2 helm]# kubectl -n kubeapps create token kubeapps-operator
使用token登录web页面


 被折叠的 条评论
为什么被折叠?
被折叠的 条评论
为什么被折叠?
 到【灌水乐园】发言


