


前面两篇介绍了Spring Cloud Config服务端和客户端的简单配置,本篇介绍Spring Cloud Config与Eureka配合使用
前言
默认情况下,配置客户端启动时,都是通过配置属性 spring.cloud.config.uri 绑定到配置服务器,并使用远程属性初始化 Spring Environment。这样做的最终结果是所有想要使用Config Server的客户端必须在bootstrap.yml中配置 spring.cloud.config.uri (默认是"http://localhost:8888")。
如果您正在使用DiscoveryClient实现,可将ConfigServer与Eureka等注册中心联合使用(目前Spring Cloud只支持与Eureka及Consul联合使用,不支持与Zookeeper联合使用)。但是如果配置了 spring.cloud.config.uri ,客户端将无法利用注册。
使用服务发现的坏处是启动时额外的网络往返,以定位服务注册。好处是配置服务器可以更改其坐标,只要发现服务是一个固定点(如项目名称不变)。
准备工作
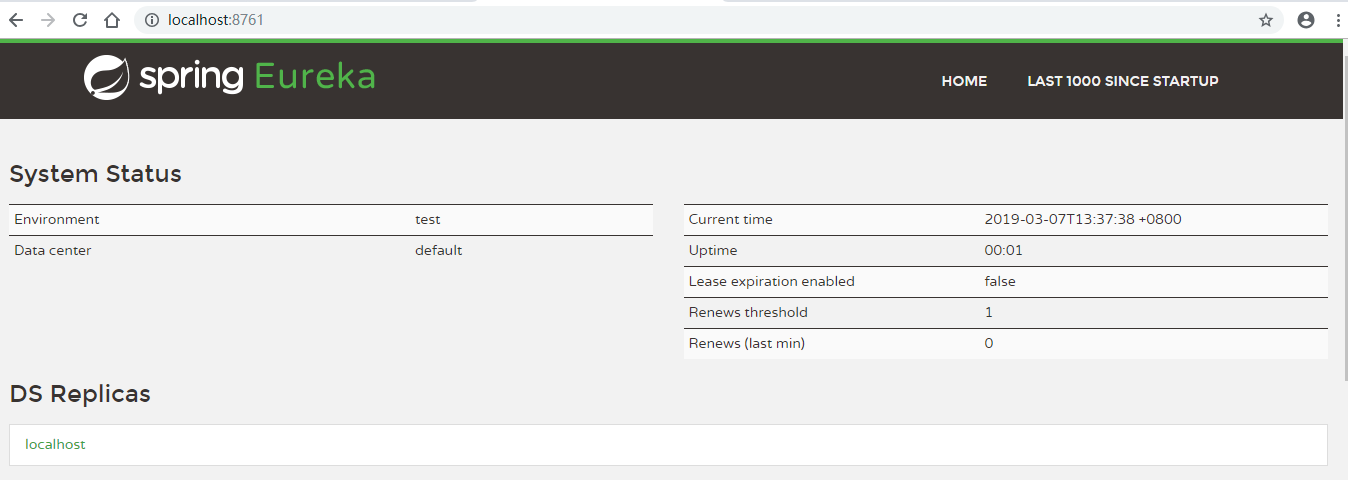
1、启动Eureka服务器(很简单,这里就不演示了)。启动成功后访问http://localhost:8761,如下图所示:
配置服务器代码示例
在pom文件中增加依赖:
        <dependency>
            <!-- 配置中心服务端 -->
            <groupId>org.springframework.cloud</groupId>
            <artifactId>spring-cloud-config-server</artifactId>
        </dependency>
        <dependency>
            <!-- eureka客户端 -->
            <groupId>org.springframework.cloud</groupId>
            <artifactId>spring-cloud-starter-eureka</artifactId>
        </dependency>
启动类开启服务发现:
@SpringBootApplication
@EnableConfigServer // 通过@EnableConfigServer注解激活配置服务
@EnableDiscoveryClient // 开启服务发现
public class ConfigServerApplication {

    public static void main(String[] args) {
        SpringApplication.run(ConfigServerApplication.class, args);
    }

}
配置文件,application.yml
server:
  port: 18083

spring:
  application:
    name: config-server #应用程序名称
  cloud:
    config:
      server:
        git:
          uri: https://github.com/xuwenjin/config-repo-xwj #git上配置中心地址

eureka:
  client:
    serviceUrl:
      defaultZone: http://admin:admin@localhost:8761/eureka
  instance:
    prefer-ip-address: true #当猜测主机名时,服务器的IP地址应该在操作系统报告的主机名中使用
配置客户端代码示例
在pom中增加依赖:
       <dependency>
            <groupId>org.springframework.boot</groupId>
            <artifactId>spring-boot-starter-web</artifactId>
        </dependency>
        <dependency>
            <!-- 配置中心客户端 -->
            <groupId>org.springframework.cloud</groupId>
            <artifactId>spring-cloud-starter-config</artifactId>
        </dependency>
        <dependency>
            <!-- 监控管理(如:状态页和健康指标) -->
            <groupId>org.springframework.boot</groupId>
            <artifactId>spring-boot-starter-actuator</artifactId>
        </dependency>
        <dependency>
            <!-- eureka客户端 -->
            <groupId>org.springframework.cloud</groupId>
            <artifactId>spring-cloud-starter-eureka</artifactId>
        </dependency>
启动类增加服务发现:
@SpringBootApplication
@EnableDiscoveryClient // 开启服务发现
public class ConfigClientApplication {

    public static void main(String[] args) {
        SpringApplication.run(ConfigClientApplication.class, args);
    }

}
增加一个Controller,用于测试请求:
@RestController
@RefreshScope
public class IndexController {

    @Value("${profile}")
    private String profile;

    @RequestMapping("/profile")
    public String getProfile() {
        return profile;
    }

}
配置文件,bootstrap.yml
spring:
  application:
    name: config-client
  cloud:
    config:
      profile: test   #对应spring.profiles.active
      label: master   #分支名。当使用配置服务器是git时,默认是master
      username: user  #配置服务器的用户名密码,此配置会覆盖uri中的配置
      password: password123
      discovery:
        enabled: true  #默认false,设为true表示使用注册中心中的configserver配置,而不是自己配置configserver的uri
        service-id: CONFIG-SERVER  #指定config server在服务发现中的serviceId,默认为:configserver

eureka:
  client:
    serviceUrl:
      defaultZone: http://admin:admin@localhost:8761/eureka
  instance:
    prefer-ip-address: true #当猜测主机名时,服务器的IP地址应该在操作系统报告的主机名中使用
配置文件,application.yml
server:
  port: 18084
从示例代码可以看到,想要将Config Server与注册中心联合使用,只需要在客户端配置 spring.cloud.config.discovery.enabled:true 和 spring.cloud.config.discovery.serviceId 两个配置项即可(serviceId是注册到Eureka中的Application)。
测试工作
1、启动配置服务器,会发现Eureka中增加了该示例
2、启动配置客户端,在日志中可以看到客户端发现了服务器的地址:

3、访问http://localhost:18084/profile,返回配置信息。至此配置完成~


 1664
1664


 被折叠的 条评论
为什么被折叠?
被折叠的 条评论
为什么被折叠?
 到【灌水乐园】发言


