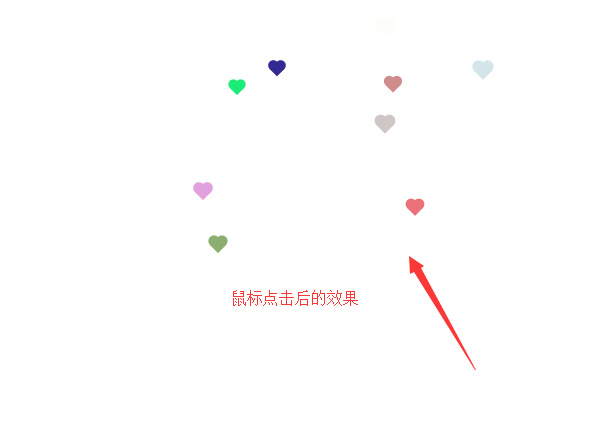
效果如图以下是代码
<script> !function(e, t, a) { function r() { for (var e = 0; e < s.length; e++) s[e].alpha <= 0 ? (t.body.removeChild(s[e].el), s.splice(e, 1)) : (s[e].y--, s[e].scale += .004, s[e].alpha -= .013, s[e].el.style.cssText = "left:" + s[e].x + "px;top:" + s[e].y + "px;opacity:" + s[e].alpha + ";transform:scale(" + s[e].scale + "," + s[e].scale + ") rotate(45deg);background:" + s[e].color + ";z-index:99999"); requestAnimationFrame(r) } function n() { var t = "function" == typeof e.onclick && e.onclick; e.onclick = function(e) { t && t(), o(e) } } function o(e) { var a = t.createElement("div"); a.className = "heart", s.push({ el: a, x: e.clientX - 5, y: e.clientY - 5, scale: 1, alpha: 1, color: c() }), t.body.appendChild(a) } function i(e) { var a = t.createElement("style"); a.type = "text/css"; try { a.appendChild(t.createTextNode(e)) } catch(t) { a.styleSheet.cssText = e } t.getElementsByTagName("head")[0].appendChild(a) } function c() { return "rgb(" + ~~ (255 * Math.random()) + "," + ~~ (255 * Math.random()) + "," + ~~ (255 * Math.random()) + ")" } var s = []; e.requestAnimationFrame = e.requestAnimationFrame || e.webkitRequestAnimationFrame || e.mozRequestAnimationFrame || e.oRequestAnimationFrame || e.msRequestAnimationFrame || function(e) { setTimeout(e, 1e3 / 60) }, i(".heart{width: 10px;height: 10px;position: fixed;background: #f00;transform: rotate(45deg);-webkit-transform: rotate(45deg);-moz-transform: rotate(45deg);}.heart:after,.heart:before{content: '';width: inherit;height: inherit;background: inherit;border-radius: 50%;-webkit-border-radius: 50%;-moz-border-radius: 50%;position: fixed;}.heart:after{top: -5px;}.heart:before{left: -5px;}"), n(), r() } (window, document);</script>


 1598
1598


 被折叠的 条评论
为什么被折叠?


