


步骤一:绑定域名


步骤二 :引入js文件
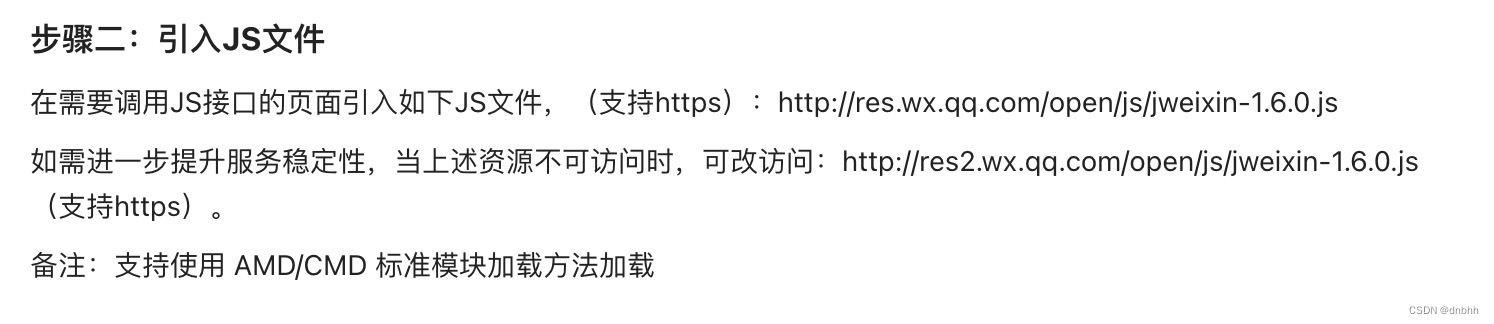
<script src="http://res.wx.qq.com/open/js/jweixin-1.6.0.js"></script>后端反给你的wx.config权限验证配置
{
  appId: '', // 必填,公众号的唯一标识
  timestamp: , // 必填,生成签名的时间戳
  nonceStr: '', // 必填,生成签名的随机串
  signature: '',// 必填,签名
}
封装wx.js文件
import closePage from '@/utils/closePage.js';
import axios from 'axios';

/**
 * 下载wx sdk
 * npm i weixin-js-sdk
 */
// "updateAppMessageShareData", //自定义“分享给朋友”及“分享到QQ”按钮的分享内容(1.4.0) 新接口
// "updateTimelineShareData", //自定义“分享到朋友圈”及“分享到QQ空间”按钮的分享内容(1.4.0) 老接口
// "onMenuShareTimeline", //分享到朋友圈 老接口
// "onMenuShareAppMessage",//分享给盆友 老接口


//初始化微信sdk
const wxShowMenu = () => {
    return new Promise((a, b) => {
        axios.get('后端获取wx.config授权参数的接口地址').then(res => {
            const { data } = res
            wx.config({
                // debug: true, //生产环境需要关闭debug模式  测试环境下可以设置为true 可以在开发者工具中查看问题
                ...data.data,
                jsApiList: [ //需要调用的JS接口列表
                    "getLocation",
                    "updateAppMessageShareData",
                    "updateTimelineShareData"
                ]
            });
            wx.checkJsApi({
                jsApiList: ["getLocation",
                    "updateAppMessageShareData",
                    "updateTimelineShareData"], // 需要检测的JS接口列表,所有JS接口列表见附录2,
                success: function (res) {
                    console.log(res)
                    // 以键值对的形式返回,可用的api值true,不可用为false
                    // 如:{"checkResult":{"chooseImage":true},"errMsg":"checkJsApi:ok"}
                }
            });
            wx.error((res) => {
                // alert(res)
                // location.reload();
                console.log(res, 'config信息验证失败会执行error函数,如签名过期导致验证失败,具体错误信息可以打开config的debug模式查看,也可以在返回的res参数中查看,对于SPA可以在这里更新签名。')
                // config信息验证失败会执行error函数,如签名过期导致验证失败,具体错误信息可以打开config的debug模式查看,也可以在返回的res参数中查看,对于SPA可以在这里更新签名。
                return b()
            });
            wx.ready(async () => {
                // config信息验证后会执行ready方法,所有接口调用都必须在config接口获得结果之后,config是一个客户端的异步操作,所以如果需要在页面加载时就调用相关接口,则须把相关接口放在ready函数中调用来确保正确执行。对于用户触发时才调用的接口,则可以直接调用,不需要放在ready函数中。
                let url = 'http://localhost:8888' // 分享的页面地址
                let text = '分享描述'
                wx.updateAppMessageShareData({
                    title: '分享标题', // 分享标题
                    desc: text, // 分享描述
                    link: url, // 分享链接,该链接域名或路径必须与当前页面对应的公众号JS安全域名一致
                    imgUrl: '', // 分享图标(可以是网络图片)注意: 必须是正方形
                    success: function (res) {
                        console.log(res, '分享朋友成功')

                        // 设置成功
                    }
                })
                wx.updateTimelineShareData({
                    title: '分享标题', // 分享标题
                    desc: text, // 分享描述
                    link: url, // 分享链接,该链接域名或路径必须与当前页面对应的公众号JS安全域名一致
                    imgUrl: '', // 分享图标(可以是网络图片)注意: 必须是正方形
                    success: function () {
                        // 设置成功
                    }
                })
                await wxgetLocation()
                return a()
            })
        })
    })

};
const wxgetLocation = () => {
    return new Promise((a, b) => {
        wx.getLocation({
            type: 'wgs84', // 默认为wgs84的gps坐标,如果要返回直接给openLocation用的火星坐标,可传入'gcj02'
            success: function (address) {
                const params = {
                    longitude: address.longitude,
                    latitude: address.latitude
                }
				// 这里获取地址信息需要后端帮你转发第三方接口然后你调用后端拿到地址信息的接口把数据给你(我这里用的是高德地图的逆地址解析)
                // 高德逆地址解析说明地址 https://lbs.amap.com/api/webservice/guide/api/georegeo
				axios.get(import.meta.env.VITE_API_BASE_URL + '/api/login/restapi', { params }).then((res) => {

                    const { data } = res
                    console.log(data)
                    let memberAddress = {
                        province: data.data.res.result.address_component.province,
                        city: data.data.res.result.address_component.city,
                        district: data.data.res.result.address_component.district,
                        latitude: data.data.res.result.location.lat,
                        longitude: data.data.res.result.location.lng,
                        address: data.data.res.result.formatted_addresses.standard_address + data.data.res.result.formatted_addresses.recommend,
                    }
                    sessionStorage.setItem('city', data.data.res.result.address_component.city)
                    return a()
                })
            },
            cancel: () => {
				// 用户点击不允许的话会关闭h5
                showDialog({ message: '请允许获取您的位置!' }).then(() => {
                    closePage()
                });
                return b()
            }
        });
    })
}

export { wxShowMenu, wxgetLocation };
调用
<template>
    <router-view />
</template>

<script setup>
import { wxShowMenu } from '@/utils/wx.js';
import { onMounted } from 'vue';
import { RouterView, useRoute, useRouter } from 'vue-router';
onMounted( () => {
    // 直接在app.vue 加载调用就行
    wxShowMenu()
})


</script>
注意
1. 如果后端接口返回的权限验证配置是正确的,在刚进入程序页面我检测如果登录就直接进入首页这样就形成了二次跳转,有时会获取授权失败的问题,加定时器建议最少500毫秒
setTimeout( () => {
   wxShowMenu()
}, 1000)
2. 分享的函数 如果想要在那个页面分享就链接在那个页面的情况
方法1:直接在想要分享的页面的onMounted函数设置要分享的参数
onMounted(() => {
        wx.updateAppMessageShareData({
            title: '', // 分享标题
            desc: text, // 分享描述
            link: url, // 分享链接,该链接域名或路径必须与当前页面对应的公众号JS安全域名一致
            imgUrl: '', // 分享图标
            success: function (res) {
                console.log(res, '分享朋友成功')

                // 设置成功
            }
        })
         wx.updateTimelineShareData({
            title: '', // 分享标题
             desc: text, // 分享描述
             link: url, // 分享链接,该链接域名或路径必须与当前页面对应的公众号JS安全域名一致
             imgUrl: '', // 分享图标
             success: function () {
                 // 设置成功
             }
         })
})
方法2:在app.vue页面调用Router.afterEach页面跳转时进行配置
import Router from '@/router';
import axios from 'axios';

Router.afterEach((guard) => {
    setShareData(guard)
})

const title = ''
const text = ''
const image = ''
const setShareData = (guard) => {
    let params = { // 参数配置
        ...route.query,
    }
    // 拼接url
    let url = axios.getUri({
        url: window.location.origin + guard.path,
        params
    })
    wx.ready(function () {
        wx.updateAppMessageShareData({
            title, // 分享标题
            desc: text, // 分享描述
            link: url, // 分享链接,该链接域名或路径必须与当前页面对应的公众号JS安全域名一致
            imgUrl: image, // 分享图标
            success: function (res) {
                console.log(res, '分享朋友成功')
                // 设置成功
            }
        })
        wx.updateTimelineShareData({
            title, // 分享标题
            desc: text, // 分享描述
            link: url, // 分享链接,该链接域名或路径必须与当前页面对应的公众号JS安全域名一致
            imgUrl: image, // 分享图标
            success: function () {
                // 设置成功
            }
        })
    });
}
请进行参考


 439
439


 被折叠的 条评论
为什么被折叠?
被折叠的 条评论
为什么被折叠?
 到【灌水乐园】发言


