


由于Java社区对早期版本的Enterprise Java感到失望,因此创建了Spring Framework 。 从那时起,它已经发展成为一个庞大的生态系统,可以解决构建基于Web的Java应用程序中的每一个问题以及更多问题。 经常批评Spring,因为Spring过去常常依赖XML进行配置。 作为对Spring Boot框架的回应,该框架依赖于配置原则上的约定,并且完全不需要XML。
在本教程系列中,我们将介绍如何使用Spring Framework和Spring Boot创建应用程序。 尽管Spring Boot允许人们更快地创建应用程序,但Spring在当今的企业环境甚至初创企业中已得到广泛使用,因此了解Spring无疑是一项可销售的技能,并且学习它可以为Spring Boot的工作原理提供深入的了解。 一个简单的Spring Framework应用程序的代码可以在这里找到,而Spring Boot版本可以在这里找到 。
使用Maven原型创建Spring Web应用程序
要创建一个Spring Web应用程序,可以依靠maven-archetype-webapp原型。 之后,应该将与Spring相关的模块添加到pom.xml文件中。 一种可行的方法是使用所谓的BOM(物料清单),该物料清单不允许将版本添加到依赖项中。 我们的项目的pom.xml文件如下所示。
<project xmlns="http://maven.apache.org/POM/4.0.0" xmlns:xsi="http://www.w3.org/2001/XMLSchema-instance"
         xsi:schemaLocation="http://maven.apache.org/POM/4.0.0 http://maven.apache.org/maven-v4_0_0.xsd">
    <modelVersion>4.0.0</modelVersion>
    <groupId>com.javaeeeee</groupId>
    <artifactId>SpringREST</artifactId>
    <packaging>war</packaging>
    <version>1.0-SNAPSHOT</version>
    <name>SpringREST Maven Webapp</name>
    <url>http://maven.apache.org</url>

    <!-- Versions of artifacts-->
    <properties>
        <java.version>1.8</java.version>
        <spring.version>4.3.6.RELEASE</spring.version>
    </properties>

    <!-- Spring BOM -->
    <dependencyManagement>
        <dependencies>
            <dependency>
                <groupId>org.springframework</groupId>
                <artifactId>spring-framework-bom</artifactId>
                <version>${spring.version}</version>
                <type>pom</type>
                <scope>import</scope>
            </dependency>
        </dependencies>
    </dependencyManagement>

    <!-- Dependencies -->
    <dependencies>
        <dependency>
            <groupId>org.springframework</groupId>
            <artifactId>spring-context</artifactId>
        </dependency>
        <dependency>
            <groupId>org.springframework</groupId>
            <artifactId>spring-web</artifactId>
        </dependency>
        <dependency>
            <groupId>org.springframework</groupId>
            <artifactId>spring-webmvc</artifactId>
        </dependency>
        <dependency>
            <groupId>javax.servlet</groupId>
            <artifactId>javax.servlet-api</artifactId>
            <version>3.1.0</version>
            <scope>provided</scope>
        </dependency>
        <dependency>
            <groupId>org.springframework</groupId>
            <artifactId>spring-test</artifactId>
            <scope>test</scope>
        </dependency>
        <dependency>
            <groupId>junit</groupId>
            <artifactId>junit</artifactId>
            <version>4.12</version>
            <scope>test</scope>
        </dependency>
    </dependencies>
    <build>
        <finalName>SpringREST</finalName>
        <plugins>
            <plugin>
                <groupId>org.apache.maven.plugins</groupId>
                <artifactId>maven-compiler-plugin</artifactId>
                <version>3.6.1</version>
                <configuration>
                    <source>${java.version}</source>
                    <target>${java.version}</target>
                    <encoding>UTF-8</encoding>
                </configuration>
            </plugin>
        </plugins>
    </build>

</project>
现在,虽然我们没有向应用程序中添加任何代码,但是我们可以尝试构建它并进行部署。 我们使用的Maven原型在webapp /文件夹中创建了一个index.jsp文件,稍后将删除该文件,但现在我们将使用它来学习如何将应用程序部署到Tomcat 9 Web-profile应用程序服务器。 要构建该应用程序,可以使用IDE或从CLI执行以下命令。
mvn clean package 与构建应用程序的方式无关,在项目文件夹的目标/子文件夹中会生成战争文件。
将Spring Web应用程序部署到Tomcat
可以使用IDE或手动部署该应用程序,但是如果尚未在系统上安装Tomcat ,则必须下载并配置它。 安装过程很简单:必须将下载的文件解压缩到某个文件夹,并将bin子文件夹的路径添加到系统上的PATH变量中。 另外,有必要创建一个CATALINA_HOME环境变量并将其设置为Tomcat安装文件夹的路径。
为了使访问Web界面成为可能,有必要向conf /子文件夹中的tomcat-users.xml配置文件添加一个角色和一个用户,如下所示。
<?xml version="1.0" encoding="UTF-8"?>

<tomcat-users xmlns="http://tomcat.apache.org/xml" xmlns:xsi="http://www.w3.org/2001/XMLSchema-instance" version="1.0" xsi:schemaLocation="http://tomcat.apache.org/xml tomcat-users.xsd">

    <role rolename="manager-gui"/>
    <user password="1" roles="manager-gui,manager-script,admin" username="admin"/>
</tomcat-users>
使用IDE部署应用程序更快,但是在这里我们将讨论如何将应用程序手动部署到Tomcat9。要启动Tomcat服务器,必须输入
catalina.bat在Windows上启动 ,而catalina.sh在Linux上启动 。
要检查服务器是否已真正启动,请导航至localhost:8080 ,然后应显示以下图片。
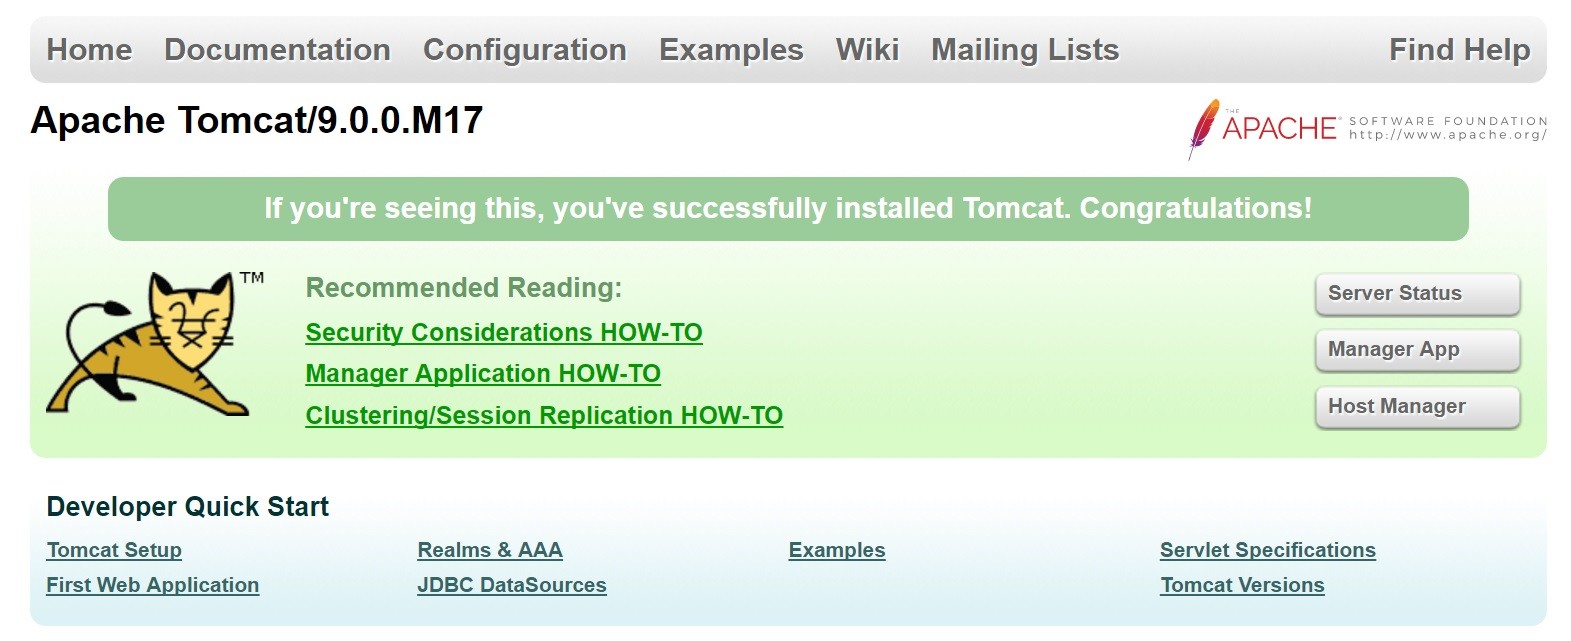
要停止服务器,必须使用stop而不是start键入相同的命令。
手动将应用程序部署到Tomcat的最简单方法是将生成的war文件(在我们的示例中为SpringREST.war)复制到Tomcat安装文件夹的webapps /子文件夹中。 之后,只需导航到http:// localhost:8080 / SpringREST / ,其中SpringREST是应用程序的名称,您应该看到“ Hello World!”。 在浏览器中打招呼。 部署应用程序的另一种方法是使用上述Tomcat Web控制台中的Manager App。
添加运行Spring Web应用程序所需的配置
现在,我们将删除index.jsp文件,并创建一个REST API来返回问候语。 首先,我们需要在webapp /子文件夹的WEB-INF /子文件夹中的web.xml文件中添加Dispatcher Servlet。 web.xml文件如下所示。
<!DOCTYPE web-app PUBLIC
        "-//Sun Microsystems, Inc.//DTD Web Application 2.3//EN"
        "http://java.sun.com/dtd/web-app_2_3.dtd" >

<web-app>
    <display-name>Archetype Created Web Application</display-name>
    <servlet>
        <servlet-name>dispatcher</servlet-name>
        <servlet-class>org.springframework.web.servlet.DispatcherServlet</servlet-class>
        <load-on-startup>1</load-on-startup>
    </servlet>
    <servlet-mapping>
        <servlet-name>dispatcher</servlet-name>
        <url-pattern>/*</url-pattern>
    </servlet-mapping>
</web-app>servlet的名称是dispatcher ,Spring会在同一子文件夹中寻找一个名为dispatcher-servlet.xml的文件进行配置设置。 该文件如下所示,并指示Spring扫描类路径以搜索提供HTTP请求并返回问候语的REST控制器。
<?xml version="1.0" encoding="windows-1252"?>
<beans xmlns="http://www.springframework.org/schema/beans"
       xmlns:xsi="http://www.w3.org/2001/XMLSchema-instance"
       xmlns:context="http://www.springframework.org/schema/context"
       xmlns:mvc="http://www.springframework.org/schema/mvc"
       xsi:schemaLocation="http://www.springframework.org/schema/beans
http://www.springframework.org/schema/beans/spring-beans-4.0.xsd
http://www.springframework.org/schema/context
http://www.springframework.org/schema/context/spring-context-4.0.xsd
http://www.springframework.org/schema/mvc
http://www.springframework.org/schema/mvc/spring-mvc-4.0.xsd">

    <context:component-scan base-package="com.javaeeeee.springrest"/>
    <mvc:annotation-driven />
</beans>
现在我们准备创建一个控制器。
添加Hello World Spring MVC REST控制器
控制器的代码如下所示。 控制器带有@RestController批注标记。 以前,我们指示Spring扫描特定的软件包以查找带有此标记和其他注释的类,并使用这些类。 注释告诉Spring此类将使用Spring MVC服务HTTP请求。
package com.javaeeeee.springrest.controllers;

import org.springframework.web.bind.annotation.GetMapping;
import org.springframework.web.bind.annotation.RestController;

@RestController
public class HelloController {

    @GetMapping("/hello")
    public String getGreeting() {
        return "Hello Spring World!";
    }
}另外,还有@GetMapping批注指定可以访问资源的路径。 在我们的例子中,这意味着可以使用HTTP GET方法通过localhost:8080 / SpringREST / hello URL获取问候。 在早期的Spring版本中,@ RequestMapping批注用于指定用于访问资源的路径和HTTP方法。
测试Spring MVC控制器
下面显示了用于我们控制器的简单测试的代码。 为了进行测试,我们使用相同的配置文件,但命名为test-dispatcher-servlet.xml,并将其放置在项目文件夹的src / test / resources /子文件夹中。
package com.javaeeeee.springrest.controllers;

import org.junit.Test;
import org.junit.Before;
import org.junit.runner.RunWith;
import org.springframework.beans.factory.annotation.Autowired;
import org.springframework.test.context.ContextConfiguration;
import org.springframework.test.context.junit4.SpringRunner;
import org.springframework.test.context.web.WebAppConfiguration;
import org.springframework.test.web.servlet.MockMvc;

import static org.springframework.test.web.servlet.result.MockMvcResultMatchers.content;
import static org.springframework.test.web.servlet.request.MockMvcRequestBuilders.get;
import static org.springframework.test.web.servlet.result.MockMvcResultMatchers.status;

import org.springframework.test.web.servlet.setup.MockMvcBuilders;
import org.springframework.web.context.WebApplicationContext;

@RunWith(SpringRunner.class)
@WebAppConfiguration
@ContextConfiguration("classpath:test-dispatcher-servlet.xml")
public class HelloControllerTest {

    @Autowired
    private WebApplicationContext webApplicationContext;

    private MockMvc mockMvc;

    @Before
    public void setUp() {
        this.mockMvc = MockMvcBuilders
                .webAppContextSetup(this.webApplicationContext)
                .build();
    }

    @Test
    public void testGetGreeting() throws Exception {
        this.mockMvc.perform(get("/hello"))
                .andExpect(status().isOk())
                .andExpect(content().string("Hello Spring World!"));
    }
}测试类装饰有@RunWith注释指示JUnit来与SpringRunner运行我们的测试。 Spring MVC Test框架允许我们在没有servlet容器的情况下测试控制器。 在测试方法内部,我们向资源发出GET请求并检查响应。
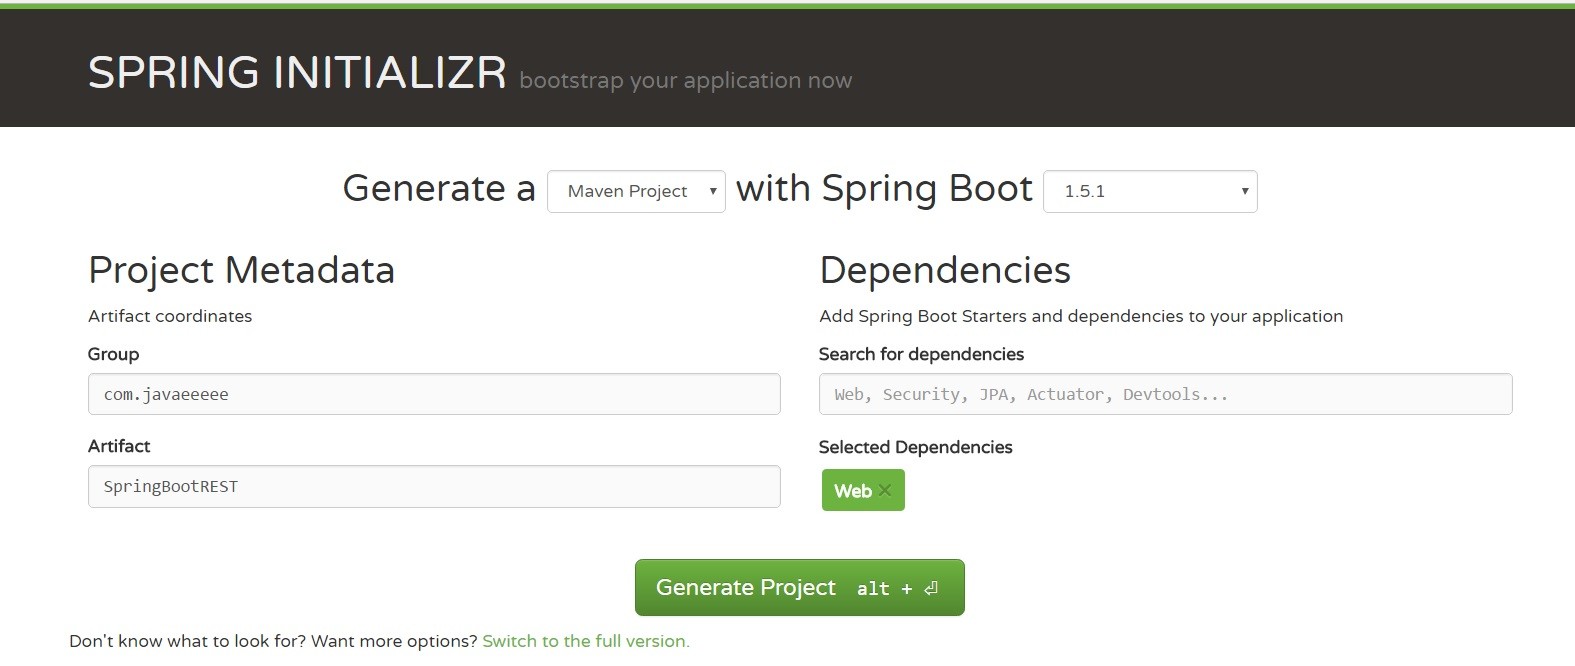
使用Spring Boot创建Hello World REST API
为了创建一个种子Spring Boot项目,我们将使用Spring Initializr ,然后使用IDE打开该项目。 我们在“搜索依赖项”输入字段中键入Web,然后选择“ Web”,如下图所示,然后按“ Generate Project”按钮。 然后下载zip文件。
现在,我们应该将与先前创建的相同的REST控制器添加到我们的Spring Boot项目中。 可以使用与以前相同的命令来构建项目,但是默认情况下将结果打包为jar文件并使用嵌入式Tomcat,因此无需进行部署,但是不要忘记在启动Spring Boot版本之前停止Tomcat。 使用以下命令启动该项目。
java -jar target/SpringBootREST-0.0.1-SNAPSHOT.jar 可以使用下面显示的URL访问该应用程序。
localhost:8080/hello 至于测试控制器,测试方法的代码是相同的,但是类上的注释会改变。 我们不在此项目中使用XML配置。 以下代码段显示了控制器的测试类。
package com.javaeeeee.controllers;

import org.junit.Test;
import org.junit.runner.RunWith;
import org.springframework.beans.factory.annotation.Autowired;
import org.springframework.boot.test.autoconfigure.web.servlet.AutoConfigureMockMvc;
import org.springframework.boot.test.context.SpringBootTest;
import org.springframework.test.context.junit4.SpringRunner;
import org.springframework.test.web.servlet.MockMvc;

import static org.springframework.test.web.servlet.request.MockMvcRequestBuilders.get;
import static org.springframework.test.web.servlet.result.MockMvcResultMatchers.content;
import static org.springframework.test.web.servlet.result.MockMvcResultMatchers.status;

@RunWith(SpringRunner.class)
@SpringBootTest
@AutoConfigureMockMvc
public class HelloControllerTest {
    @Autowired
    private MockMvc mockMvc;

    @Test
    public void getGreeting() throws Exception {
        this.mockMvc.perform(get("/hello"))
                .andExpect(status().isOk())
                .andExpect(content().string("Hello Spring World!"));
    }

}
可以看出,使用Spring Boot重新创建同一应用程序所需的步骤更少,因为该框架可以推断出很多东西。
摘要
在本文中,我们讨论了如何使用Spring Framework和Spring Boot创建简单的Hello World REST API。 此外,我们讨论了如何使用Spring MVC测试框架测试代码。 尽管使用Spring Boot开发应用程序的速度更快,并且这对于了解无需进行大量配置的目的绝对是有益的,但在工作描述中经常会发现Spring框架,了解框架的工作原理可能会很有用。在引擎盖下。
应当指出,Web应用程序可以由几个模块组成,例如,它可以是REST API,它公开了Angular或React前端,混合或本机移动应用程序或前端应用程序可以使用的所有应用程序功能。用Spring编写的最后一部分,它使用REST API数据并使用HTML和一些基于模板或基于组件的Java框架重新发布。 Maven多模块应用程序的创建可以使用
球根
Maven原型。
资源:
- Spring框架参考文档
- Apache Tomcat 9文档
- Tomcat启动完整指南
- 如何在Ubuntu上安装Tomcat
- Spring Boot参考指南
- 使用Spring Boot构建应用程序
- 构建RESTful Web服务


 1228
1228


 被折叠的 条评论
为什么被折叠?
被折叠的 条评论
为什么被折叠?
 到【灌水乐园】发言


