


此例是封面沿x轴向上做3d形式的翻开动画效果。
如图:
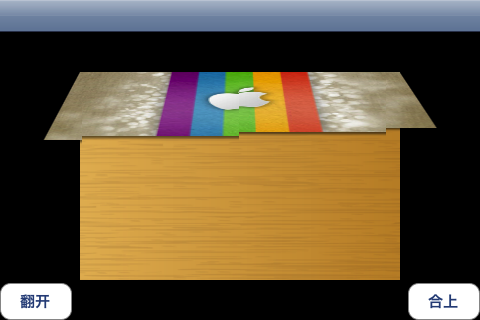
核心代码分为打开和关闭
- (void)open:(NSTimer *)timer
{
pi++;
//CATransform3DMakeRotation 作用是沿x,y,z轴旋转一个弧度。secondView 就是要向上翻开的封面。
_secondView.layer.transform = CATransform3DMakeRotation(M_PI*pi/180.0, 1, 0, 0);
if (90 == pi) {
UIImage* image;
image = [UIImage imageNamed:@"Test3.png"];//Test3.png这张图片的顶部做折角阴影,因为翻转倒过来了,顶部在折角处
[_secondView setImage:image];
image = nil;
}
if (135 == pi) {
[timer invalidate];
}
}
- (void)close:(NSTimer *)timer
{
pi--;
_secondView.layer.transform = CATransform3DMakeRotation(M_PI*pi/180.0, 1, 0, 0);
if (90 == pi) {
UIImage* image;
image = [UIImage imageNamed:@"Test2.png"];
[_secondView setImage:image];
image = nil;
}
if (0 == pi) {
[timer invalidate];
}
}
demo下载地址:http://download.csdn.net/detail/donny_zhang/5482069
追加一下;CATransform3DMakeRotation 相机的默认位置是屏幕的中心点。也就是说,_secondView.layer.transform = CATransform3DMakeRotation(M_PI*pi/180.0, 1, 0, 0);
这样设置,如果要翻开的图片是在屏幕中间那就没什么问题,如果要翻开的图片不在屏幕中间,那翻开效果会是一个偏的3d效果,如图:
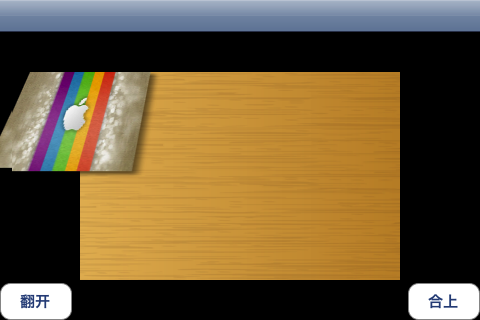
我们可以通过设置 CATransform3D 的相机位置来解决,将相机位置设置成封面的中心点,就可以让封面正对这屏幕以3d的形式翻开。
_secondView.layer.transform=CATransform3DConcat( CATransform3DMakeRotation(M_PI*pi/180.0, 1, 0, 0), CATransform3DMakePerspective(CGPointMake(70, 50), 500));
这句话中CATransform3DMakePerspective 是指定相机位置和离屏幕的距离或者叫高度。


 4951
4951


 被折叠的 条评论
为什么被折叠?
被折叠的 条评论
为什么被折叠?
 到【灌水乐园】发言


