


Wine(Wine不是模拟器)是一个开源应用程序,它提供了与在类似Unix的操作系统上为Microsoft Windows开发的运行软件的兼容性。在Wine的帮助下,您可以在Linux系统上运行Windows软件。Wine 5.0是可在Ubuntu系统上安装的最新版本。
本教程将帮助您在Ubuntu 20.04 LTS系统上安装Wine。
Step 1 – Prerequisites
First of all, The systems running with the 64-bit architecture needs to enable 32-bit architecture.
sudo dpkg --add-architecture i386
Then, download and add the repository key to your system.
wget -qO - https://dl.winehq.org/wine-builds/winehq.key | sudo apt-key add -
After that, use the following commands to enable the Wine apt repository in your system.
sudo apt-add-repository 'deb https://dl.winehq.org/wine-builds/ubuntu/ focal main'
Step 2 – Install Wine on Ubuntu 20.04
Your system is ready for Wine installation. Use the following commands to install Wine packages from the apt repository. The --install-recommends option will install all the recommended packages by winehq stable versions on your Ubuntu 20.04 system.
sudo apt updatesudo apt install --install-recommends winehq-stable
In any case, you face unmet dependencies error with the installation process, use the following commands to install wine using aptitude on Ubuntu.
sudo apt install aptitudesudo aptitude install winehq-stable
This will install Wine on your Ubuntu 20.04 system along with all required packages.
Step 3 – Test Wine Version
Wine installation has been completed successfully on your Ubuntu system. Use the following command to check the version of wine installed on your system.
wine --version

wine-5.0.1
Step 4 – Using Wine (Optional)
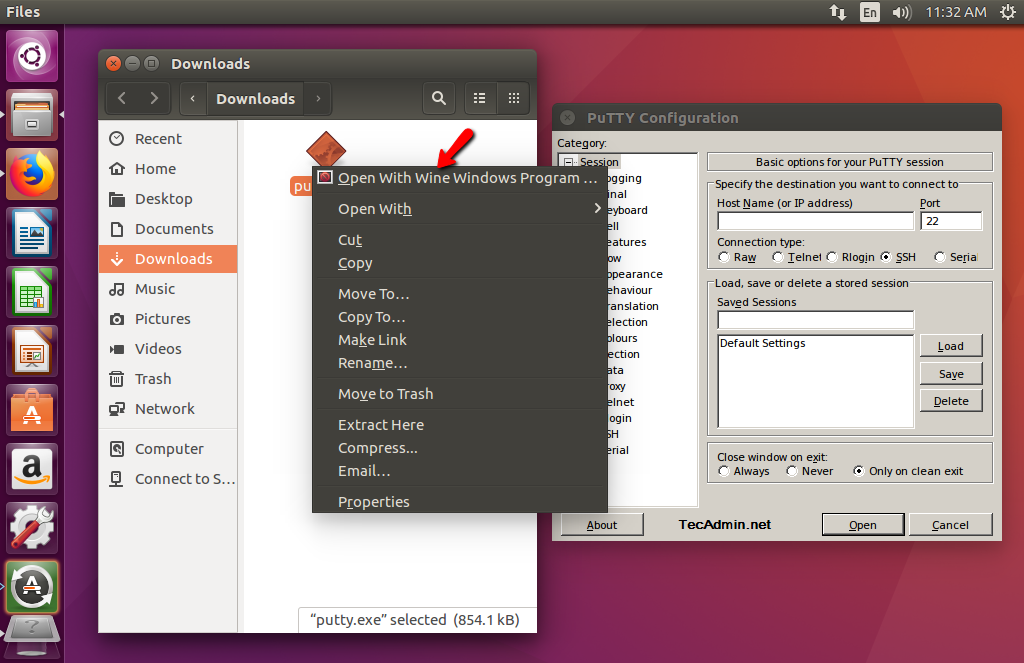
To use wine we need to login to the GUI desktop of your Ubuntu system. After that Download a windows .exe file like PuTTY on your system and open it with Wine as below screenshot or use following command.
wine putty.exe
You can also launch by right click on the application and click Open With Wine Windows Program as shown in the below screenshot.


 744
744

 被折叠的 条评论
为什么被折叠?
被折叠的 条评论
为什么被折叠?
 到【灌水乐园】发言


