


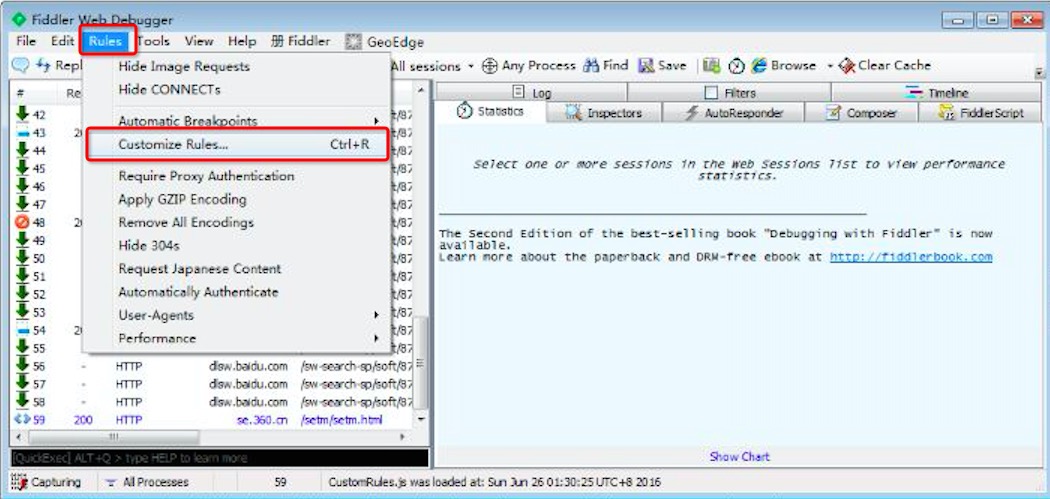
1.设置断点,用于安全测试
Automatic Breakpoints,(Before Requests,After Responses)默认是DIsabled
设置了之后请求会被拦截,可以修改拦截的response或者request,再次发送,模拟异常
点击 Runto Completion发送,或者下放fiddler命令行中输入go+enter运行修改后的数据
2.修改接口请求数据,用于接口测试
Post请求:application/x-www-form-urlencoded数据格式
composer-->Parsed:
User-Agent:Fiddler
Content-Type:application/x-www-form-urlenconded
RequestBody:
parameter1=12345¶meter2=23456
HttpClient模拟post请求:
DefaultHttpClient client = new DefaultHttpClient();
List<BasicNameValuePair> params = new ArrayList<BasicNameValuePair>();     //定义键值对列表,用于存放向url发送post请求的数据。
params.add(new BasicNameValuePair("parameter1", "12345"));
params.add(new BasicNameValuePair("parameter2", "23456"));               //向params设置数据
HttpPost post = new HttpPost("http://example.com");                      //定义HttpPost对象并初始化它
HttpEntity reqEntity = new UrlEncodedFormEntity(params);                 //用UrlEncodedFormEntity对象包装请求体数据
post.setEntity(reqEntity);                                               //设置post请求实体
HttpResponse response = client.execute(post);                            //发送http请求
System.out.println("the request body is:"+EntityUtils.toString(reqEntity));          //打印出请求实体
System.out.println(response.getStatusLine().getStatusCode());                         //打印http请求返回码
composer-->Parsed:
User-Agent:Fiddler
Content-Type:application/json
RequestBody:
{" parameter1"="12345","parameter2"="23456"}HttpClient模拟post请求:
HttpClientclient = new DefaultHttpClient();
  JSONObject js = new JSONObject();                                  //定义一个JSON数据格式对象,用其保存请求主体数据。
  js.element("parameter1","12345");                                 //为JSON对象的各个key值赋值
 js.element("parameter2","23456");
  String postRequest =js.toString();
  HttpPost post = new HttpPost("http://example.com");                 //定义HttpPost对象并初始化它
  StringEntity reqEntity = newStringEntity(js.toString());           //用StringEntity对象包装请求体数据
 reqEntity.setContentType("application/json");                       //设置请求头数据传输格式
  post.setEntity(reqEntity);                                          //设置post请求实体
  HttpResponse response =client.execute(post);                      //发送http请求
  System.out.println("the requestbody is:"+EntityUtils.toString(reqEntity));            //打印出请求实体
 System.out.println(response.getStatusLine().getStatusCode());                          //打印http请求返回码
composer-->Parsed:
User-Agent:Fiddler
Content-Type:test/xml
RequestBody:
<?xml version="1.0" encoding="utf-8"?> <book><title>内容</title></body>
HttpClient模拟post请求:
Documentdoc = DocumentHelper.createDocument();                           //创建document对象
Element book = doc.addElement("book");                                    //构建document对象各个节点
book.addElement("title").addText("芈月传");
book.addElement("author").addText("蒋胜男");
String body = book.asXML();                                              //Document对象转成string类型
StringEntity reqEntity = new StringEntity(body);                          //用StringEntity对象包装请求体数据
reqEntity.setContentType("text/xml");                                     //设置请求头数据传输格式
reqEntity.setContentEncoding("utf-8");                                    //设置请求头数据编码格式
HttpPost post = new HttpPost("http://example.com");                       //定义HttpPost对象并初始化它
post.setEntity(reqEntity);                                               //设置post请求实体
HttpResponse response = client.execute(post);                             //发送http请求
System.out.println("the request bodyis:"+EntityUtils.toString(reqEntity));  //打印出请求实体
System.out.println(response.getStatusLine().getStatusCode());                 //打印http请求返回码
composer-->Parsed:
User-Agent:Fiddler
Content-Type:multipart/form-data;boundary=-----------------abcdefg13572468
RequestBody:
-----------------abcdefg13572468Content-Disposition:form-data;name="filedNameHere";filename="image_20151117151539.png"
Content-Type:image/png
<@INCLUDE*C:\Users.....\image_20151117151539.png*@>
-----------------abcdefg13572468--
HttpClient模拟post请求:
HttpPostpost = new HttpPost("http://example.com");           //定义HttpPost对象并初始化它
MultipartEntity mutiEntity = new MultipartEntity();           //定义MultipartEntity对象
File file = newFile("C:\Users\hzsuixiang\Desktop\image_20151117151539.png");
mutiEntity.addPart("desc",new StringBody("网易云阅读",Charset.forName("utf-8")));    //设置multiEntity对象的主体数据
mutiEntity.addPart("pic",newFileBody(file));post.setEntity(mutiEntity);             //设置post请求主体
HttpResponse  httpResponse =client.execute(post);                                   //执行post请求
HttpEntity httpEntity = httpResponse.getEntity();                                   //获得响应返回实体
3.将请求导出为HAR(Http Archive)文件
1.选中 菜单栏上面的 Decode-->选中要导出的session-->File-->Export Sessions-->selected sessions,或者直接导出Allsessions
2.跳出窗口选择要导出的格式
4.配置fiddler:在fiddler命令行中输入 about:config 即可配置
备注:相关文档

处理HAR文件,http信息的存储接口

public List<HttpInfo> HttpInfoSave(){
   /*读取resources中的HAR文件*/
    /*HAR文件只有一行,这一行以String类型存储至HttpArchive变量中*/
   /*拆解HttpArchive这个JSON结构体*/
   for(i = 0:HttpArchive中entry的数目){
           /*获得这条HTTP请求*/
          /*保存请求的url、用户使用的设备信息、请求方法(GET还是POST)*/
          /*保存响应的文本信息*/
           /*保存响应的文本编码信息*/
           /*保存POST请求的数据格式信息以及请求主体信息*/ }
          /*返回HttpInfo的列表*/
}
保存md5编码过的用户密码的set-cookie字段至全局变量中,方便后面请求设置请求头
public void login() throws HttpException, IOException{
HttpClient client = newHttpClient();
PostMethod post = new PostMethod("login url");
JSONObject js = new JSONObject();
js.element("username","hzsuixiang01@163.com");
js.element("accountType","0");
js.element("auth","d554e66e583c8946ad81ba52f6ea468d");
post.setRequestBody(js.toString());
int status = client.executeMethod(post);
System.out.println(status+post.getResponseBodyAsString());
Header[] header =post.getResponseHeaders();
cookies[0] = header[6].getValue(); //已知返回两个Set-Cookie字段,都要保存下来
cookies[1] = header[7].getValue();
}
处理http请求
for(每一条http请求){
/*获得具体的HttpInfo信息*/
if(http是get请求){
/*新建HttpClient实例、装载http请求头*/
/*发送get请求*/
/*get请求返回数据解析和存储*/ }
else{
/*新建HttpClient实例、装载http请求头*/
/*发送post请求*/
/*post请求返回数据解析和存储*/
}
}
核心代码如下:
for(inti = 0;i<HttpInfoList.size();i++){
HttpInfo HttpInfo = HttpInfoList.get(i);
if(HttpInfo.getMethod().equals("GET"))
{System.out.println("/********************开始处理第"+i+"条请求*******************************/");
HttpClient client = new HttpClient();
GetMethod get = newGetMethod(HttpInfo.getUrl());
get.addRequestHeader("X-User-Agent",HttpInfo.getUserAgent());
get.addRequestHeader("Cookie", cookies[0]);
get.addRequestHeader("Cookie", cookies[1]);
int status =client.executeMethod(get);
System.out.println(get.getResponseBodyAsString());
if(HttpInfo.getEncoding().equals("base64")){
byte[] content =Base64.decodeBase64(HttpInfo.getResponseContent());
String contentString = newString(content);
System.out.println(contentString); }
else{System.out.println(HttpInfo.getResponseContent());
System.out.println(HttpInfo.getResponseContent().equals(get.getResponseBodyAsString()));
} }
else{
System.out.println("/********************开始处理第"+i+"条请求*******************************/");
MyClient myClient = new MyClient();
if(HttpInfoList.get(i).getMimeType().equals("application/x-[www-form-urlencoded]{
System.out.println("primitive result:"+HttpInfoList.get(i).getResponseContent());
myClient.doPostWithDataPair(HttpInfoList.get(i).getUrl(), cookies,HttpInfoList.get(i).getParamsPair()); }
else{System.out.println("primitive result:"+HttpInfoList.get(i).getResponseContent());
myClient.doPostWithDataJson(HttpInfoList.get(i).getUrl(), cookies,HttpInfoList.get(i).getParamsJson());
} }
}
判定:可以使用请求响应码是否一致,相应主体是否相同
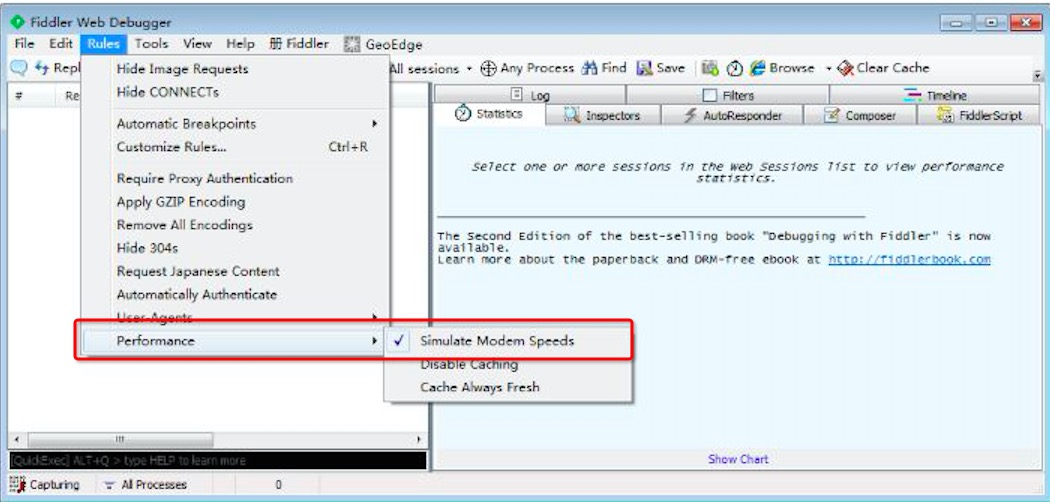
5.模拟弱网环境
fiddler操作:自定义延迟 》开启网络模拟即可,如图:

扩展弱网络规则
可能我们在测试中不会想要一个一直虚弱的网络环境,而是随机强弱的网络,这样比较贴切我们的真是情况,那么我们可以修改上述代码为:
static function randInt(min, max) {
    return Math.round(Math.random()*(max-min)+min);
}
if (m_SimulateModem) {
    // Delay sends by 300ms per KB uploaded.
    oSession["request-trickle-delay"] = ""+randInt(1,2000);
    // Delay receives by 150ms per KB downloaded.
    oSession["response-trickle-delay"] = ""+randInt(1,2000);
}
这里的randInt(1,2000)应该很好理解,代表1-2000中的一个随机整数,这样就会出现偶尔有延迟偶尔网络又良好的情况
注意:这个数字越大,延迟越高
randInt 是一个函数,if 这是一个语句,不能直接把 randInt函数 放到 if 所在的函数里
此种方法采用的是在应用层或者传输层设置代理服务器实现弱网,也可以通过虚拟网卡(dummyetde的ipfw),修改驱动(Linux下的netem)等底层的东西模拟弱网。
带宽的换算存在2倍的关系:
上传带宽=((1*8/1000)/0.300)*2.0≈0.106Mbps
下载带宽=((1*8/1000)/0.150)*2.0≈0.053Mbps
局限性:只能模拟应用层的http代理,其他的网络协议和复杂的网络层的丢包、重传等恶劣情况就不嫩个很好的模拟出来。


 7663
7663

 被折叠的 条评论
为什么被折叠?
被折叠的 条评论
为什么被折叠?
 到【灌水乐园】发言


