


This article covers how to setup wordpress with docker using docker-compose quickly. WordPress requires LAMP or LEMP stack but the official wordpress docker image contains PHP and Apache, leaving us to install only MySQL docker image. But for managing MySQL through web interface, we will also install PHPMyAdmin docker image. Docker compose makes it easy to deal with the co-ordination of processes inside containers. Therefore before starting make sure you have the latest version of docker compose installed in your host machine.
1. Prerequisites for wordpress with docker
You must have both docker and docker-compose available in your host machine. We will use docker-compose version '2' therefore you may need to update docker compose in the host machine. You can update the docker compose from the official github page. Once you have updated the compose, find the version of both docker and compose in the host machine.
root@demohost:~# docker -v
Docker version 1.12.3, build 6b644ec
root@demohost:~# docker-compose -version
docker-compose version 1.10.0, build 4bd6f1a
2. Install MySQL
We will first define a project directory where all the resources will be knitted by compose to build our image. Therefore to begin with, we will also create docker-compose.yml inside our project directory.
root@demohost:~# mkdir docker_wp
root@demohost:~# cd docker_wp
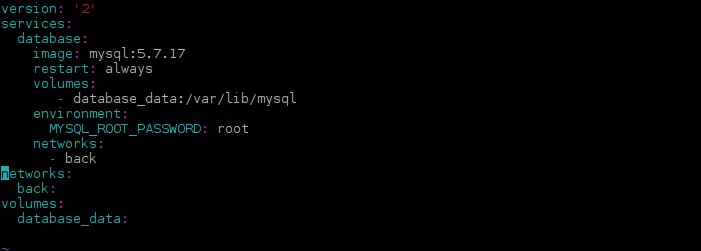
Create/Edit docker-compose.yml to create a MySQL instance with a volume mount for data persistence. We have also specified our top level networks with key 'back'. Service level ( WordPress, PHPMyAdmin) networks will specify this 'Key' to connect to top level networks.
root@demohost:~/docker_wp# vi docker-compose.yml
version: '2'
services:
database:
image: mysql:5.7.17
restart: always
volumes:
- database_data:/var/lib/mysql
environment:
MYSQL_ROOT_PASSWORD: root
networks:
- back
networks:
back:
volumes:
database_data:
Now start the container with docker-compose
root@demohost:~/docker_wp# docker-compose up -d
Creating network "dockerwp_back" with the default driver
Creating volume "dockerwp_db_data" with default driver
Pulling database (mysql:5.7.17)...
5.7.17: Pulling from library/mysql
--------------------------
--------------------------
a1b9627588c7: Pull complete
Digest: sha256:5e2ec5964847dd78c83410f228325a462a3bfd796b6133b2bdd590b71721fea6
Status: Downloaded newer image for mysql:5.7.17
Creating dockerwp_database_1
List the container
root@demohost:~/docker_wp# docker ps -a
3. Install PHPMyAdmin
To install PHPMyAdmin in the container, we will append the following code snippets in docker-compose.yml under services section.
phpmyadmin:
depends_on:
- database
image: phpmyadmin/phpmyadmin
restart: always
ports:
- 8080:80
environment:
PMA_HOST: database
MYSQL_ROOT_PASSWORD: root
networks:
- back
The phpmyadmin service depends on our 'database' service that we have defined earlier in docker compose file. The docker compose will grab official phpmyadmin and port no 8080 of docker host will be mapped to port 80 of the container. The environment variable PMA_HOST defines the address/host name of the MySQL server and MYSQL_ROOT_PASSWORD specify the root password for MySQL server and it must be same with MYSQL_ROOT_PASSWORD value that was set for under 'database' service.
Start-up the application group again.
root@demohost:~/docker_wp# docker-compose up -d
Pulling phpmyadmin (phpmyadmin/phpmyadmin:latest)...
latest: Pulling from phpmyadmin/phpmyadmin
0a8490d0dfd3: Pull complete
-----------------------------
98ff89f652db: Pull complete
Digest: sha256:942030a8ef4e2ab49ae5d9a60a27c94eed4e9003cd2bd01a62c501b92fdabfda
Status: Downloaded newer image for phpmyadmin/phpmyadmin:latest
dockerwp_database_1 is up-to-date
Creating dockerwp_phpmyadmin_1
List the containers
root@demohost:~/docker_wp# docker ps -a
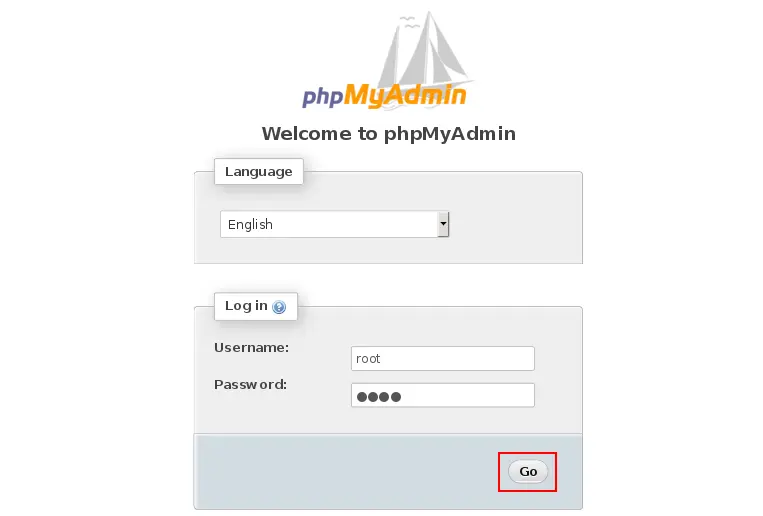
Open your favourite browser and point it to http://Docker_Host_IP:8080, you will be greeted by phpmyadmin login page. Login with user root and password as root. If you have set MYSQL_ROOT_PASSWORD environment value to something else, then login with that password.
4. Install WordPress with docker
Finally we will setup wordpress docker container by prepending following code snippets under services section.
wordpress:
depends_on:
- database
image: wordpress:4.6
restart: always
volumes:- ./wp-content:/var/www/html/wp-content
environment:
WORDPRESS_DB_HOST: database:3306
WORDPRESS_DB_PASSWORD: root
ports:- 80:80
- 443:443
networks:- back
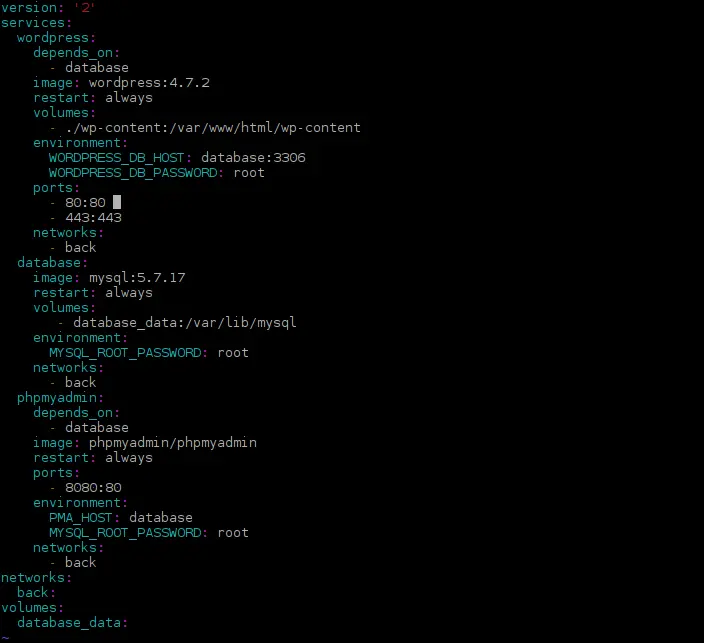
The wordpress service depends on 'database' service and docker compose will pull wordpress with docker version 4.6 We have chosen the version 4.6 deliberately so that we can update the wordpress in the final step. The environment variable WORDPRESS_DB_HOST is set to MySQL hostname followed by port no and WORDPRESS_DB_PASSWORD is set to 'root' which we have assigned in MYSQL_ROOT_PASSWORD under 'database' section. The port no 80 and 443 of docker host is mapped to containers port no 80 and 443. The wordpress docker container is also connected to top-level networks 'back'.
Our final docker-compose.yml looks like below.
Next, start-up all the three applications together.
root@demohost:~/docker_wp# docker-compose up -d
Pulling wordpress (wordpress:4.7.2)...
4.7.2: Pulling from library/wordpress
5040bd298390: Already exists
568dce68541a: Pull complete
-----------------------------
Digest: sha256:a0ce5d2666bff9fe17fd8d5c6b5ba3094b7109e97af8c69a0c31057a77e24899
Status: Downloaded newer image for wordpress:4.7.2
dockerwp_database_1 is up-to-date
dockerwp_phpmyadmin_1 is up-to-date
Creating dockerwp_wordpress_1
List the containers.
root@demohost:~/docker_wp# docker ps -a
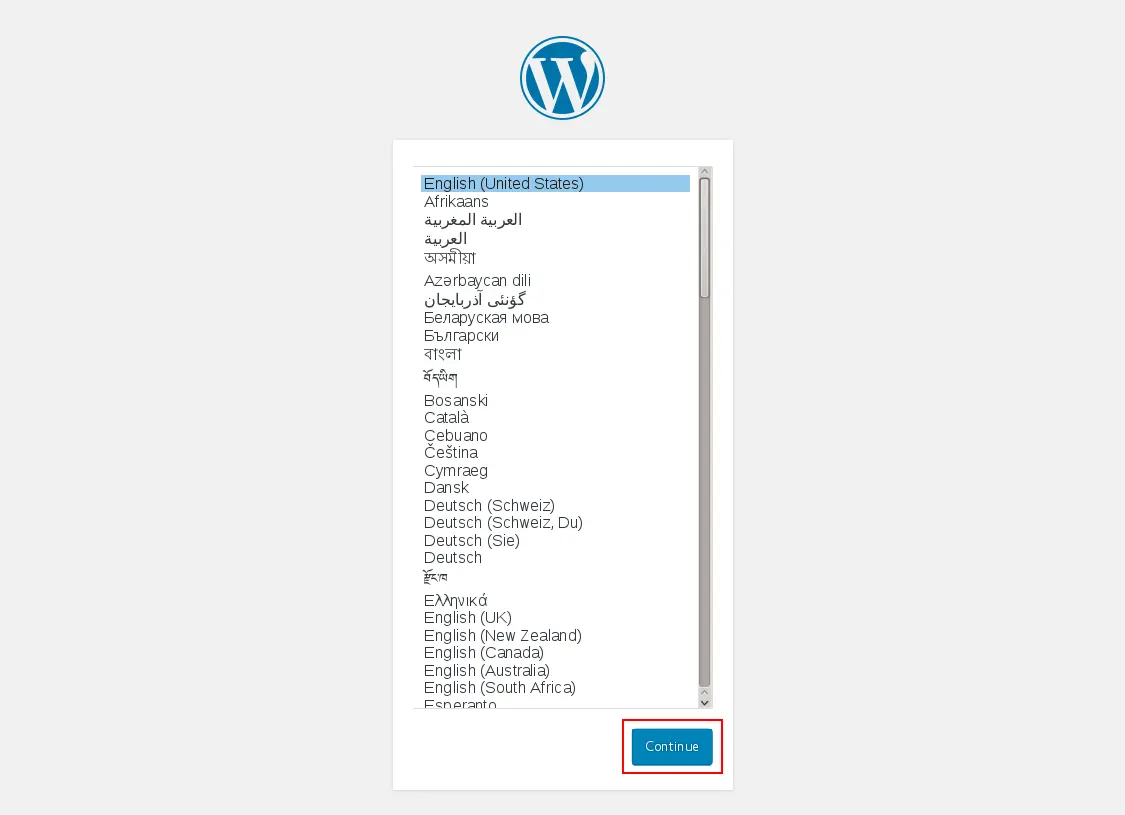
Access wordpress site by pointing your browser at http://Docker_Host_IP You will be prompted to choose a language.
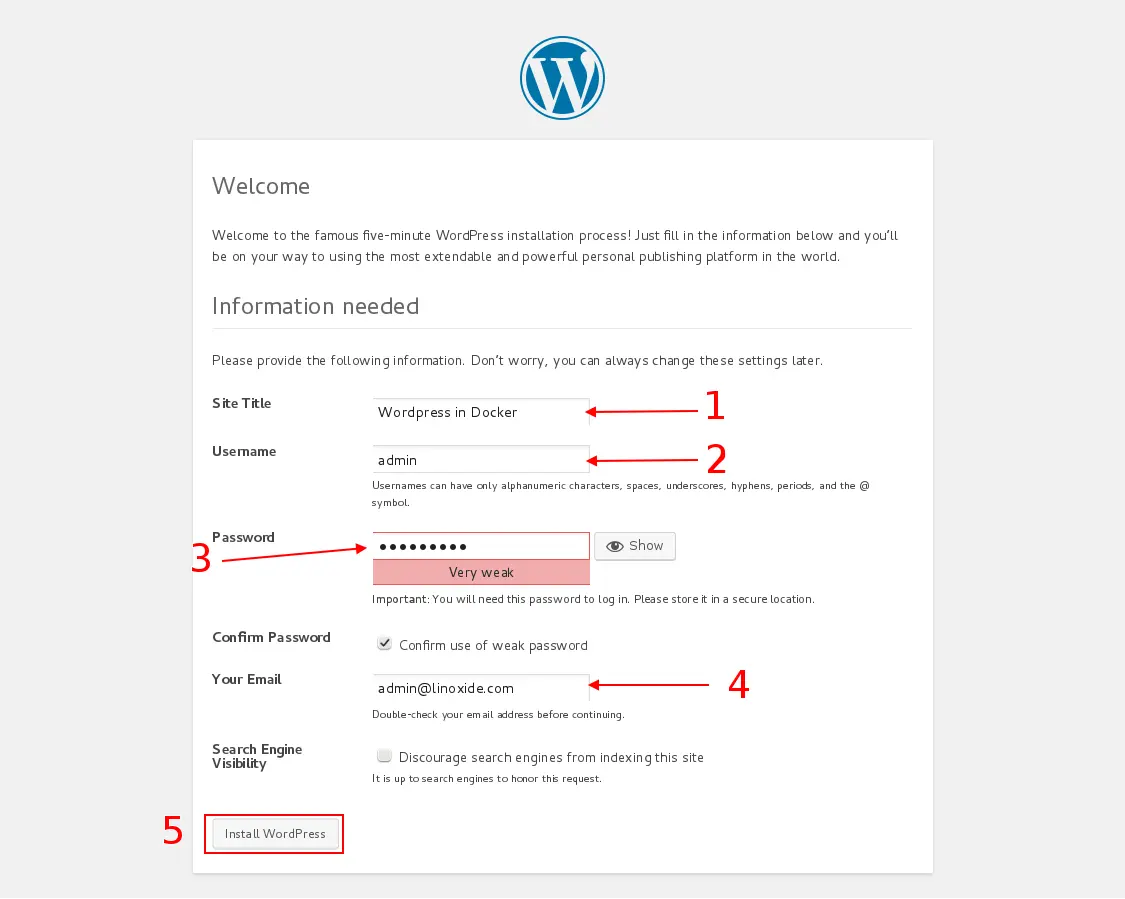
Provide site title, user name, password, email and click "Install WordPress"
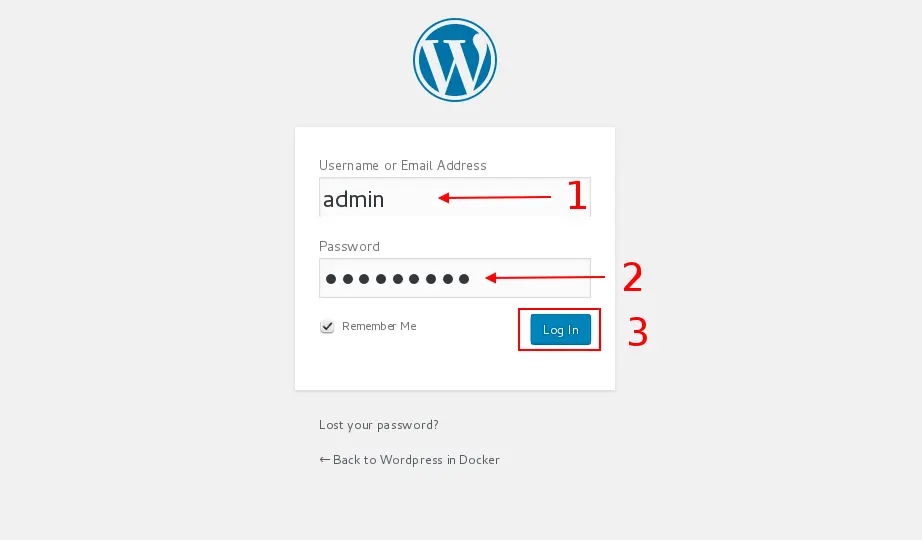
Login to wordpress site by typing username/email address and password that you have provided in the last step.
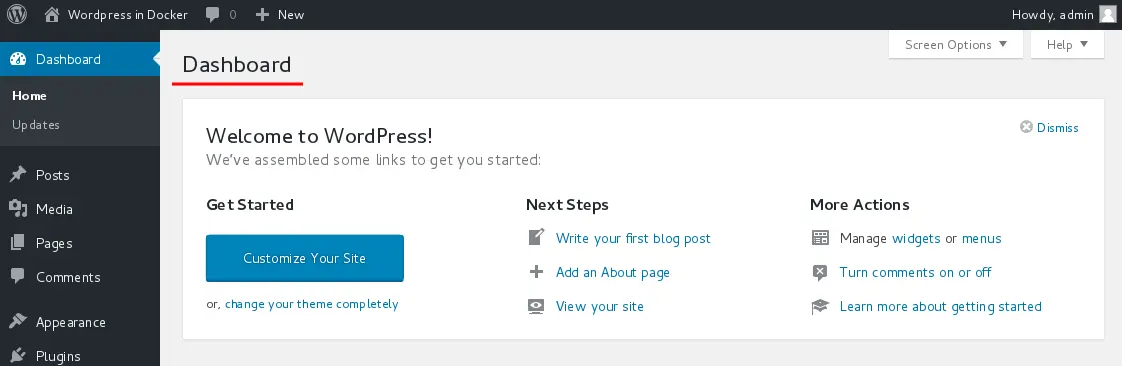
You will be redirected to wordpress dashboard.
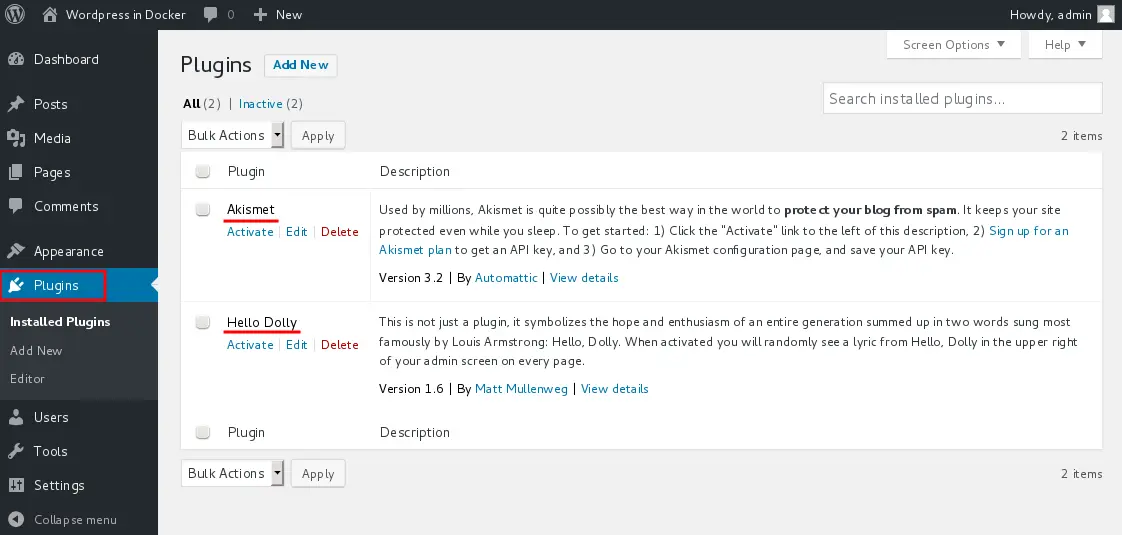
Click plugins from left side menu bar. You will find two plugins by the name "Akismet" and "Hello Dolly"
Remove the "Hello Dolly" plugin by changing to wp-content/plugins directory of wordpress project
root@demohost:~/docker_wp# cd wp-content/plugins/
root@demohost:~/docker_wp/wp-content/plugins# ls
akismet hello.php index.php
root@demohost:~/docker_wp/wp-content/plugins# rm hello.php
Refresh the page, Hello Dolly will not be listed now. Click 'Themes' under 'Appearance' from left side bar. The default themes will be listed in this page.
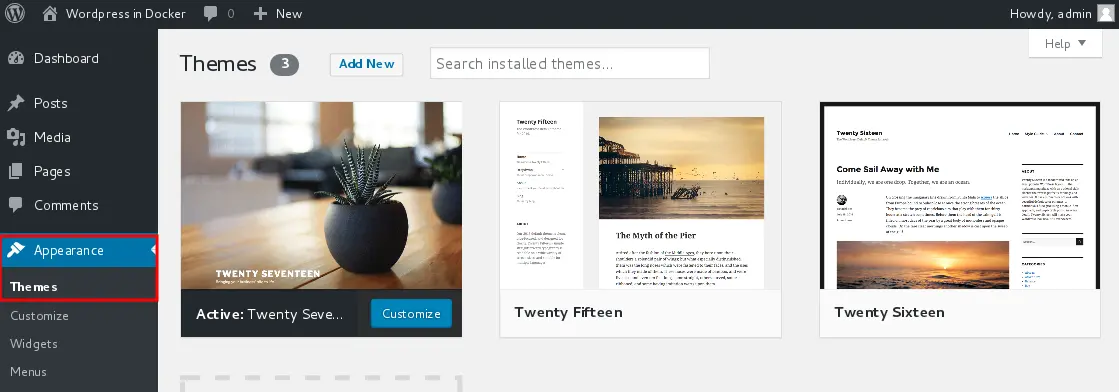
Since we want to place a theme of our choice, navigate to wp-content/themes directory and remove the themes.
root@demohost:~/docker_wp# cd wp-content/themes/
root@demohost:~/docker_wp/wp-content/themes# ls
index.php twentyfifteen twentyseventeen twentysixteen
root@demohost:~/docker_wp/wp-content/themes# rm -rf twenty*
Download a theme of your choice. We will download the theme https://wordpress.org/themes/nisarg/ Unzip the theme and remove the zip file.
root@demohost:~/docker_wp/wp-content/themes# wget https://downloads.wordpress.org/theme/nisarg.1.2.6.zip
root@demohost:~/docker_wp/wp-content/themes# unzip nisarg.1.2.6.zip
root@demohost:~/docker_wp/wp-content/themes# rm -rf nisarg.1.2.6.zip
Now refresh the themes page, the downloaded theme will be listed there. Activate the theme by clicking "Activate"
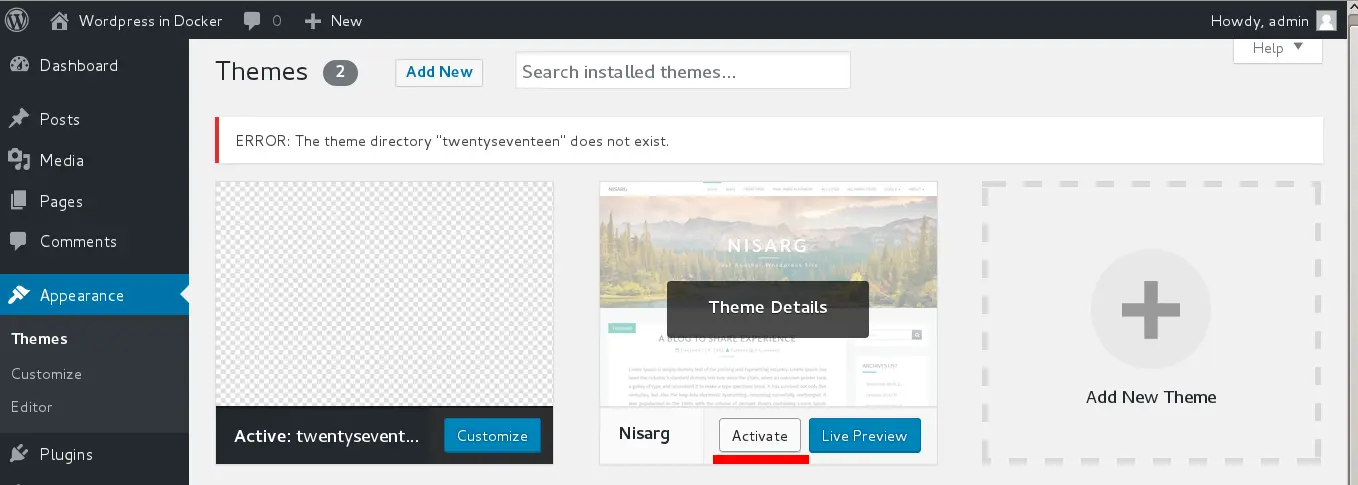
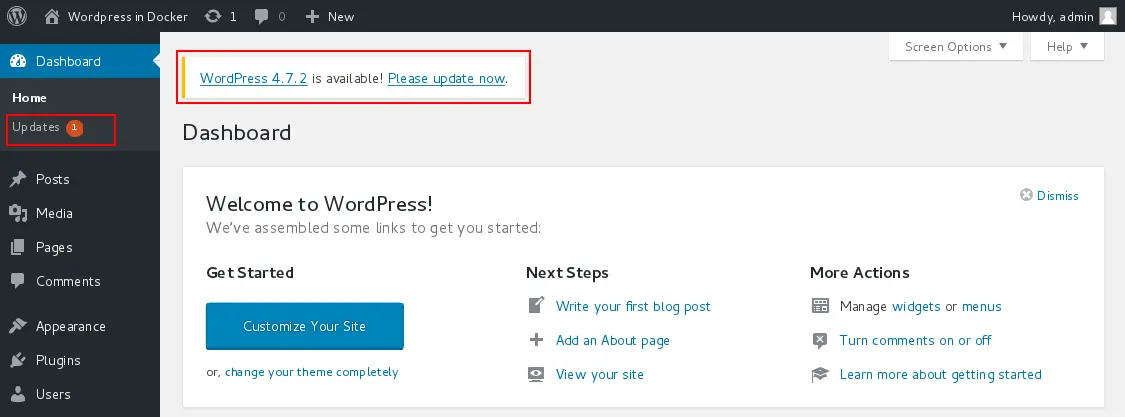
Since we have installed wordpress version 4.6, you will be prompted to update wordpress. Don't click "Please update now" at this stage. We need to change the version of wordpress in docker-compose.yml. Edit docker-compose and change the wordpress version from 4.6 to 4.7.2
wordpress:
depends_on:
- database
image: wordpress:4.7.2
------------------------
------------------------
Stop/Restart the wordpress container
root@demohost:~# docker stop dockerwp_wordpress_1
root@demohost:~# docker rm dockerwp_wordpress_1
root@demohost:~# docker-compose up -d
Now click "Please update now"
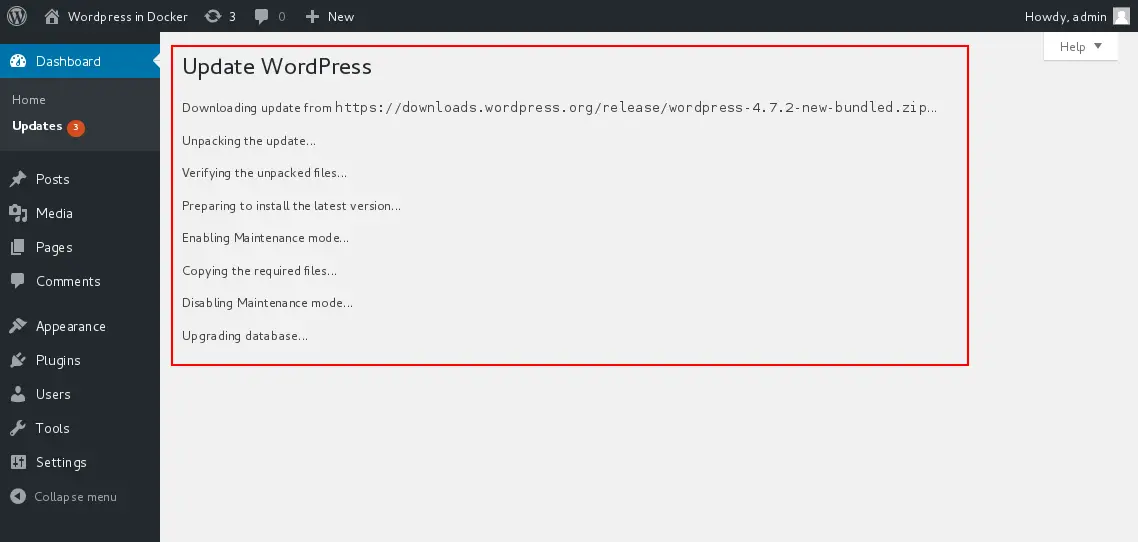
Click "Update Now"
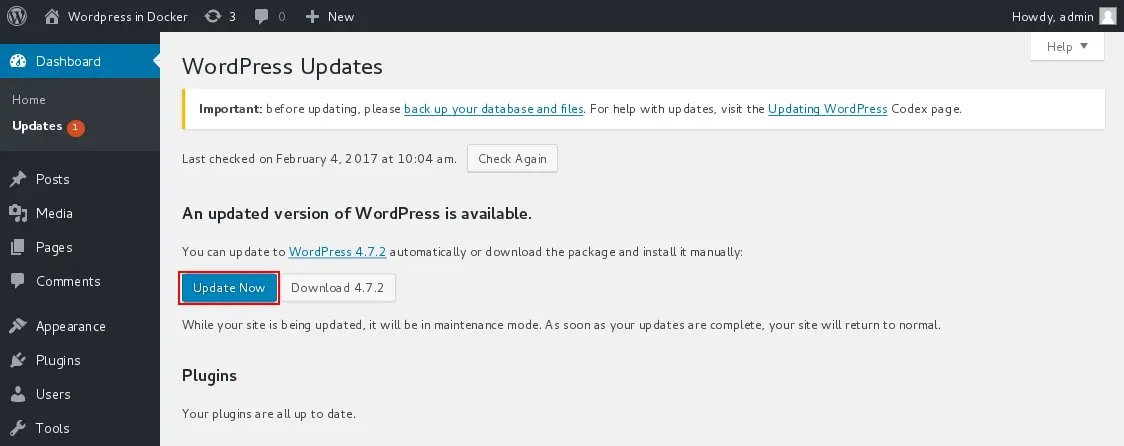
WordPress update process will be visible to you.
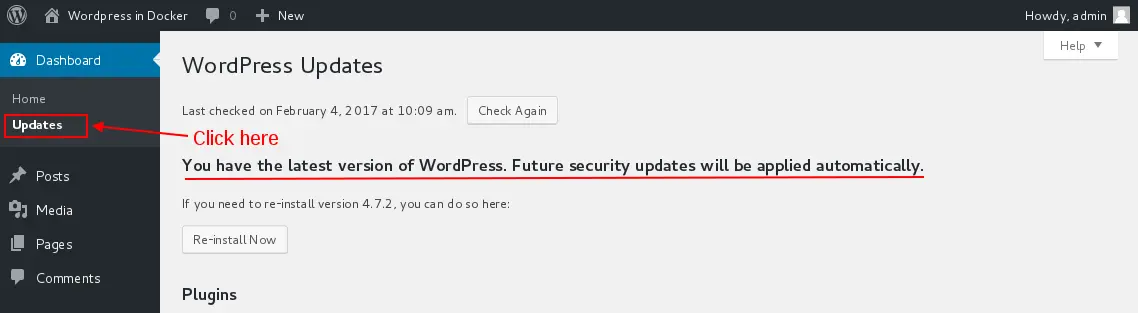
To check the version of wordpress, click "Updates". The wordpress version will be listed in this page.
Conclusions:
Thats all for wordpress with docker in Ubuntu 16. In this article, we have covered installation of wordpress using docker compose, installing a new theme and updating wordpress version. You should have a working wordpress site by now from where you can start modifying themes, installing new plugins etc. by editing files inside wp-content folder of the wordpress with docker project.


 被折叠的 条评论
为什么被折叠?
被折叠的 条评论
为什么被折叠?
 到【灌水乐园】发言


