springBoot 整合Thymeleaf
1配置pom
<project xmlns="http://maven.apache.org/POM/4.0.0" xmlns:xsi="http://www.w3.org/2001/XMLSchema-instance" xsi:schemaLocation="http://maven.apache.org/POM/4.0.0 http://maven.apache.org/xsd/maven-4.0.0.xsd">
  <modelVersion>4.0.0</modelVersion>
  <parent>
    <groupId>org.springframework.boot</groupId>
    <artifactId>spring-boot-starter-parent</artifactId>
    <version>1.5.15.RELEASE</version>
  </parent>
  <groupId>com.bjsxt</groupId>
  <artifactId>09-spring-boot-view-freemarker</artifactId>
  <version>0.0.1-SNAPSHOT</version>

  <properties>
  	<java.version>1.8</java.version>
  </properties>

  <dependencies>
  <!-- springBoot的启动器 -->
    <dependency>
        <groupId>org.springframework.boot</groupId>
        <artifactId>spring-boot-starter-web</artifactId>
    </dependency>
   <!-- freemarker启动器的坐标 -->
   <dependency>
        <groupId>org.springframework.boot</groupId>
        <artifactId>spring-boot-starter-freemarker</artifactId>
    </dependency>

</dependencies>
</project>
2创建启动类
/**
 * SpringBoot启动类
 *
 *
 */
@SpringBootApplication
public class App {

	public static void main(String[] args) {
		SpringApplication.run(App.class, args);
	}
}
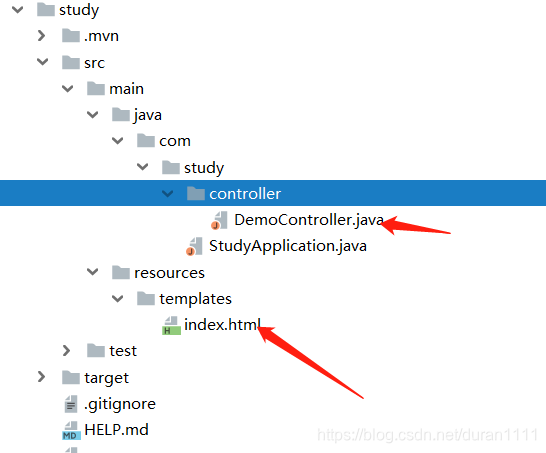
3编写控制层
/**
 * SpringBoot整合Thymeleaf
 *
 *
 */
@Controller
public class DemoController {

    @RequestMapping("/index")
    public String showInfo(Model model) {
        model.addAttribute("msg", "Thymeleaf 第一个案例");
        return "index";
    }
}
4编写.html
<!DOCTYPE html>
<html>
<head>
    <meta charset="UTF-8">
    <title>Thymeleaf 入门</title></head>
<body><span th:text="Hello"></span>
<hr/>
<span th:text="${msg}"></span></body>
</html>


 1868
1868


 被折叠的 条评论
为什么被折叠?
被折叠的 条评论
为什么被折叠?
 到【灌水乐园】发言


