


要使用SQLite首先要建表,建表要继承SQLiteOpenHelper,如下:
package com.example.sqlitedemo4;

import android.content.Context;
import android.database.sqlite.SQLiteDatabase;
import android.database.sqlite.SQLiteOpenHelper;

public class MySQLiteOpenHelper extends SQLiteOpenHelper {

    private static MySQLiteOpenHelper historySQLiteOpenHelper;
    private static String DATABASE_NAME = "school";

    /**
     * 数据库的构造方法
     * 数据库查询的结果集,为null则使用默认的结果集
     * 数据库的版本,从1开始,小于1则抛异常
     * @param context
     */
    public MySQLiteOpenHelper(Context context) {
        super(context, DATABASE_NAME, null, 1);
    }

    public static synchronized MySQLiteOpenHelper getSQLiteOpenHelper(Context context){
        if (historySQLiteOpenHelper == null){
            historySQLiteOpenHelper = new MySQLiteOpenHelper(context.getApplicationContext());
        }
        return historySQLiteOpenHelper;
    }

    /**
     * 数据库在第一次被创建时调用,表结构,初始化
     * @param db 数据库
     */
    @Override
    public void onCreate(SQLiteDatabase db) {
        db.execSQL("create table class(id integer primary key autoincrement,name text,age integer,school text)");
    }

    @Override
    public void onUpgrade(SQLiteDatabase db, int oldVersion, int newVersion) {}

}
上面是一个建表的类,在activity中调用,getSQLiteOpenHelper是为了MySQLiteOpenHelper 使用单例模式;activity的布局就一个ListView,activity的代码如下:
package com.example.sqlitedemo4;
import android.database.Cursor;
import android.database.sqlite.SQLiteDatabase;
import android.os.Bundle;
import android.support.v7.app.AppCompatActivity;
import android.widget.ListView;
import java.util.ArrayList;
import java.util.HashMap;
import java.util.Map;
public class MainActivity extends AppCompatActivity {
private MySQLiteOpenHelper msql;
private SQLiteDatabase db;
private ListView lv;
@Override
protected void onCreate(Bundle savedInstanceState) {
super.onCreate(savedInstanceState);
setContentView(R.layout.activity_main);
lv = (ListView) findViewById(R.id.lv);
msql = MySQLiteOpenHelper.getSQLiteOpenHelper(this);
insertSql();
selectSql();
}
public void insertSql() {
db = msql.getWritableDatabase();
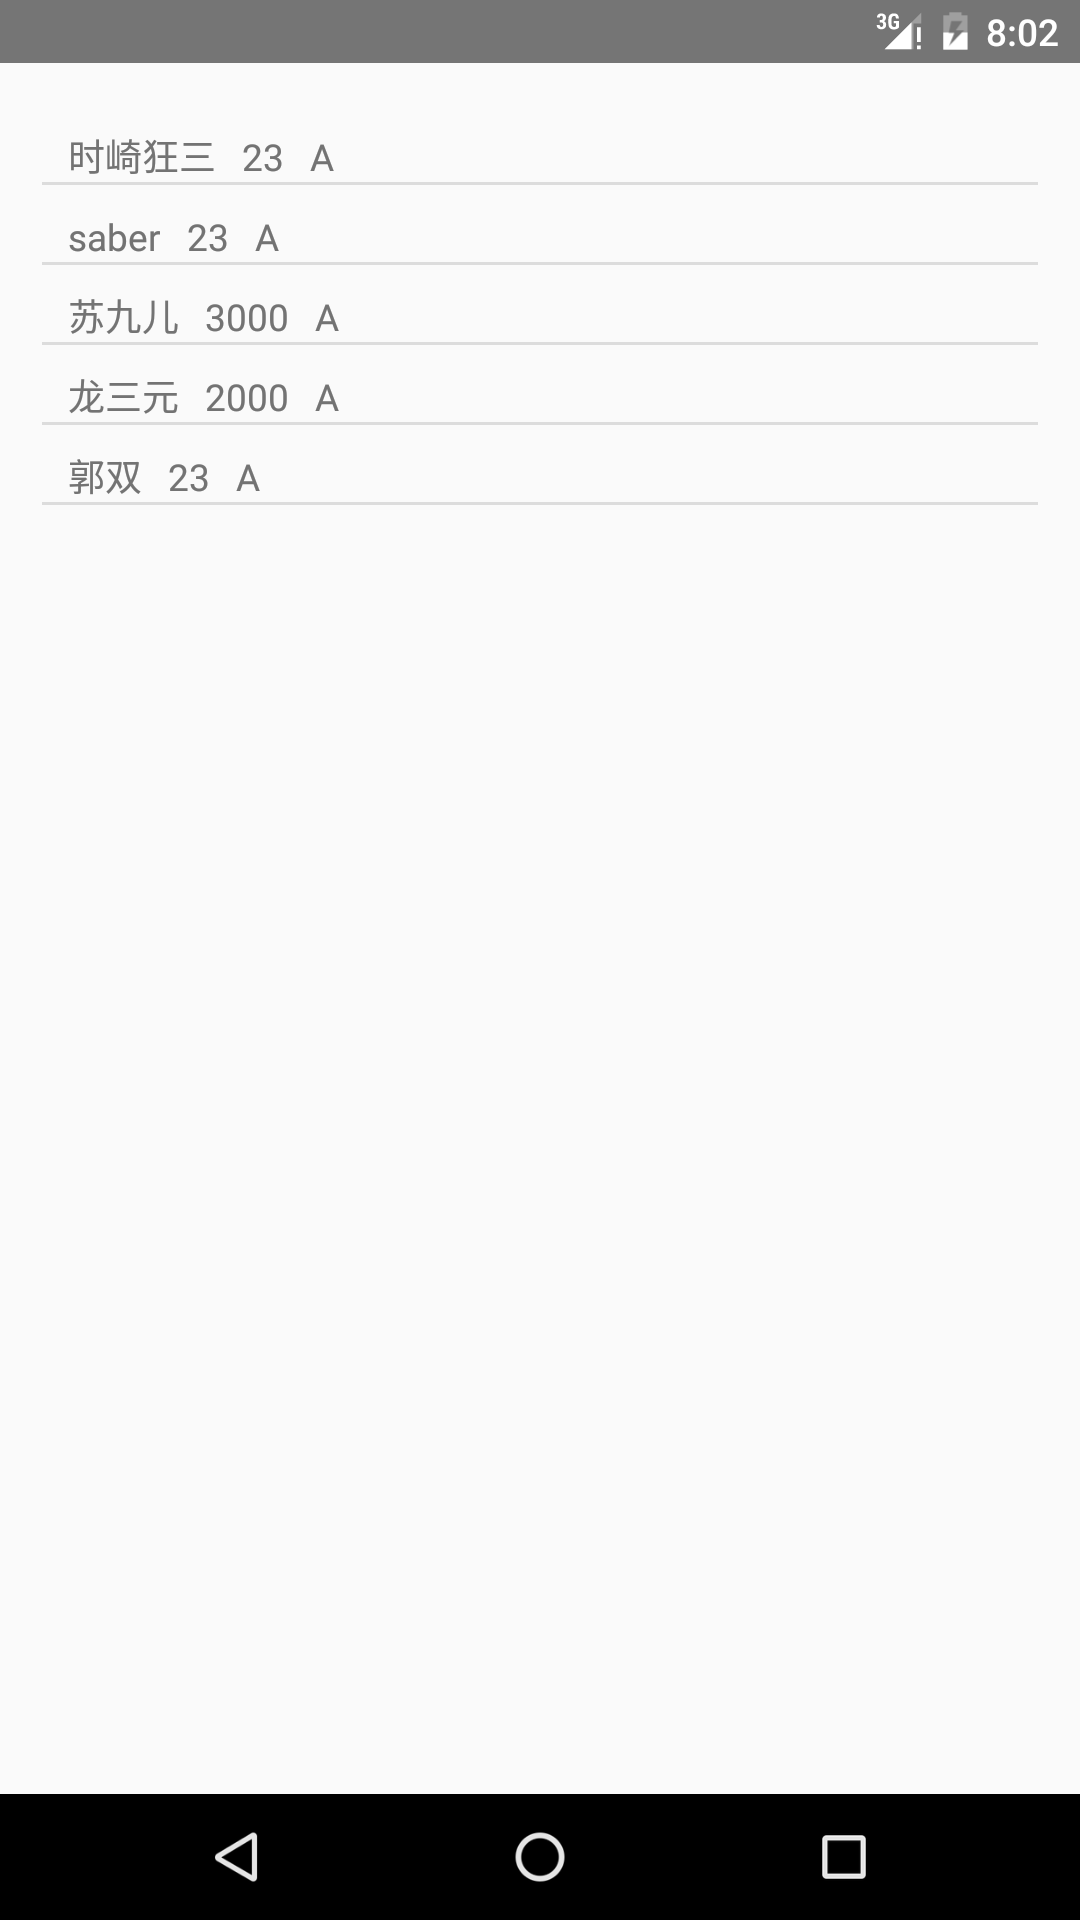
db.execSQL("insert into class values(null,'时崎狂三',23,'A')");
db.execSQL("insert into class values(null,'saber',23,'A')");
db.execSQL("insert into class values(null,'苏九儿',3000,'A')");
db.execSQL("insert into class values(null,'龙三元',2000,'A')");
db.execSQL("insert into class values(null,'郭双',23,'A')");
db.close();
}
public void selectSql() {
db = msql.getWritableDatabase();
ArrayList<Map<String, Object>> list = new ArrayList<>();
String sql = "select * from class";
//String sql = "select * from class order by Id desc";//倒序查找
Cursor cursor = db.rawQuery(sql, null);
cursor.moveToFirst();
while (!cursor.isAfterLast()) {
String name = cursor.getString(cursor.getColumnIndex("name"));
int age = cursor.getInt(cursor.getColumnIndex("age"));
String school = cursor.getString(cursor.getColumnIndex("school"));
Map<String, Object> map = new HashMap<>();
map.put("name", name);
map.put("age", age);
map.put("school", school);
list.add(map);
cursor.moveToNext();
}
MyAdapter adapter = new MyAdapter(this, list);
lv.setAdapter(adapter);
}
@Override
protected void onDestroy() {
super.onDestroy();
db.execSQL("DELETE FROM class");//清空表数据
db.close();
}
}
如代码所示,如果要使用倒序查找就使用sql语句String sql = "select * from class order by Id desc";;
如果要顺序查找就使用String sql = "select * from class";,在最后需要关闭SQLiteDatabase;
db.execSQL("DELETE FROM class");是清空表数据,而并非删除表
最后在附上adapter的代码:
布局 :
<?xml version="1.0" encoding="utf-8"?>
<LinearLayout xmlns:android="http://schemas.android.com/apk/res/android"
    android:layout_width="match_parent"
    android:layout_height="match_parent"
    android:orientation="horizontal">

    <TextView
        android:id="@+id/tv_name"
        android:layout_width="wrap_content"
        android:layout_height="wrap_content"
        android:layout_marginLeft="10dp"
        android:layout_marginTop="10dp" />

    <TextView
        android:id="@+id/tv_age"
        android:layout_width="wrap_content"
        android:layout_height="wrap_content"
        android:layout_marginLeft="10dp"
        android:layout_marginTop="10dp" />

    <TextView
        android:id="@+id/tv_school"
        android:layout_width="wrap_content"
        android:layout_height="wrap_content"
        android:layout_marginLeft="10dp"
        android:layout_marginTop="10dp" />

</LinearLayout>
代码
package com.example.sqlitedemo4;

import android.content.Context;
import android.view.LayoutInflater;
import android.view.View;
import android.view.ViewGroup;
import android.widget.BaseAdapter;
import android.widget.TextView;

import java.util.List;
import java.util.Map;

public class MyAdapter extends BaseAdapter {
    private List<Map<String, Object>> list;
    private Context context;
    public MyAdapter(Context context,List<Map<String, Object>> list) {
        this.context = context;
        this.list = list;
    }

    @Override
    public int getCount() {
        return list.size();
    }

    @Override
    public Object getItem(int position) {
        return list.get(position);
    }

    @Override
    public long getItemId(int position) {
        return position;
    }

    @Override
    public View getView(int position, View convertView, ViewGroup parent) {
        ViewHolder vh = null;
        if(convertView == null){
            convertView = LayoutInflater.from(context).inflate(R.layout.item_main, null);
            vh = new ViewHolder();
            vh.tv_name = (TextView) convertView.findViewById(R.id.tv_name);
            vh.tv_age = (TextView) convertView.findViewById(R.id.tv_age);
            vh.tv_school = (TextView) convertView.findViewById(R.id.tv_school);
            convertView.setTag(vh);
        }else{
            vh = (ViewHolder) convertView.getTag();
        }
        vh.tv_name.setText(list.get(position).get("name").toString());
        vh.tv_age.setText(list.get(position).get("age").toString()+"");
        vh.tv_school.setText(list.get(position).get("school").toString());
        return convertView;
    }
    public class ViewHolder{
        public TextView tv_name;
        public TextView tv_age;
        public TextView tv_school;
    }

}
效果图:


 4347
4347

 被折叠的 条评论
为什么被折叠?
被折叠的 条评论
为什么被折叠?
 到【灌水乐园】发言


