目录
7. Computer Function Demonstration
9. Link To The Finished Project Code:
1. Introduce
This blog focuses on a simple visual calculator. The calculator uses the elementplus component library with vue3 as the front end. With python as the back end, the database is sqlite3. Let it perform basic calculations and call history functions. The following describes the design process and detailed code for each part, as well as a visual demonstration of the program.
2. Assignment Table
| The Link Your Class | https://bbs.csdn.net/forums/ssynkqtd-04 |
|---|---|
| The Link of Requirement of This Assignment | https://bbs.csdn.net/topics/617378696 |
| The Aim of This Assignment | Create a calculator with a visual interface |
| MU STU ID and FZU STU ID | 21126330_832101106 |
3. PSP Form
| Personal Software Process Stages | Estimated Time(minutes) | Actual Time(minutes) |
|---|---|---|
| Planning | 40 | 40 |
| • Estimate | 40 | 40 |
| Development | 650 | 685 |
| • Analysis | 30 | 30 |
| • Design Spec | 30 | 30 |
| • Design Review | 50 | 60 |
| • Coding Standard | 20 | 15 |
| • Design | 120 | 140 |
| • Coding | 300 | 320 |
| • Code Review | 40 | 40 |
| • Test | 60 | 50 |
| Reporting | 60 | 75 |
| • Test Repor | 10 | 15 |
| • Size Measurement | 0 | 0 |
| • Postmortem & Process Improvement Plan | 50 | 60 |
| Sum | 750 | 800 |
4. Solution Idea
For a visual calculator programmed in python in the job, it was difficult for me personally to complete this job as a front-end file, so I chose vue3 as the front end, used the elementplus component library, used sqlite3 as the database, and used python as the back-end connection to achieve this task.
5. Design and Implementation

6. Code description
src/App.vue (frontend)
<template>
  <div style="padding: 240px;">
    <el-row :gutter="80">
      <el-col :span="12">
        <div class="grid-content ep-bg-purple"/>
        <div class='calculator'>
          <div class='showPanel'>
            <span class='expression'>{{ expression }}</span>
          </div>
          <div class='caculator-button'>

            <el-button @click="getResult('(')">(</el-button>
            <el-button @click="getResult(')')">)</el-button>
            <el-button @click="getResult('lg(')">lg</el-button>
            <el-button @click="getResult('ans')" type='primary' class="ans" :loading="historyLoading">ans</el-button>

            <el-button @click="getResult('c')">c</el-button>
            <el-button @click="getResult('del')">del</el-button>
            <el-button @click="getResult('/')">/</el-button>
            <el-button @click="getResult('*')">*</el-button>

            <el-button @click="getResult('7')">7</el-button>
            <el-button @click="getResult('8')">8</el-button>
            <el-button @click="getResult('9')">9</el-button>
            <el-button @click="getResult('-')">-</el-button>

            <el-button @click="getResult('4')">4</el-button>
            <el-button @click="getResult('5')">5</el-button>
            <el-button @click="getResult('6')">6</el-button>
            <el-button @click="getResult('+')">+</el-button>

            <el-button @click="getResult('1')">1</el-button>
            <el-button @click="getResult('2')">2</el-button>
            <el-button @click="getResult('3')">3</el-button>
            <el-button @click="getResult('%')">%</el-button>

            <el-button @click="getResult('0')" class="zero">0</el-button>
            <el-button @click="getResult('.')">.</el-button>
            <el-button @click="getResult('=')" type='danger' :loading="calcLoading">=</el-button>

          </div>
        </div>
      </el-col>
      <el-col :span="12">
        <div class="grid-content ep-bg-purple"/>
        <el-card class="box-card">
          <template #header>
            <div class="card-header">
              <span>历史记录(最近10条)</span>
            </div>
          </template>
          <el-table v-if="tableData?.length > 0" border :data="tableData" style="width: 100%">
            <el-table-column prop="expression" label="表达式"/>
            <el-table-column prop="result" label="结果"/>
          </el-table>
          <div v-else>空</div>
        </el-card>
      </el-col>
    </el-row>

  </div>
</template>

<script setup>
import {ref} from 'vue'
import axios from 'axios'
import {useAsyncState} from '@vueuse/core'
import {ElMessage} from 'element-plus'


const expression = ref('')

const {isLoading: historyLoading, state: tableData, execute: getHistory} = useAsyncState(
  () => axios.get('http://localhost:5000/history').then(res => res.data.result),
  [],
  {immediate: false}
)


const {isLoading: calcLoading, execute: calc} = useAsyncState(
  () => axios.post('http://localhost:5000/calculate', {
    expression: expression.value
  }).then(res => {
    if (res.data.errMsg) {
      ElMessage.error(res.data.errMsg)
    } else {
      expression.value = res.data.result
    }
  }),
  [],
  {immediate: false}
)

async function getResult(e) {
  switch (e) {
    case 'del':
      expression.value = expression.value.slice(0, expression.value.length - 1)
      break
    case 'ans':
      getHistory(0)
      break
    case '=':
      calc(0)
      // expression.value = eval(expression.value)
      break
    case 'c':
      expression.value = ''
      break
    default:
      expression.value += e
  }
}

</script>

<style lang='scss' scoped>
.calculator {
  border: solid 1px #dcdcdc;
  padding: 10px;
  background-color: #ffffff;
  border-radius: 4px;
  box-shadow: 0 0 2px #dcdcdc;
  width: 100%;

  .showPanel {
    display: flex;
    flex-direction: column;
    align-items: flex-end;
    padding: 2px 20px;
    height: 80px;
    border: 1px #dcdcdc solid;
    width: 100%;
    border-radius: 4px;
    box-sizing: border-box;
    margin-bottom: 8px;
    justify-content: space-evenly;

    .expression {
      font-size: 24px;
      font-weight: 700;
    }
  }
}

.el-button {
  margin: 0 !important;
  padding: 10px;
  font-weight: 600;
  height: 50px;
  width: 100%;
  font-size: 18px;
}

.caculator-button {
  display: grid;
  grid-template-columns: 1fr 1fr 1fr 1fr;
  gap: 8px;
  border-radius: 4px;
  background-color: #fffffff1;
}

.zero {
  grid-column: 1/3;
}
.ans {
  //grid-column: 3/5;
}
</style>
main.py (backend)
from flask import Flask, request, jsonify
from flask_cors import CORS
import sqlite3
import math


def lg(x):
    return math.log(x, 10)


def ln(x):
    return math.log(x, math.e)


app = Flask(__name__)
CORS(app)


# 定义路由
@app.route('/calculate', methods=['POST'])
def calculate():
    # 创建或连接到SQLite数据库
    conn = sqlite3.connect('expressions.db')

    try:
        expression = request.json['expression']
        result = eval(expression)
        c = conn.cursor()
        c.execute("INSERT INTO expressions (expression, result) VALUES (?, ?)", (expression, str(result)))
        conn.commit()
        return jsonify({'result': result})
    except Exception:
        return jsonify({'result': None, 'errMsg': '表达式异常,请检查输入'})
    finally:
        # 关闭连接
        conn.close()


@app.route('/history', methods=['GET'])
def history():
    conn = sqlite3.connect('expressions.db')
    try:
        c = conn.cursor()
        c.execute("SELECT * FROM expressions")
        rows = c.fetchall()

        history = []
        for row in rows:
            history.append({
                'expression': row[0],
                'result': row[1]
            })
        history.reverse()
        history = history[:10]

        return jsonify({'result': history})
    finally:
        # 关闭连接
        conn.close()


if __name__ == '__main__':
    app.run(debug=True)
7. Computer Function Demonstration
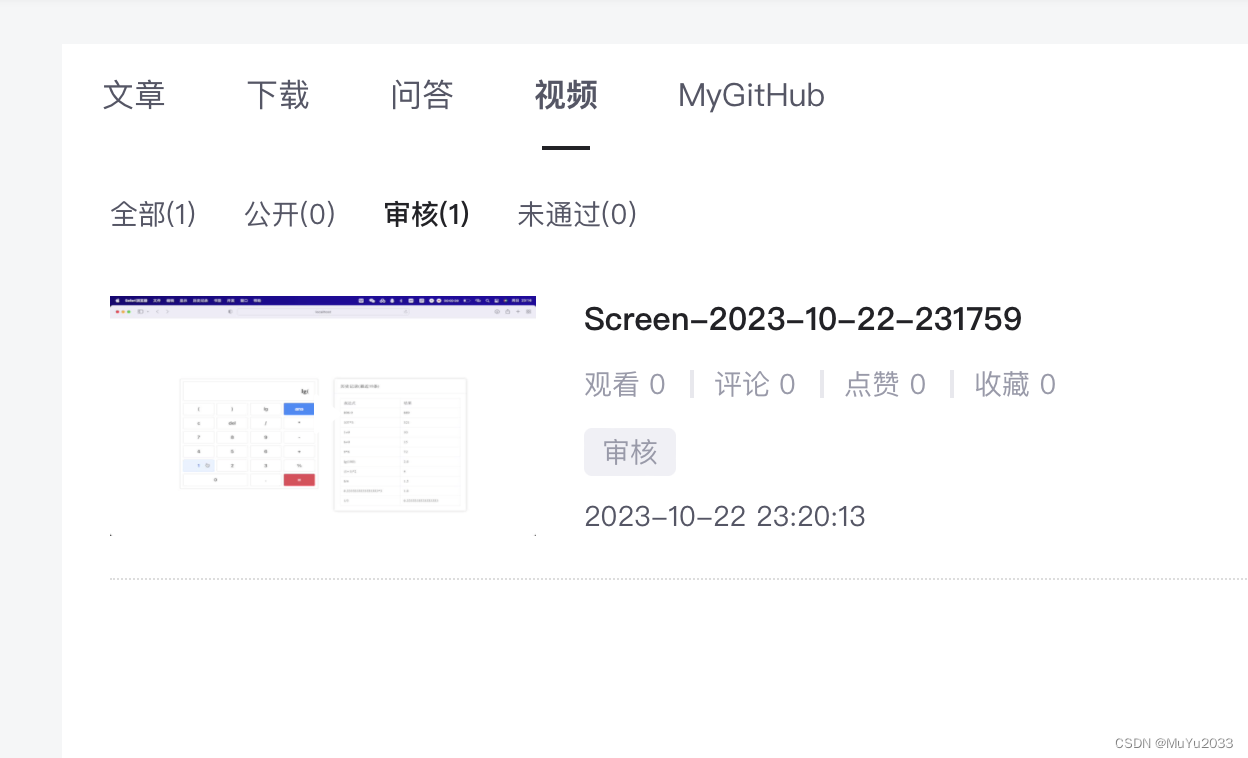
As the video review is not complete, use gif instead.
The video is 3:46 in length.


8. Summary
On the frontend, I learned to use Vue 3 as a front-end framework, leveraging its powerful tools and components to build user interfaces. Vue 3's component-based approach to development allows me to better organize my code and implement reusable interface elements. I also learned how to use the Element Plus component library to quickly build beautiful and interactive interfaces, saving me a lot of development time. I gained a deeper understanding of core concepts of Vue 3 such as components, directives, reactive data, and lifecycle hooks. I learned how to use Vue's template syntax to bind data and events and update the interface dynamically.
For the backend, I chose Python as the development language and SQLite3 as the database. Python's concise and readable syntax makes back-end development much easier to get started with. I learned how to use Python's features to handle calculations and interact with databases. With SQLite3, I was able to easily create and manage a database and store a user's history in it.
Throughout the project, I learned how to connect the front end to the back end and transfer data through HTTP requests and responses.
9. Link To The Finished Project Code
GitHub - Bill7wu/backendLink to backend code: GitHub - Bill7wu/backend
GitHub - Bill7wu/frontendLink to frontend code: GitHub - Bill7wu/frontend


 75
75


 被折叠的 条评论
为什么被折叠?


