1.代码示例
void main() {
  runApp(MyApp());
}

class MyApp extends StatelessWidget {
  MyApp({Key? key}) : super(key: key);

  // This widget is the root of your application.
  @override
  Widget build(BuildContext context) {
    return MaterialApp(
      debugShowCheckedModeBanner: false,
      title: 'Flutter Demo',
      theme: ThemeData(
        //分栏颜色
        primarySwatch: Colors.yellow,
        //选中分栏时候的高亮状态颜色
        highlightColor: Color.fromRGBO(255, 255, 255, 0.5),
        //选中分栏时候,底层的水波纹颜色
        splashColor: Colors.blue,
      ),
      home: SegmentedControl(),
    );
  }
}

class SegmentedControl extends StatefulWidget {
  const SegmentedControl({super.key});

  @override
  State<SegmentedControl> createState() => _SegmentedControlState();
}

class _SegmentedControlState extends State<SegmentedControl> {
  @override
  Widget build(BuildContext context) {
    return DefaultTabController(
      length: 3,
      child: Scaffold(
        appBar: AppBar(
          title: const Text("Flutter App"),
          leading: Icon(Icons.menu),
          actions: [Icon(Icons.search)],
          //这里TabBar中的tabs数组个数需要跟TabBarView中的元素个数保持一致
          bottom: TabBar(
              unselectedLabelColor: Colors.black38, //未选中控件颜色
              indicatorColor: Colors.red, //指示器的颜色
              tabs: [
                Tab(icon: Icon(Icons.local_florist)),
                Tab(icon: Icon(Icons.change_history)),
                Tab(icon: Icon(Icons.directions_bike)),
              ]),
        ),
        body: TabBarView(children: [
          Tab(
            icon: Icon(
              Icons.local_florist,
              size: 128,
              color: Colors.black12,
            ),
          ),
          Tab(
              icon: Icon(
            Icons.change_history,
            size: 128,
            color: Colors.black12,
          )),
          Tab(
              icon: Icon(
            Icons.directions_bike,
            size: 128,
            color: Colors.black12,
          )),
        ]),
      ),
    );
  }
}
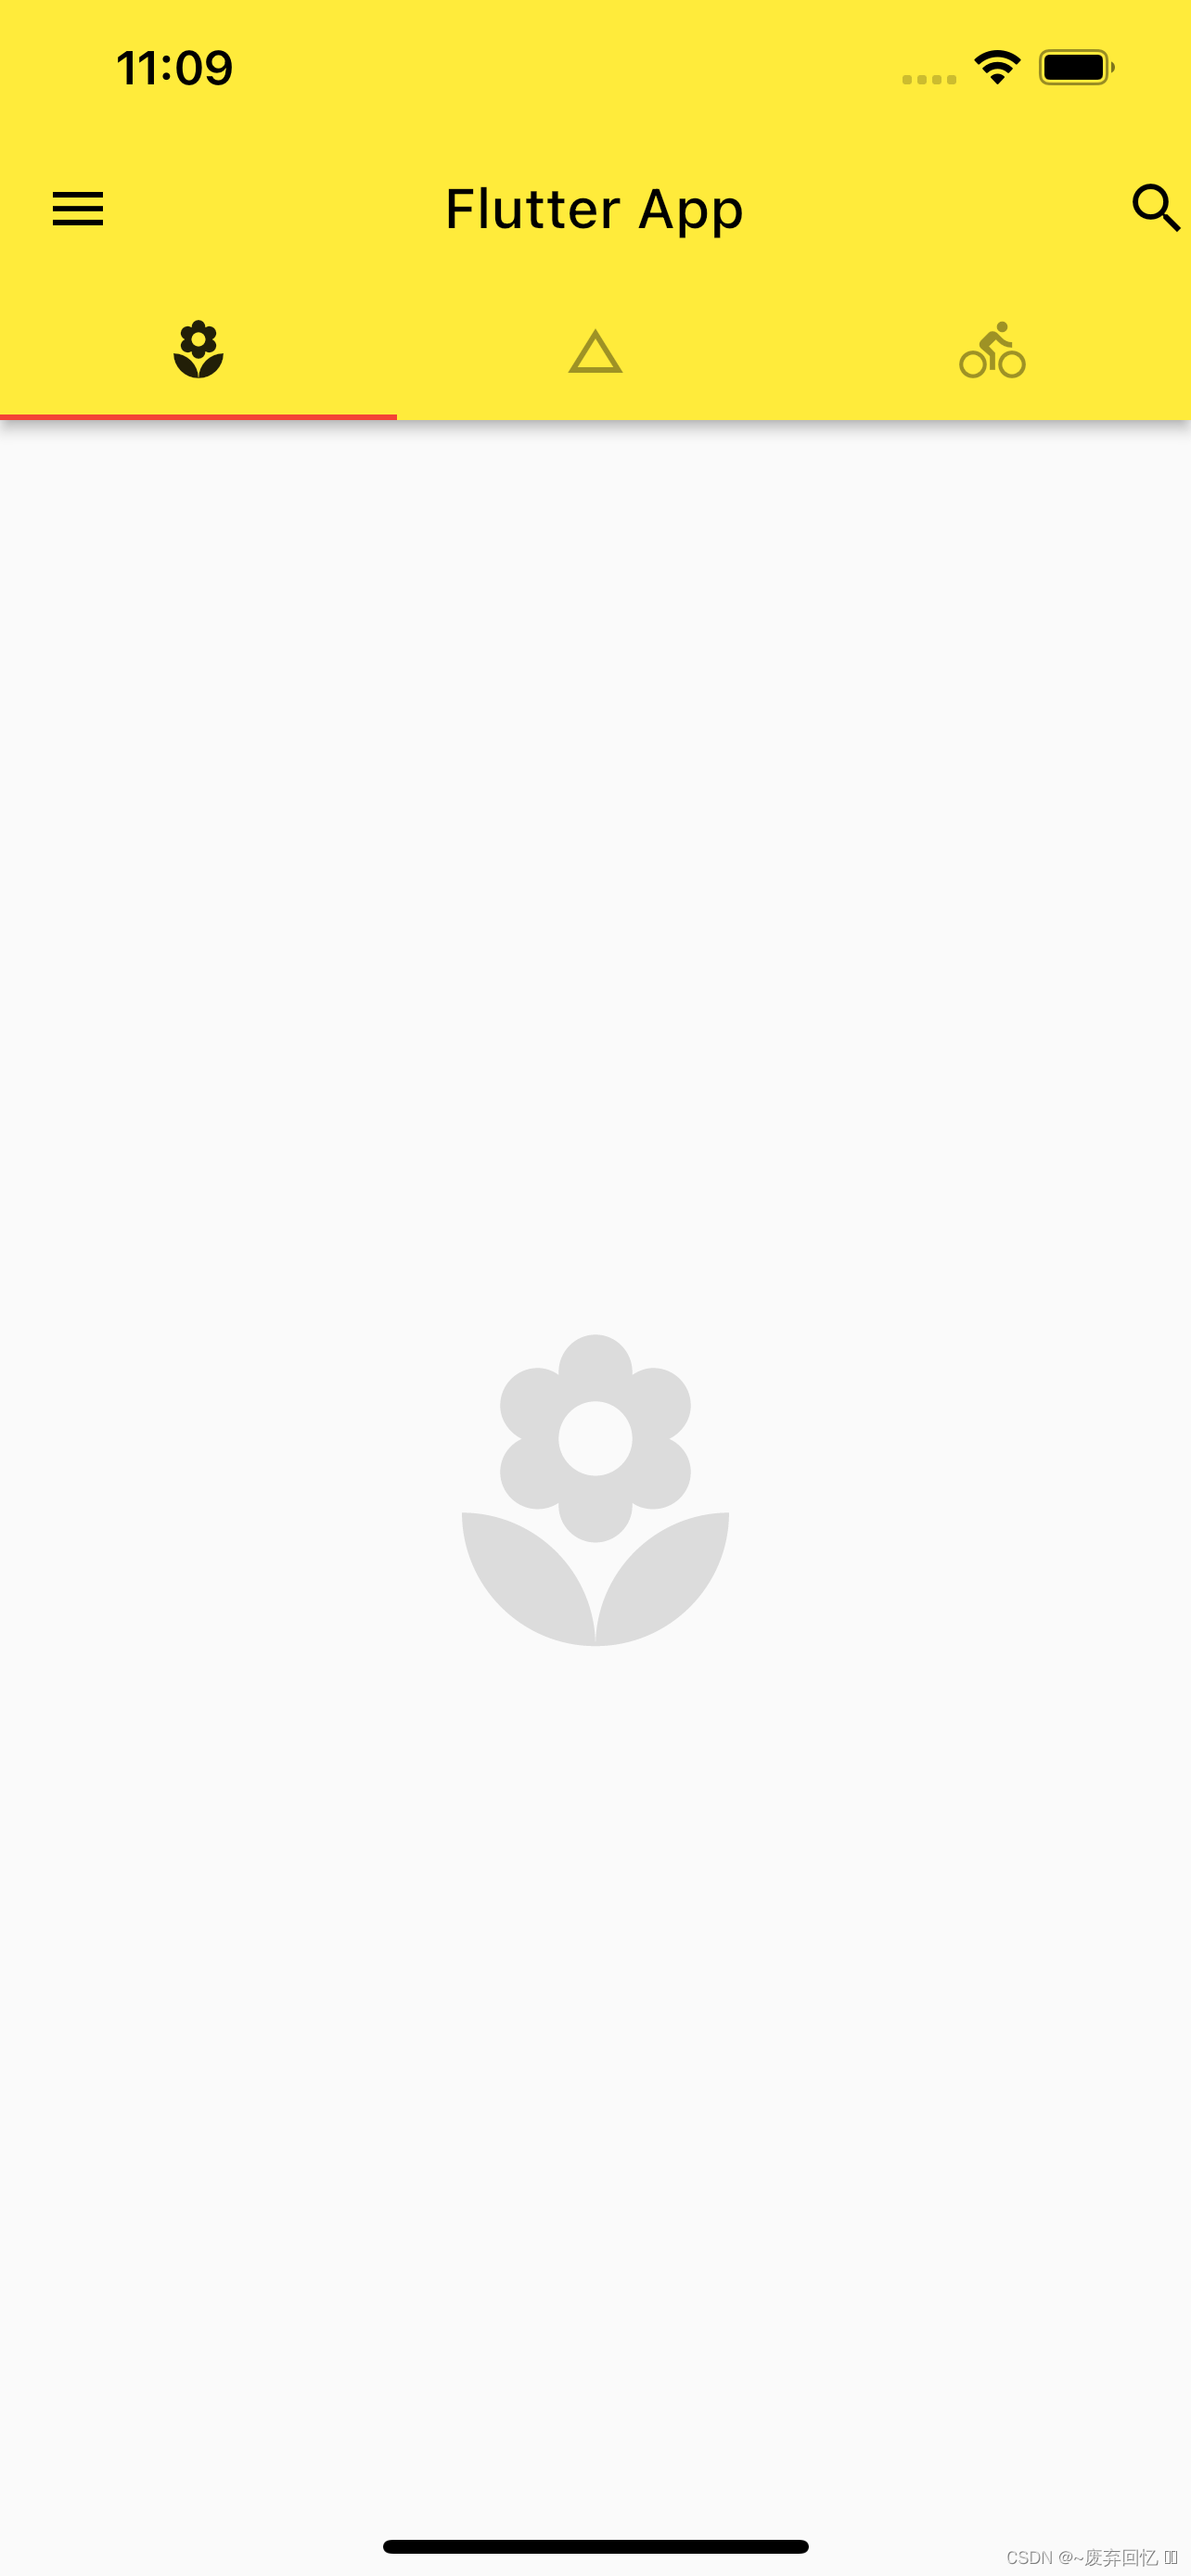
2.效果示例


 1757
1757


 被折叠的 条评论
为什么被折叠?
被折叠的 条评论
为什么被折叠?
 到【灌水乐园】发言


