


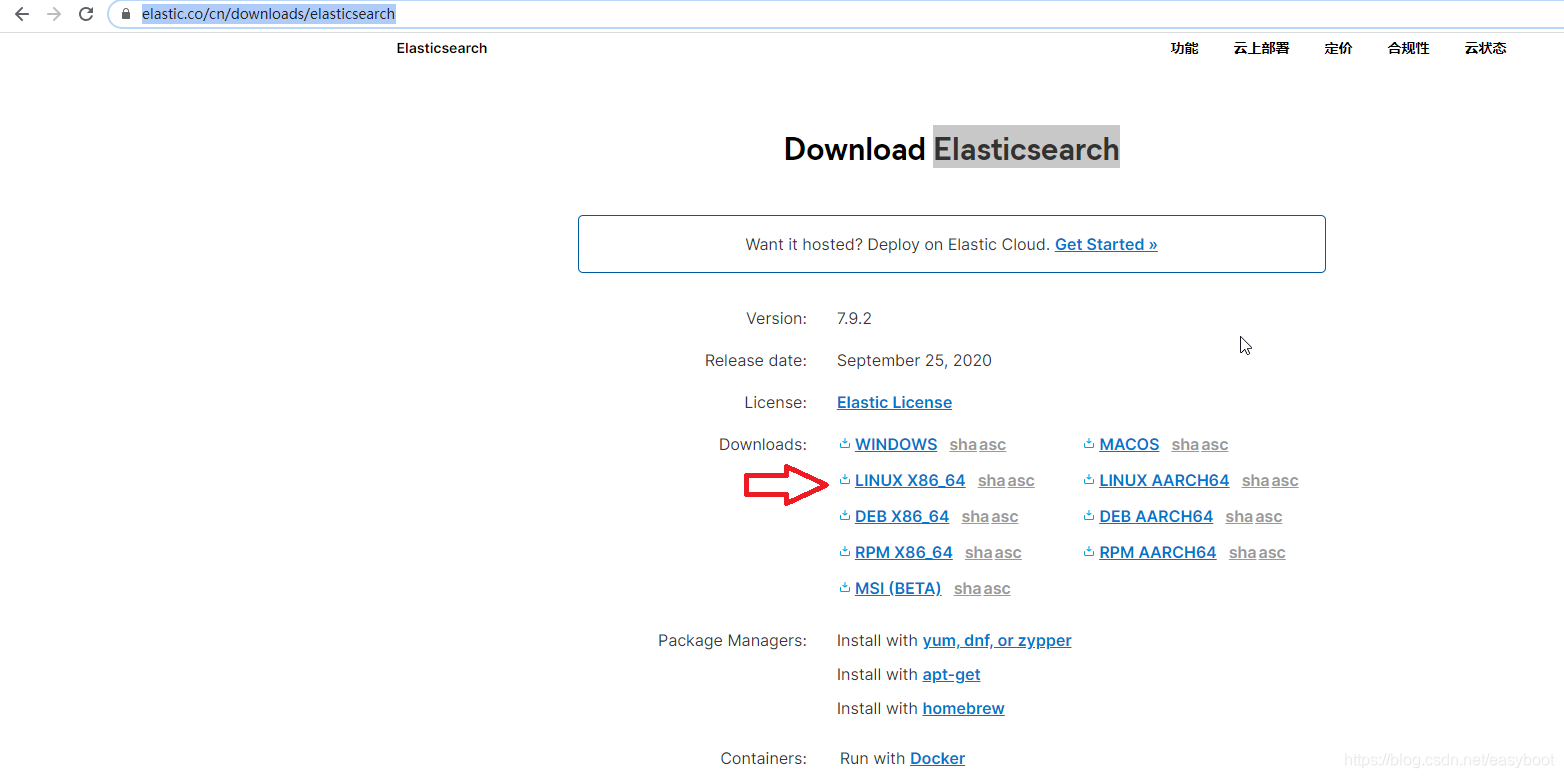
1.下载地址
https://www.elastic.co/cn/downloads/elasticsearch
我下载的是linux大小是302M ,最新的版本是7.9.2
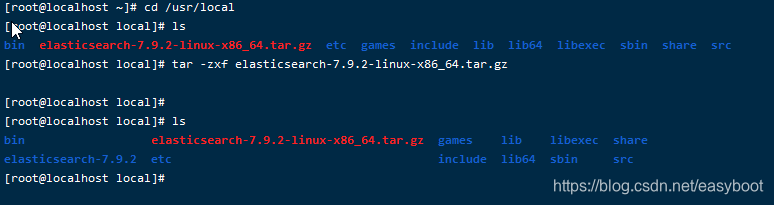
2.将下载的文件拷贝到Linux虚拟机中 /user/local目录中
解压
tar -zxf elasticsearch-7.9.2-linux-x86_64.tar.gz
设置es用户,默认root不能运行elasticsearch
1.先创建bigdata组,并指定组id为1024

groupadd -g 1024 bigdata

2.创建es用户并指定所在组为bigdata

useradd -g bigdata es

3.查看是否创建成功

id es
# 先切换到Elasticsearch根目录
cd /usr/local/elasticsearch
# 更改目录及文件权限 注意后面还有个 “.”
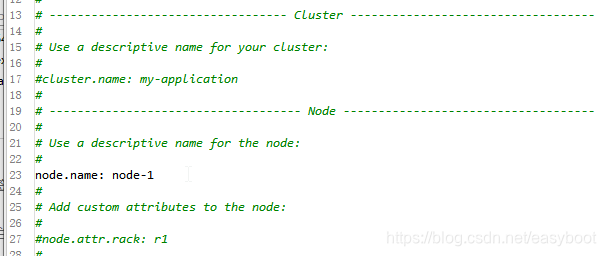
chown -R es:bigdata .配置elasticsearch.yml文件。文件路径如下图

我是单机模式 设置如下图所示
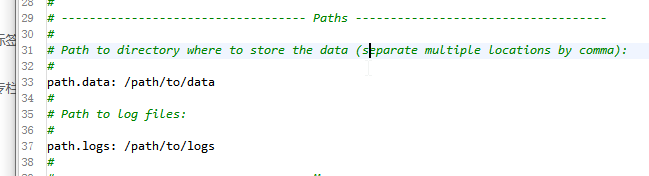
设置数据路径和日志路径
网络设置和跨域设置,跨域设置比较重要,冒号后面必须有空格
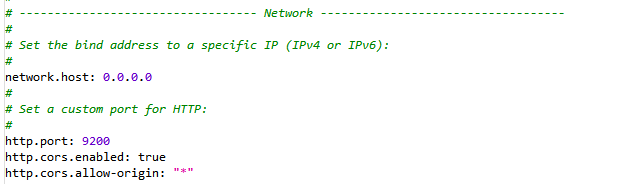

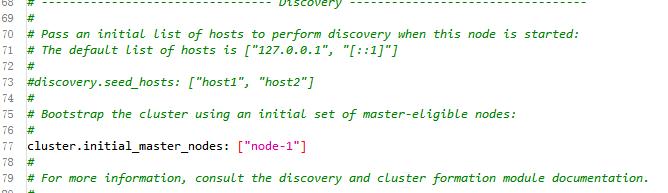
以上是对Elasticsearch.yml文件要修改的地方
在/etc/security/limits.d/新建90-nproc.conf文件
加入
* soft nproc 4096
root soft nproc unlimited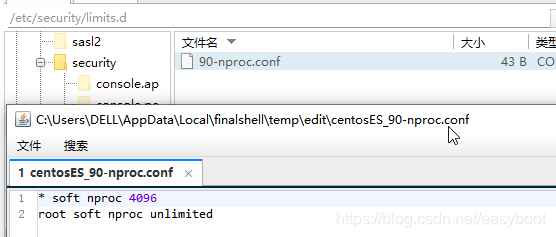
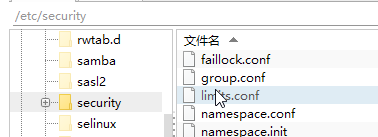
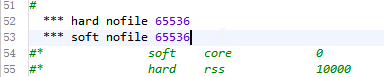
在/etc/security目录中的limits.conf中
加入
*** hard nofile 65536
*** soft nofile 65535
在etc目录下打开sysctl.conf文件
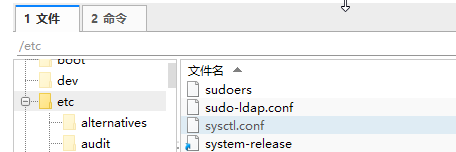
加入
vm.max_map_count=655360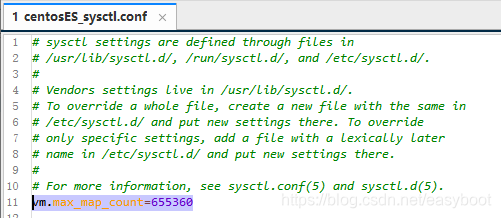
这个时候启动es会报错

另外需要手动创建 path/to/logs目录并赋权给es
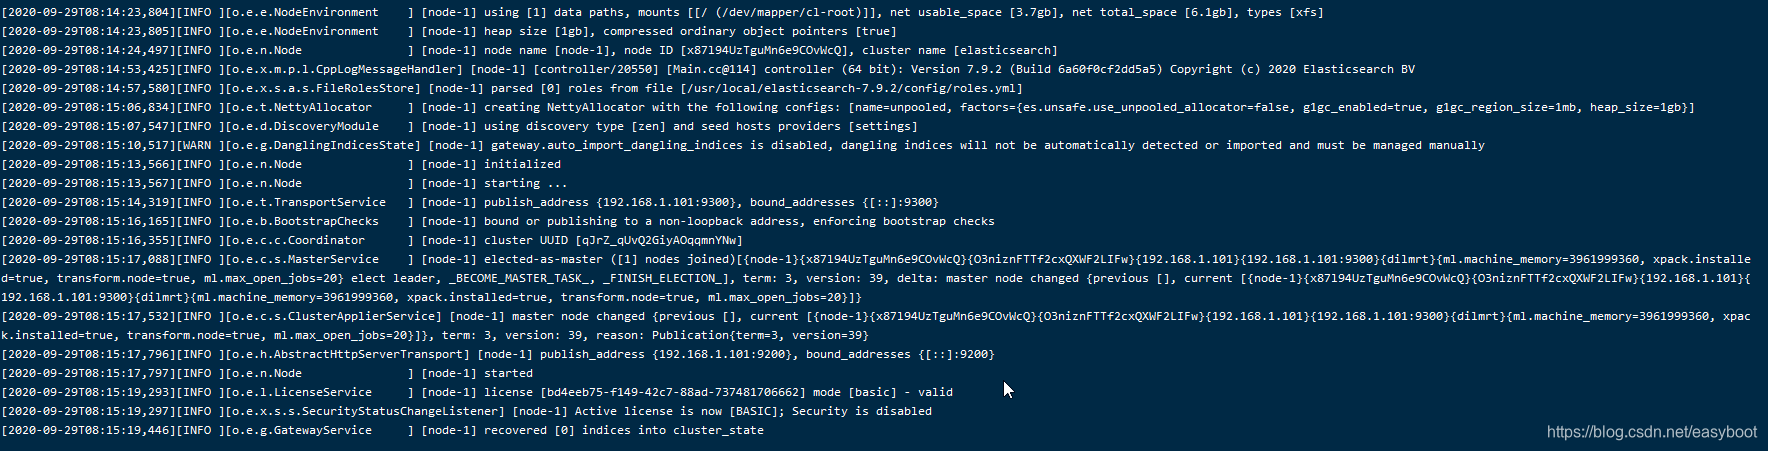
注意启动ES不能是root否则会报错
su es
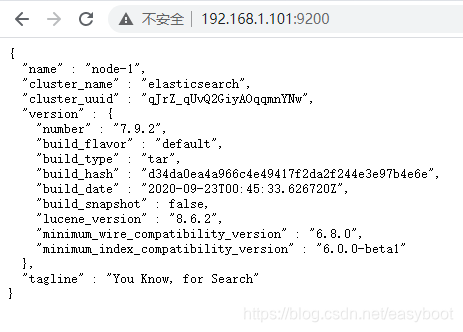
bin/elasticsearch下面是启动成功后的界面。
在浏览器中查看


 被折叠的 条评论
为什么被折叠?
被折叠的 条评论
为什么被折叠?
 到【灌水乐园】发言


