


===========================================================================
onMeasure()
遍历自己的子View对自己的每一个子View进行measure,绝大多数时候对子View的measure都可以直接用measureChild()这个方法来替代。确定子View的宽高和自己的宽高以后 再调用setMeasuredDimension将ViewGroup自身的宽和高传给它的父View,才可以继续写onLayout()方法。
onSizeChanged()
在onMeasure()后执行,只有大小发生了变化才会执行onSizeChange()。
onLayout()
排列所有子View的位置,通过getChildCount()获取所有子view,getChildAt获取childview调用各自的layout(int l, int t, int r, int b)方法来排列自己。
onDraw()
自定义ViewGroup默认不会触发onDraw方法,需要设置背景色或者setWillNotDraw(false)来手动触发。
注意: ViewGroup的onLayout()方法是必须重写的,而onDraw()方法默认是不会调用。如果想执行onDraw方法,可以通过下面两种方法:
-
1.设置透明背景:
-
在构造函数中:setBackgroundColor(Color.TRANSPARENT);
-
在xml中:android:background=“@color/transparent”
-
2.在构造函数中添加setWillNotDraw(false)不进行自行绘制View。
下面咱们写一个简单的栗子,先看效果图。
1.创建CustomLayout继承ViewGroup
/**
- 编写自定义ViewGroup的示例。
*/
public class CustomLayout extends ViewGroup {
// private int childHorizontalSpace = 20;
// private int childVerticalSpace = 20;
private int childHorizontalSpace;
private int childVerticalSpace;
//从代码创建视图时使用的简单构造函数。
public CustomLayout(Context context) {
super(context);
}
//从XML使用视图时调用的构造函数。
public CustomLayout(Context context, AttributeSet attrs) {
super(context, attrs);
TypedArray attrArray = context.obtainStyledAttributes(attrs, R.styleable.CustomLayout);
if (attrArray != null) {
childHorizontalSpace = attrArray.getDimensionPixelSize(R.styleable.CustomLayout_horizontalSpace, 12);
childVerticalSpace = attrArray.getDimensionPixelSize(R.styleable.CustomLayout_verticalSpace, 12);
MLog.e(getClass().getName(),“HorizontalSpace:”+childHorizontalSpace+“|VerticalSpace:”+childVerticalSpace);
attrArray.recycle();
}
//此视图是否自行绘制
setWillNotDraw(false);
}
/**
- 负责设置子控件的测量模式和大小 根据所有子控件设置自己的宽和高
*/
@Override
protected void onMeasure(int widthMeasureSpec, int heightMeasureSpec) {
super.onMeasure(widthMeasureSpec, heightMeasureSpec);
MLog.e(getClass().getName(),“onMeasure”);
// 获得它的父容器为它设置的测量模式和大小
int sizeWidth = MeasureSpec.getSize(widthMeasureSpec);
int sizeHeight = MeasureSpec.getSize(heightMeasureSpec);
int modeWidth = MeasureSpec.getMode(widthMeasureSpec);
int modeHeight = MeasureSpec.getMode(heightMeasureSpec);
// 如果是warp_content情况下,记录宽和高
int width = 0;
int height = 0;
//记录每一行的宽度,width不断取最大宽度
int lineWidth = 0;
//每一行的高度,累加至height
int lineHeight = 0;
int count = getChildCount();
int left = getPaddingLeft();
int top = getPaddingTop();
// 遍历每个子元素
for (int i = 0; i < count; i++) {
View child = getChildAt(i);
if (child.getVisibility() == GONE)
continue;
// 测量每一个child的宽和高
measureChild(child, widthMeasureSpec, heightMeasureSpec);
// 得到child的lp
ViewGroup.LayoutParams lp = child.getLayoutParams();
// 当前子空间实际占据的宽度
int childWidth = child.getMeasuredWidth() + childHorizontalSpace;
// 当前子空间实际占据的高度
int childHeight = child.getMeasuredHeight() + childVerticalSpace;
if (lp != null && lp instanceof MarginLayoutParams) {
MarginLayoutParams params = (MarginLayoutParams) lp;
childWidth += params.leftMargin + params.rightMargin;
childHeight += params.topMargin + params.bottomMargin;
}
//如果加入当前child,则超出最大宽度,则的到目前最大宽度给width,类加height 然后开启新行
if (lineWidth + childWidth > sizeWidth - getPaddingLeft() - getPaddingRight()) {
width = Math.max(lineWidth, childWidth);// 取最大的
lineWidth = childWidth; // 重新开启新行,开始记录
// 叠加当前高度,
height += lineHeight;
// 开启记录下一行的高度
lineHeight = childHeight;
child.setTag(new Location(left, top + height, childWidth + left - childHorizontalSpace, height + child.getMeasuredHeight() + top));
} else {
// 否则累加值lineWidth,lineHeight取最大高度
child.setTag(new Location(lineWidth + left, top + height, lineWidth + childWidth - childHorizontalSpace + left, height + child.getMeasuredHeight() + top));
lineWidth += childWidth;
lineHeight = Math.max(lineHeight, childHeight);
}
}
width = Math.max(width, lineWidth) + getPaddingLeft() + getPaddingRight();
height += lineHeight;
sizeHeight += getPaddingTop() + getPaddingBottom();
height += getPaddingTop() + getPaddingBottom();
setMeasuredDimension((modeWidth == MeasureSpec.EXACTLY) ? sizeWidth : width, (modeHeight == MeasureSpec.EXACTLY) ? sizeHeight : height);
}
/**
- 记录子控件的坐标
*/
public class Location {
public Location(int left, int top, int right, int bottom) {
this.left = left;
this.top = top;
this.right = right;
this.bottom = bottom;
}
public int left;
public int top;
public int right;
public int bottom;
}
//计算当前View以及子View的位置
@Override
protected void onLayout(boolean changed, int l, int t, int r, int b) {
MLog.e(getClass().getName(),“onLayout”);
//获取子View个数
int count = getChildCount();
for (int i = 0; i < count; i++) {
//获取子View
View child = getChildAt(i);
//判断是否显示
if (child.getVisibility() == GONE)
continue;
//获取子View的坐标
Location location = (Location) child.getTag();
//设置子View位置
child.layout(location.left, location.top, location.right, location.bottom);
}
}
@Override
protected void onSizeChanged(int w, int h, int oldw, int oldh) {
super.onSizeChanged(w, h, oldw, oldh);
MLog.e(getClass().getName(),“onSizeChanged”);
}
@Override
protected void onDraw(Canvas canvas) {
super.onDraw(canvas);
MLog.e(getClass().getName(),“onDraw”);
}
}
2.使用自定义CustomLayout
<?xml version="1.0" encoding="utf-8"?><com.scc.demo.view.CustomLayout xmlns:android=“http://schemas.android.com/apk/res/android”
xmlns:custom=“http://schemas.android.com/apk/res-auto”
android:layout_width=“match_parent”
android:layout_height=“match_parent”
android:layout_margin=“@dimen/dimen_20”
custom:horizontalSpace=“10dp”
custom:verticalSpace=“20dp”>
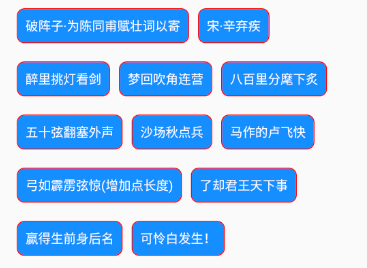
<TextView
style=“@style/TvStyle”
android:text=“破阵子·为陈同甫赋壮词以寄” />
<TextView
style=“@style/TvStyle”
android:text=“宋·辛弃疾” />
<TextView
style=“@style/TvStyle”
android:text=“醉里挑灯看剑” />
<TextView
自我介绍一下,小编13年上海交大毕业,曾经在小公司待过,也去过华为、OPPO等大厂,18年进入阿里一直到现在。
深知大多数Android工程师,想要提升技能,往往是自己摸索成长或者是报班学习,但对于培训机构动则几千的学费,着实压力不小。自己不成体系的自学效果低效又漫长,而且极易碰到天花板技术停滞不前!
因此收集整理了一份《2024年Android移动开发全套学习资料》,初衷也很简单,就是希望能够帮助到想自学提升又不知道该从何学起的朋友,同时减轻大家的负担。
既有适合小白学习的零基础资料,也有适合3年以上经验的小伙伴深入学习提升的进阶课程,基本涵盖了95%以上Android开发知识点,真正体系化!
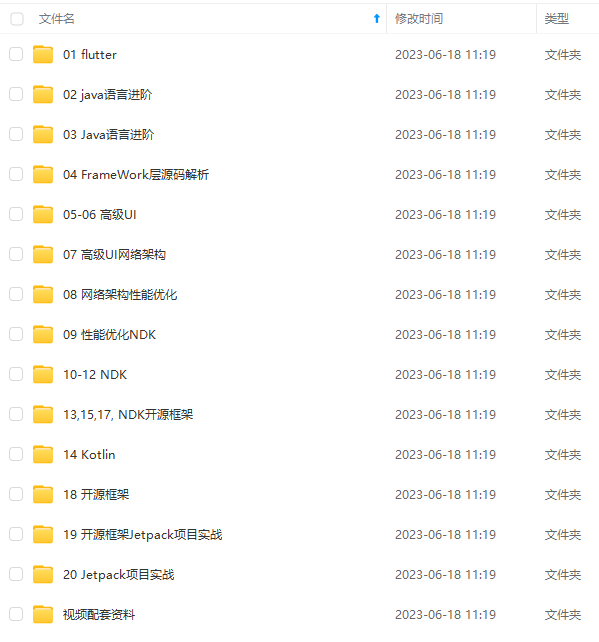
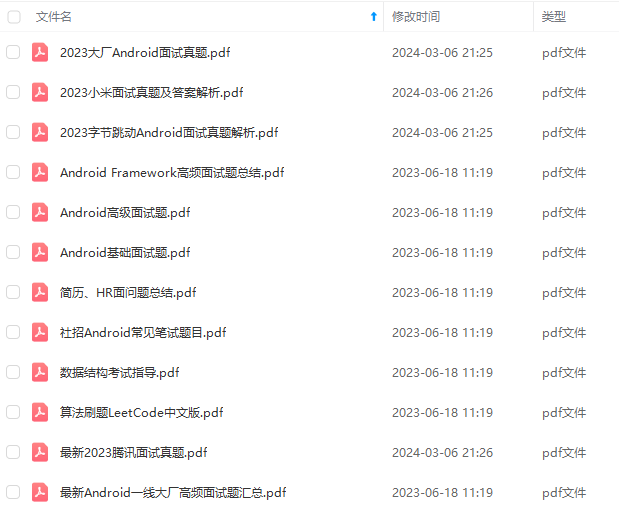
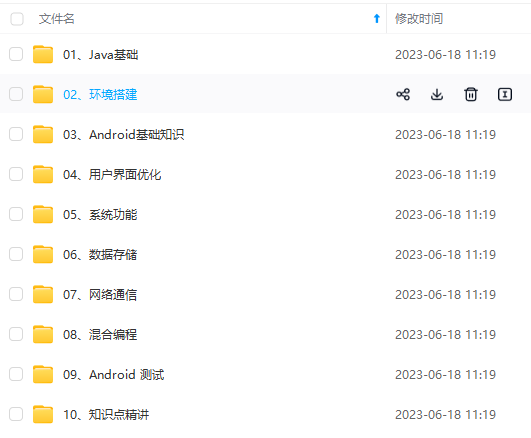
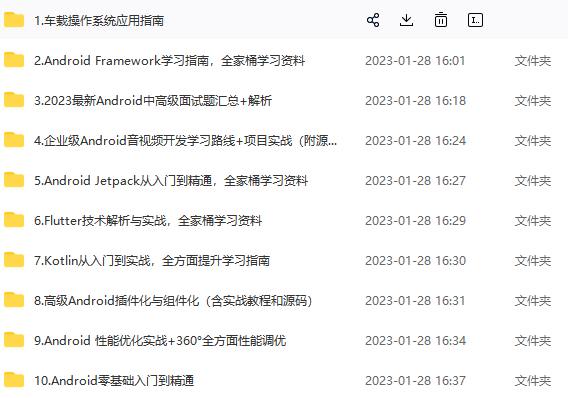
由于文件比较大,这里只是将部分目录大纲截图出来,每个节点里面都包含大厂面经、学习笔记、源码讲义、实战项目、讲解视频,并且后续会持续更新
如果你觉得这些内容对你有帮助,可以添加V获取:vip204888 (备注Android)

最后
感谢您的阅读,在文末给大家准备一个福利。本人从事Android开发已经有十余年,算是一名资深的移动开发架构师了吧。根据我的观察发现,对于很多初中级Android工程师而言,想要提升技能,往往是自己摸索成长,不成体系的学习效果低效漫长且无助。
所以在此将我十年载,从萌新小白一步步成长为Android移动开发架构师的学习笔记,从Android四大组件到手写实现一个架构设计,我都有一一的对应笔记为你讲解。
当然我也为你们整理好了百度、阿里、腾讯、字节跳动等等互联网超级大厂的历年面试真题集锦。这也是我这些年来养成的习惯,一定要学会把好的东西,归纳整理,然后系统的消化吸收,这样才能极大的提高学习效率和成长进阶。碎片、零散化的东西,我觉得最没有价值的。就好比你给我一张扑克牌,我只会觉得它是一张废纸,但如果你给我一副扑克牌,它便有了它的价值。这和我们收集资料就要收集那些系统化的,是一个道理。

最后,赠与大家一句诗,共勉!
不驰于空想,不骛于虚声。不忘初心,方得始终。
。根据我的观察发现,对于很多初中级Android工程师而言,想要提升技能,往往是自己摸索成长,不成体系的学习效果低效漫长且无助。
所以在此将我十年载,从萌新小白一步步成长为Android移动开发架构师的学习笔记,从Android四大组件到手写实现一个架构设计,我都有一一的对应笔记为你讲解。
当然我也为你们整理好了百度、阿里、腾讯、字节跳动等等互联网超级大厂的历年面试真题集锦。这也是我这些年来养成的习惯,一定要学会把好的东西,归纳整理,然后系统的消化吸收,这样才能极大的提高学习效率和成长进阶。碎片、零散化的东西,我觉得最没有价值的。就好比你给我一张扑克牌,我只会觉得它是一张废纸,但如果你给我一副扑克牌,它便有了它的价值。这和我们收集资料就要收集那些系统化的,是一个道理。
[外链图片转存中…(img-GLu4Ik1p-1712071951200)]
最后,赠与大家一句诗,共勉!
不驰于空想,不骛于虚声。不忘初心,方得始终。


 1174
1174


 被折叠的 条评论
为什么被折叠?
被折叠的 条评论
为什么被折叠?
 到【灌水乐园】发言


