


最近学习web安全方面的知识的时候,用到spring Security3.2.5,由于书上、网上写的版本比较落后,所以没少走弯路,经过两个晚上的艰苦奋战终于将Security首个demo拿下,打算写一个系列文章,来记录学习的过程!
准备工作:
spring4的jar包:http://repo.spring.io/libs-release-local/org/springframework/spring/
spring Security3.2.5的jar包:http://maven.springframework.org/release/org/springframework/security/spring-security/
一、需要引入的jar包(也许不是最精简的):
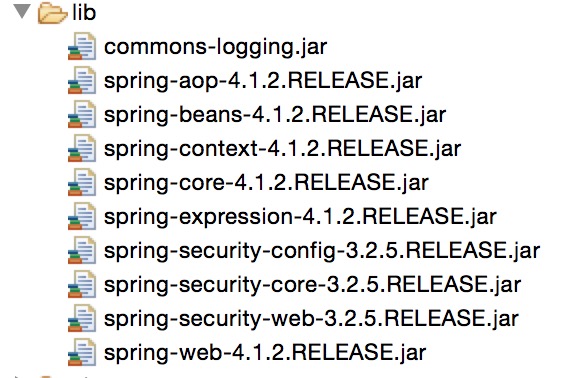
二、在根目录下(别告诉我你不知道)新建两个XML配置文件:
applicationContext-security.xml和applicationContext.xml(名字随便,在web.xml中配置就好了)
其中applicationContext.xml的内容为:
<beans xmlns="http://www.springframework.org/schema/beans"
  xmlns:security="http://www.springframework.org/schema/security"
  xmlns:xsi="http://www.w3.org/2001/XMLSchema-instance"
  xsi:schemaLocation="http://www.springframework.org/schema/beans
          http://www.springframework.org/schema/beans/spring-beans-3.0.xsd
          http://www.springframework.org/schema/security
          http://www.springframework.org/schema/security/spring-security.xsd">
          <!-- 此配置文件配置以 “security:”作为前缀的元素至于此处 -->
</beans>
<beans:beans xmlns="http://www.springframework.org/schema/security"
	xmlns:beans="http://www.springframework.org/schema/beans"
	xmlns:xsi="http://www.w3.org/2001/XMLSchema-instance"
	xsi:schemaLocation="http://www.springframework.org/schema/beans
           http://www.springframework.org/schema/beans/spring-beans-3.0.xsd
           http://www.springframework.org/schema/security
           http://www.springframework.org/schema/security/spring-security.xsd">

	<!-- 存放不带任何前缀的安全性配置元素 -->

	<!-- spring-security赠送一个登陆页面 -->
	<http>
	<!-- 拦截所有请求,只有ROLE_USER的用户输入用户名和密码后才能登陆 -->
		<intercept-url pattern="/**" access="ROLE_USER" />
		<form-login />
		<logout />
	</http>

	<authentication-manager>
		<authentication-provider>
			<user-service>
				<!-- 配置了ROLE_USER, ROLE_ADMIN 角色的用户名和密码-->
				<user name="jimi" password="1234" authorities="ROLE_USER, ROLE_ADMIN" />
				<user name="bob" password="5678" authorities="ROLE_USER" />
			</user-service>
		</authentication-provider>
	</authentication-manager>
</beans:beans>
<?xml version="1.0" encoding="UTF-8"?>
<web-app xmlns:xsi="http://www.w3.org/2001/XMLSchema-instance"
	xmlns="http://java.sun.com/xml/ns/javaee" xmlns:web="http://java.sun.com/xml/ns/javaee/web-app_2_5.xsd"
	xsi:schemaLocation="http://java.sun.com/xml/ns/javaee http://java.sun.com/xml/ns/javaee/web-app_3_0.xsd"
	version="3.0">
	<display-name>springSecurity</display-name>


	<context-param>
		<param-name>contextConfigLocation</param-name>
		<param-value>
	        classpath:applicationContext-security.xml
    	</param-value>
	</context-param>

	<!-- ContextLoaderListener的作用就是启动Web容器时,自动装配ApplicationContext的配置信息 -->
	<listener>
		<listener-class>org.springframework.web.context.ContextLoaderListener</listener-class>
	</listener>

	<!-- 代理Servlet过滤器 -->
	<filter>
		<filter-name>springSecurityFilterChain</filter-name>
		<filter-class>org.springframework.web.filter.DelegatingFilterProxy</filter-class>
	</filter>

	<!-- 拦截所有请求 -->
	<filter-mapping>
		<filter-name>springSecurityFilterChain</filter-name>
		<url-pattern>/*</url-pattern>
	</filter-mapping>

	<welcome-file-list>
		<welcome-file>index.jsp</welcome-file>
	</welcome-file-list>
</web-app>
至此,一个简单的spring Security就配置完成了,然后发不到tomcat中,访问地址:http://localhost:8080/项目名称
然后就会跳转到Security赠送的登陆页面了
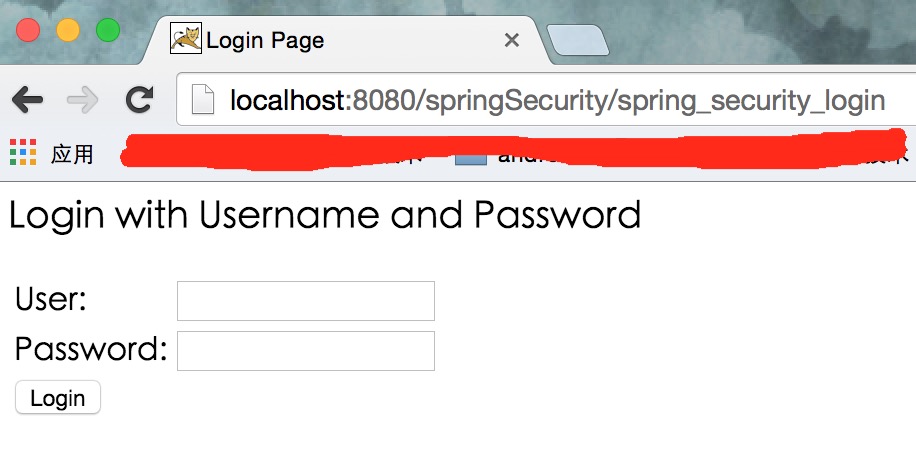
最后:输入我们在applicationContext-security.xml配置文件中配置的账户和密码就可以登陆了,然后跳转到我们在web.xml中配置的index.jsp页面
如需转载请著名出处:http://blog.csdn.net/etdgcb123/article/details/41855767


 2万+
2万+

 被折叠的 条评论
为什么被折叠?
被折叠的 条评论
为什么被折叠?
 到【灌水乐园】发言


