


麻烦的问题,整了我0.2坤天
注:这个方法并不完美
修改/etc/my.cnf,添加skip-grant-tables
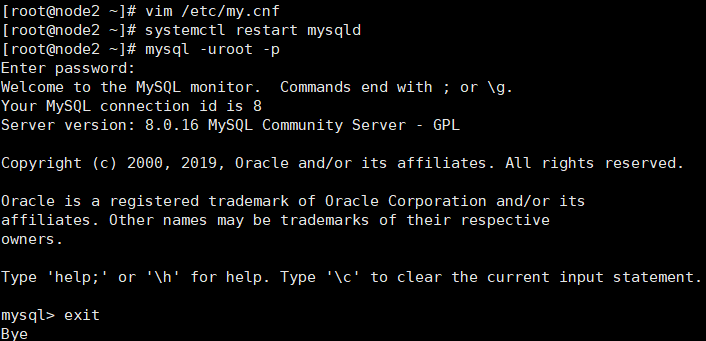
vim /etc/my.cnf
# 文件末尾添加一行 skip-grant-tables
重启mysql
systemctl restart mysqld免密登陆mysql
mysql -uroot修改密码
将mysql.user表中存储的root密码改成加密后的'123456'
mysql> update mysql.user set authentication_string='*6BB4837EB74329105EE4568DDA7DC67ED2CA2AD9' where user='root';四个步骤弄完之后,把/etc/my.cnf添加的skip-grant-tables删掉,重启mysql正常登陆即可
若过程出错或者还是登陆不了,可能与密码策略、加密规则、user表中的host字段也有关
在skip-grant-tables模式下操作
set global validate_password.policy=0;
set global validate_password.length=1;
update mysql.user set plugin='mysql_native_password' where user='root';
update mysql.user set host='%' where user ='root';
flush privileges;


 938
938


 被折叠的 条评论
为什么被折叠?
被折叠的 条评论
为什么被折叠?
 到【灌水乐园】发言


