


electron安装及快速创建
electron是一个使用 JavaScript、HTML 和 CSS 构建桌面应用程序的框架。
详细内容见官网:https://www.electronjs.org/zh/docs/latest/。
今天来记录下练习中的安装过程和hello world的创建。
- 创建项目文件夹,并执行npm 初始化命令。
初始化过程中,会填写一些信息:entry point 应为 main.js,author 与 description 是打包是必填项。
npm init
- 将electron 依赖到项目中,由于官方地址出现网络问题,需要修改镜像地址。
创建文件.npmrc,并添加如下内容:
ELECTRON_MIRROR="https://npmmirror.com/mirrors/electron/"
- 执行命令:
npm install electron --save-dev
- 确保package.json文件中有如下内容,用于后续启动项目:
{
  "scripts": {
    "start": "electron ."
  }
}
- 创建main.js
// Modules to control application life and create native browser window
const { app, BrowserWindow } = require('electron')
const path = require('node:path')

const createWindow = () => {
  // Create the browser window.
  const mainWindow = new BrowserWindow({
    width: 800,
    height: 600,
    webPreferences: {
      preload: path.join(__dirname, 'preload.js'),
      nodeIntegration: true,
      contextIsolation:false
    }
  })

  // 加载 index.html
  mainWindow.loadFile('index.html')

  // 打开开发工具
  // mainWindow.webContents.openDevTools()
}

// 这段程序将会在 Electron 结束初始化
// 和创建浏览器窗口的时候调用
// 部分 API 在 ready 事件触发后才能使用。
app.whenReady().then(() => {
  createWindow()

  app.on('activate', () => {
    // 在 macOS 系统内, 如果没有已开启的应用窗口
    // 点击托盘图标时通常会重新创建一个新窗口
    if (BrowserWindow.getAllWindows().length === 0) createWindow()
  })
})

// 除了 macOS 外,当所有窗口都被关闭的时候退出程序。 因此, 通常
// 对应用程序和它们的菜单栏来说应该时刻保持激活状态,
// 直到用户使用 Cmd + Q 明确退出
app.on('window-all-closed', () => {
  if (process.platform !== 'darwin') app.quit()
})

// 在当前文件中你可以引入所有的主进程代码
// 也可以拆分成几个文件,然后用 require 导入。
- 创建index.html
<!--index.html-->
<!DOCTYPE html>
<html lang="en">
  <head>
    <meta charset="UTF-8">
    <!-- https://developer.mozilla.org/en-US/docs/Web/HTTP/CSP -->
    <meta http-equiv="Content-Security-Policy" content="default-src 'self'; script-src 'self'">
    <title>Hello World!</title>
  </head>
  <body>
    <h1>Hello World!</h1>
    We are using Node.js <span id="node-version"></span>,
    Chromium <span id="chrome-version"></span>,
    and Electron <span id="electron-version"></span>.

    <!--您也可以此进程中运行其他文件 -->
    <script src="./renderer.js"></script>
  </body>
</html>
- 创建preload.js
// 所有的 Node.js API接口 都可以在 preload 进程中被调用.
// 它拥有与Chrome扩展一样的沙盒。
window.addEventListener('DOMContentLoaded', () => {
  const replaceText = (selector, text) => {
    const element = document.getElementById(selector)
    if (element) element.innerText = text
  }

  for (const dependency of ['chrome', 'node', 'electron']) {
    replaceText(`${dependency}-version`, process.versions[dependency])
  }
})
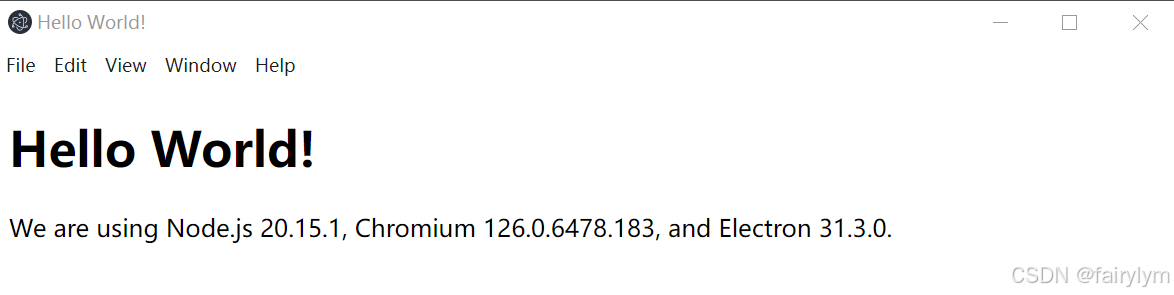
- 执行启动命令看效果
npm start
- 打包,以下命令逐行执行后,会产生out文件夹,里面是打包文件。
	npm install --save-dev @electron-forge/cli
	npx electron-forge import
	npm run make
- 再记录下关于报错【Uncaught ReferenceError: require is not defined】的解决方法:(1)先确定main.js里new BrowserWindow的webPreferences里是否包含nodeIntegration: true和contextIsolation:false,如下代码。(2)如果没有效果,再加上执行命令npm install -g browserify。
const createWindow = () => {
  // Create the browser window.
  const mainWindow = new BrowserWindow({
    width: 800,
    height: 600,
    webPreferences: {
      preload: path.join(__dirname, 'preload.js'),
      nodeIntegration: true,
      contextIsolation:false
    }
  })


 499
499

 被折叠的 条评论
为什么被折叠?
被折叠的 条评论
为什么被折叠?
 到【灌水乐园】发言


