opencv2的第一个测试小程序

#include<opencv2/core/core.hpp>
#include<opencv2/highgui/highgui.hpp>

int main()
{
 cv::Mat image;//(240,320,CV_8U,cv::Scalar(100));
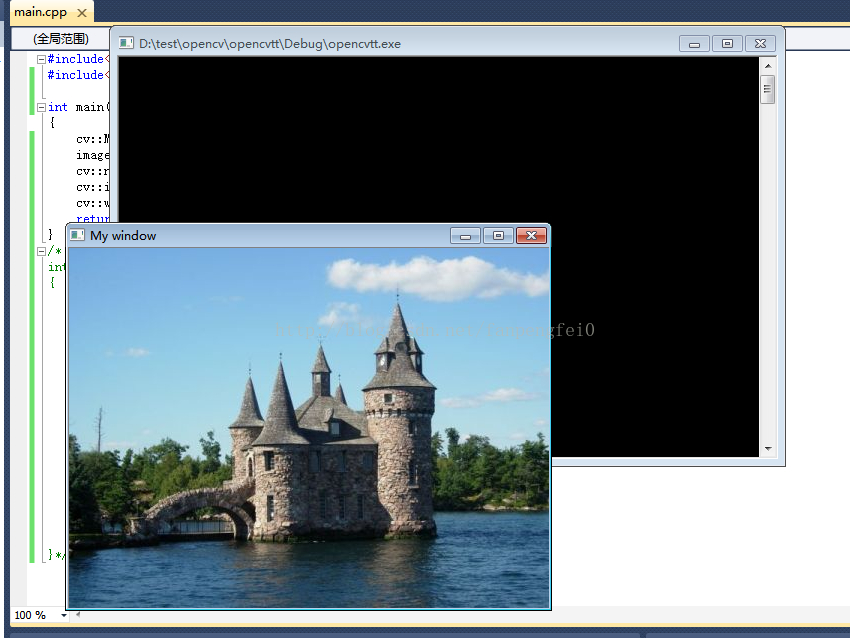
 image=cv::imread("D:\\test\\opencv\\img.jpg");//,CV_LOAD_IMAGE_COLOR);
 cv::namedWindow("My window");//,CV_WINDOW_AUTOSIZE );
 cv::imshow("My window",image);
 cv::waitKey(5000);
 return 0;
}


  • 0
    点赞
  • 1
    收藏
    觉得还不错? 一键收藏
  • 0
    评论
以下是一个基于dlib库的Python人脸对齐程序: ``` python # 导入必要的库 import cv2 import dlib import numpy as np # 初始化dlib的面部检测器和68个面部关键点预测器 detector = dlib.get_frontal_face_detector() predictor = dlib.shape_predictor('shape_predictor_68_face_landmarks.dat') # 定义人脸对齐函数 def align_face(img): gray = cv2.cvtColor(img, cv2.COLOR_BGR2GRAY) faces = detector(gray) # 如果没有检测到面部,则返回原始图像 if len(faces) == 0: return img # 获取第一个检测到的面部关键点 shape = predictor(gray, faces[0]) shape = np.array([(p.x, p.y) for p in shape.parts()]) # 计算眼睛中心点 left_eye = shape[36:42].mean(axis=0).astype(np.int) right_eye = shape[42:48].mean(axis=0).astype(np.int) # 计算角度和缩放比例 dx = right_eye[0] - left_eye[0] dy = right_eye[1] - left_eye[1] angle = np.degrees(np.arctan2(dy, dx)) scale = 1.0 # 计算仿射矩阵 center = tuple(left_eye) M = cv2.getRotationMatrix2D(center, angle, scale) # 计算输出图像大小 output_size = img.shape[:2] # 进行仿射变换 aligned_img = cv2.warpAffine(img, M, output_size, flags=cv2.INTER_LINEAR, borderMode=cv2.BORDER_CONSTANT, borderValue=(0, 0, 0)) return aligned_img # 加载测试图像 img = cv2.imread('test.jpg') # 对齐图像 aligned_img = align_face(img) # 显示结果 cv2.imshow('Original', img) cv2.imshow('Aligned', aligned_img) cv2.waitKey(0) cv2.destroyAllWindows() ``` 这个程序会对输入的图像进行人脸检测和关键点提取,然后计算眼睛中心点,并根据眼睛中心点的位置和角度进行仿射变换以对齐人脸。

“相关推荐”对你有帮助么?

  • 非常没帮助
  • 没帮助
  • 一般
  • 有帮助
  • 非常有帮助
提交
评论
添加红包

请填写红包祝福语或标题

红包个数最小为10个

红包金额最低5元

当前余额3.43前往充值 >
需支付:10.00
成就一亿技术人!
领取后你会自动成为博主和红包主的粉丝 规则
hope_wisdom
发出的红包
实付
使用余额支付
点击重新获取
扫码支付
钱包余额 0

抵扣说明:

1.余额是钱包充值的虚拟货币,按照1:1的比例进行支付金额的抵扣。
2.余额无法直接购买下载,可以购买VIP、付费专栏及课程。

余额充值