


Android沉浸式状态栏
ONE Goal ,ONE Passion!
同事突然让我看了一个效果.想了好久该怎么去实现.突然想起来,我去,这不就是沉浸式状态栏嘛!
关于沉浸式状态栏的实现,其实只需要几步就行了.
第一步:
首先设置窗体的一些属性:
 //透明状态栏   getWindow().addFlags(WindowManager.LayoutParams.FLAG_TRANSLUCENT_STATUS);
 //透明导航栏
getWindow().addFlags(WindowManager.LayoutParams.FLAG_TRANSLUCENT_NAVIGATION);

 setContentView(R.layout.activity_main);
这两行代码写在onCreate方法中就行了.
第二步:
对xml布局文件做一些处理:
<?xml version="1.0" encoding="utf-8"?>
<RelativeLayout xmlns:android="http://schemas.android.com/apk/res/android"
    xmlns:tools="http://schemas.android.com/tools"
    android:layout_width="match_parent"
    android:layout_height="match_parent"
    android:background="#fff"
    tools:context=".MainActivity">

    <TextView

        android:fitsSystemWindows="true"
        android:clipToPadding="true"

        android:layout_width="match_parent"
        android:layout_height="wrap_content"
        android:background="#ff0000"
        android:text="你见过我的小熊吗"/>
</RelativeLayout>
特别要注意两点:
a.一点要在最顶部的组件中加上下面两个属性
android:fitsSystemWindows这个属性,主要是通过调整当前设置这个属性的view的padding去为我们的状态栏留下空间。

 android:fitsSystemWindows="true"
 android:clipToPadding="true"
b. 组件的高度一定要设置成:
android:layout_height=”wrap_content”
如果设置固定的高度会出现一些问题.
贴出一些效果:
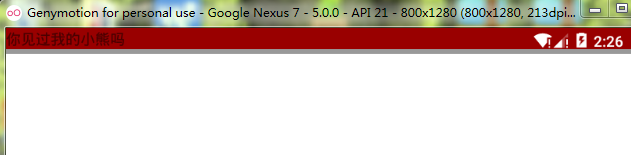
1, 如果布局不添加:
android:fitsSystemWindows=”true”属性
<?xml version="1.0" encoding="utf-8"?>
<RelativeLayout xmlns:android="http://schemas.android.com/apk/res/android"
    xmlns:tools="http://schemas.android.com/tools"
    android:layout_width="match_parent"
    android:layout_height="match_parent"
    android:background="#fff"
    tools:context=".MainActivity">

    <TextView

        android:clipToPadding="true"
        android:layout_width="match_parent"
        android:layout_height="wrap_content"
        android:background="#ff0000"
        android:text="你见过我的小熊吗"/>
</RelativeLayout>
效果如下:
2,如果布局中将高度设置成固定值.
我这里设置成了 android:layout_height=”85dp”
效果如下:
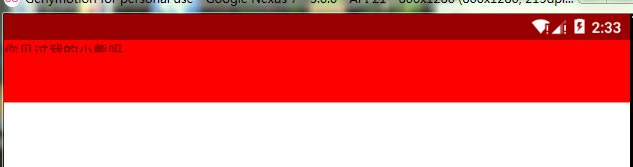
注意: 字体没有完全显示出来.如果设置成90或100dp是可以显示的.我也不知道是什么情况.
所以一定要将高度设置成 wrap_content
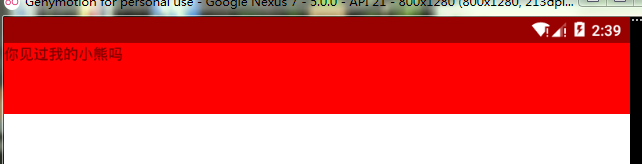
3.正常的运行结果是:
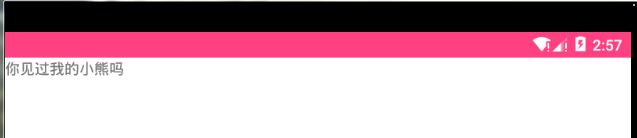
代码去设置状态栏的颜色
      //设置状态栏颜色
getWindow().setStatusBarColor(getResources().getColor(R.color.colorAccent));
setContentView(R.layout.activity_main);
千万不要加 设置透明状态栏,透明导航栏那两行代码.只加这一局代码就行.
效果图如下:
好了.这基本就搞定了.


 382
382

 被折叠的 条评论
为什么被折叠?
被折叠的 条评论
为什么被折叠?
 到【灌水乐园】发言


