


上一篇:https://blog.csdn.net/fengxianaa/article/details/124697101
5. 自定义登录页面
1. 准备登陆页面
static.zip地址:springsecurity学习使用的静态文件-Java文档类资源-CSDN下载
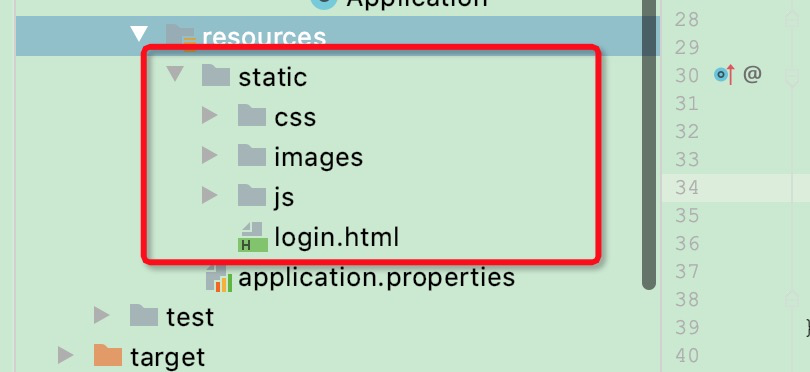
这个 static.zip 解压后是这样子的

里面的 login.html 就是我们的登陆页面
把 static 文件夹复制到 项目中的 resource 文件夹下
2. 修改 SecurityConfig
让 SecurityConfig 继承 WebSecurityConfigurerAdapter
@Configuration
public class SecurityConfig extends WebSecurityConfigurerAdapter {
/**
* 声明一个 PasswordEncoder ,这样数据库存储的密码就不需要 "{加密方式}",这样的前缀
* @return
*/
@Bean
public PasswordEncoder passwordEncoder(){
return new BCryptPasswordEncoder();
}
@Override
public void configure(WebSecurity web) throws Exception {
// 静态资源不用验证
web.ignoring().antMatchers("/js/**", "/css/**","/images/**");
}
@Override
protected void configure(HttpSecurity http) throws Exception {
http.authorizeRequests()// 开始认证
.anyRequest().authenticated()// 任何请求都需要认证
.and()
// form 表单认证,自定义登录页面,不需要认证
.formLogin().loginPage("/login.html").permitAll()
.and()
.csrf().disable();//关闭 csrf,后面讨论
}
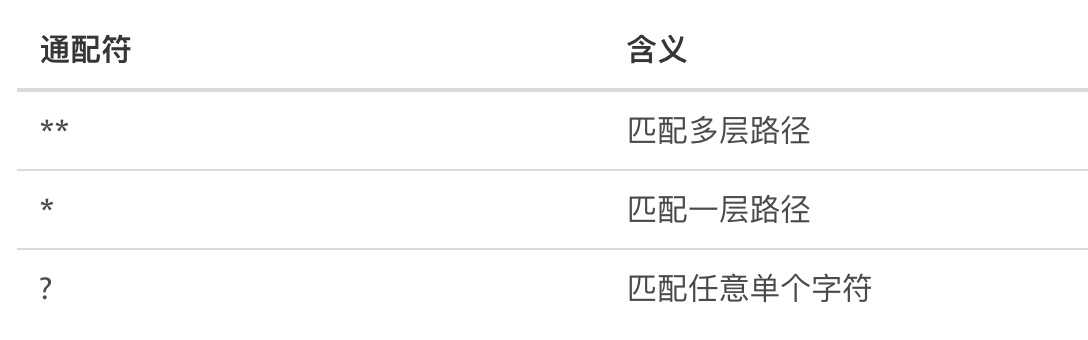
}上面代码 antMatchers 方法中 表达式采用了 Ant 风格的路径匹配符:
3. 重启项目
浏览器访问:http://localhost:8080/sec,就会自动跳转到我们到 login.html
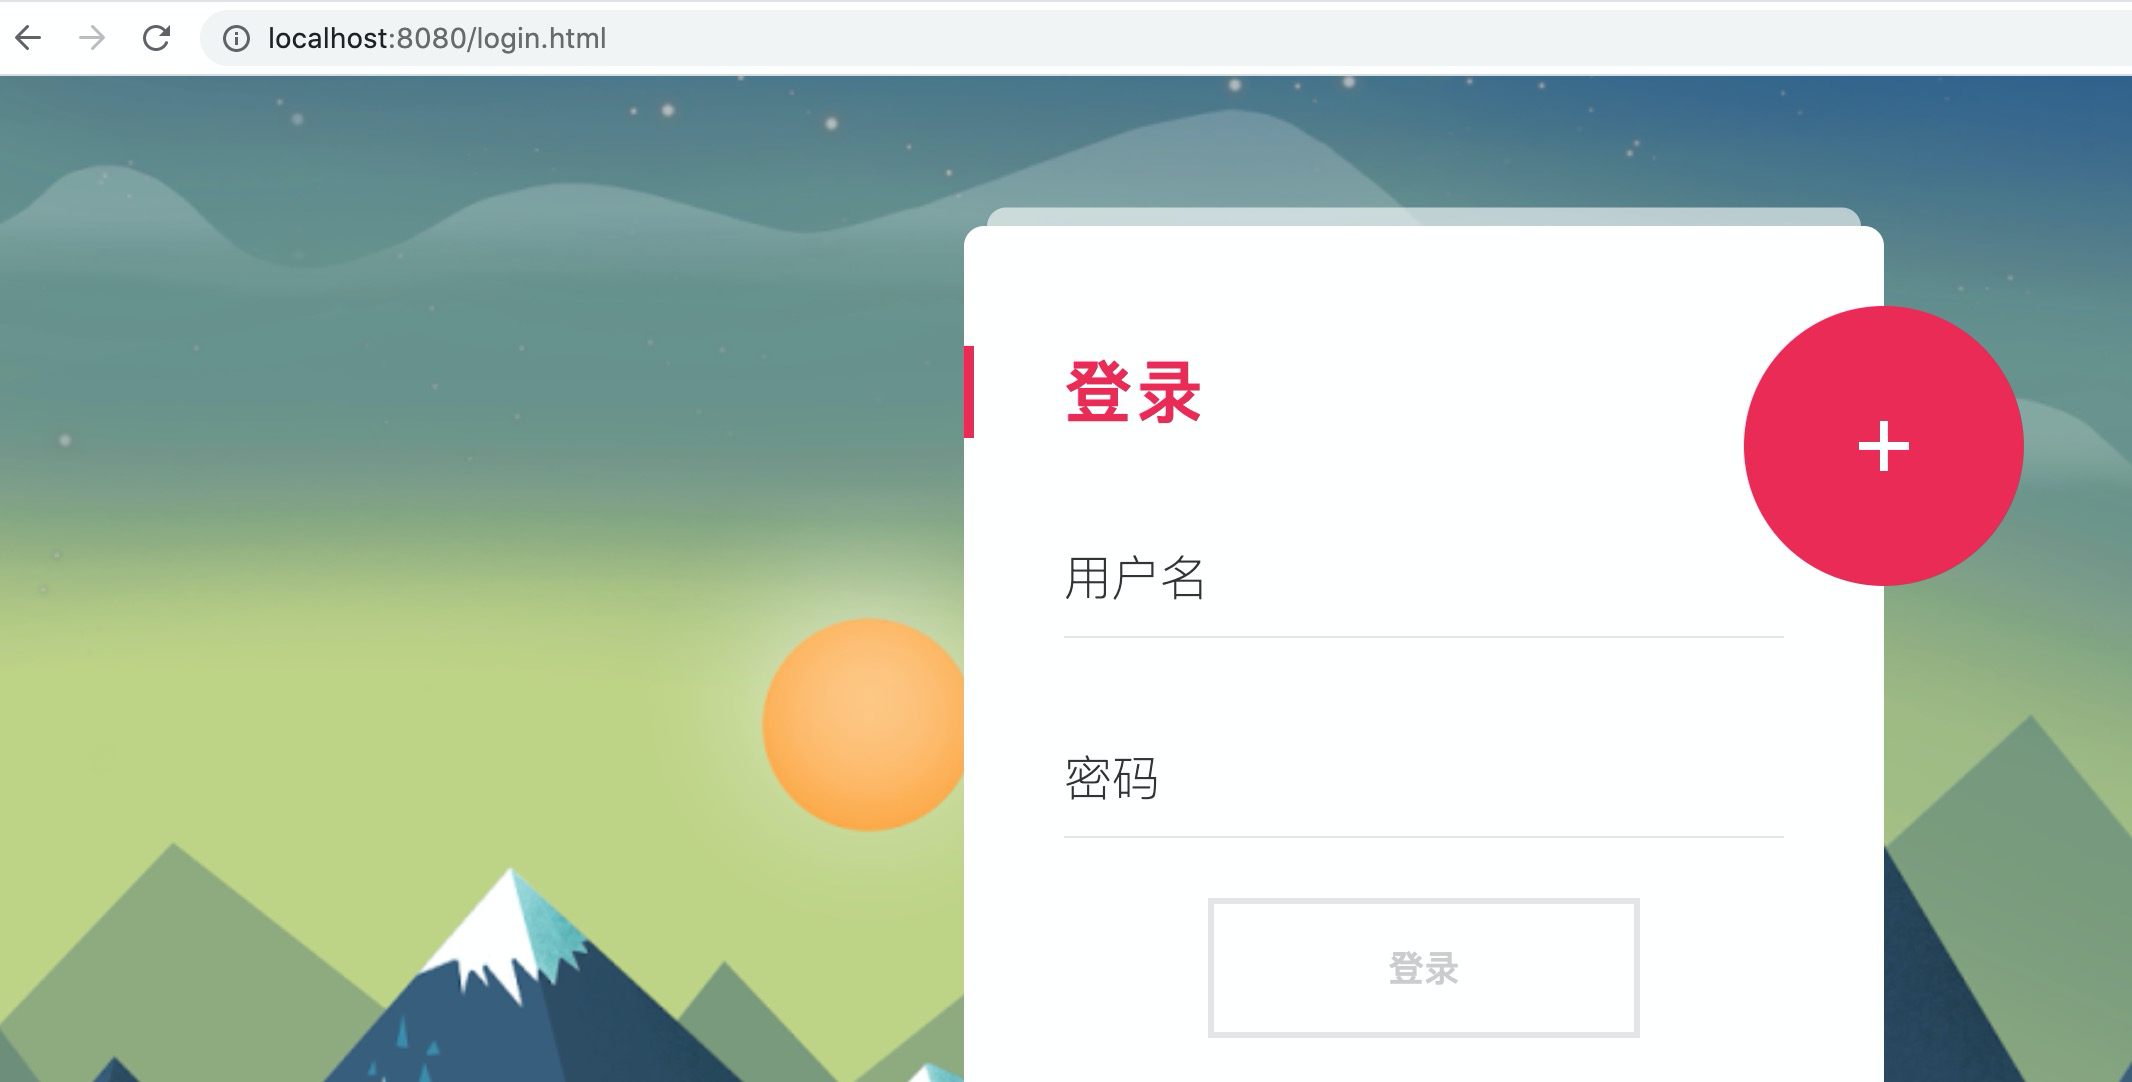
输入用户名、密码就可登陆
6. 自定义登录接口
通过配置 loginProcessingUrl 自定义登录接口
.and()
.formLogin()
.loginPage("/login.html")
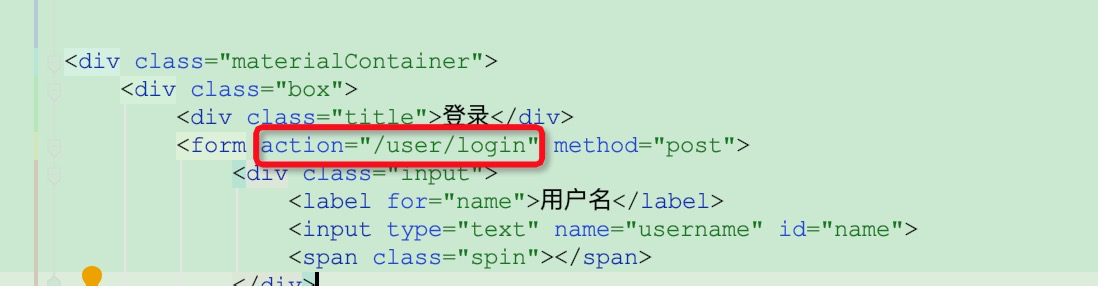
.loginProcessingUrl("/user/login")// 指定登录的接口
.permitAll()
.and()上面的配置了 /user/login,也就是我们的 form 表单需要把数据提交到这个接口,所以还要修改 login.html
然后重启项目,依然可以正常访问
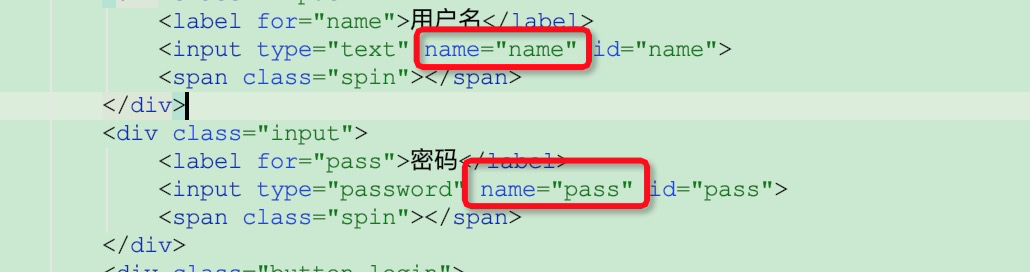
7. 登录参数
默认情况下登录表单中的参数是 username 和 password,这个不能变。这是因为,spring security 在框架中定死的
如果要自己设置,需要:
.and()
.formLogin()
.loginPage("/login.html")
.loginProcessingUrl("/user/login")
.usernameParameter("name")//用户名
.passwordParameter("pass")//密码
.permitAll()
.and()
同时也需要修改 login.html
8. 登录回调
登录成功后需要跳转到指定的页面
1. 成功回调
在 Spring Security 中,登录成功后,重定向 URL 的方法有两个:
defaultSuccessUrl、successForwardUrl
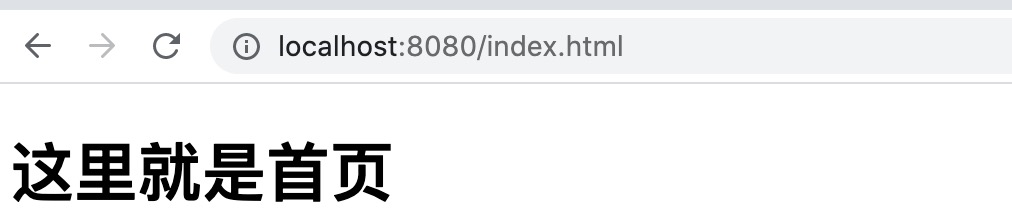
准备,先搞一个 index.html 作为首页,我们搞的简单一些
<!DOCTYPE html>
<html lang="zh-CN">
<head>
    <meta charset="UTF-8">
    <title>Spring Security</title>
</head>
<body>
<h1>这里就是首页</h1>
</body>
</html>
把 index.html 放到项目中的 resource 文件夹下

1. defaultSuccessUrl
- defaultSuccessUrl("/index",false);
- 如果在浏览器中输入的登录地址,登录成功后,就直接跳转到 /index
- 如果第二个参数设置为true,只要登录成功,就直接重定向到 /index
- 如果在浏览器中输入了其他地址,例如 http://localhost:8080/sec,因为没有登录,所以会重定向到登录页面,登录成功后,不会来到 /index ,而是来到 /sec 页面
- 它还有一个重载的方法,没有第二个参数,其实内部调用的就是:defaultSuccessUrl("/index",false);
-

修改代码:
.and()
    .formLogin().loginPage("/login.html")
    .loginProcessingUrl("/user/login")
    .usernameParameter("name")
    .passwordParameter("pass")
    .defaultSuccessUrl("/index.html",false)// 配置登陆成功后跳转
.permitAll()重启项目后,浏览器访问:http://localhost:8080/login.html,登陆成功后

退出登录后,浏览器访问:http://localhost:8080/sec,会跳转到登陆页面,再次登录:
不会跳转到首页

修改代码,只要登陆成功,一定会跳转到/index.html
.and()
    .formLogin().loginPage("/login.html")
    .loginProcessingUrl("/user/login")
    .usernameParameter("name")
    .passwordParameter("pass")
    .defaultSuccessUrl("/index.html",true)// 只要登陆成功,一定会跳转到/index.html
.permitAll()重启项目,浏览器访问:http://localhost:8080/sec,会跳转到登陆页面,再次登录:
2. successForwardUrl
successForwardUrl 没有那么麻烦,它的效果跟 defaultSuccessUrl("/index.html",true) 一样
代码:
.and()
    .formLogin().loginPage("/login.html")
    .loginProcessingUrl("/user/login")
    .usernameParameter("name")
    .passwordParameter("pass")
    .successForwardUrl("/index.html")// 只要登陆成功,一定会跳转到/index.html
    .permitAll()
演示:省略
2. 失败回调
与登录成功相似,登录失败也是有两个方法:
- failureUrl
- 登录失败之后,会发生重定向
- failureForwardUrl
- 登录失败之后会发生服务端转发
准备,先搞一个 fail.html 作为首页,我们搞的简单一些
<!DOCTYPE html>
<html lang="zh-CN">
<head>
    <meta charset="UTF-8">
    <title>Spring Security</title>
</head>
<body>
<h1>登录失败</h1>
</body>
</html>
把 fail.html 放到项目中的 resource 文件夹下
1. failureUrl
修改代码:
http.authorizeRequests()
    .antMatchers("/fail.html").permitAll()  // fail.html 这个请求不需要认证
    .anyRequest().authenticated()
    .and()
    .formLogin().loginPage("/login.html")
    .loginProcessingUrl("/user/login")
    .usernameParameter("name")
    .passwordParameter("pass")
    .defaultSuccessUrl("/index.html",false)
    .failureUrl("/fail.html")// 登陆跳转到 fail.html
    .permitAll()
    .and()
    .csrf().disable();
故意登录失败,结果:

事实上,重定向到百度都没问题:.failureUrl("http://www.baidu.com")

2. failureForwardUrl
修改代码:
http.authorizeRequests()
    .antMatchers("/fail.html").permitAll()  // fail.html 这个请求不需要认证
    .anyRequest().authenticated()
    .and()
    .formLogin().loginPage("/login.html")
    .loginProcessingUrl("/user/login")
    .usernameParameter("name")
    .passwordParameter("pass")
    .defaultSuccessUrl("/index.html",false)
    .failureForwardUrl("/fail")// 转发到 fail
    .permitAll()
    .and()
    .csrf().disable();
修改 SecController ,增加:
@PostMapping("/fail")
public String fail(){
    return "登陆失败";
}
故意登录失败,结果:

放开断点

如果想转发到百度:
@PostMapping("/fail")
public void fail(HttpServletResponse response) throws IOException {
    //因为我们的SecController上有@RestController注解,所以只能这样重定向
    response.sendRedirect("http://www.baidu.com");
}
登录失败后的结果:

另一种方式,新建一个Controller
@Controller
public class LoginFailController {

    //注意,需要把 SecController 中的 fail 注释掉
    @PostMapping("/fail")
    public String fail() throws IOException {
        // 重定向到百度
        return "redirect:http://www.baidu.com";
    }
}
这样,登录失败后就会重定向到百度
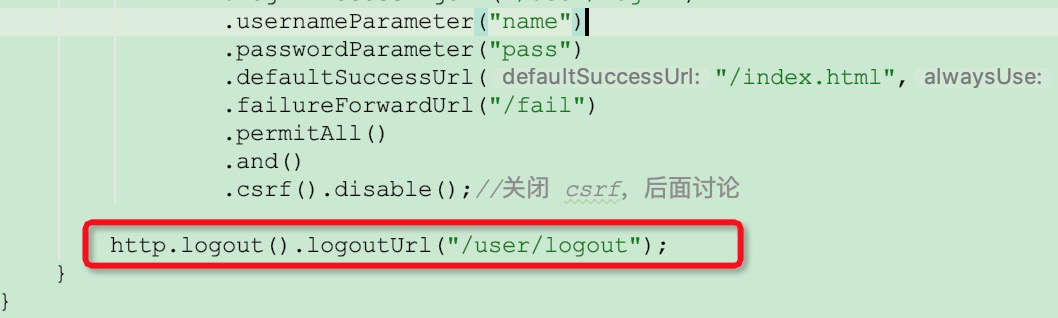
3. 注销登录
默认注销的 URL 是 /logout,也可以修改
不再演示
还有一个 logoutRequestMatcher 方法不仅可以修改注销 URL,还可以修改请求方式
http.logout() .logoutRequestMatcher(new AntPathRequestMatcher("/user/logout","POST"));
重启后,浏览器访问:http://localhost:8080/user/logout

因为是post请求,所以失败,这时候只能使用 postman 工具
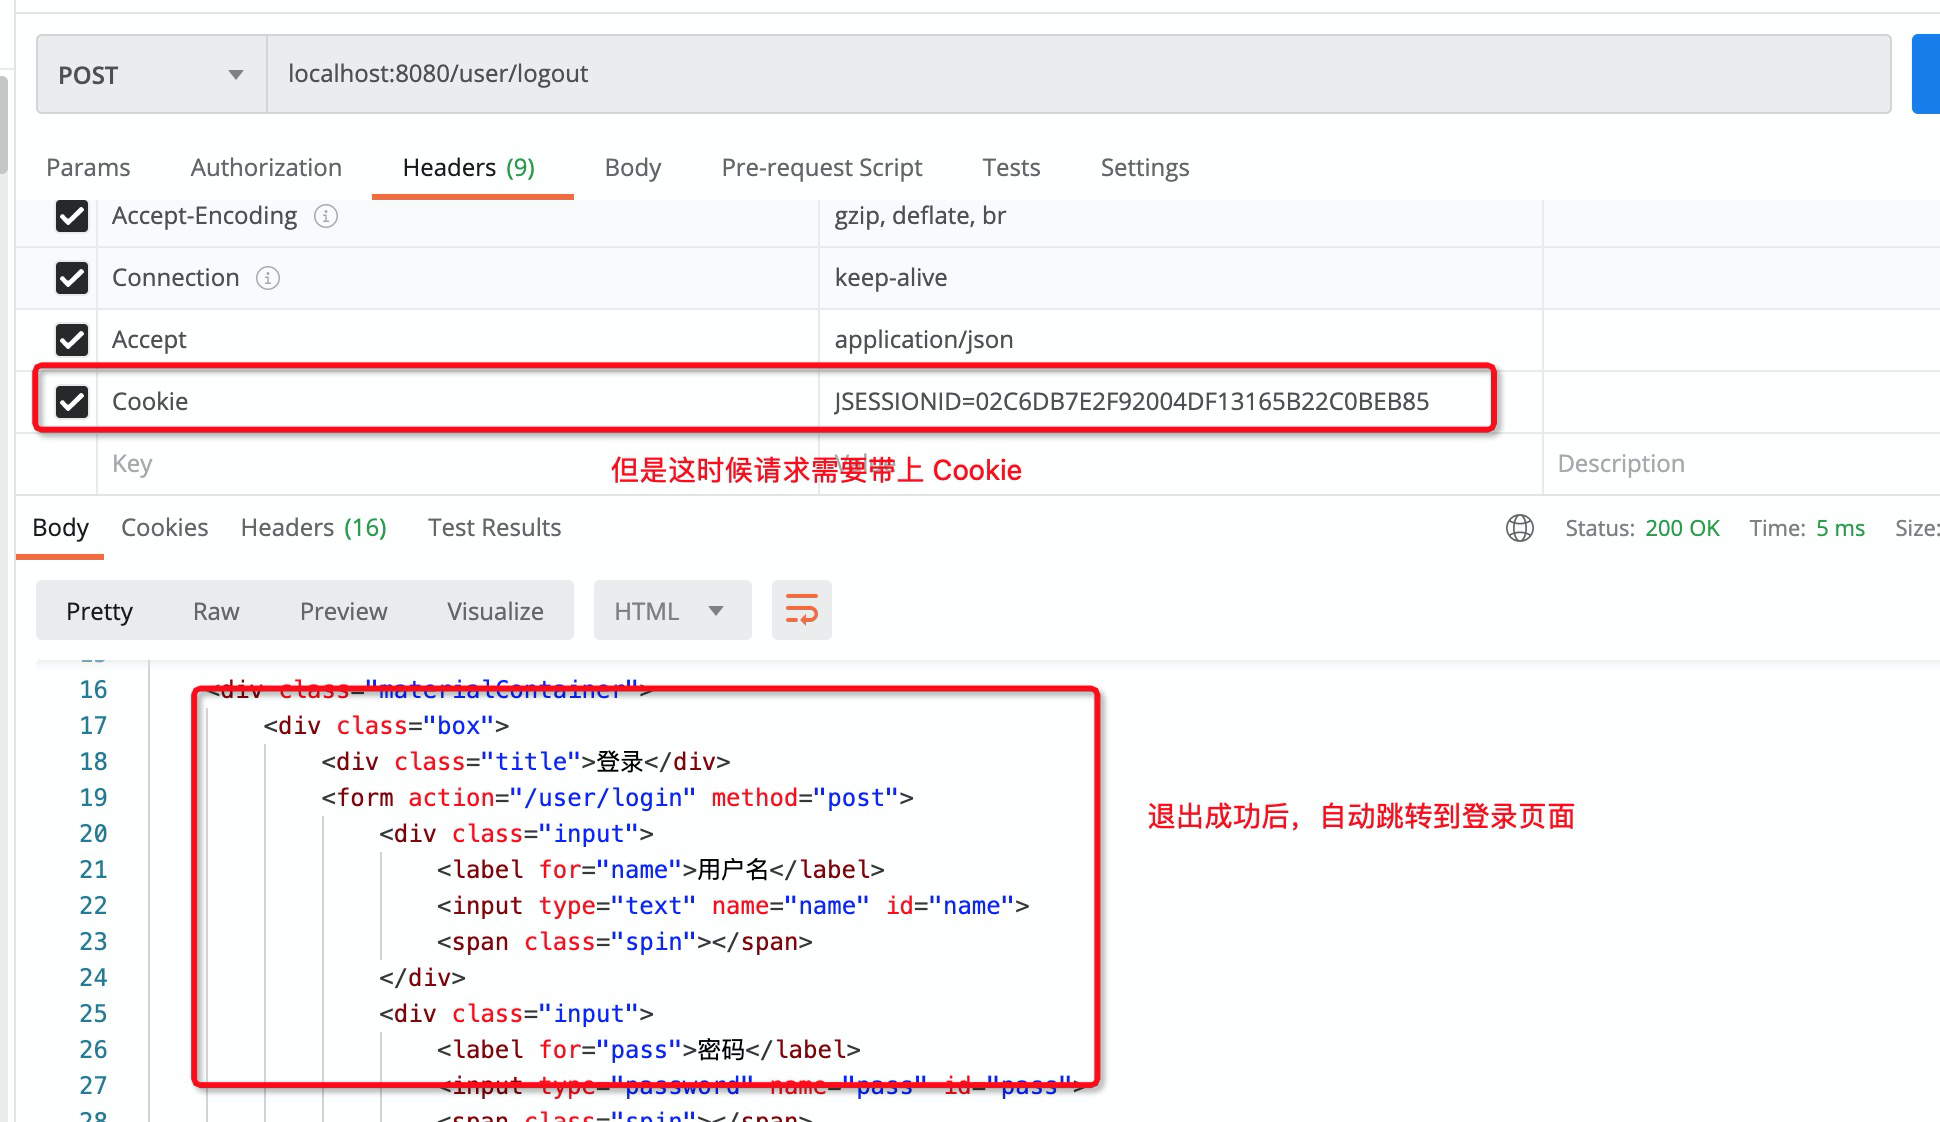
上图中 Cookie 的来源:访问 http://localhost:8080/sec,登陆成功后,在下图中可以找到Cookie

注意:实际中,logoutRequestMatcher方法和 logoutUrl 任意设置一个即可
logoutSuccessUrl 设置注销成功后要跳转的页面
http.logout().logoutUrl("/user/logout")
    // .logoutRequestMatcher(new AntPathRequestMatcher("/user/logout","POST")) 关闭这种方式,太麻烦
    .logoutSuccessUrl("/fail.html");// 退出后跳转到 fail.html
结果:

4. Remember Me
1. 介绍
Remember Me 即记住我,目的是让用户选择是否记住用户的登录状态。
当用户选择了 Remember Me 选项,则在有效期内若用户重新访问同一个 Web 应用,那么用户可以直接登录到系统中,比如:

目前我们的项目登录成功后,关闭浏览器,再次访问还需要登录
2. 实现
创建表:persistent_logins
create table persistent_logins (
  username varchar(64) not null,
  series varchar(64) primary key,
  token varchar(64) not null,
  last_used timestamp not null
)
修改 login.html,增加 “记住我” 复选框
<div class="">
  <input type="checkbox" name="remember-me"> 记住我
</div>
修改 SecurityConfig,增加:
@Autowired
private LoginUserService loginUserService;
@Autowired
private DataSource dataSource;
/**
     * remember me 功能是基于token验证的,
     * 这里是通过JdbcTokenRepositoryImpl把token存到persistent_logins表中
     * @return
     */
@Bean
public JdbcTokenRepositoryImpl jdbcTokenRepositoryImpl() {
    JdbcTokenRepositoryImpl persistentTokenRepository = new JdbcTokenRepositoryImpl();
    persistentTokenRepository.setDataSource(dataSource);
    return persistentTokenRepository;
}
//configure 方法 增加
http.rememberMe()
    .tokenRepository(jdbcTokenRepositoryImpl()) // 配置token持久化仓库
    // .tokenValiditySeconds(3600) // 过期时间,单位为秒
    .userDetailsService(loginUserService); // 处理自动登录逻辑
登录成功后,数据库中的token

这样关闭浏览器后,再次访问就不用登录了


 被折叠的 条评论
为什么被折叠?
被折叠的 条评论
为什么被折叠?
 到【灌水乐园】发言


