


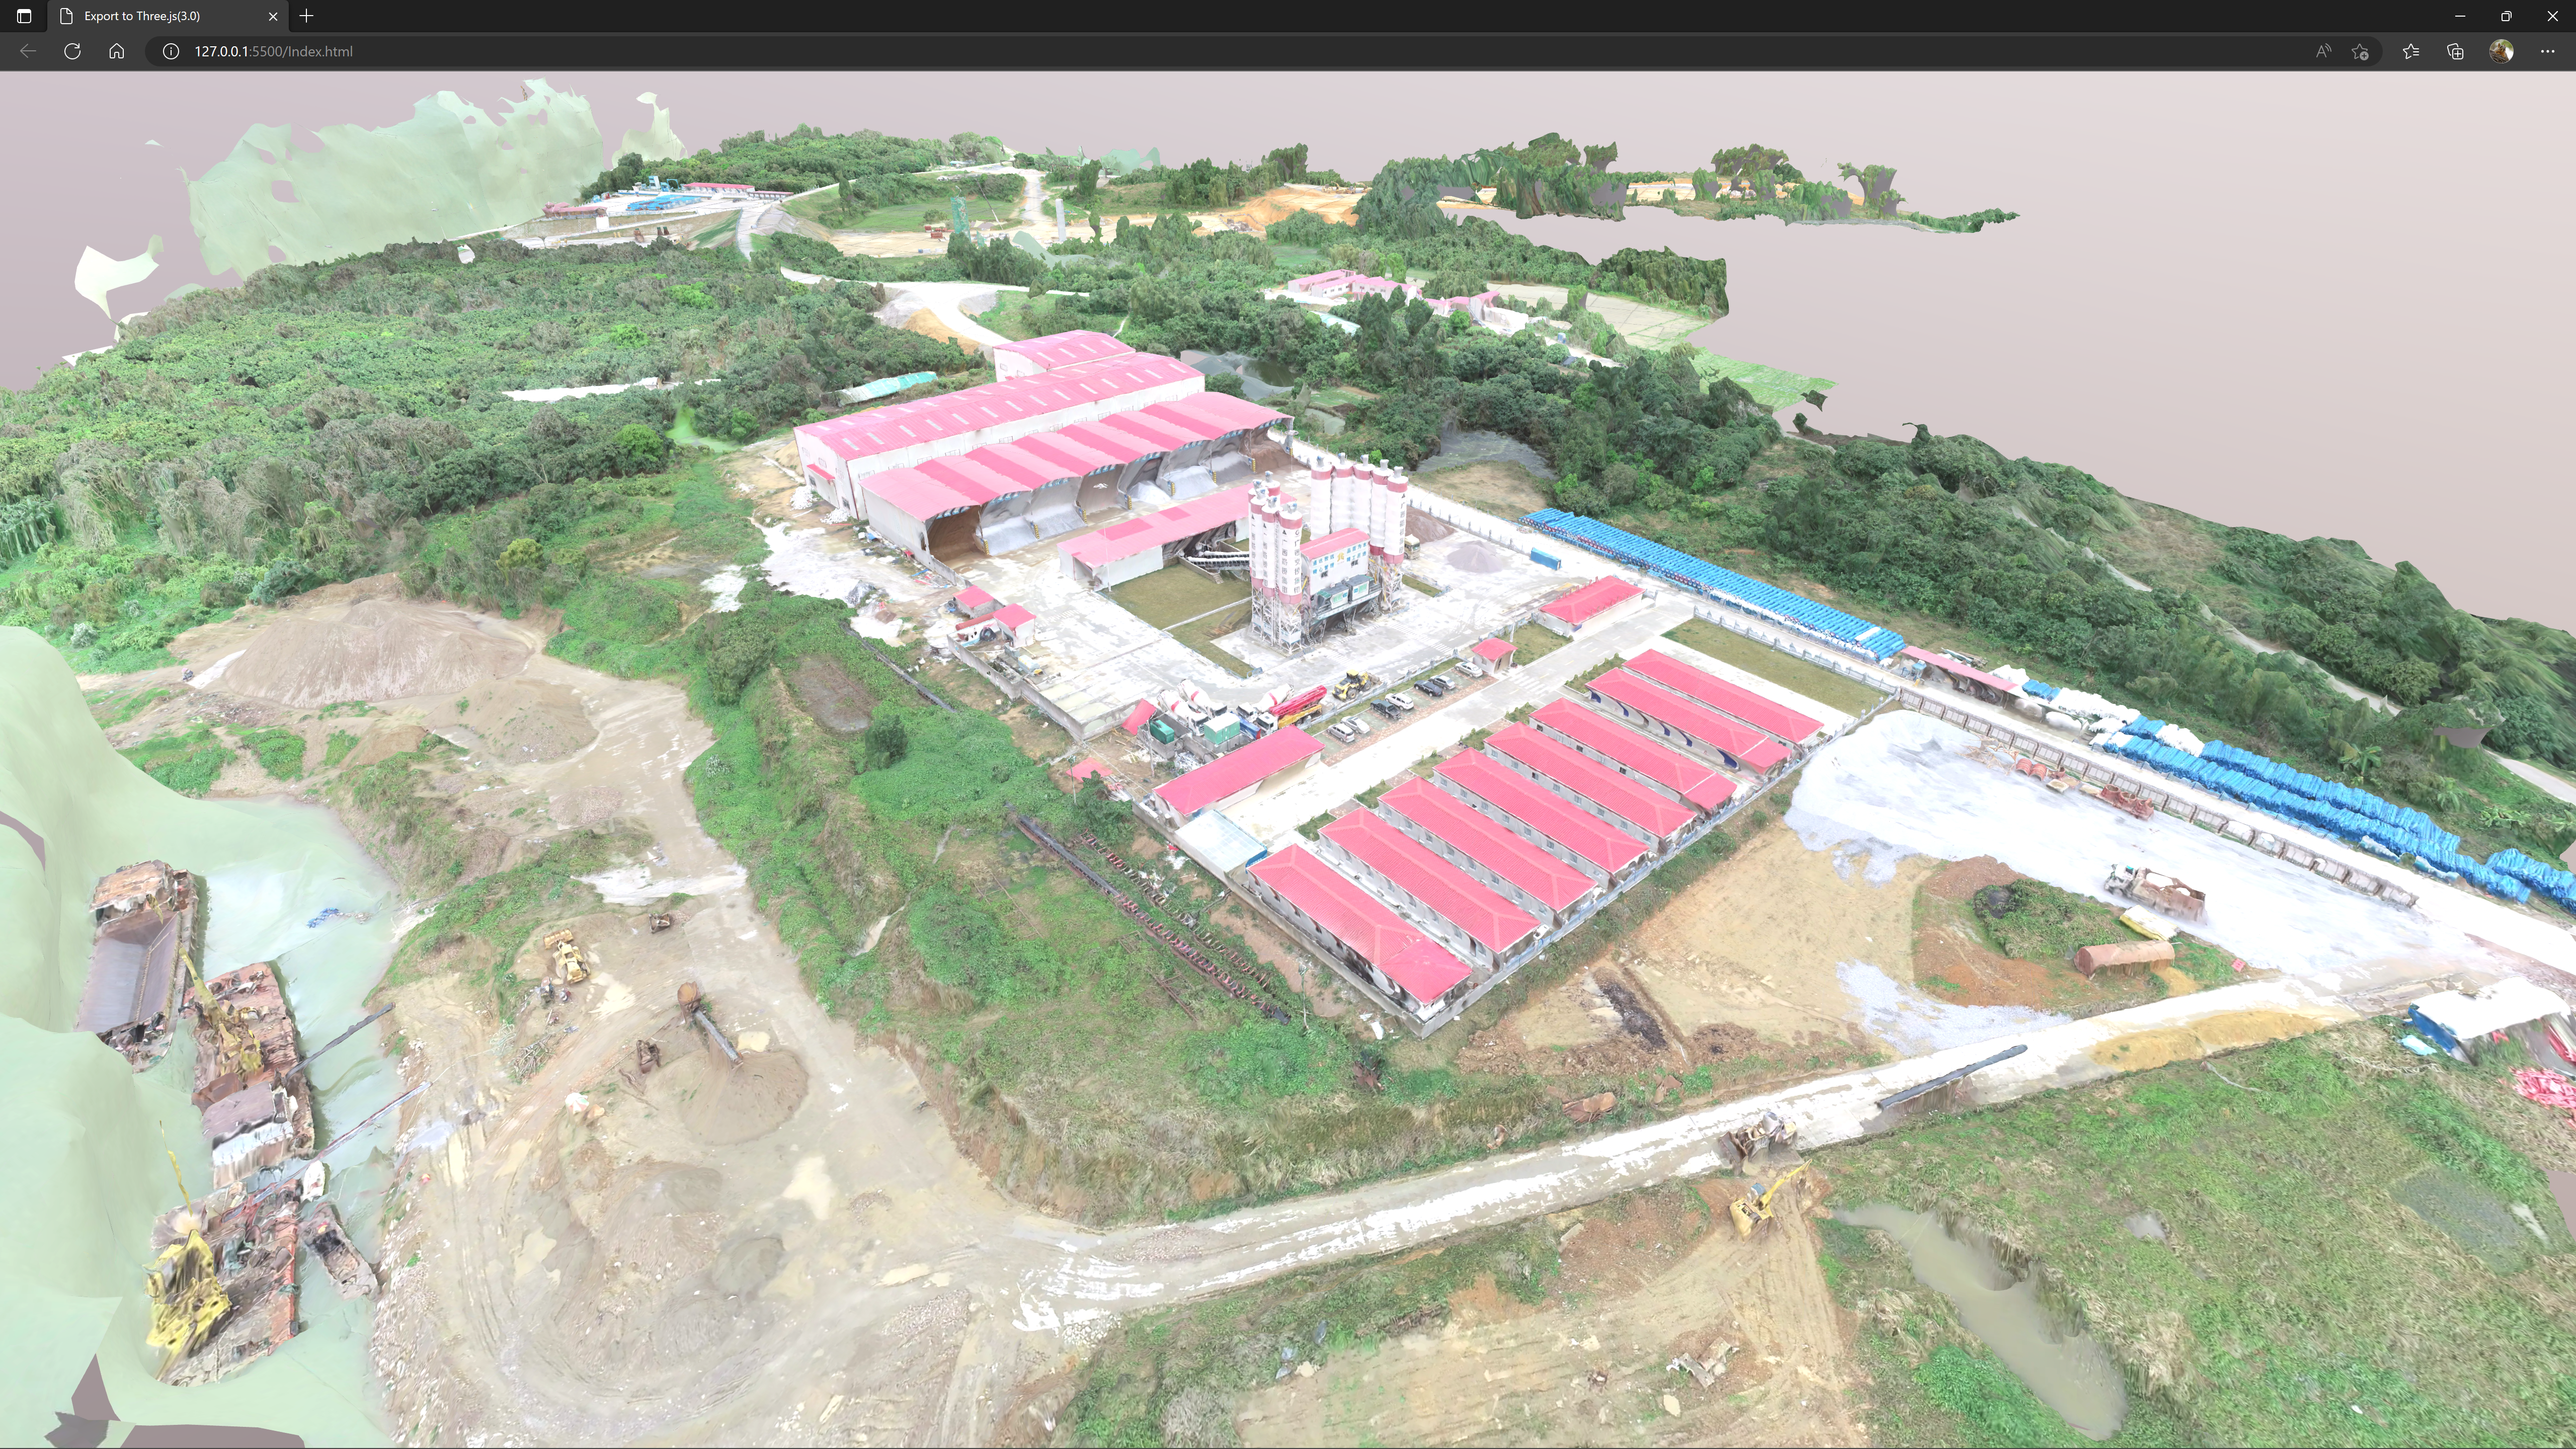
首先我们通过链接和图片来看看效果
演示Demo链接地址:https://n3gis.github.io/exportToThree(3.0).html?scene=Demo_4


使用到的软件(软件大家到Unity商城上搜索,Unity商城地址:https://assetstore.unity.com)
Unity3D
3DTiles(Unity3D插件,用于加载OSGB格式的倾斜摄影数据)
Export To Three.js(Unity3D插件,将Unity3D的三维场景导出到Three.js中来渲染)
首先我们使用3DTiles插件将OSGB数据转换成3DTiles格式,在Unity3D软件菜单中,选择Window/3DTiles/ConvertTo3DTiles

在弹出的窗口中,选择OSGB文件目录及转换后保持的文件目录,注意文件目录不要有中文路径

点击Convet按钮后,等待模型的转换完成,模型转换完成后,使用Single Tileset Load脚本在Unity编辑器中加载倾斜摄影模型,如下图所示

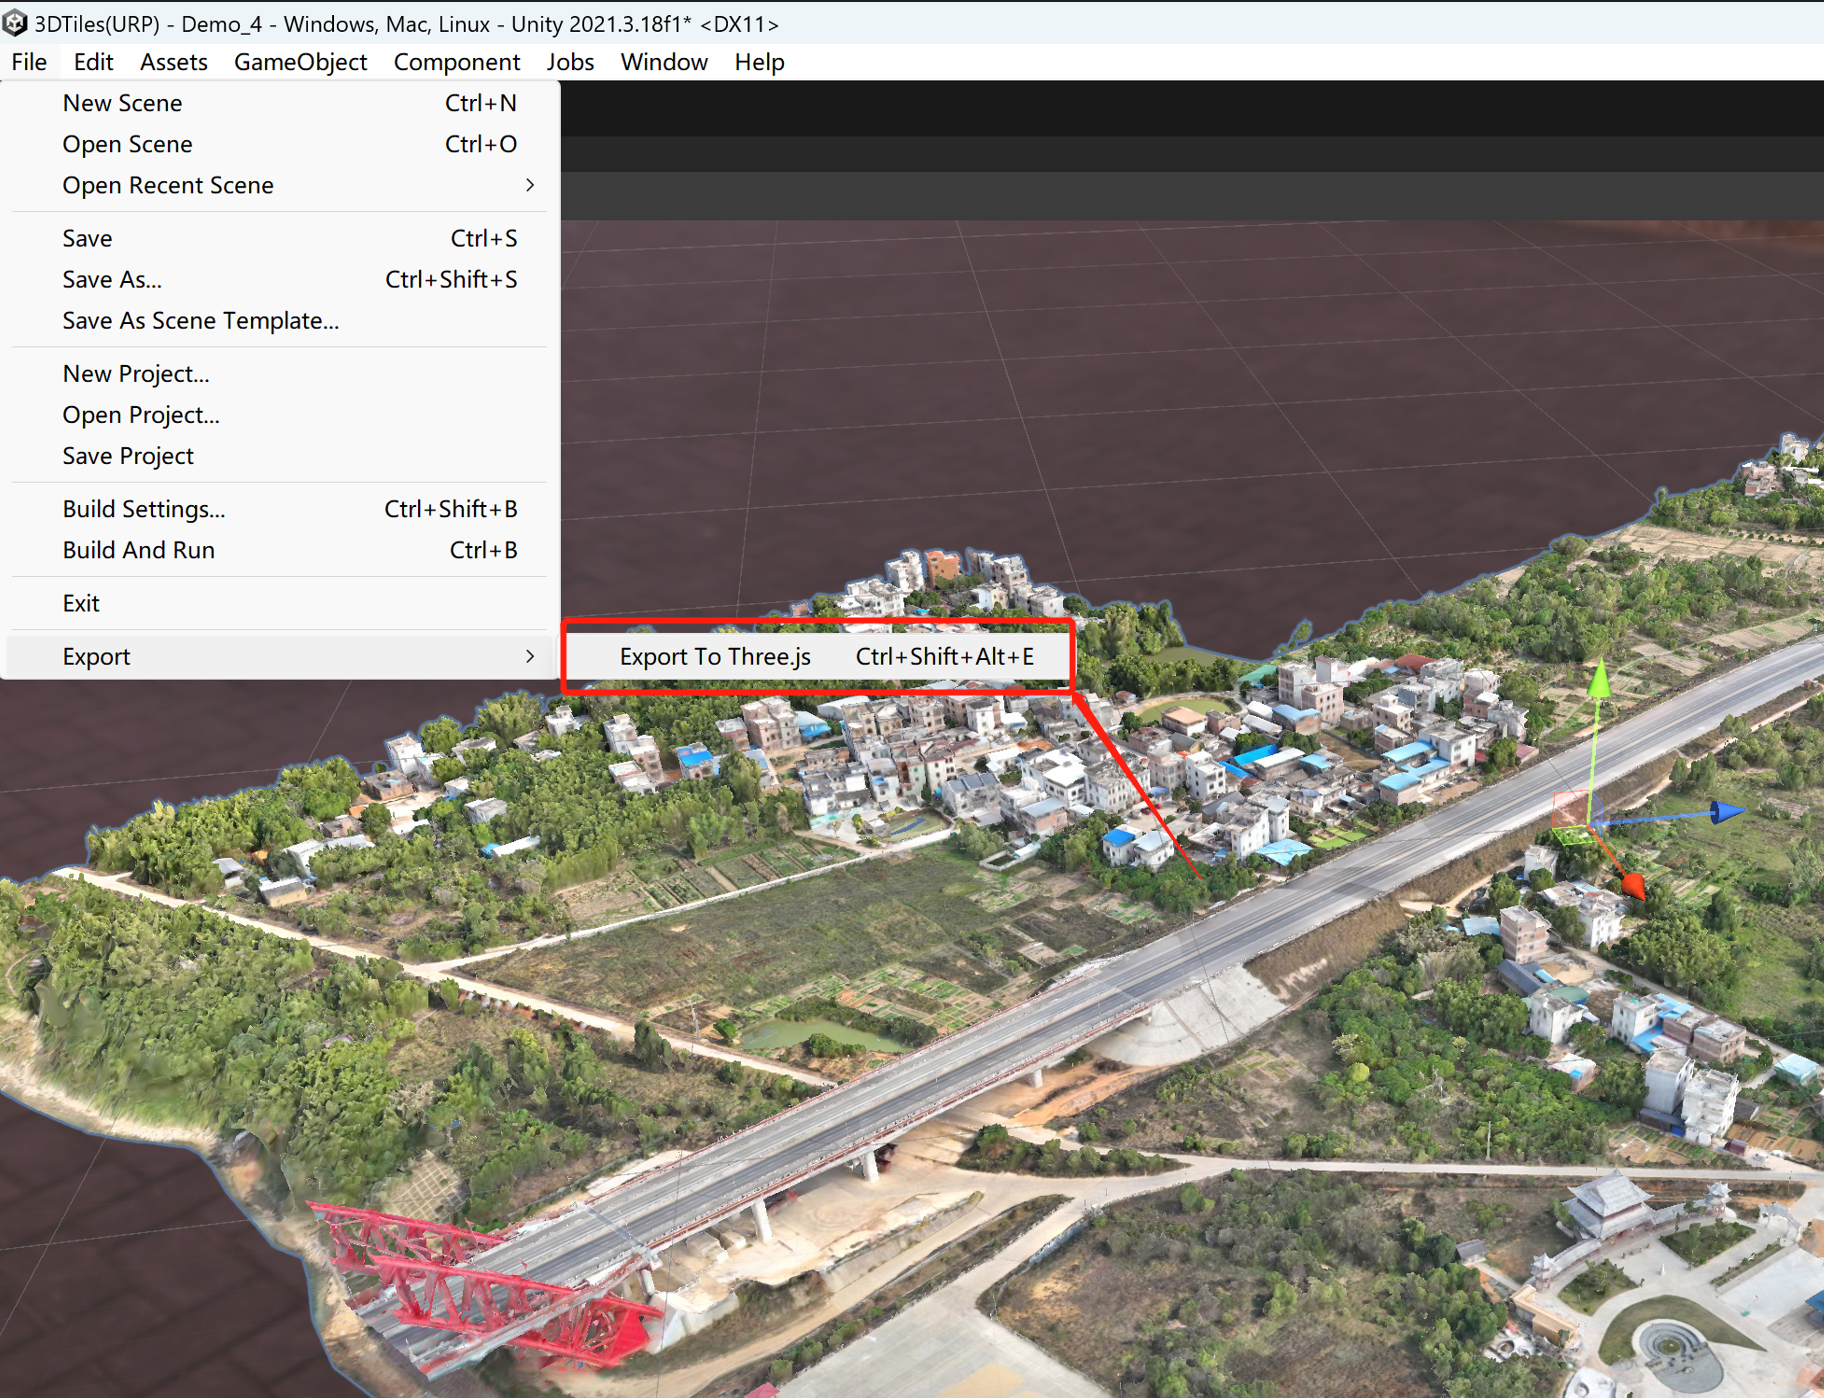
接下来我们使用Export To Three.js(3.0)来导出倾斜摄影模型,在Unity3d菜单中,选择File/Export/Export To Three.js
在弹出的窗口中,我们选择如下配置,其它配置项使用默认值来导出倾斜摄影模型

选择需要导出的相机及倾斜摄影模型,点击Export即可,导出后,可以在Setting中查看导出的文件目录,使用Export To Three.js(3.0)插件默认的js案例工程即可加载倾斜摄影数据;

如下是使用Three.js加载的倾斜摄影效果

ok,本节就讲到这里了,如果文章有看不懂的,可以观看如下视频教程


 2860
2860


 被折叠的 条评论
为什么被折叠?
被折叠的 条评论
为什么被折叠?
 到【灌水乐园】发言


