


本来打算玩 netty的 但是这个东西暂时也不用,而且我之前玩过mina就暂时不玩这个了,等以后有时间再玩,那玩啥呢?前几天和我们领导要了百度网盘会员,下了60G的大数据视屏,嘿嘿,有的玩了,今天开始第一章,大家都知道,要玩大数据,坑定要用Linux的,今天就开始玩Linux把
要玩呢,就需要安装接下来就看安装把
首先需要VMware虚拟机和6.5iso镜像

ISO文件我就不挂百度云了,这个百度一下都是,我这个在压缩包中不方便挂
这就是VM的页面了,大家也看见了,我之前是玩过的,可能最近几篇文章都是针对没有玩过的,大家见谅
接下来开始安装
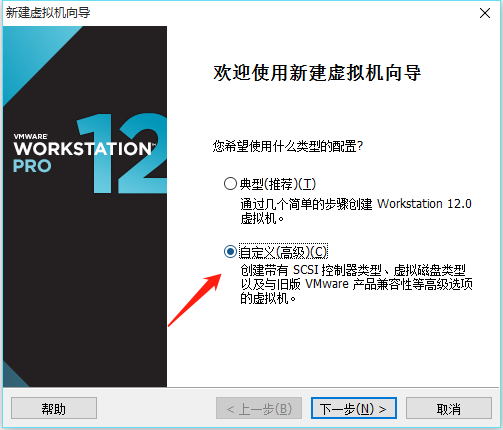
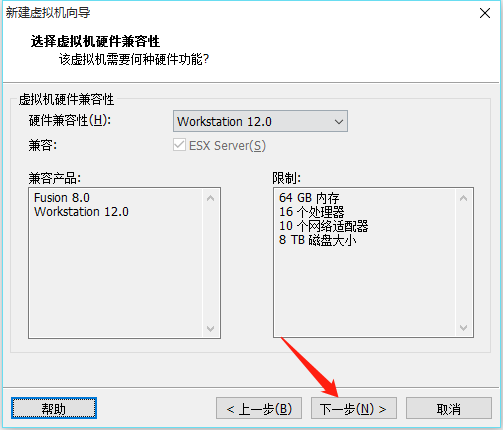
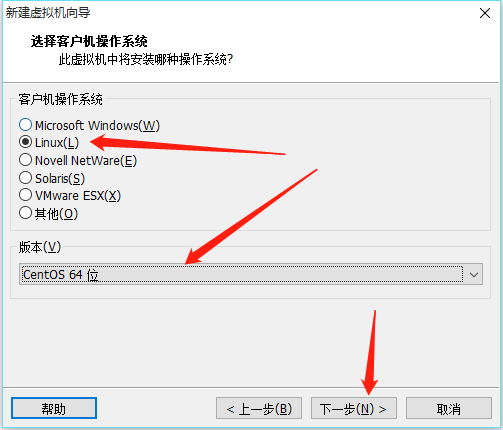
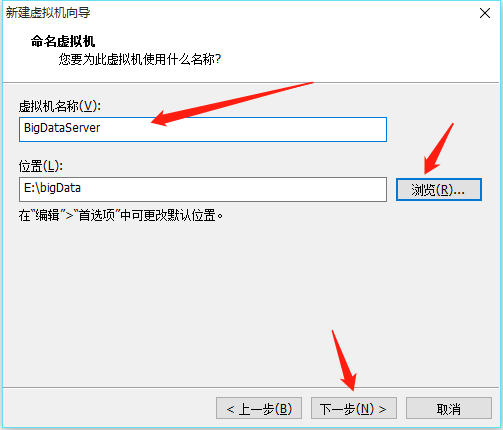
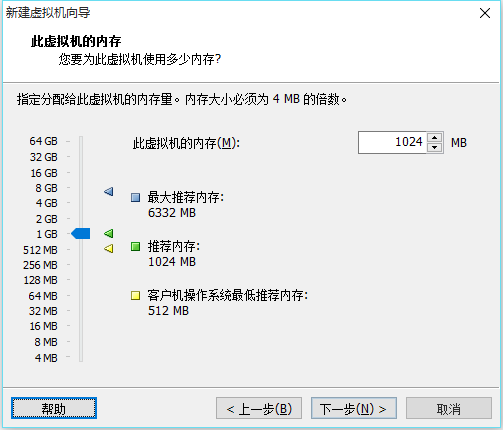
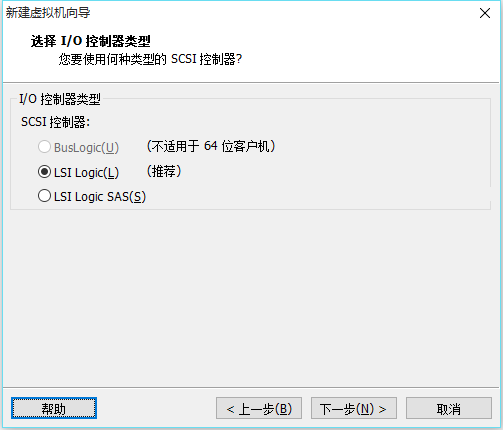
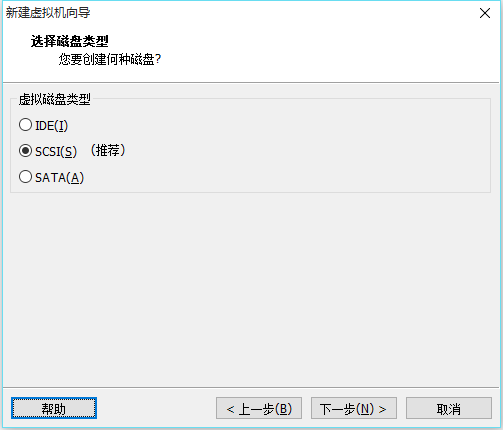
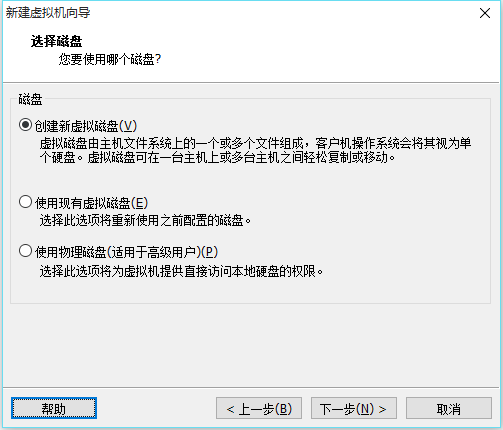
点击文件->新建虚拟机,接下来看图
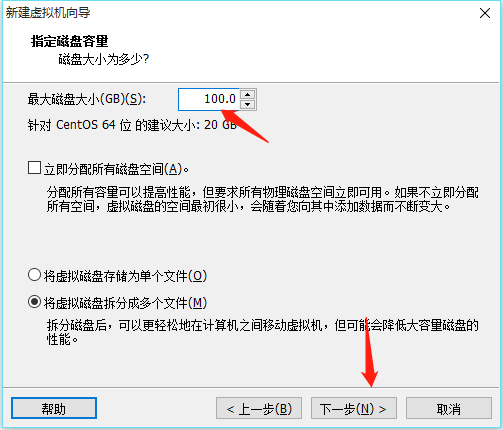
因为要玩大数据吗,本人单独清理除了100G的E盘用来玩

本人桥接已坏,只能选NAT模式,如果大家想选别的也可以

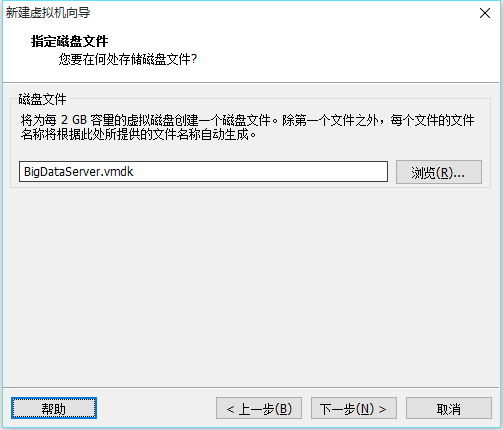
在分配磁盘空间的时候,分配100G,但是千万不到点立即分配所有空间,在这里分配100G是为了以后存储大文件时不用挂接新的磁盘了
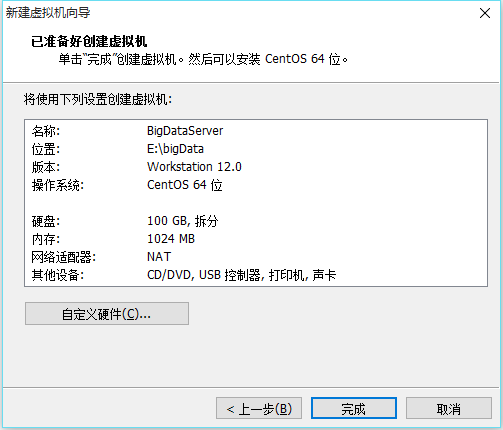
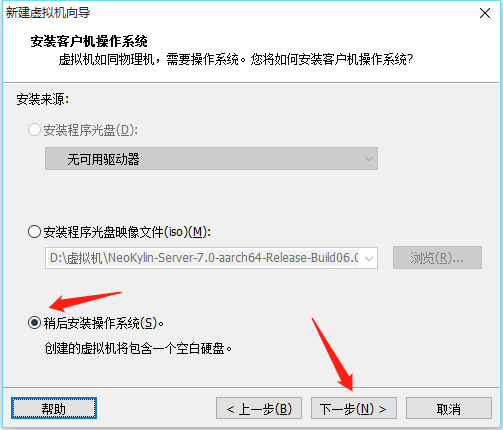
点击完成后,就创建成功了,当然现在是没有系统的,因为我们前面选择的之后安装操作系统

选择我们之前准备好的ISO文件

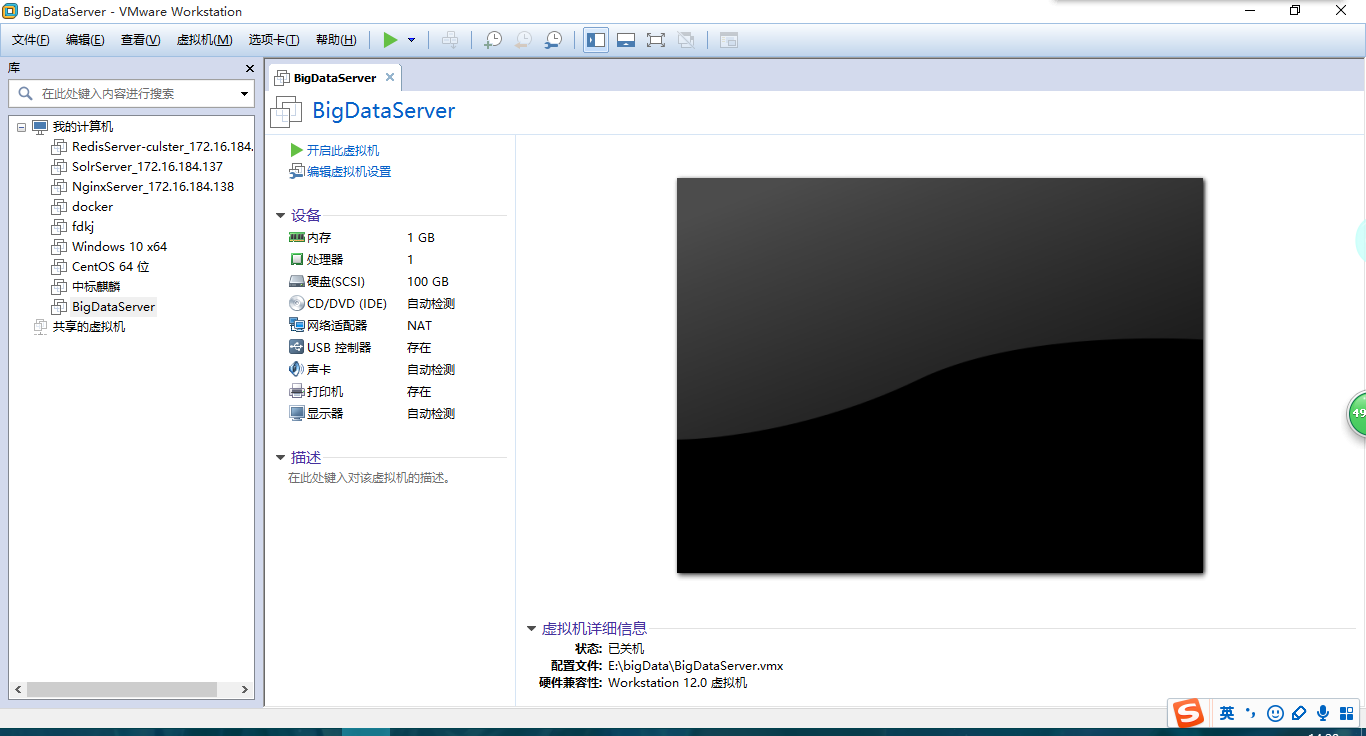
这时候就可以开机了
点击开始时出现问题,我就知道我不会这么顺利的
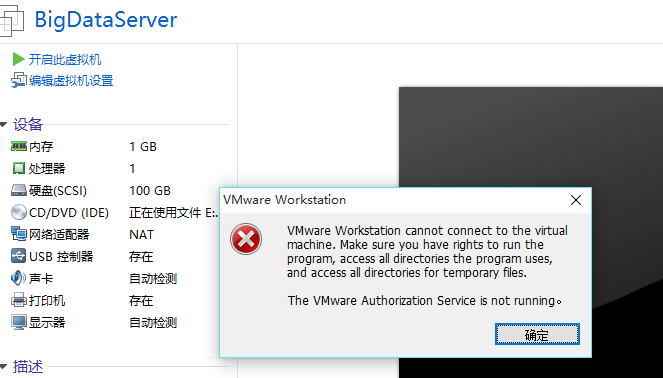
这个错误是VM的认证服务没有运行
去服务中启动一下就可以,当然如果本身电脑没有启动虚拟化功能的话需要开启一下,在BOSI启动项中,这就就不多解释了,百度一下就可以
我们这里继续说碰见的这个问题

可以看到,我这些服务都被我改为手动启动了,因为电脑配置不行,所以没有让他开机自启动
启动一下就可以了

记得这些服务都启动起来,他们是支撑VM运行的功能服务
就比如DHCP就是管理IP地址自动分发的,NAT是管理地址转换的等等
再次点击启动就可以了
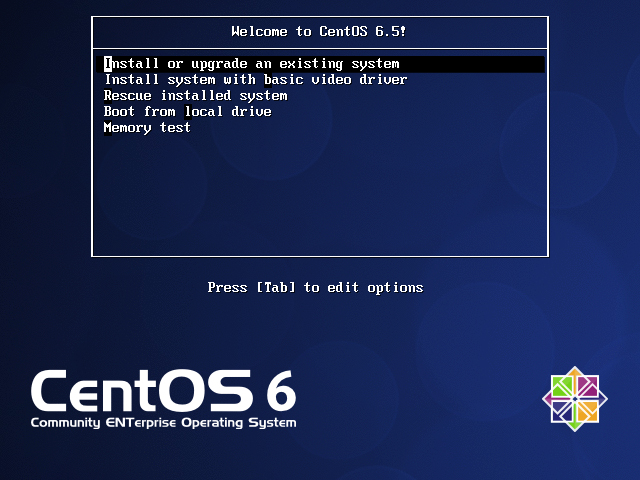
就选择第一个,敲击回车
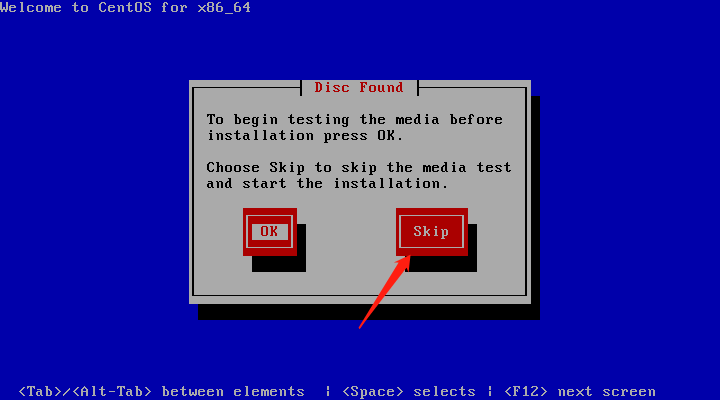
然后等待,出现这个,这里是是不是检查你的启动文件是否可执行,点击OK的话会等很长一段时间,点击SKIP,敲击回车
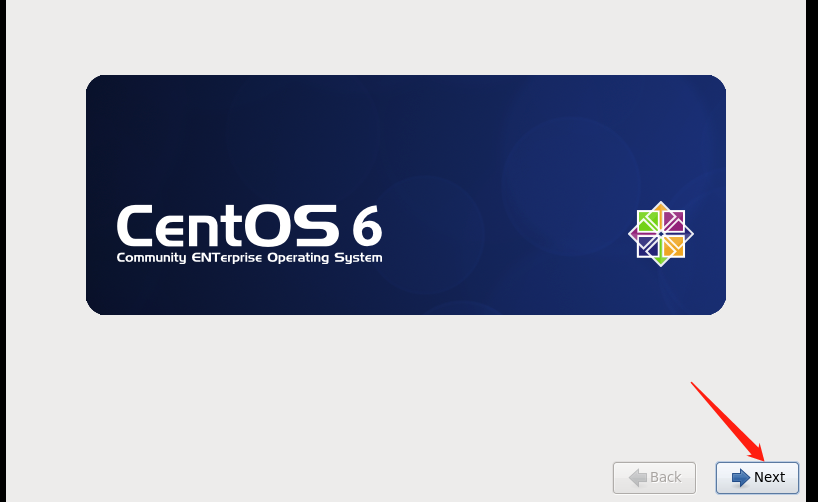
这个就没啥选的了,就一个OK

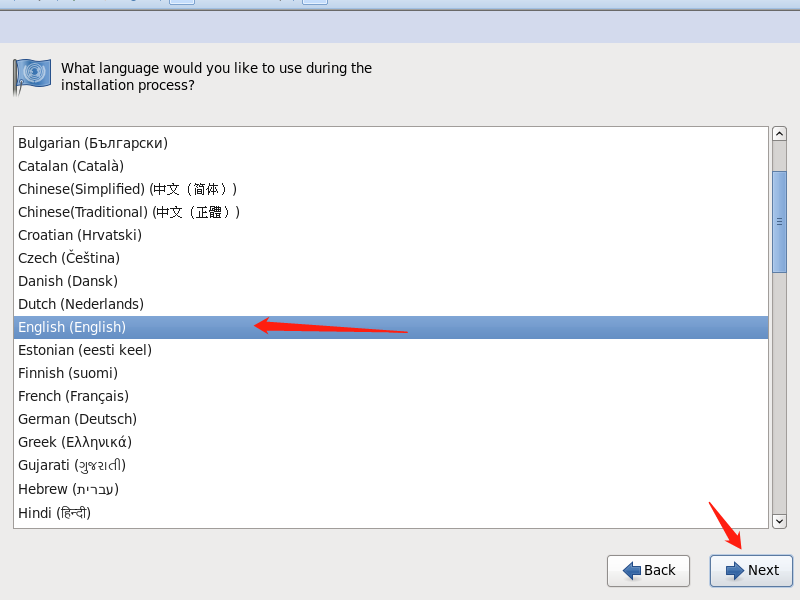
然后是语言选择,在我看来本来就是来玩英文的,选中文多没意思,当然,喜欢的小伙伴可以选择中文
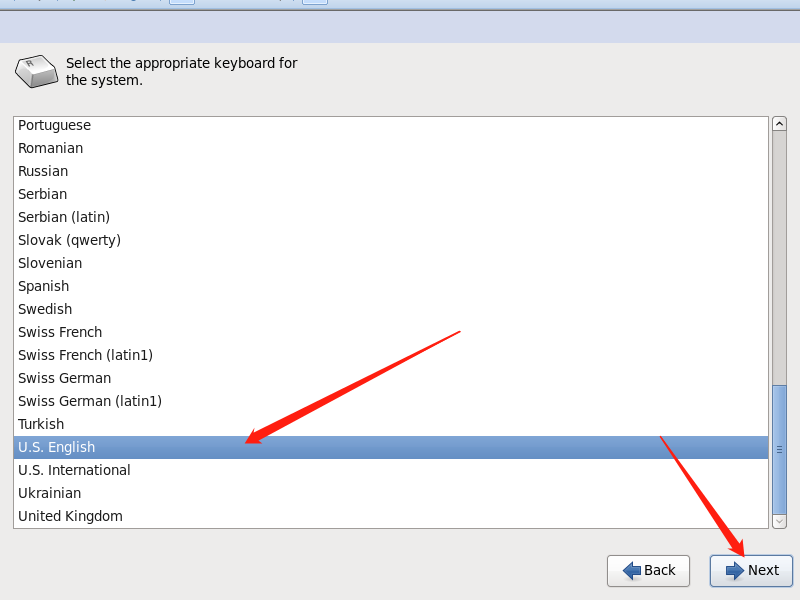
然后是键盘的选择
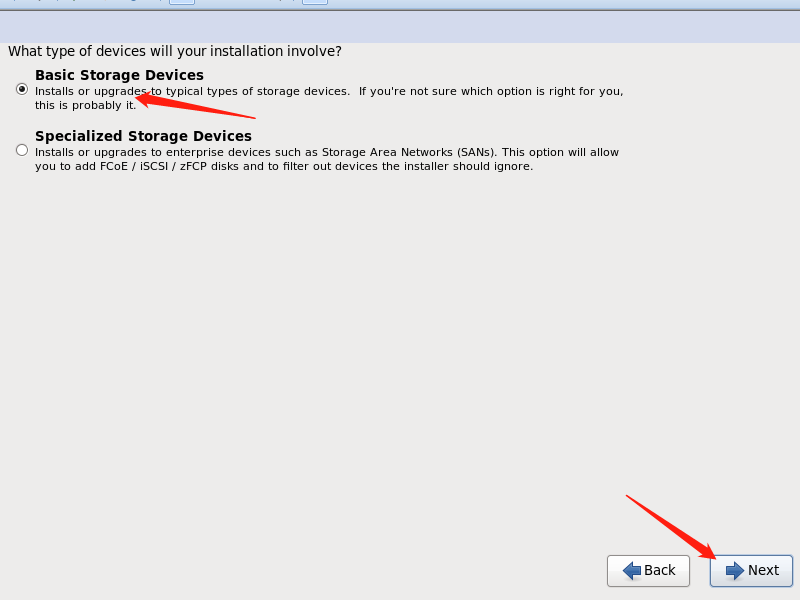
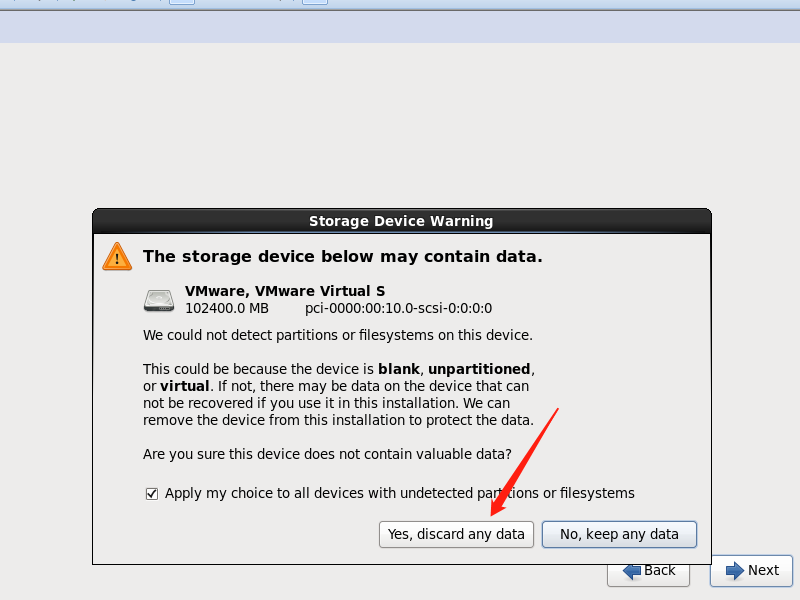
存储直接默认
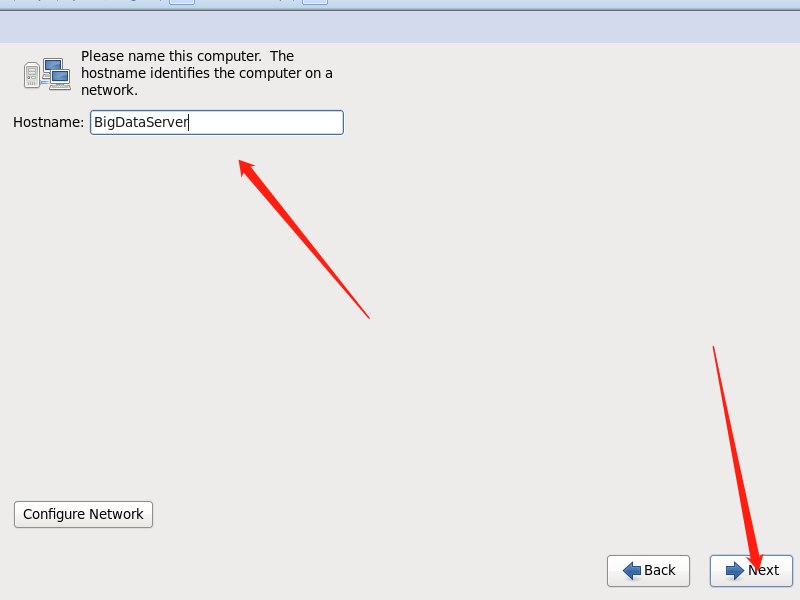
配置主机名,为了方便,配置和外面的一样的
时区我们选择上海

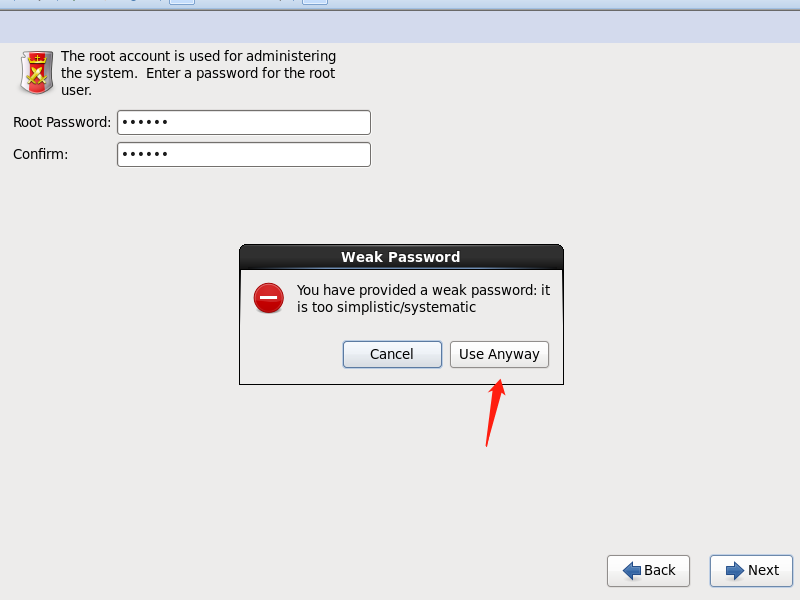
设置Linux root超级管理员的密码,Linux的root和Windows的Administrator一样,当然其实真的来说的话,会比Administrator更高一些,可以随意删除所有东西,在Windows中哪怕你是Administrator也有的东西不能动,这个密码最好设置简单一些,方便使用,当然你要非设置你的银行卡密码,我也管不了
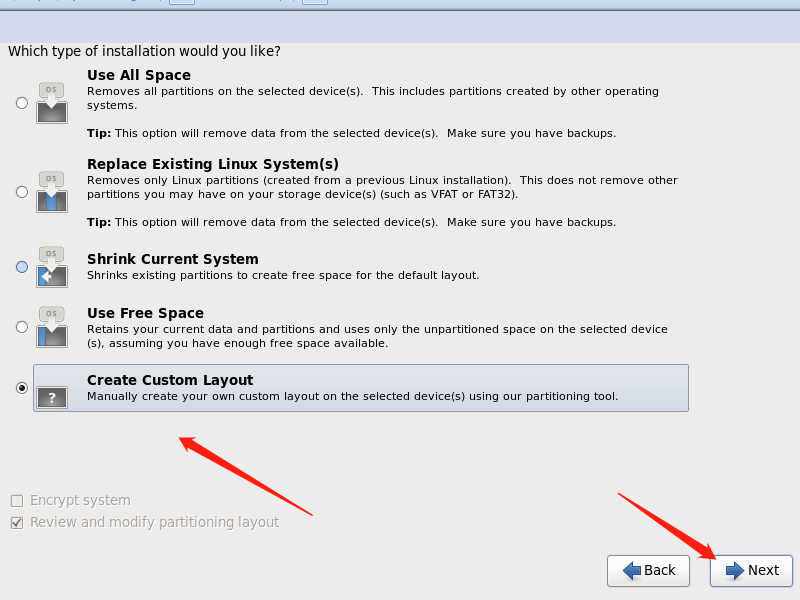
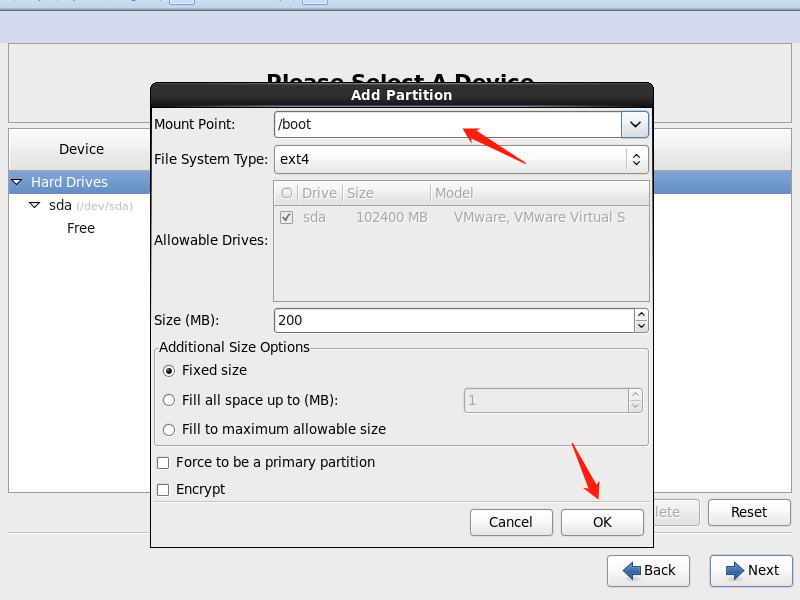
因为我要手动进行磁盘分区,就选择这个,千万不要选择第一个,使用全部空间,当然土豪 请随便
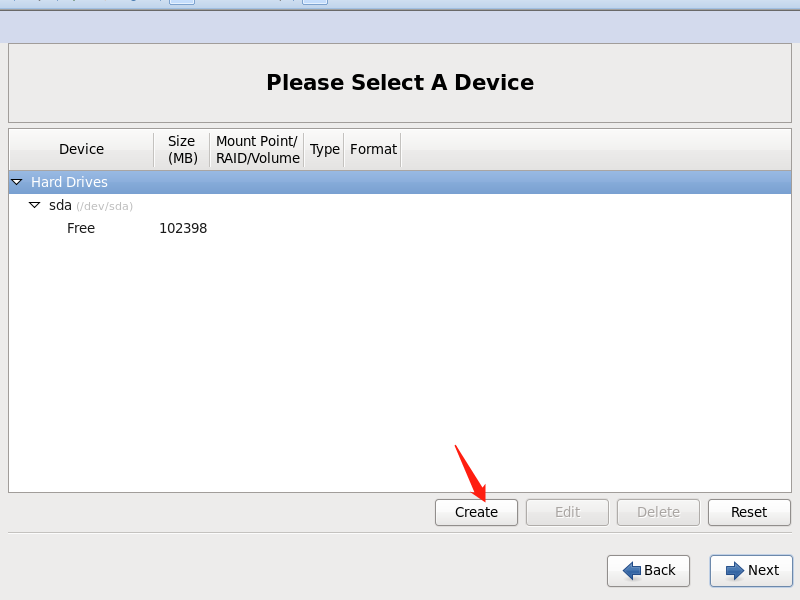
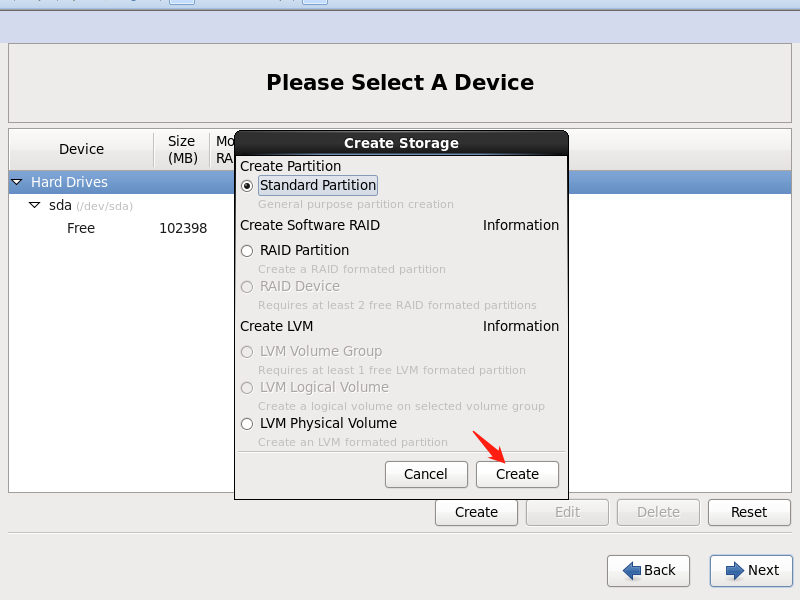

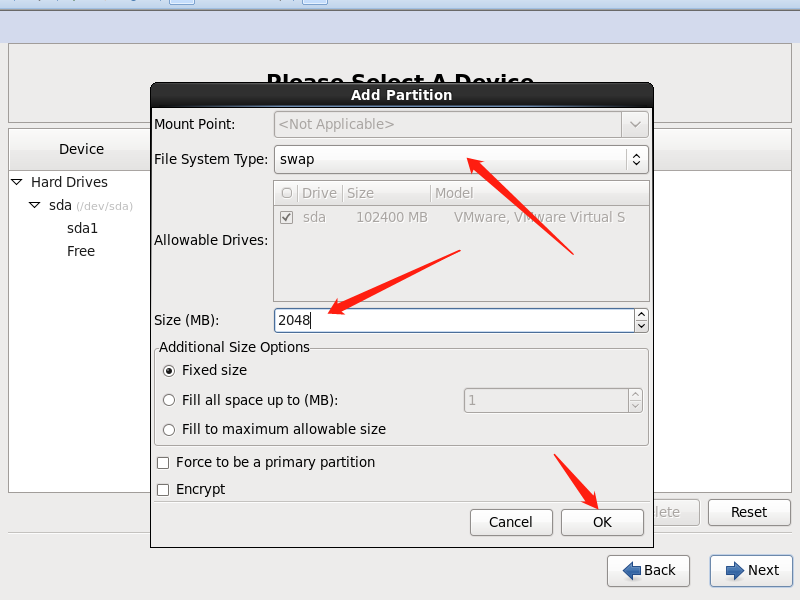
再创建一个,还是点create -> create
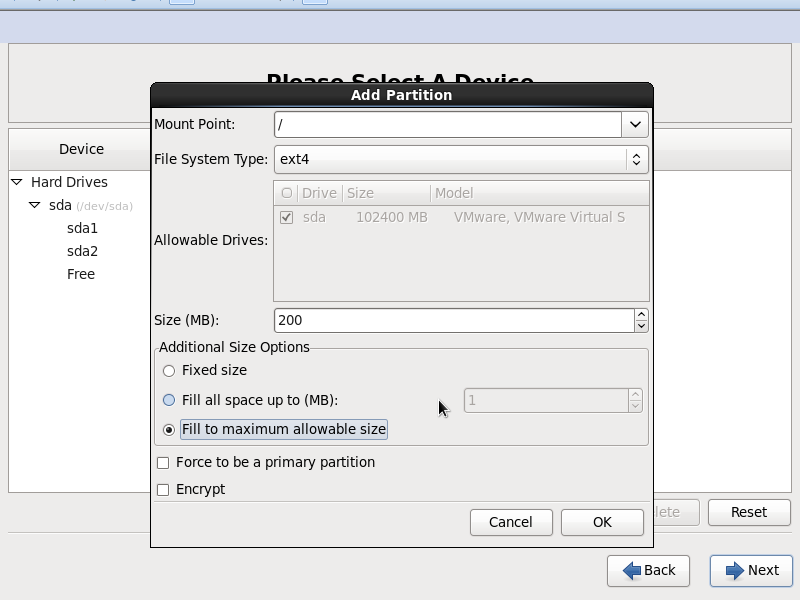
在创建最后一块
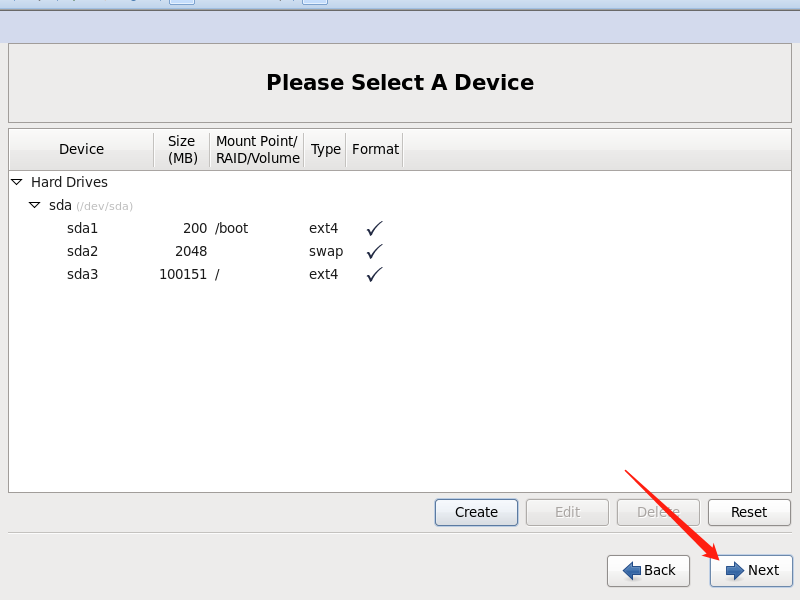
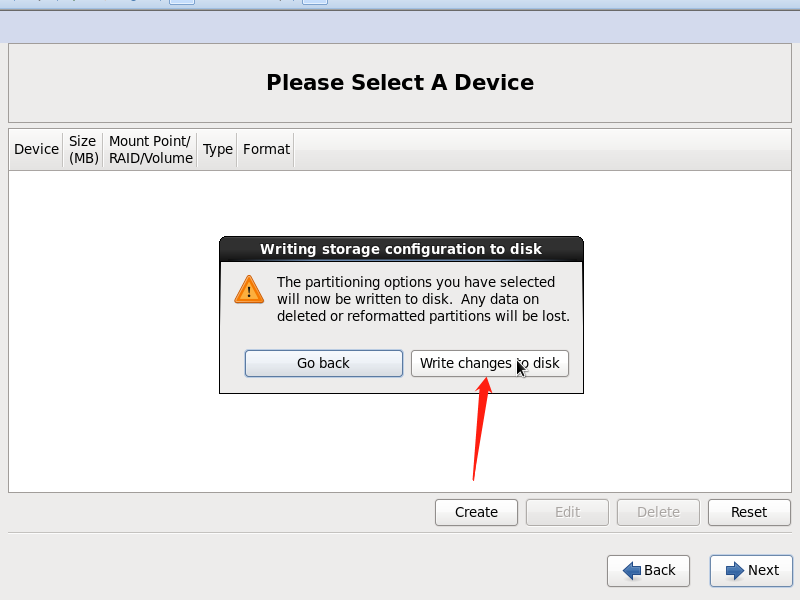
选择格式化

点击重启
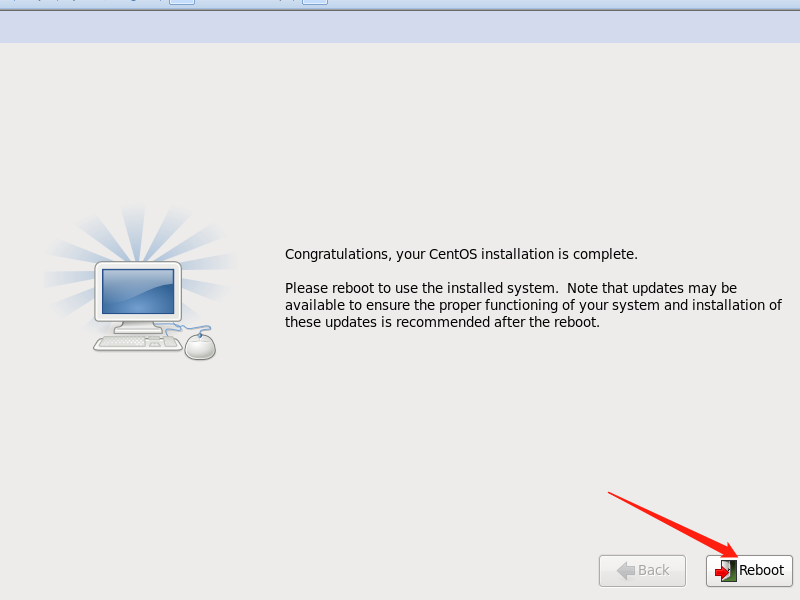
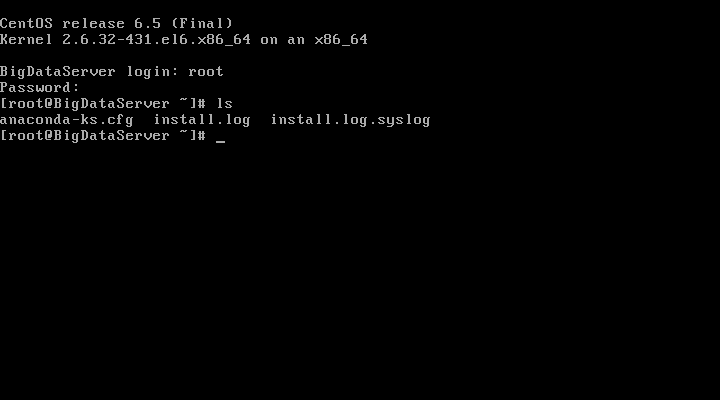
到此安装完成
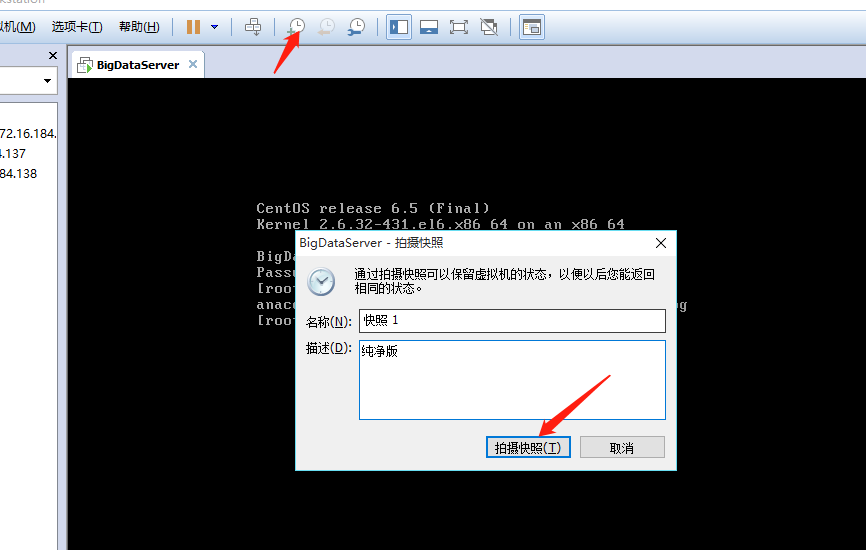
我推荐大家做一个快照,避免玩坏
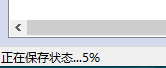
左下角会有一个状态等完成就行了
作者:彼岸舞
时间:2020\07\12
内容关于:Linux
本文属于作者原创,未经允许,禁止转发


 157
157


 被折叠的 条评论
为什么被折叠?
被折叠的 条评论
为什么被折叠?
 到【灌水乐园】发言


