


一、Spring Boot数据访问概述
- 在开发中,通常会涉及到对数据库的数据进行操作,Spring Boot在简化项目开发以及实现自动化配置的基础上,对关系型数据库和非关系型数据库的访问操作都提供了非常好的整合支持。
- Spring Boot默认采用整合SpringData的方式统一处理数据访问层,通过添加大量自动配置,引入各种数据访问模板xxxTemplate以及统一的Repository接口,从而达到简化数据访问层的操作。
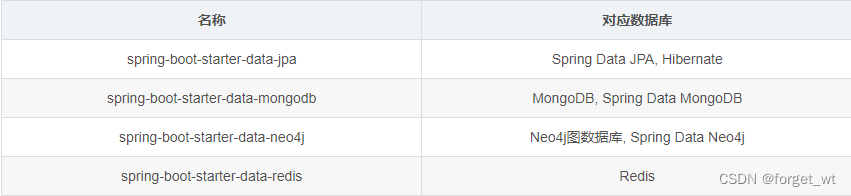
- Spring Boot提供的常见数据库依赖启动器
二、Spring Boot 整合MyBatis
(一)基础环境搭建
1、数据准备
创建数据库、数据表并插入一定的数据
(1)创建博客数据库blog
- 在Navicat的查询里,通过语句创建博客数据库blog、
CREATE DATABASE blog

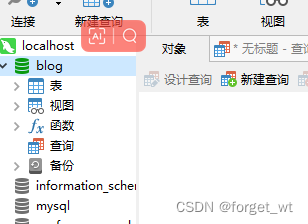
在Navicat里打开刚才创建的博客数据库
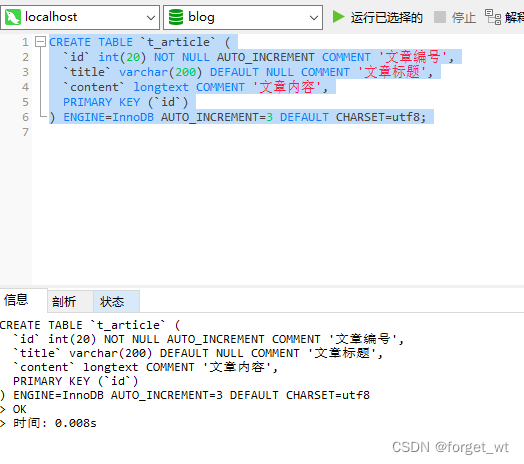
(2)在博客数据库里创建文章表t_article
CREATE TABLE `t_article` (
  `id` int(20) NOT NULL AUTO_INCREMENT COMMENT '文章编号',
  `title` varchar(200) DEFAULT NULL COMMENT '文章标题',
  `content` longtext COMMENT '文章内容',
  PRIMARY KEY (`id`)
) ENGINE=InnoDB AUTO_INCREMENT=3 DEFAULT CHARSET=utf8;
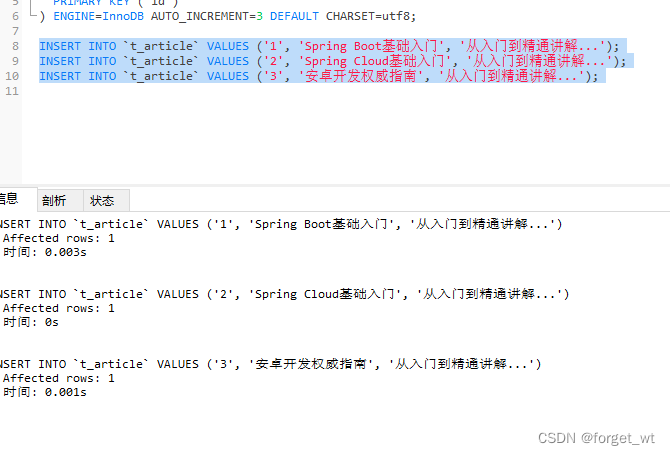
(3)在文章表t_article里插入数据记录
INSERT INTO `t_article` VALUES ('1', 'Spring Boot基础入门', '从入门到精通讲解...');
INSERT INTO `t_article` VALUES ('2', 'Spring Cloud基础入门', '从入门到精通讲解...');
INSERT INTO `t_article` VALUES ('3', '安卓开发权威指南', '从入门到精通讲解...');
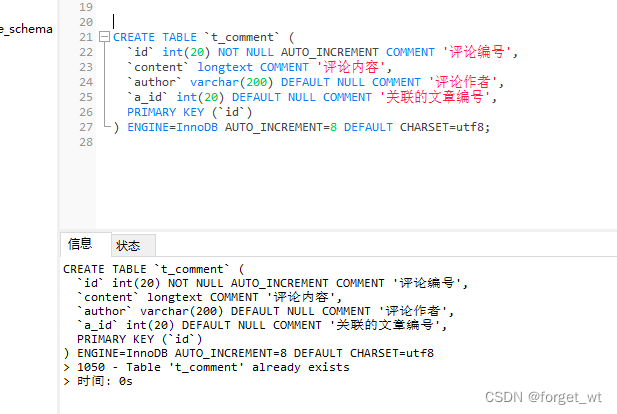
(4)在博客数据库里创建评论表t_comment
CREATE TABLE `t_comment` (
  `id` int(20) NOT NULL AUTO_INCREMENT COMMENT '评论编号',
  `content` longtext COMMENT '评论内容',
  `author` varchar(200) DEFAULT NULL COMMENT '评论作者',
  `a_id` int(20) DEFAULT NULL COMMENT '关联的文章编号',
  PRIMARY KEY (`id`)
) ENGINE=InnoDB AUTO_INCREMENT=8 DEFAULT CHARSET=utf8;
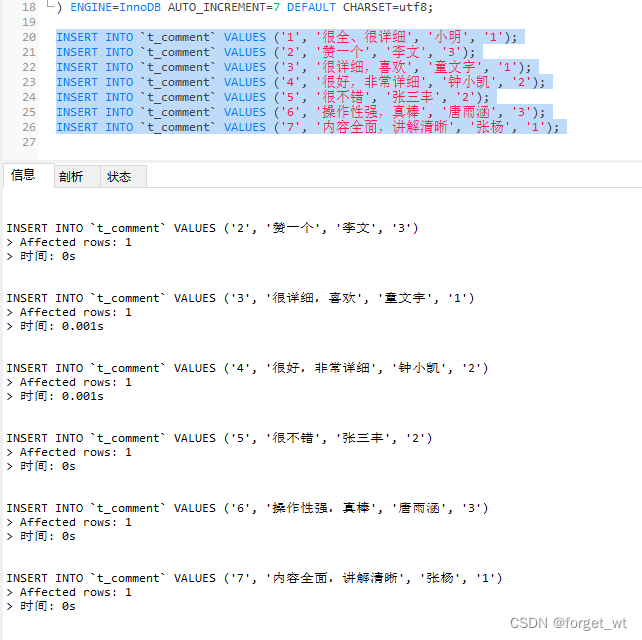
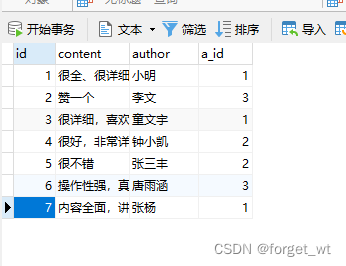
(5)在评论表t_comment里插入数据记录
INSERT INTO `t_comment` VALUES ('1', '很全、很详细', '小明', '1');
INSERT INTO `t_comment` VALUES ('2', '赞一个', '李文', '3');
INSERT INTO `t_comment` VALUES ('3', '很详细,喜欢', '童文宇', '1');
INSERT INTO `t_comment` VALUES ('4', '很好,非常详细', '钟小凯', '2');
INSERT INTO `t_comment` VALUES ('5', '很不错', '张三丰', '2');
INSERT INTO `t_comment` VALUES ('6', '操作性强,真棒', '唐雨涵', '3');
INSERT INTO `t_comment` VALUES ('7', '内容全面,讲解清晰', '张杨', '1');
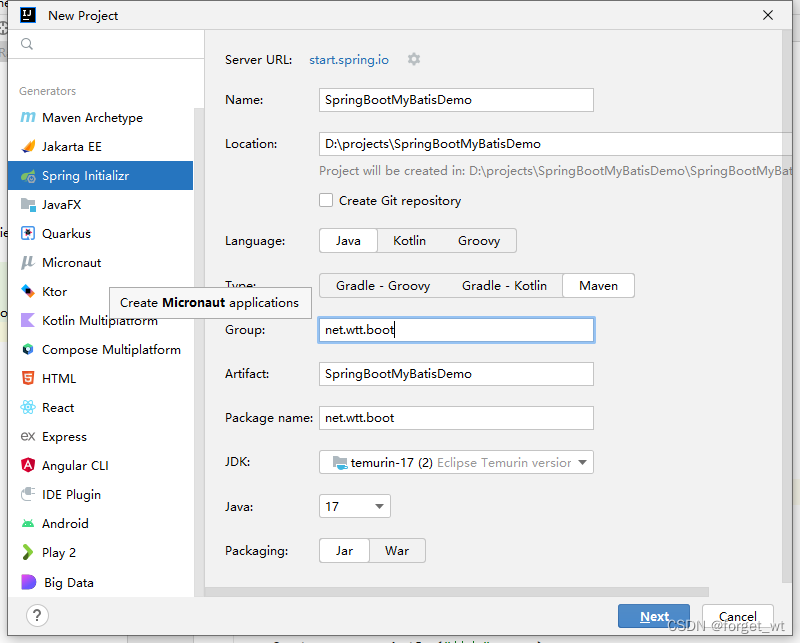
2、创建项目,引入相应启动器
(1)创建Spring Boot项目SpringBootMyBatisDemo
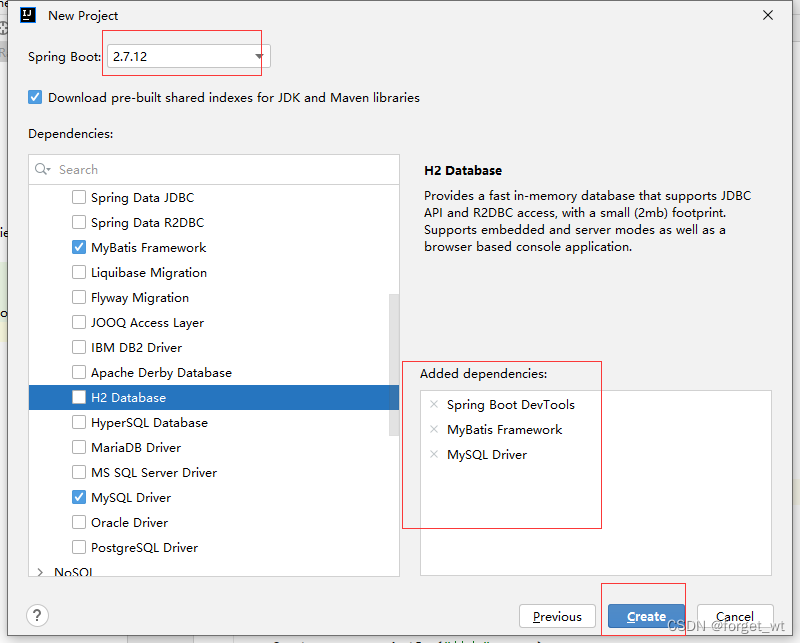
- 点击create按钮创建项目

(2)创建评论实体类 - Comment

package net.wtt.boot.bean;

public class Comment {
    private Integer id;

    public Integer getId() {
        return id;
    }

    @Override
    public String toString() {
        return  "Comment{" +
                "id=" + id +
                ", content='" + content + '\'' +
                ", author='" + author + '\'' +
                ", aId=" + aId +
                '}';
    }

    public void setId(Integer id) {
        this.id = id;
    }

    public String getContent() {
        return content;
    }

    public void setContent(String content) {
        this.content = content;
    }

    public String getAuthor() {
        return author;
    }

    public void setAuthor(String author) {
        this.author = author;
    }

    public Integer getaId() {
        return aId;
    }

    public void setaId(Integer aId) {
        this.aId = aId;
    }

    private String content;
    private String author;
    private Integer aId;

}
- 文章编号aId,使用了驼峰命名法,对应表中的a_id字段
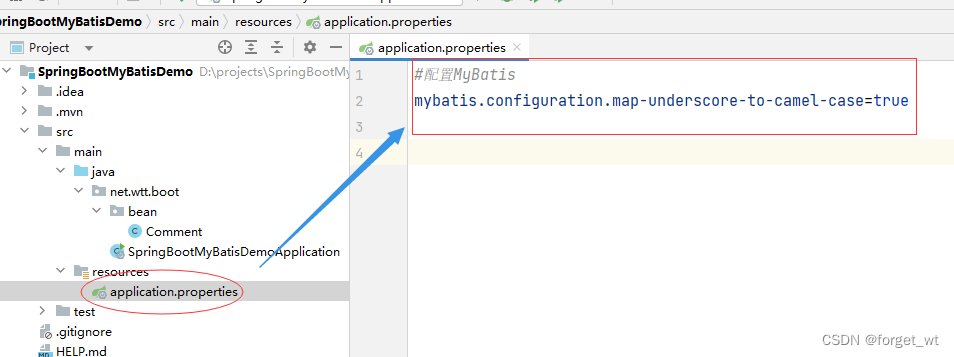
配置文件中必须配置以下语句,否则查出数据为null
#配置MyBatis
mybatis.configuration.map-underscore-to-camel-case=true
(3)创建文章实体类 - Article
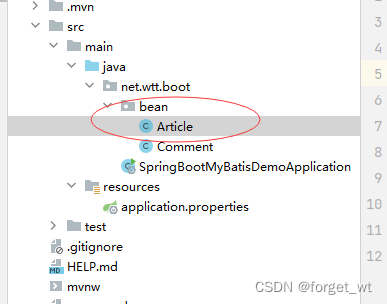
package net.wtt.boot.bean;

import java.util.List;

public class Article {
    private Integer id;
    private String title;
    private String content;
    private List<Comment> comments;

    @Override
    public String toString() {
        return "Article{" +
                "id=" + id +
                ", title='" + title + '\'' +
                ", content='" + content + '\'' +
                ", comments=" + comments +
                '}';
    }

    public Integer getId() {
        return id;
    }

    public void setId(Integer id) {
        this.id = id;
    }

    public String getTitle() {
        return title;
    }

    public void setTitle(String title) {
        this.title = title;
    }

    public String getContent() {
        return content;
    }

    public void setContent(String content) {
        this.content = content;
    }

    public List<Comment> getComments() {
        return comments;
    }

    public void setComments(List<Comment> comments) {
        this.comments = comments;
    }
}
3、编写配置文件
将全局配置文件application.properties更名为application.yaml
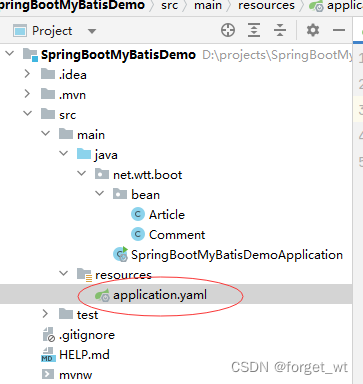
然后将先前的写法改一下

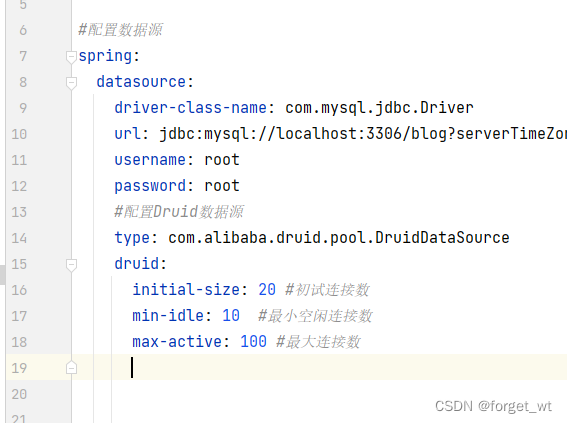
(1)在全局配置文件中进行数据库连接配置
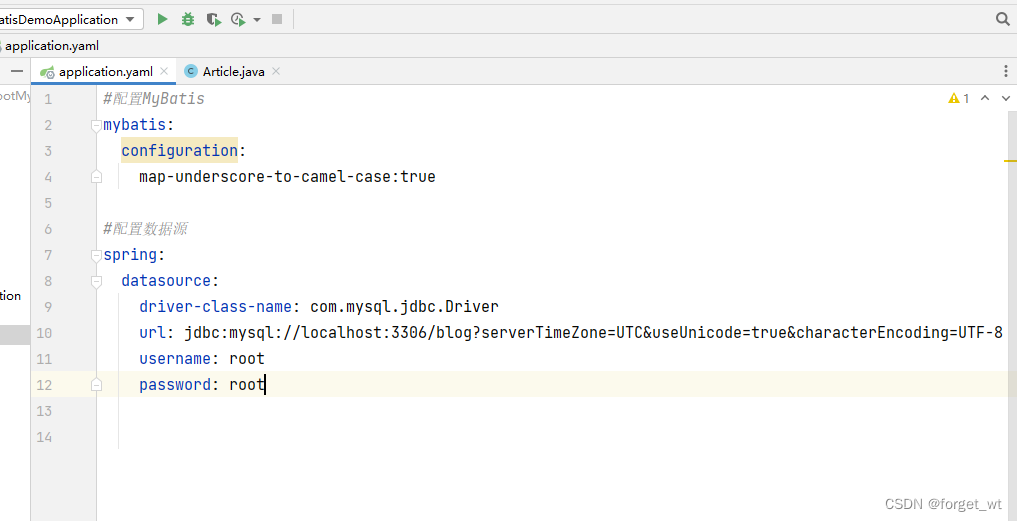
#配置数据源
spring:
  datasource:
    driver-class-name: com.mysql.jdbc.Driver
    url: jdbc:mysql://localhost:3306/blog?serverTimeZone=UTC&useUnicode=true&characterEncoding=UTF-8
    username: root
    password: root
- 说明:driver-class-name: com.mysql.jdbc.Driver 数据库驱动配置并非必须
(2)数据源类型配置(以阿里巴巴的Druid数据源为例)
在pom.xml文件里添加druid依赖
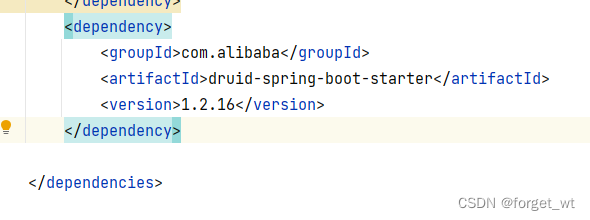
<dependency>
            <groupId>com.alibaba</groupId>
            <artifactId>druid-spring-boot-starter</artifactId>
            <version>1.2.16</version>
        </dependency>
(3)在全局配置文件里覆盖默认参数
(二)使用注解方式整合MyBatis
1、创建评论映射器接口 - CommentMapper
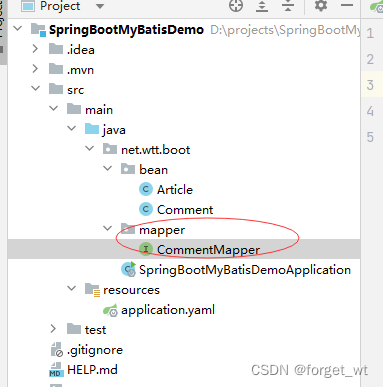
package net.wtt.boot.mapper;

import net.wtt.boot.bean.Comment;
import org.apache.ibatis.annotations.*;

import java.util.List;


@Mapper // 交给Spring容器管理
public interface CommentMapper {
    @Insert("insert into t_comment values(#{id}, #{content}, #{author}, #{aId})")
    int insert(Comment comment); // 插入评论记录

    @Delete("delete from t_comment where id = #{id}")
    int deleteById(Integer id); // 按标识符删除评论

    @Update("update t_comment set content = #{content}, author = #{author} where id = #{id}")
    int update(Comment comment); // 更新评论

    @Select("select * from t_comment where id = #{id}")
    Comment findById(Integer id); // 按标识符查询评论

    @Select("select * from t_comment")
    List<Comment> findAll(); // 查询全部评论
}
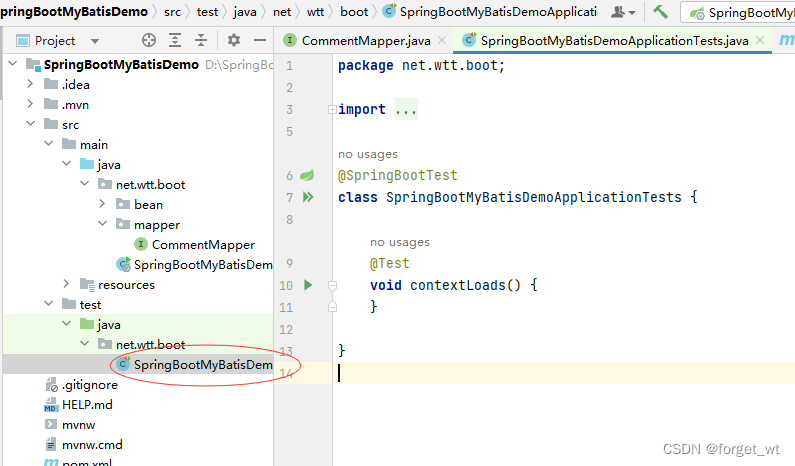
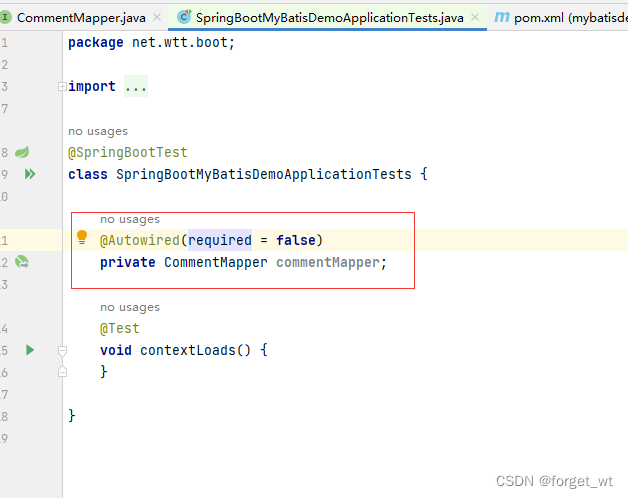
2、测试评论映射器接口
- 点开默认的测试类
- 注入评论映射器
(1)创建测试方法testFindById()
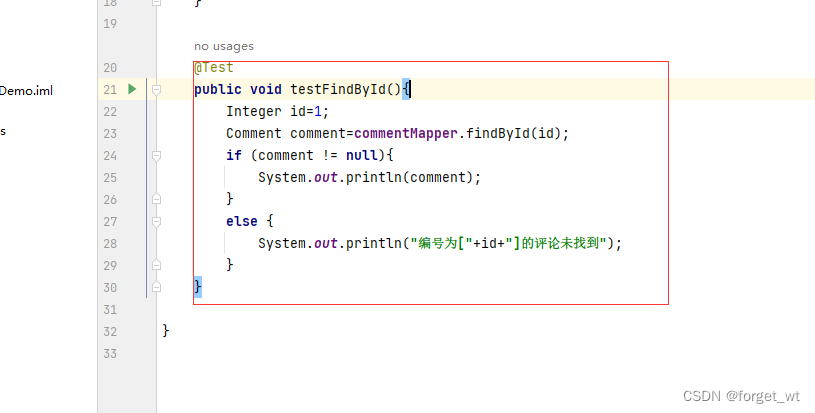
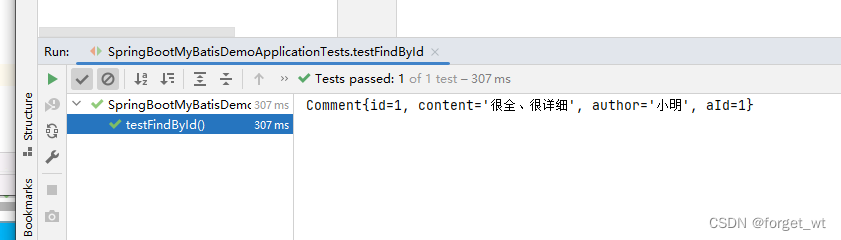
- 运行测试方法,查看结果
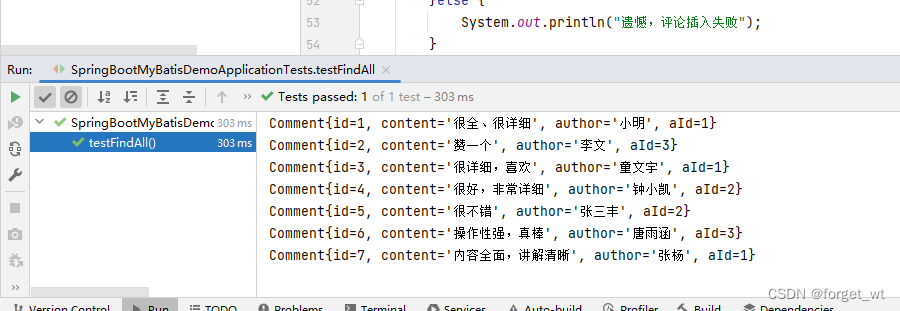
(2)创建测试方法testFindAll()
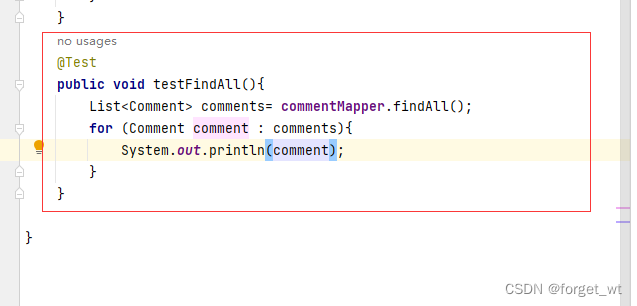
- 运行testFindAll()方法,查看结果
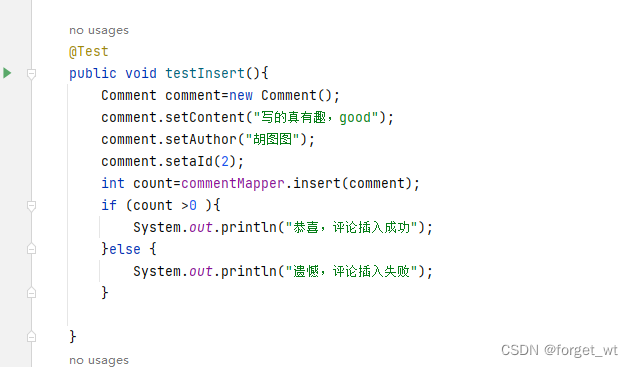
(3)测试插入评论方法
- 创建testInsert()方法
- 运行testInsert()方法,查看结果

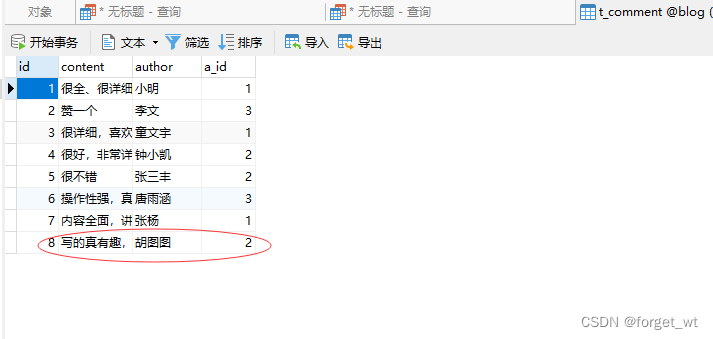
- 在Navicat里打开评论表,看是否成功地添加了一条新记录
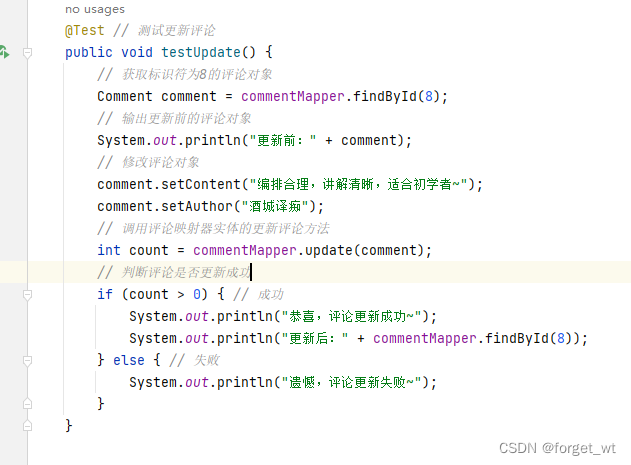
(4)测试更新评论方法
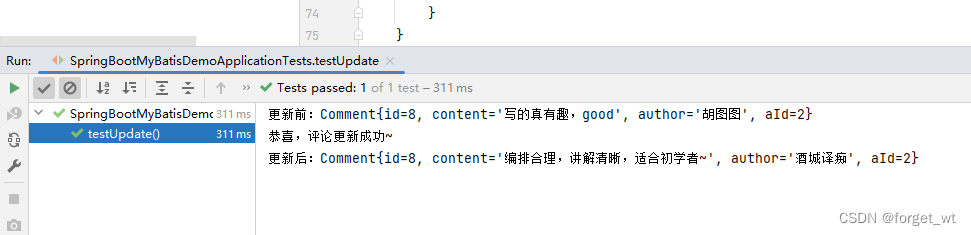
- 创建testUpdate()方法,修改刚才插入的第8条记录
- 运行testUpdate()方法,查看结果
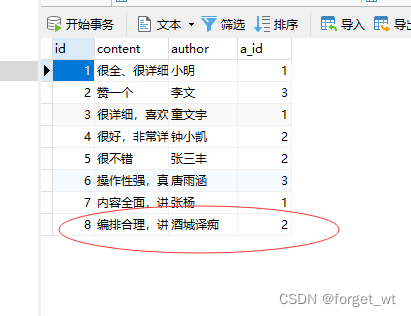
- 在Navicat里查看评论表第8条记录
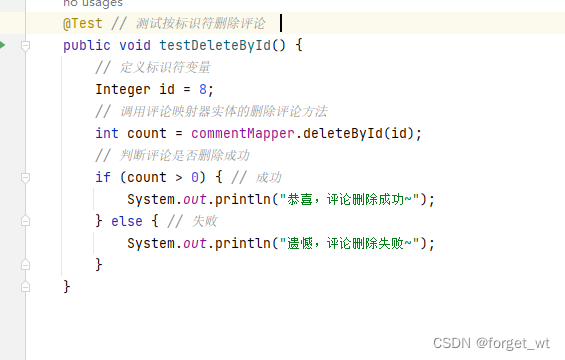
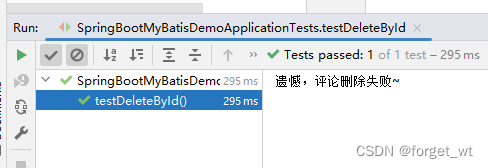
(5)测试删除评论方法
- 创建testDelete()方法,删除刚才插入的第8条记录
- 运行testDelete()方法
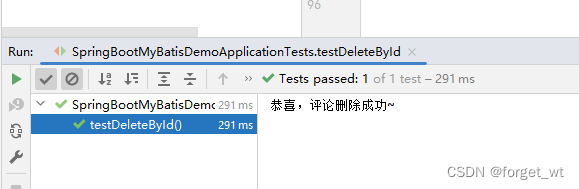
- 在Navicat里查看评论表
- 再次运行testDeleteById()方法,查看结果


 3177
3177


 被折叠的 条评论
为什么被折叠?
被折叠的 条评论
为什么被折叠?
 到【灌水乐园】发言


